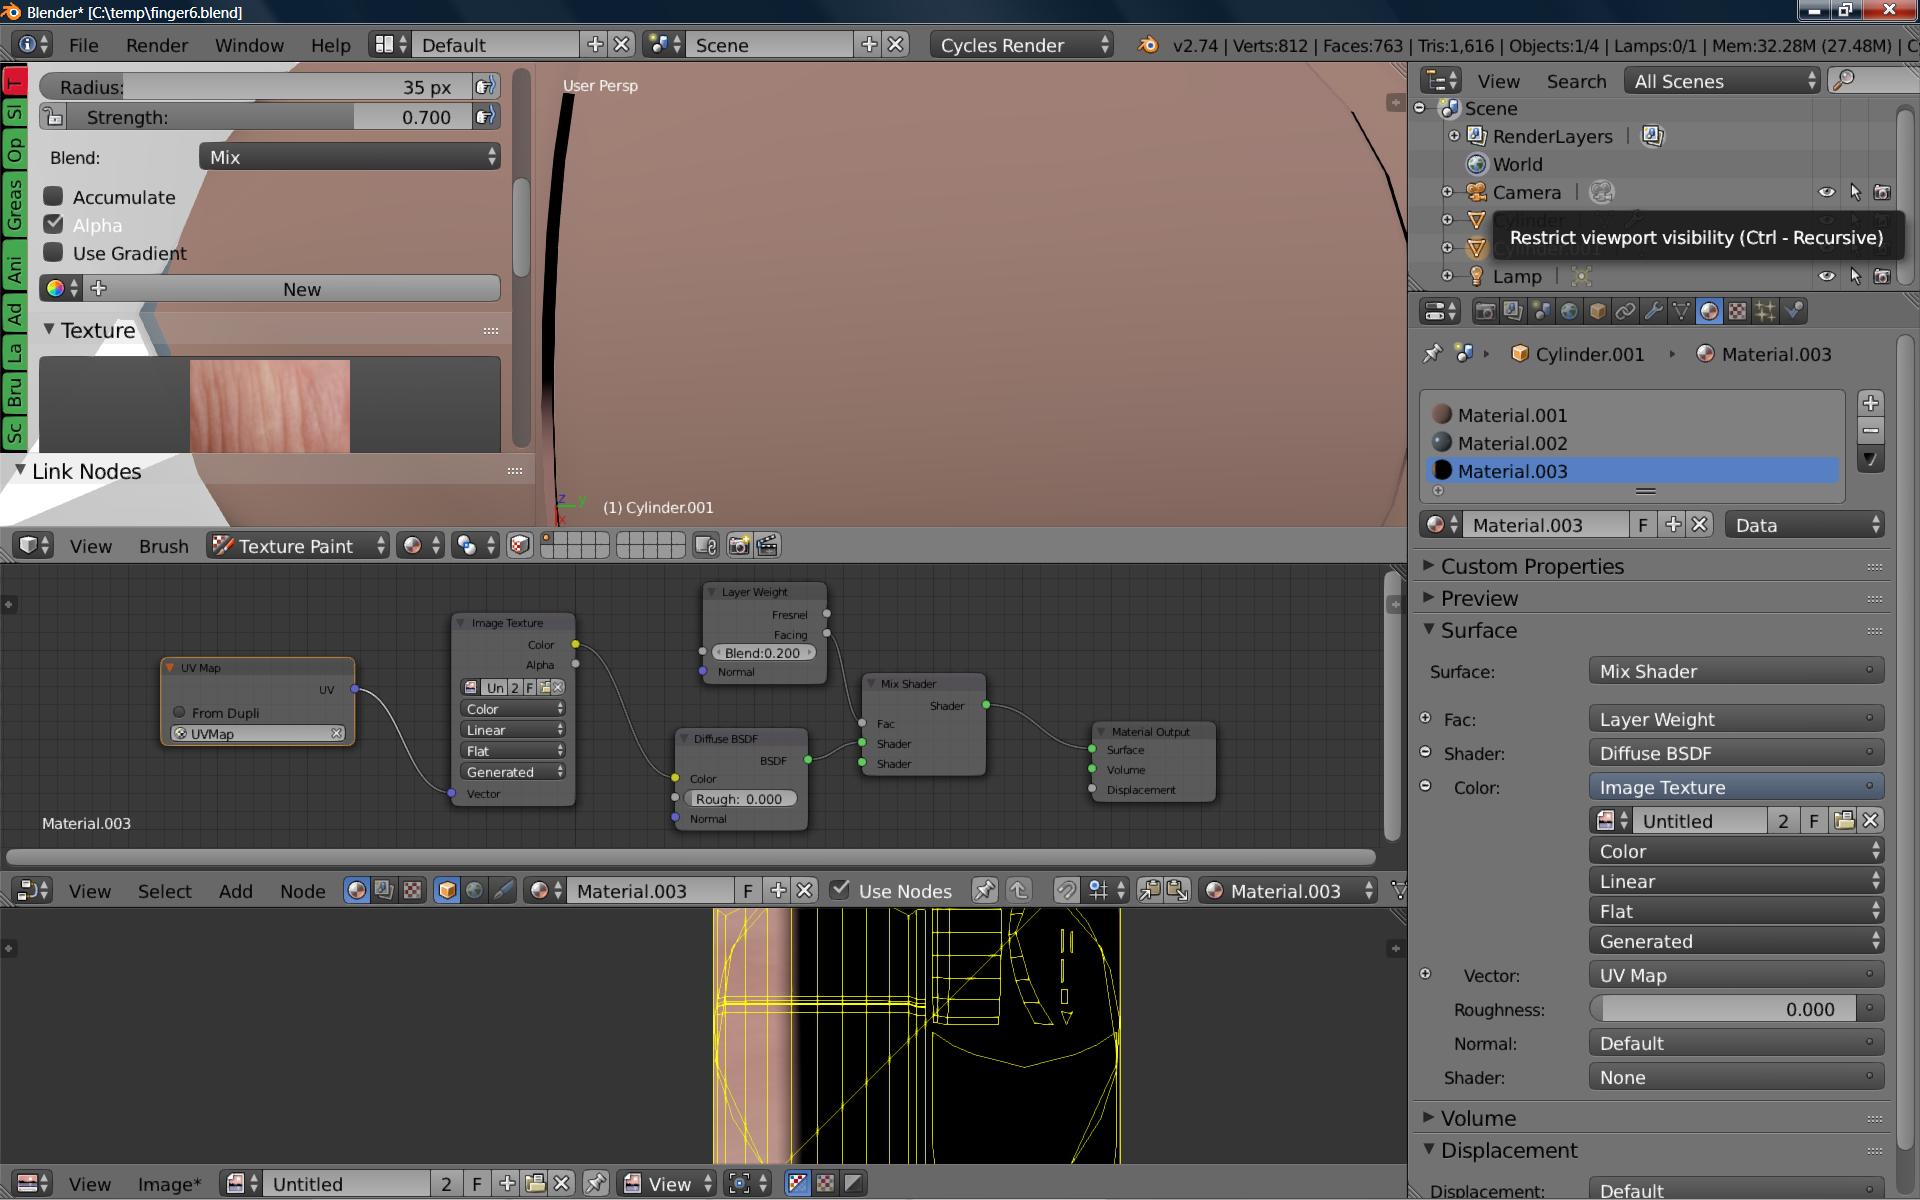
Are you unwrapping the whole model and then smart unwrapping it from there? I have stencil on and selected the Image node and still getting a full paint, and not what you are getting.
Here are some grabs trying to Smart UV unwrap and having the Texture node selected while using stencil. I get a full paint job not selective to the cursor…
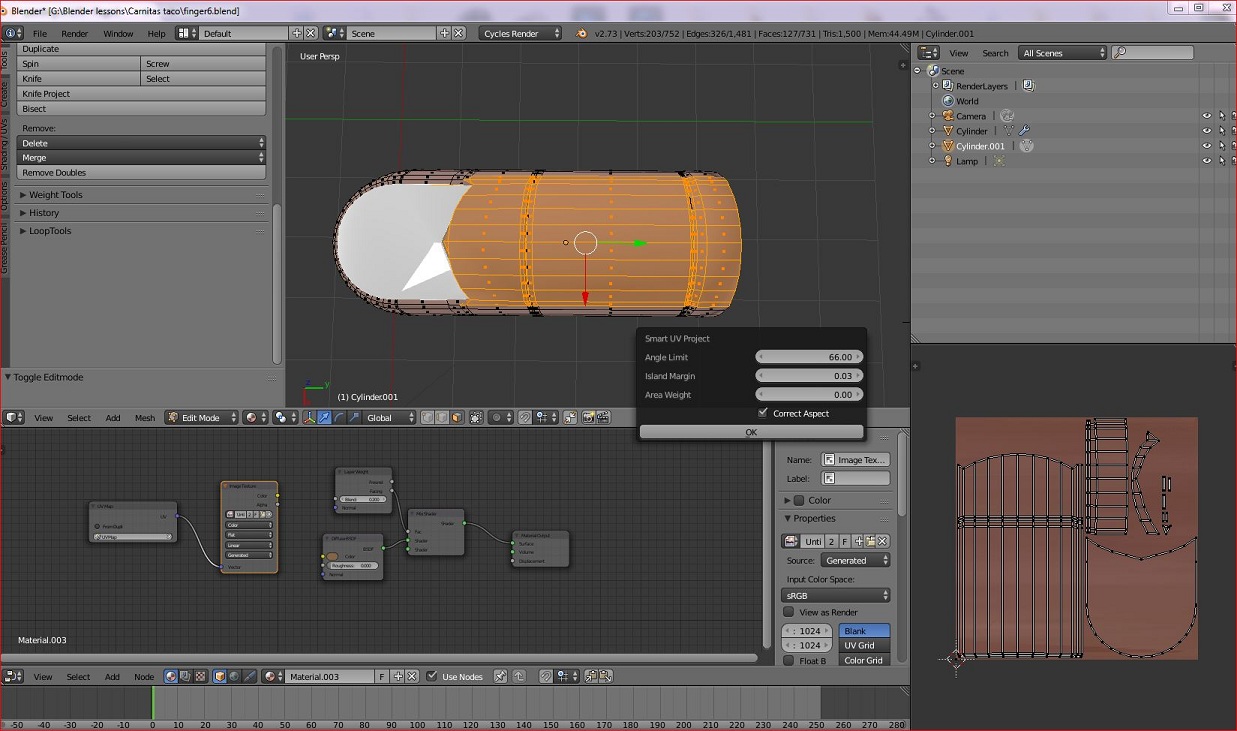
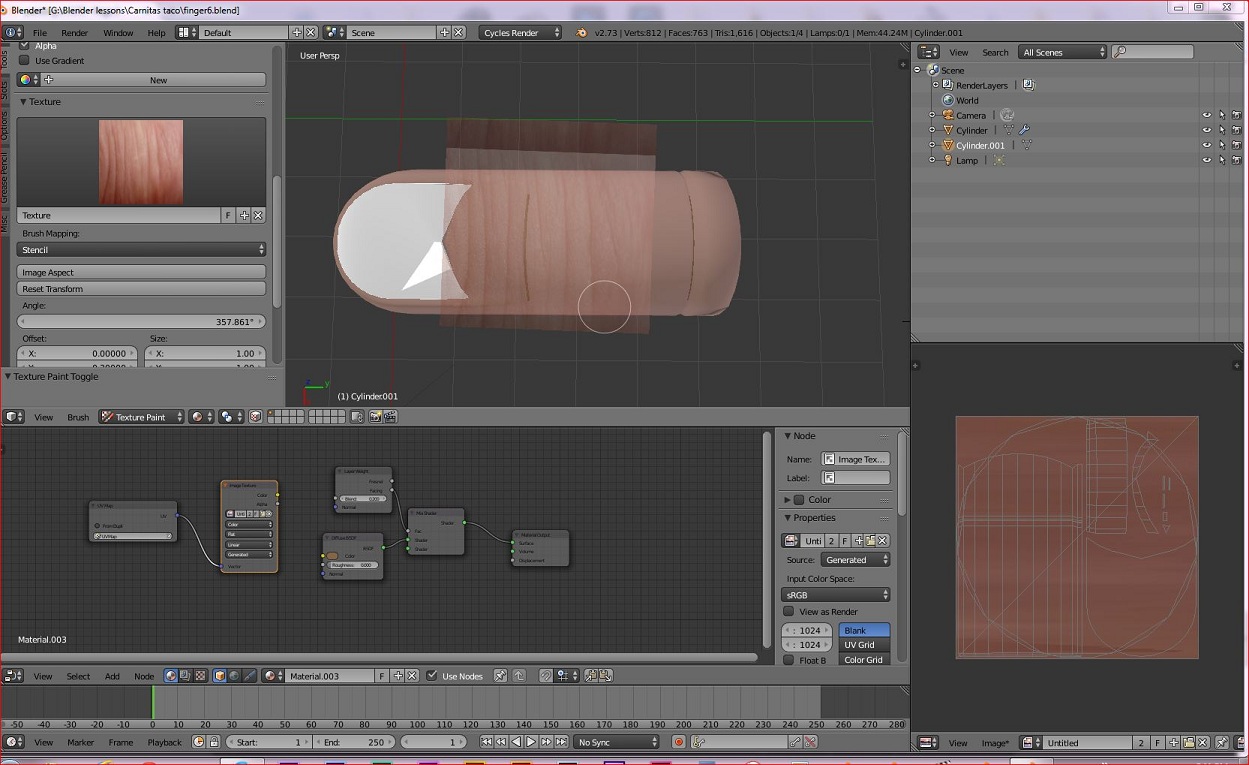
Here it is again. I am getting nothing when trying to add to my model (the one you dloaded and showed me) I have smart unwrapped, and set to stencil, selected the Node and used the Map default. I get nothin… What am I missing? What order must I do this in or some other quirky thing? Ughhh!
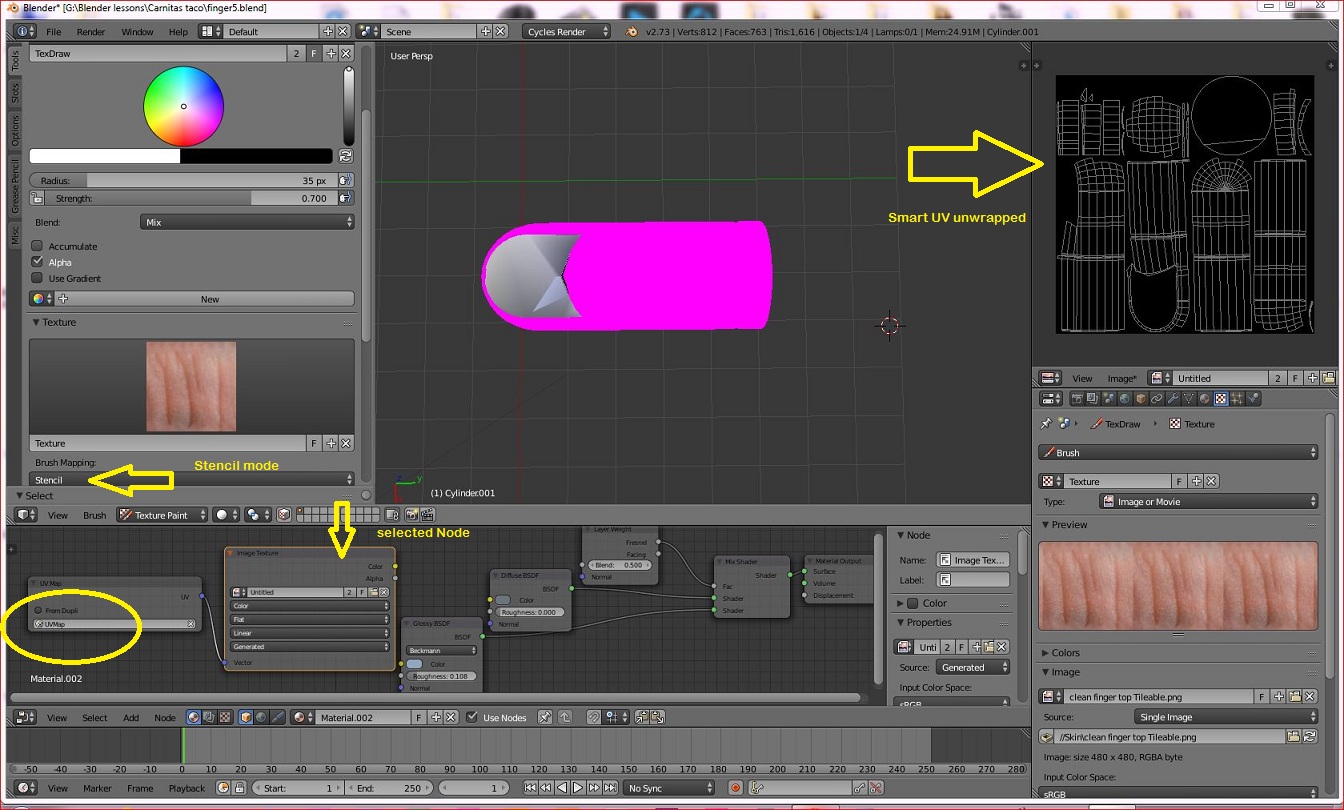
I made a vid, uploading now - but the main thing is that you were trying to paint on material 003 and you needed to unwrap the whole thing and paint on mat001
Hi
Nice tut Craig.
Netcom…Take a deep breath…It can be a little hard to figure out…But do it so easy for yourself as You can…)
I’m a noob But I will try to show You what I did…To get it work.
Pic 1 Is what I see when I open Your file.
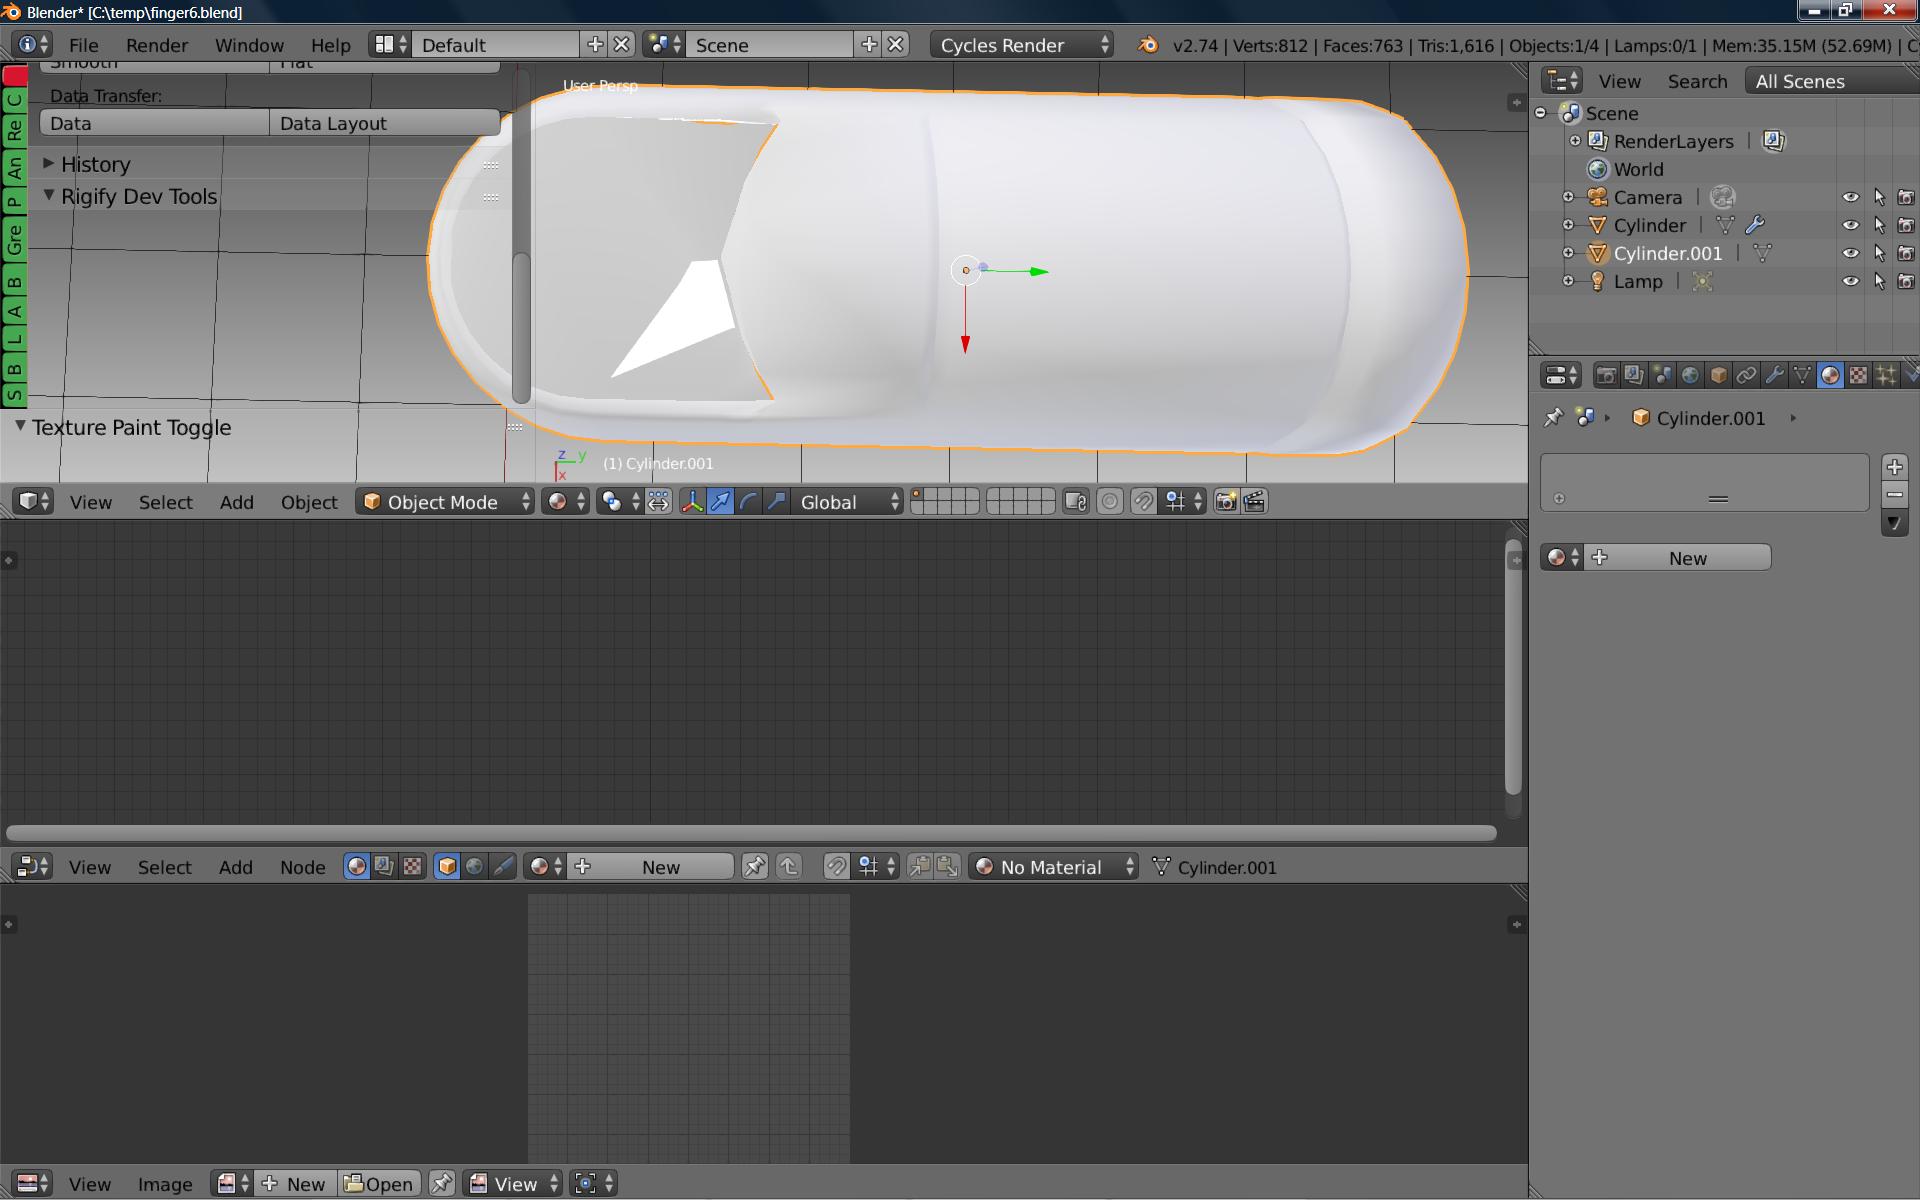
It look a little messed up to me so I changed the Uv/image editor to a properties panel…Now I can see your material and I changed the timeline to Uv/image editor.
Pic 2
Here You can see You have Material 03 In the node editor and untilted in the Uv/image editor and 3 material in under Your material tap.
Clear them all and You should see this
Pic 3
I can only post 3 pic .
Tai
Ok back…)
Now You have a clean setup…
Go to edit mode
Pic 4
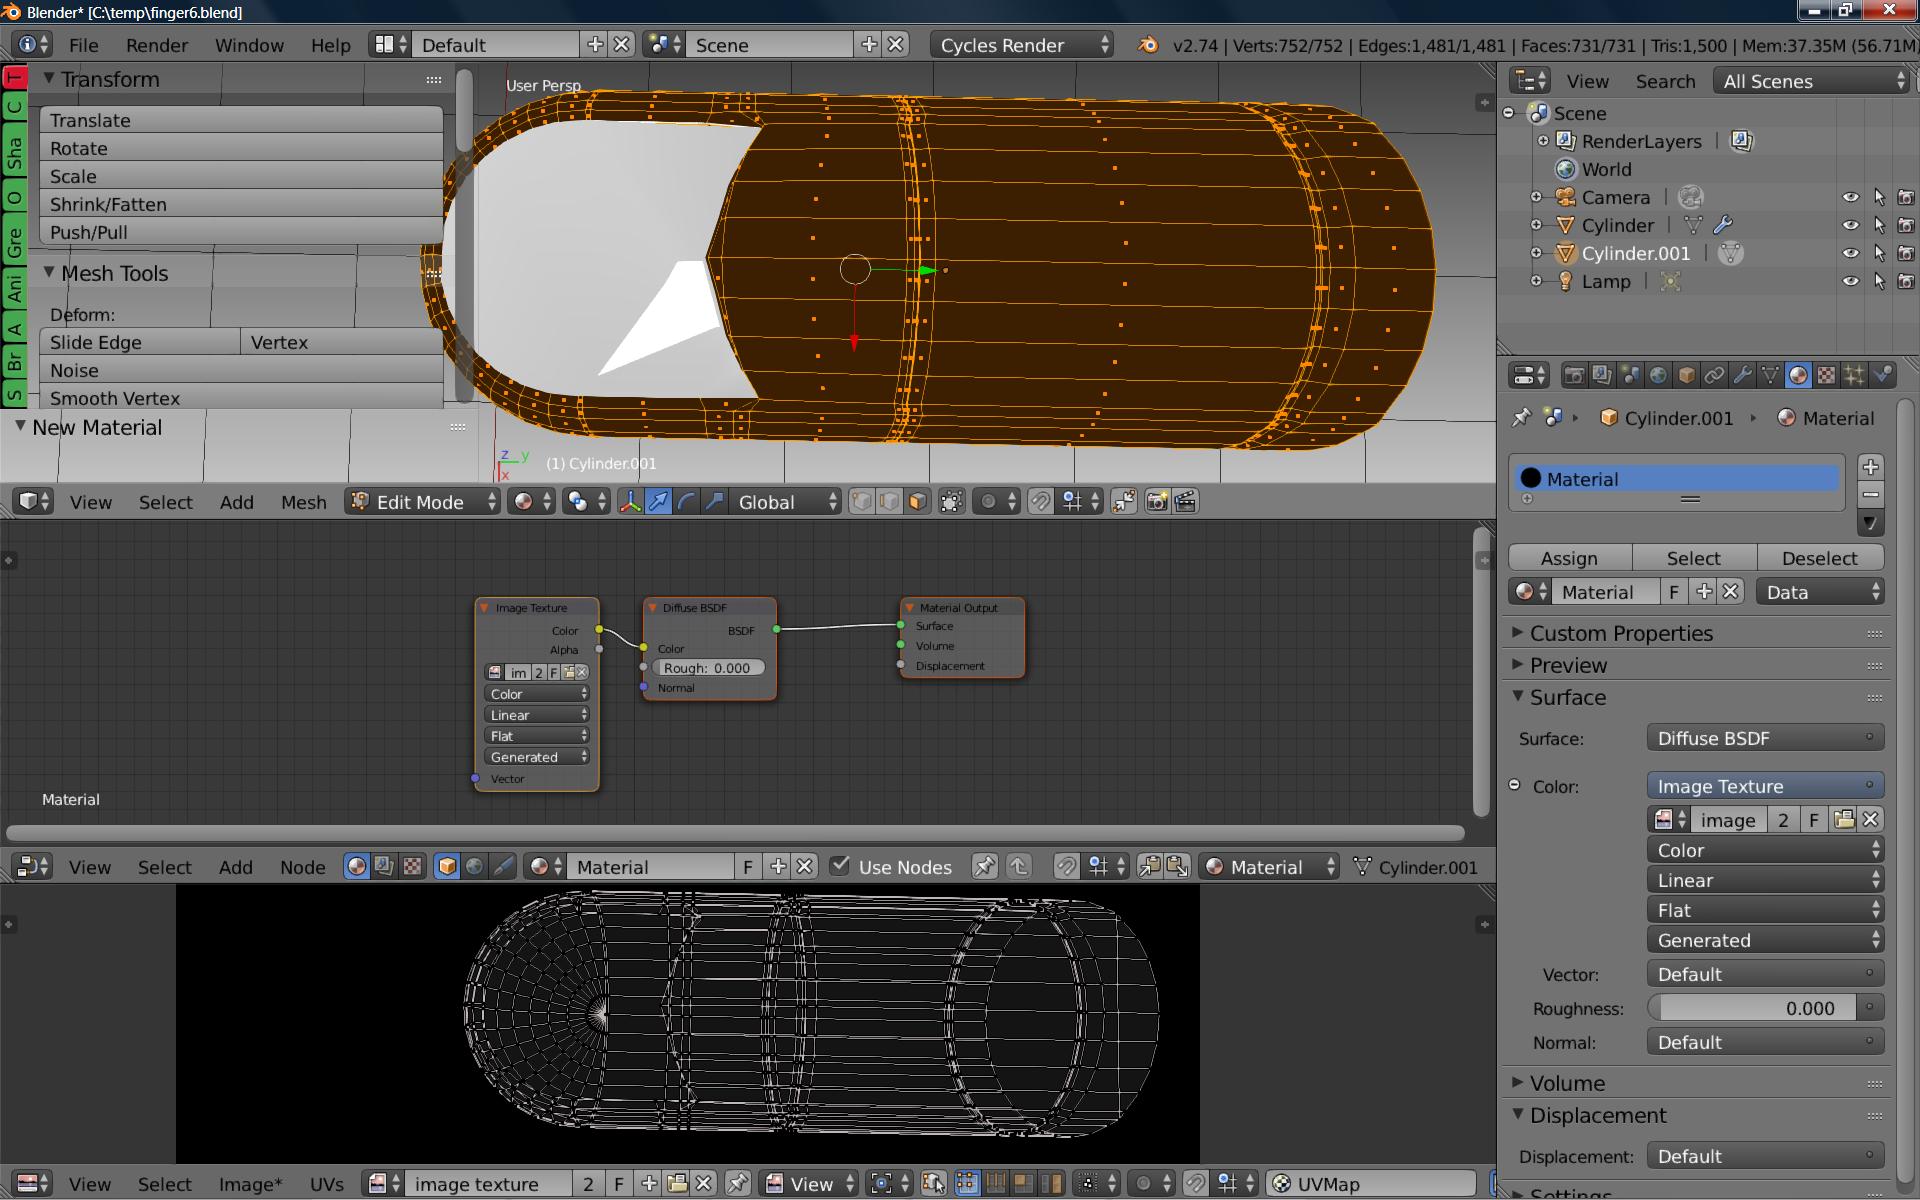
Select the mesh aa press u - project from view…Then in the uv/image editor click new I named Mine image texture you can see that in the pic…Now You need to make a material slot to the the texture…So click new in the matriale tap and under color .Click on the right side of the color box.You can then set it to image texture…put the image texture in…It should look like pic 4…You have image texture in node editor in material tap and in the Uv/mage editor…The texure is now set up and should be ready to paint on…)
But before You start paint…have a look in Uv/image editor menu line after image there is a little star…It means the texture isen’e saved so
click image and save as image.
Pic 5

Go to texture paint and it should work…Hmmm Cross finger <<<<<
I didn’t touch Your texture brush so it was just start painting with the stencil…Hope this make sence for You…English isen’t My native language.
Ohh one more thing…If You have a nvidea card You should use the gpu I believe…It’s under the render tap…Puff Puff
Tai
Craig your video is Private?
Taipan thanks for the help.
i will wait to watch video… Looks like I got too much salt in the stew again…
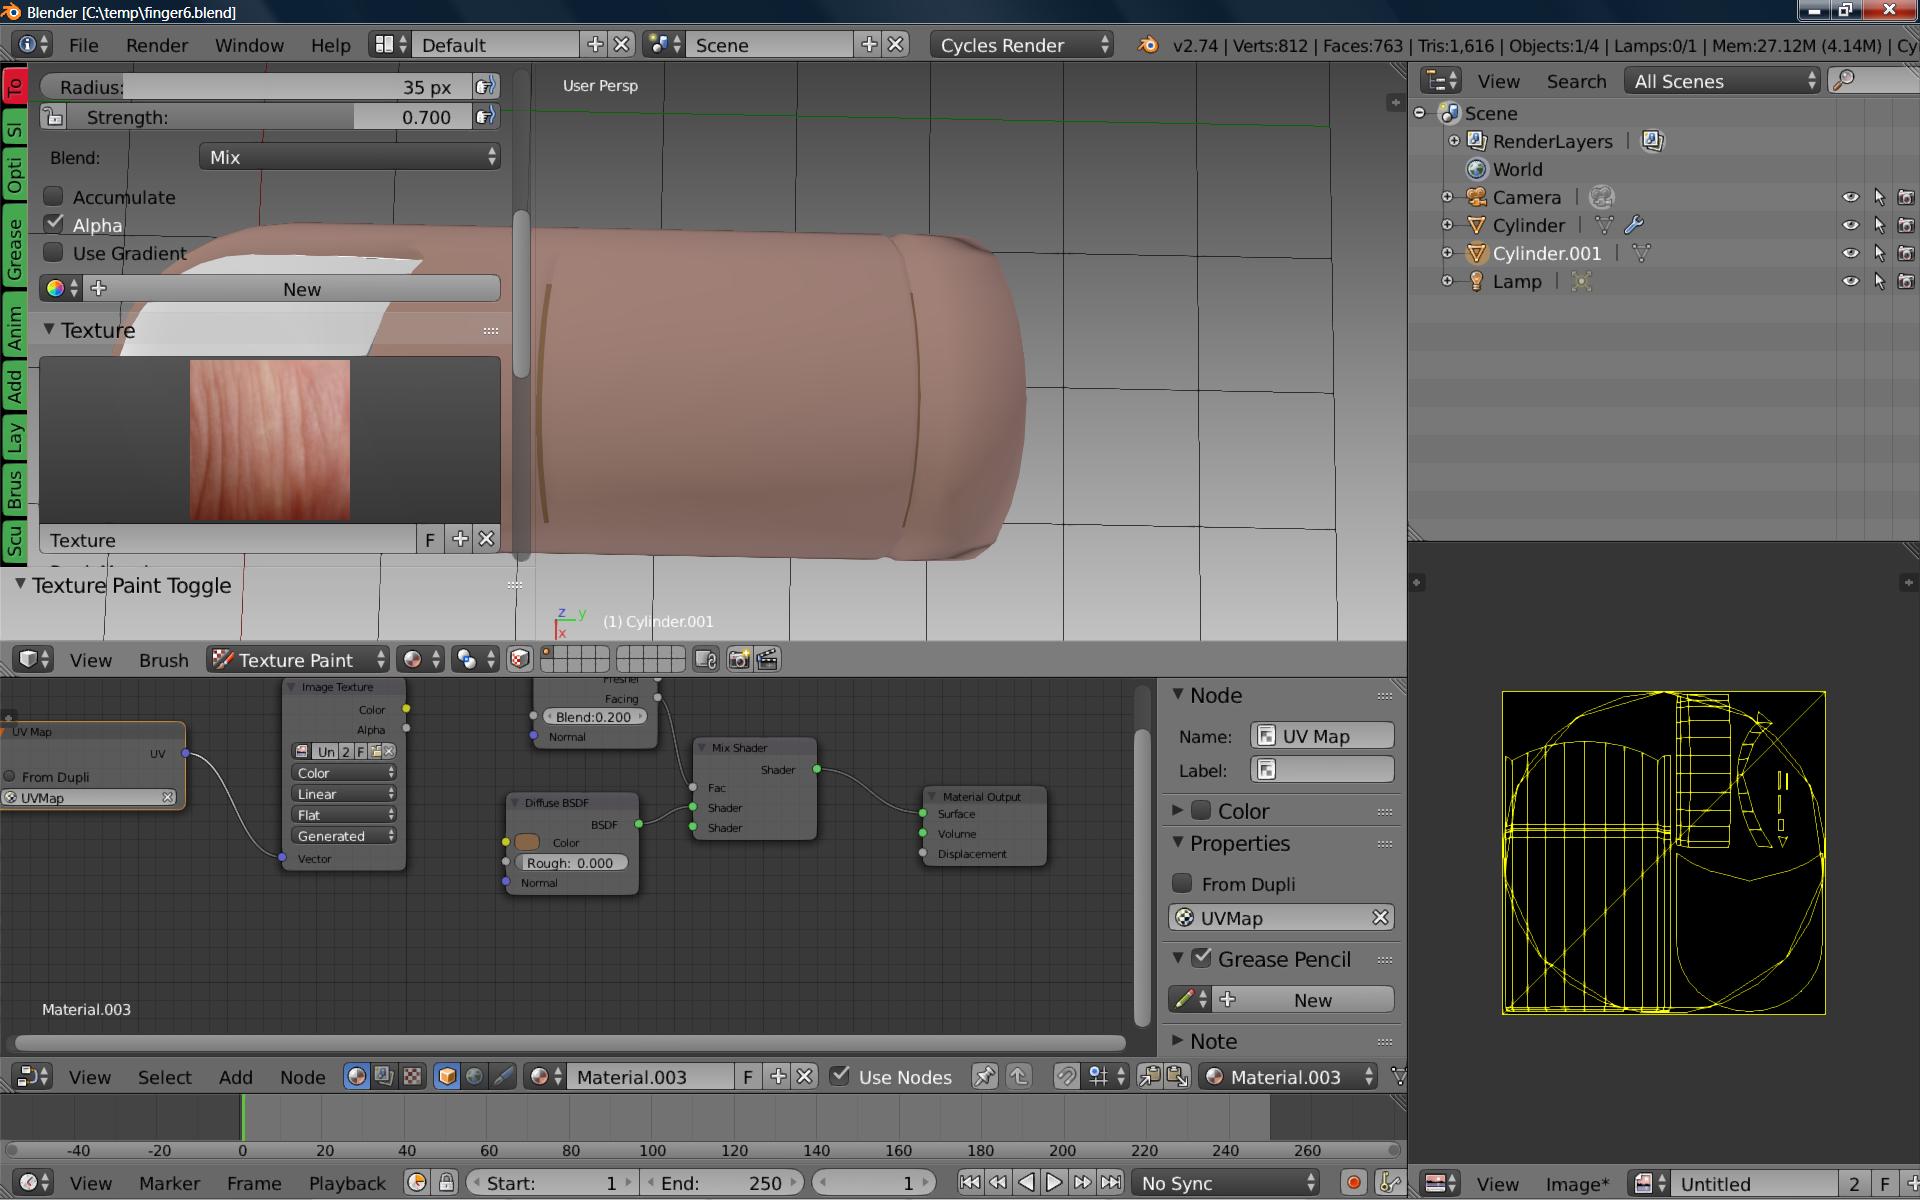
Thanks guys I got it… Taipan I removed the other materials as you showed. Painted using material 001 and used a fill paint like you showed in your orig tut Craig. For whatever reason Blender does not paint on a layer like most software. Particular and in a certain order, at least for me. Thanks again. Finally! Frikin weeks on this all due to not knowing about the extra material…Ughhh! Coders… do you see this? A layer is a layer.
Any special trick to adding another brush? New material? I added a 2nd texture node but am not getting any result?
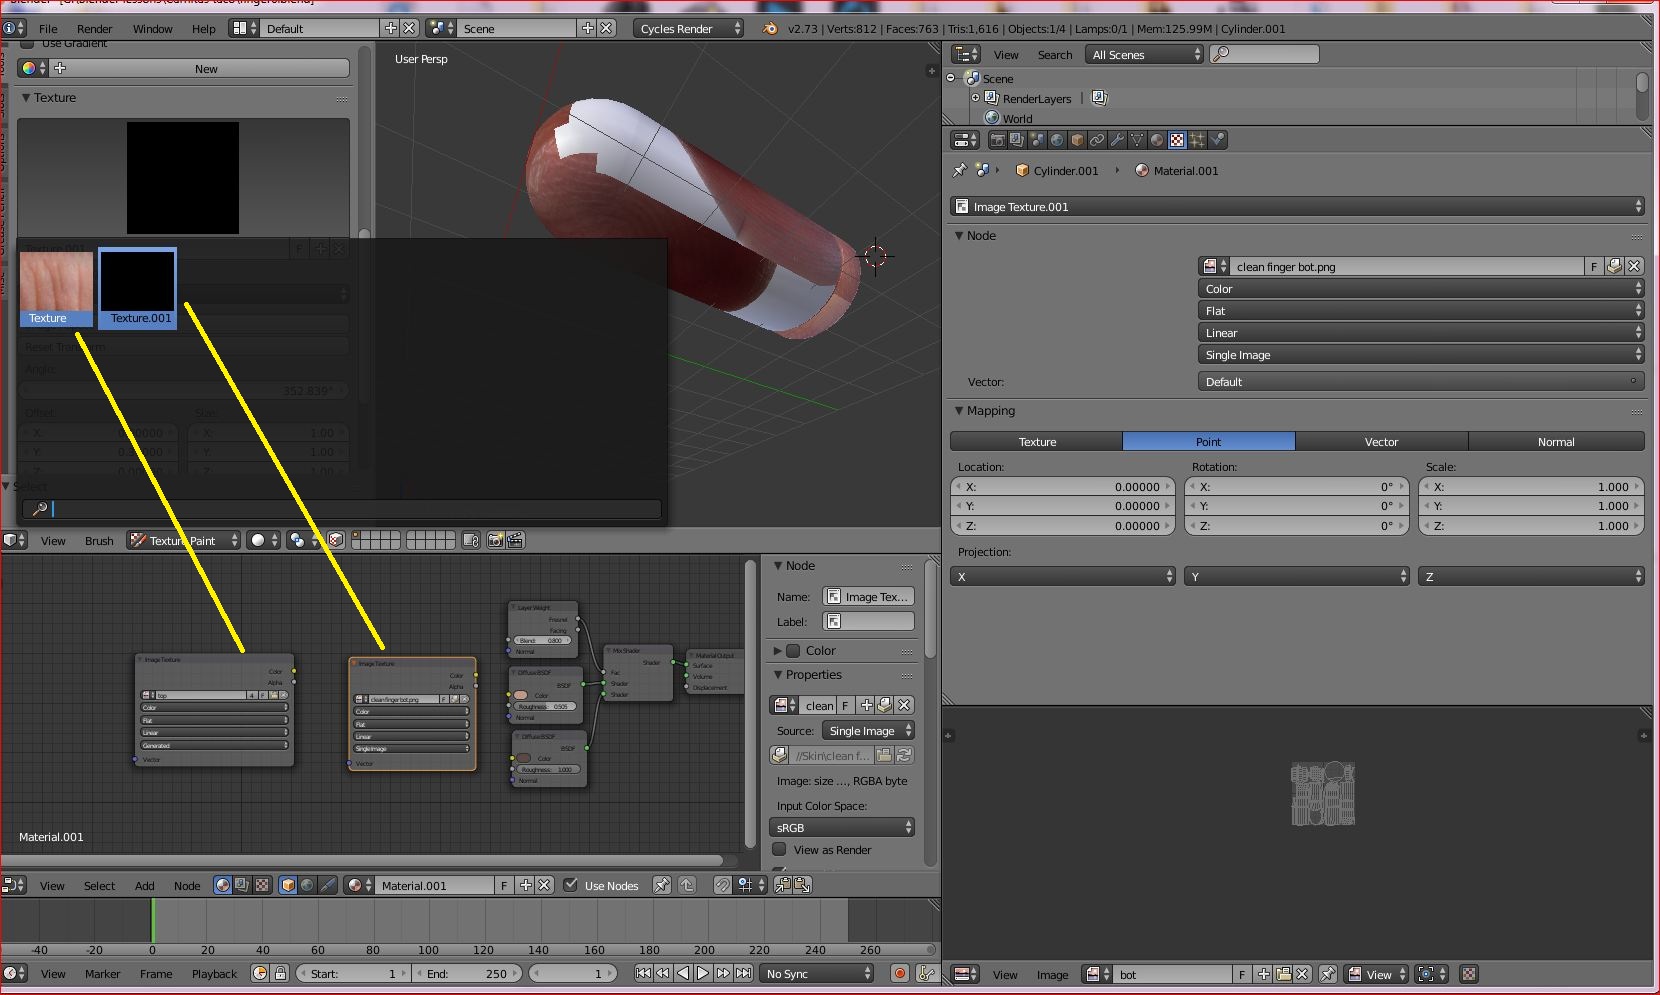
Add another brush in the Properties window, in the Texture tab - click the dropdown, and choose brush. Add a new one, and specify your image there. Nodes are for the receiving image texture, not the brush texture. The brush texture is just from the properties panel.
It can be easy to confuse brush annd layer textures
Crazy thing is that you can use a texture from anywhere in the file, but you have to be careful to not write over it while in use as a base…
Thanks Craig… Do I add a second Node after creating the brush too? Yes, the whole thing seems a bit crazy at times. LOL!
P.S point out where I am to add the second brush please, use screen shot above if it is viewable there. I would think it is on the RhSide using the check icon?
You are making new brushes - in the Tool Panel, press the number next to the brush you want to build with, and make it a single user. In the Texture tab of that brush, press X to delete the link to the existing image texture, and in the Properties window, Tex tab, go to add a new brush texture there. Same process as before, but now this will allow you to have two brushes with different textures. There is an addon I used to have that allowed loading a directory of images as brush textures, so that you could load at once and then switch about using them - only problem is that they all have the same mapping and sampling settings, so you end up fiddling each time instead of once per brush setup.
Thanks Craig, I need a screen grab and a map. It is simple once you have been through it I am sure. I clicked around but what is happening is the texture I painted with is now replaced with the newest texture selected…
in the Tool Panel, press the number next to the brush you want to build with, and make it a single user.
LhSide? Right?
In the Texture tab of that brush, press X to delete the link to the existing image texture, and in the Properties window, Tex tab, go to add a new brush texture there. Rh Side right? Then Open a new one…
video to follow. Private so that it isn’t posted out to my facebook and twitter,google+ etc. Small things like that are only applicable here I think.
Here you go

sorry, I changed to unlisted - got confused as to what was the proper method of not over distributing
Thanks for the follow up Craig. I watched the Video, real clear and precise thank you!
So now to add a second brush after say making a new honeycomb brush as you did…Do I now start at the beginning of the video to delete my first brush (honeycomb in this case) and follow through as in the video of changing brush types as you did, or are there any other steps to have a second brush?
Ig, the honey comb paints on one side of the cube and then use a floating square brush for another side to then save that image as to then UV unwrap / assign it to be seen in a Render… In other words painting with two different brushes on the same model. Sorry if I am missing it but it is not being addressed. Both videos show using one texture and then painting, not painting with one and then adding a second one to paint something else. I am not sure if a second Node is needed for an instance.