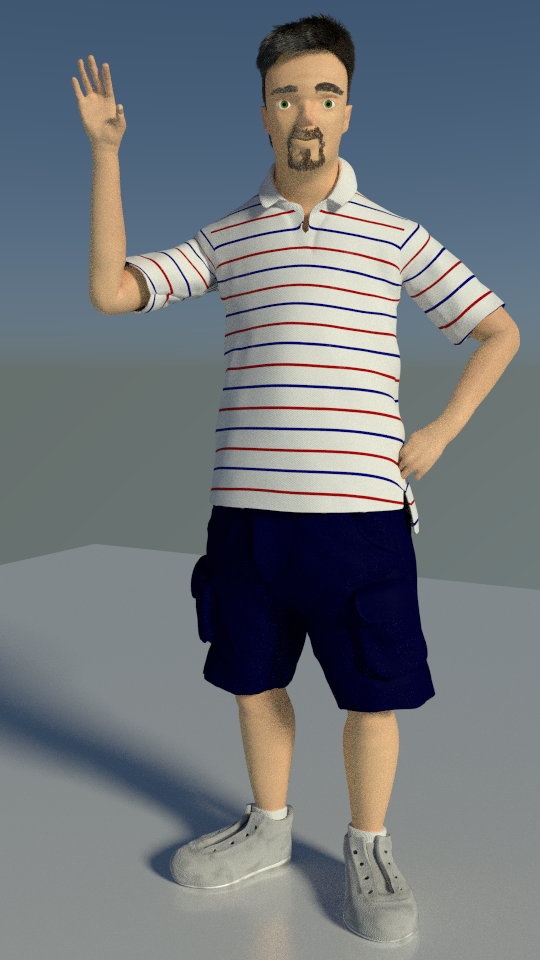
Okay… I Know proportions are way off here, but the focus here was more in capturing the pose, which, for a quick sculpt (15 to 20 minutes tops), I think I did. Comments welcome, as I’m working on developing this technique for a month long project for next month with a focus on some projects I have in mind to complete. (This is more in line with the style I was talking about yesterday.)
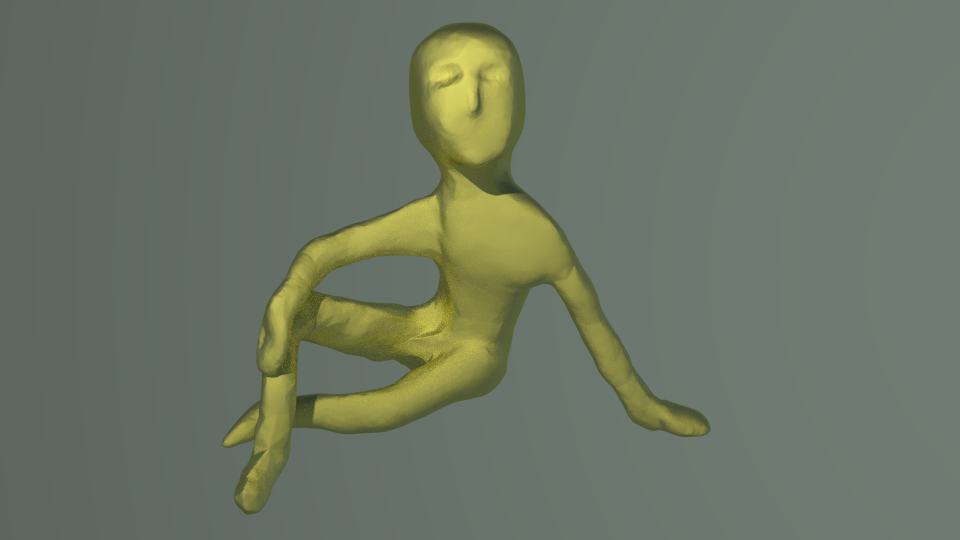
yes! good capture of line of action, pose and attitude. , this would well be for a sculpt into pose… i like your idea of doing these loose gestures, like one would in drawing… i might try it too
Actually, Doris… Seeing this “style” talked about in a number of drawing videos recently is what inspired this  And even without the details, and as rough as these are, after only doing a few of them, I think I already see some slight improvements on the ones I’m doing. A whole month of doing it just might help me a lot… Particularly if that is focused practice on just a handful of subjects repeated.
At the minimum, it will help me with my sculpting workflow and technique. But I’m also hoping that doing this practice will help me find and define specific poses and that doing these quick sketch poses will help me once I get a fully detailed and rigged model reading for posing.
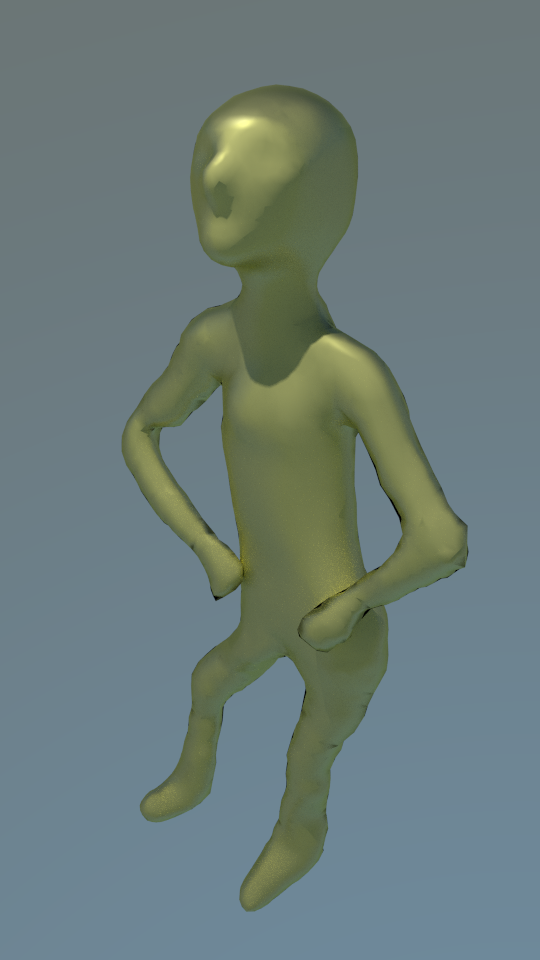
Eventually, I will get to the point where I can do one of these in 30 minutes with correct proportions. Another gestural, hands on hips. Need more of a “forward” movement… too “Planar” in this particular pose. Also, the “buttocks” not properly accentuated. Still, I think, for a first attempt on this particular pose, not a bad start.
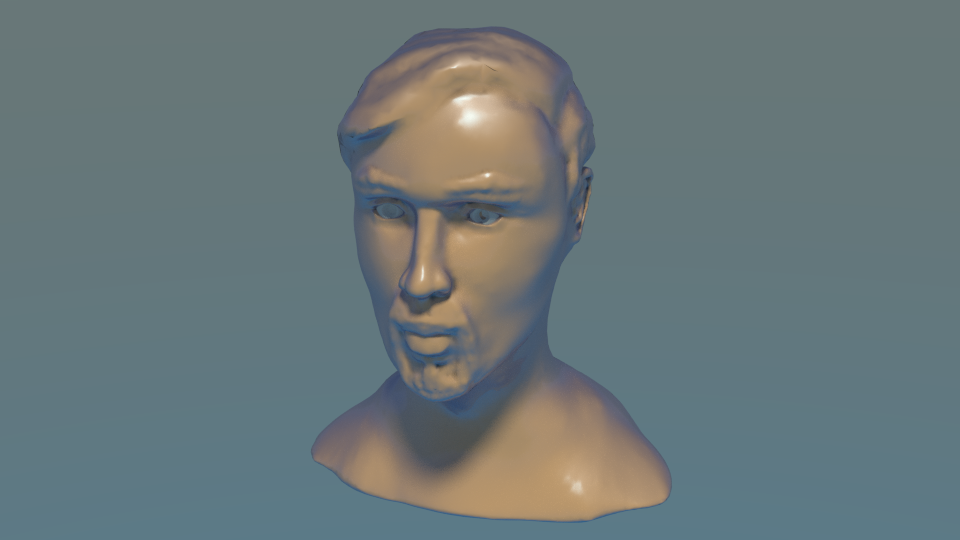
Another sculpt I’ve been working on. Not quite finished, but starting to really like how it’s going.
Here’s a look at what I’ve been working on this month in case you haven’t seen it already. I have a WIP thread set up if you want to see my progress on it.
Attachments
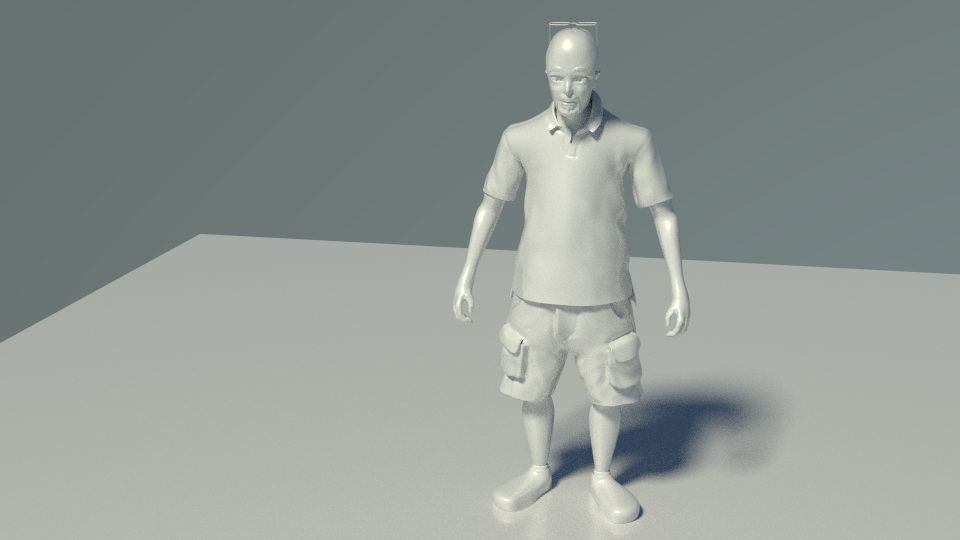
That guy looks really good! Great job on his clothing.
Thumbs up on #47! Nice job! 
Oh, and thanks! Glad you like it.
Here’s a couple of images I recently did. The first one is for a tutorial idea I have, based on a model I did for the mesh modeling exercise on CG Cookie. It was an exploration of doing something practical using basic techniques discussed in the first two learning flows. There were a couple of techniques that I think are fairly basic (and I use a lot), so I had to figure out how to work around them, but was able to achieve what I was after. For the most part. The last glass in that image I did use one technique not mentioned in a flow up to that point.
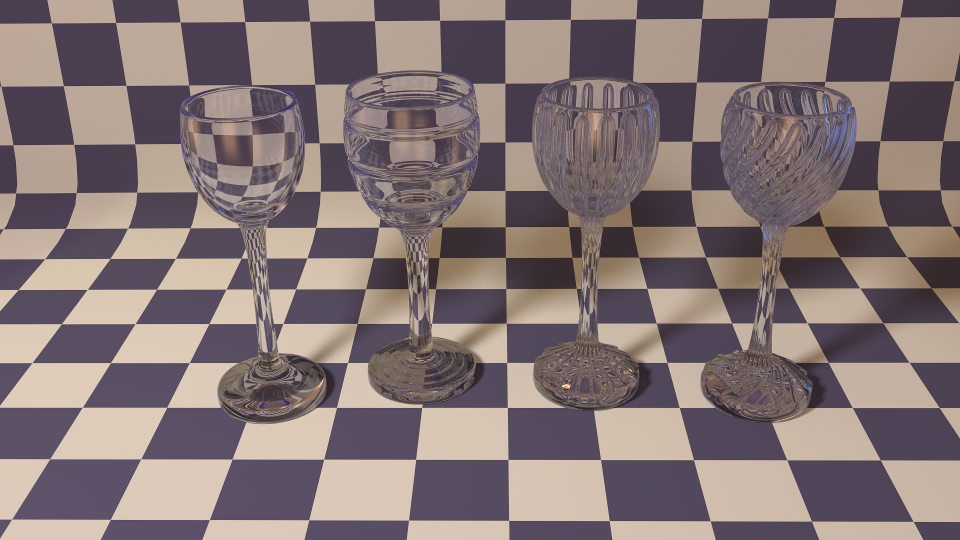
I was thinking of doing the tutorial because while there are a lot of great wine glass tutorials out there, most of them stop at the result of the first one. But the others are more interesting and require only a handful of additional steps, and when you understand that, it really opens up possibilities – and not just for wine glasses. Regular drinking glasses, vases, pitchers, and (as I’ll show in a moment) bowls – just to name a few. And that’s just scratching the surface.
This second image was initially started as an exploration of using the exact same techniques as the glasses above, but on a bowl. To make the bowl more interesting, I added some spheres. And to make the whole thing more interesting, I decided to use this as a color study, based on something I had seen in a color theory book I read a few months back.
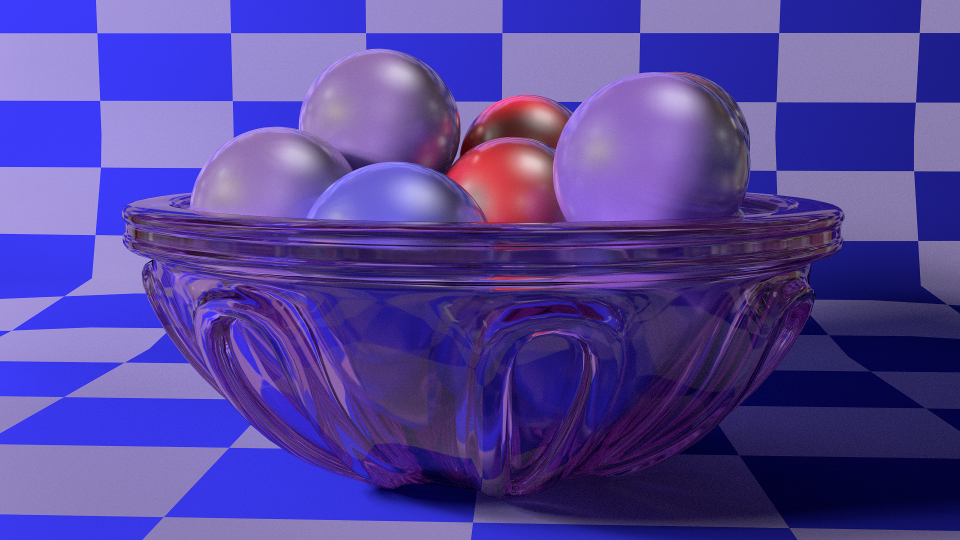
While very basic in all but the bowl (and even that isn’t terribly complicated), I like the overall result of this exercise.
Back again with some CG Cookie exercises and a new abstract.
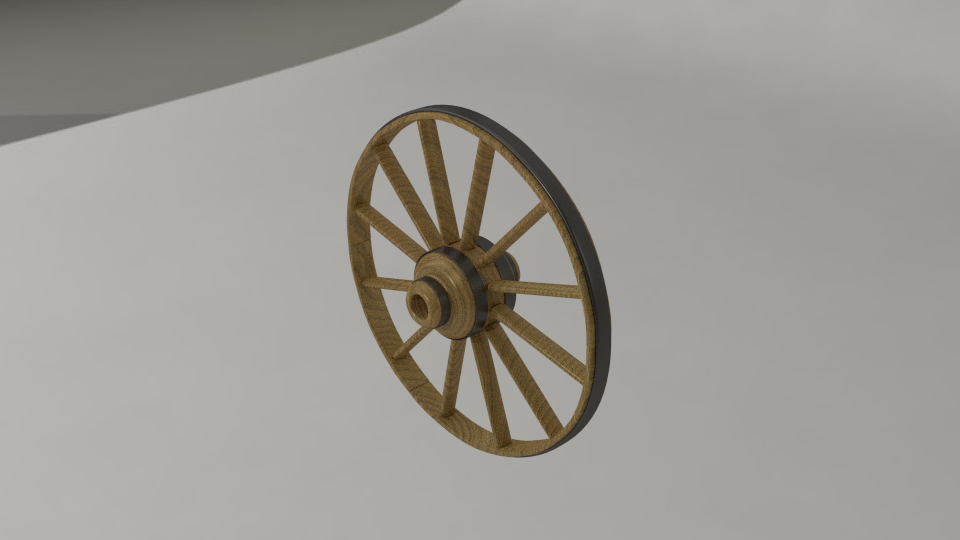
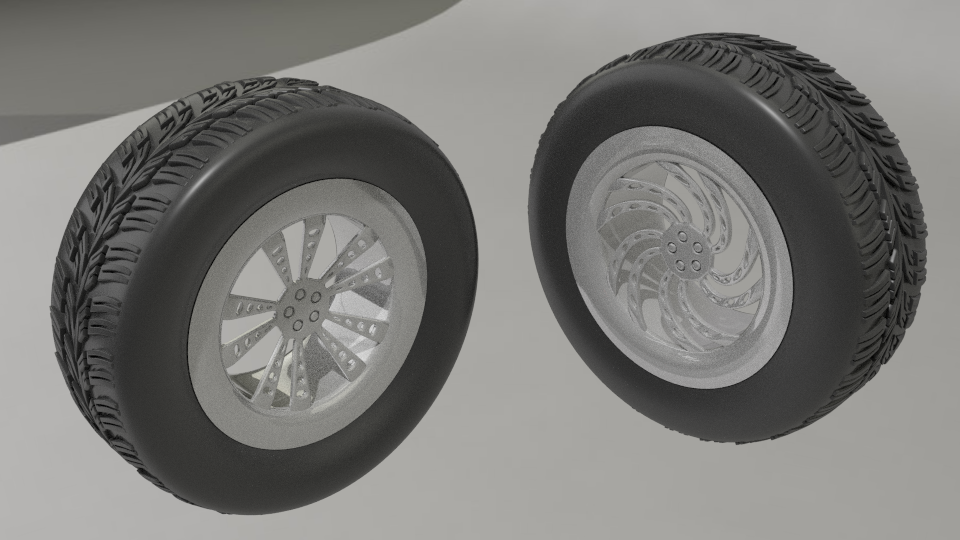
When I first went to do the CG Cookie modifier exercise, I got excited because I could use the opportunity to create a wagon wheel that could be used on a cart, carriage, or wagon of some kind, which would fit right into the fantasy motif I’ve been aiming at. But after creating it, I realized that it didn’t have a tread – one thing that was a part of the requirements for the exercise. For inspiration, I did a little research on how wagon wheels are really made, and it helped with the overall design.
After realizing that the wagon wheel didn’t have a tread, I thought it might be a great opportunity to try my hand at an automobile tire, since I’d never done one. Using a modifier really made it super easy to do. I could have added more detail into the rim itself, but I like how this turned out overall. To do the spiral rim, I used the same technique I used on the spiral glasses, which I’m planning on recording a video on after taking the kids to school on Monday.
After working on some of these exercises, I played around with the default cube and modifiers to create this next abstract. It’s using the Skin modifier, the sub surf modifier, and a couple of simple deforms (one twist and one taper). The background was a magic texture factor multiplied by a base color. Again, this was a play with a limited color palette.

I’ve also picked up a new book, The Explorer’s Guide to Drawing Fantasy Creatures, to help me learn how to draw, well, creatures for my fantasy projects  I thought that learning how to do this would help me with the development stage. So my plan is to do the tutorial video on Monday as well as start on the “second” character that I had started so I can finish it up. And I also plan to start spending 30 minutes to an hour each day “sketching”, working on not only my ability to draw, but to help me get the characters that I’ve always wanted to be able to draw. Looking forward to share something from one of those drawings by the end of this year or early next!
The research you did shows on the wagon wheel. The form looks true to life, even though I don’t know a thing about it wagon wheels.
I like that you plan a daily sketching session. That’s certainly a good practice, and something we should all aspire to do.
Why show us those drawings by the end of this year? Post 'em as you make 'em! This is your “sketchbook” after all, right? :yes:
Nice work, keep it up!
Thanks, Sebniemi. I learned in the last year or two just how much doing at least a little research and finding some reference can go a long way to making your models look better at all stages, whether it’s modeling, texturing, posing, and more.
As for the sketches… We’ll see… but even if I don’t show the sketches themselves, if I turn one into a 3D model, you can bet it will show up somewhere on BA
I really like the realistic look of your work.
Sorry it took me so long to reply… Haven’t really been around a lot over the last few months. Thanks for the comment. I owe a lot of the “realism” of the stuff I’ve done so far to understanding how important using reference is. Even when I’m not following something exact, I still find myself at least looking at references for ideas. We think we know what something looks like, but when we try to “reproduce” it, we miss so many subtle details. The trick to realism (even within our “non-realistic” works) is to constantly use reference.
And if you think using reference is “cheating”, check out the behind the scenes of just about any animated movie. You’ll learn quick that the pros use a TON of references in creating their great works of art.
Now as to adding something here… I’ve really been bad since finishing my “self portrait” about not spending time in Blender daily. I’m working on correcting that, so hopefully I’ll have something interesting to share soon!
So… I’ve been thinking about the shirt that I did for my self portrait character back in August. I’ve been thinking of doing a tutorial on it, and while I was trying to recreate the striping in a slightly different pattern, I started wondering if there was a better way that could aloow for greater variety.
Turns out, there is. 2 methods, in fact. When I first created the shirt, I used a wave texture to generate the pattern, but used that as a factor into a couple of mix shaders. I wondered what would happen if I used the color ramp to feed the color directly. It turns out that with the wave texture, it works well with a “Mirror” pattern, such as a ABCBA pattern. But what if I wanted an ABCABC pattern?
Turns out, there is a way, and it’s amazingly simple! I’f you’ve ever seen Bartek Skorupa’s wood shader forge tutorial, you’ll recognize this trick. Because it turns out that the Modulate group generates a pattern similar to the wave, but that when fed into a color ramp wil allow you to do the ABCABC pattern with ease.
The beauty of this is that it’s EXTREMELY versatile! Not only can you do an ABCABC pattern, but you could do whatever type of pattern you want!
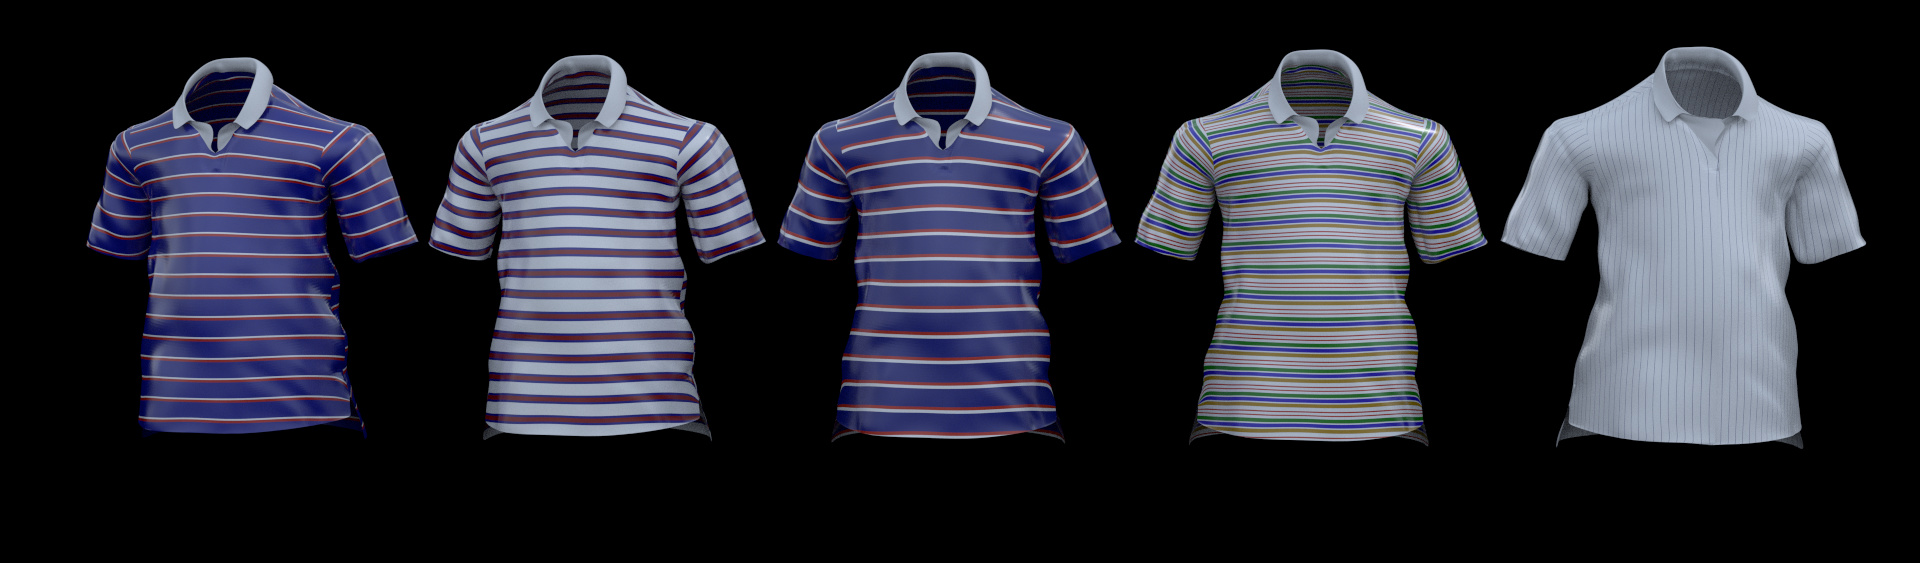
In the images above, the first shirt is based off of how I originally did it. The second shirt uses the color ramp with the wave to feed the colors. The rest of the shirts use the modulate group to feed the color ramp. Note the intricate pattern on the fourth shirt. The last shirt, slightly modified to look a bit more like a dress shirt (I didn’t change the sculpting, just the basic modeling). It shows you can do the striping vertically as well as horizontally, making it very easy to do pinstriping. By controlling the cuts on the modulate group or the scale of the wave textures, you can control how often a pattern repeats. The placement of the markers determines the size of the stripes and you control the color thorugh the color of the marker. I used the Constant interpolation, but you could just as easily use any of the other modes, you just might need more points to get the tight transitions.
(Note that I didn’t worry about the dipslacement texturing or accurate shader mixing here. I was focusing on the striping pattern in this shot.)
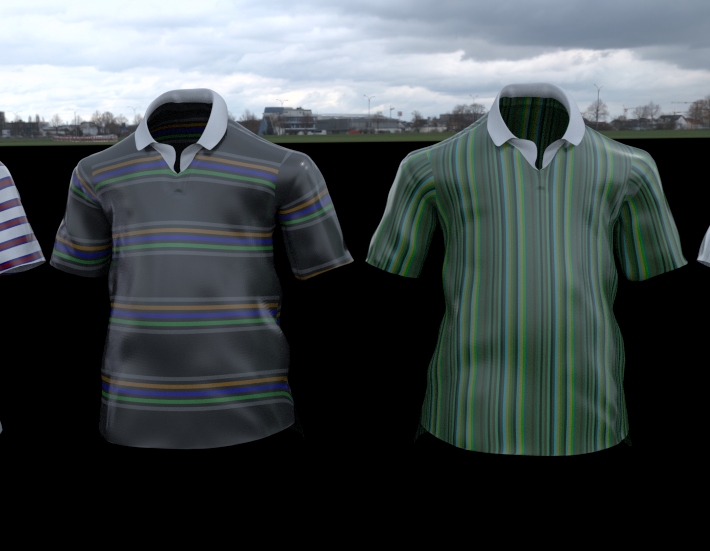
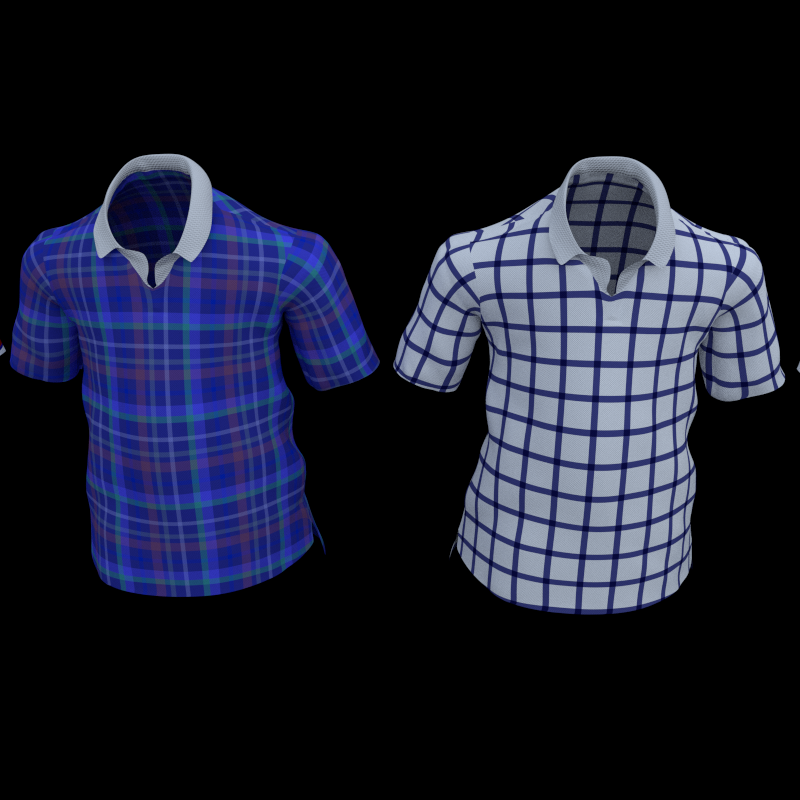
A couple more patterns for the shirts. The only changes here are in the number of “cuts” (which determine how often the pattern is repeated) and the number, positioning, and color of the markers on the color ramp. The right one has the same mapping orientation as the dress shirt in the previous image (pg 3).
Just curious… Would anyone be interested in a tutorial? It’s really very simple once you have the set up and, as you can see here, very flexible with the patterns you can use.
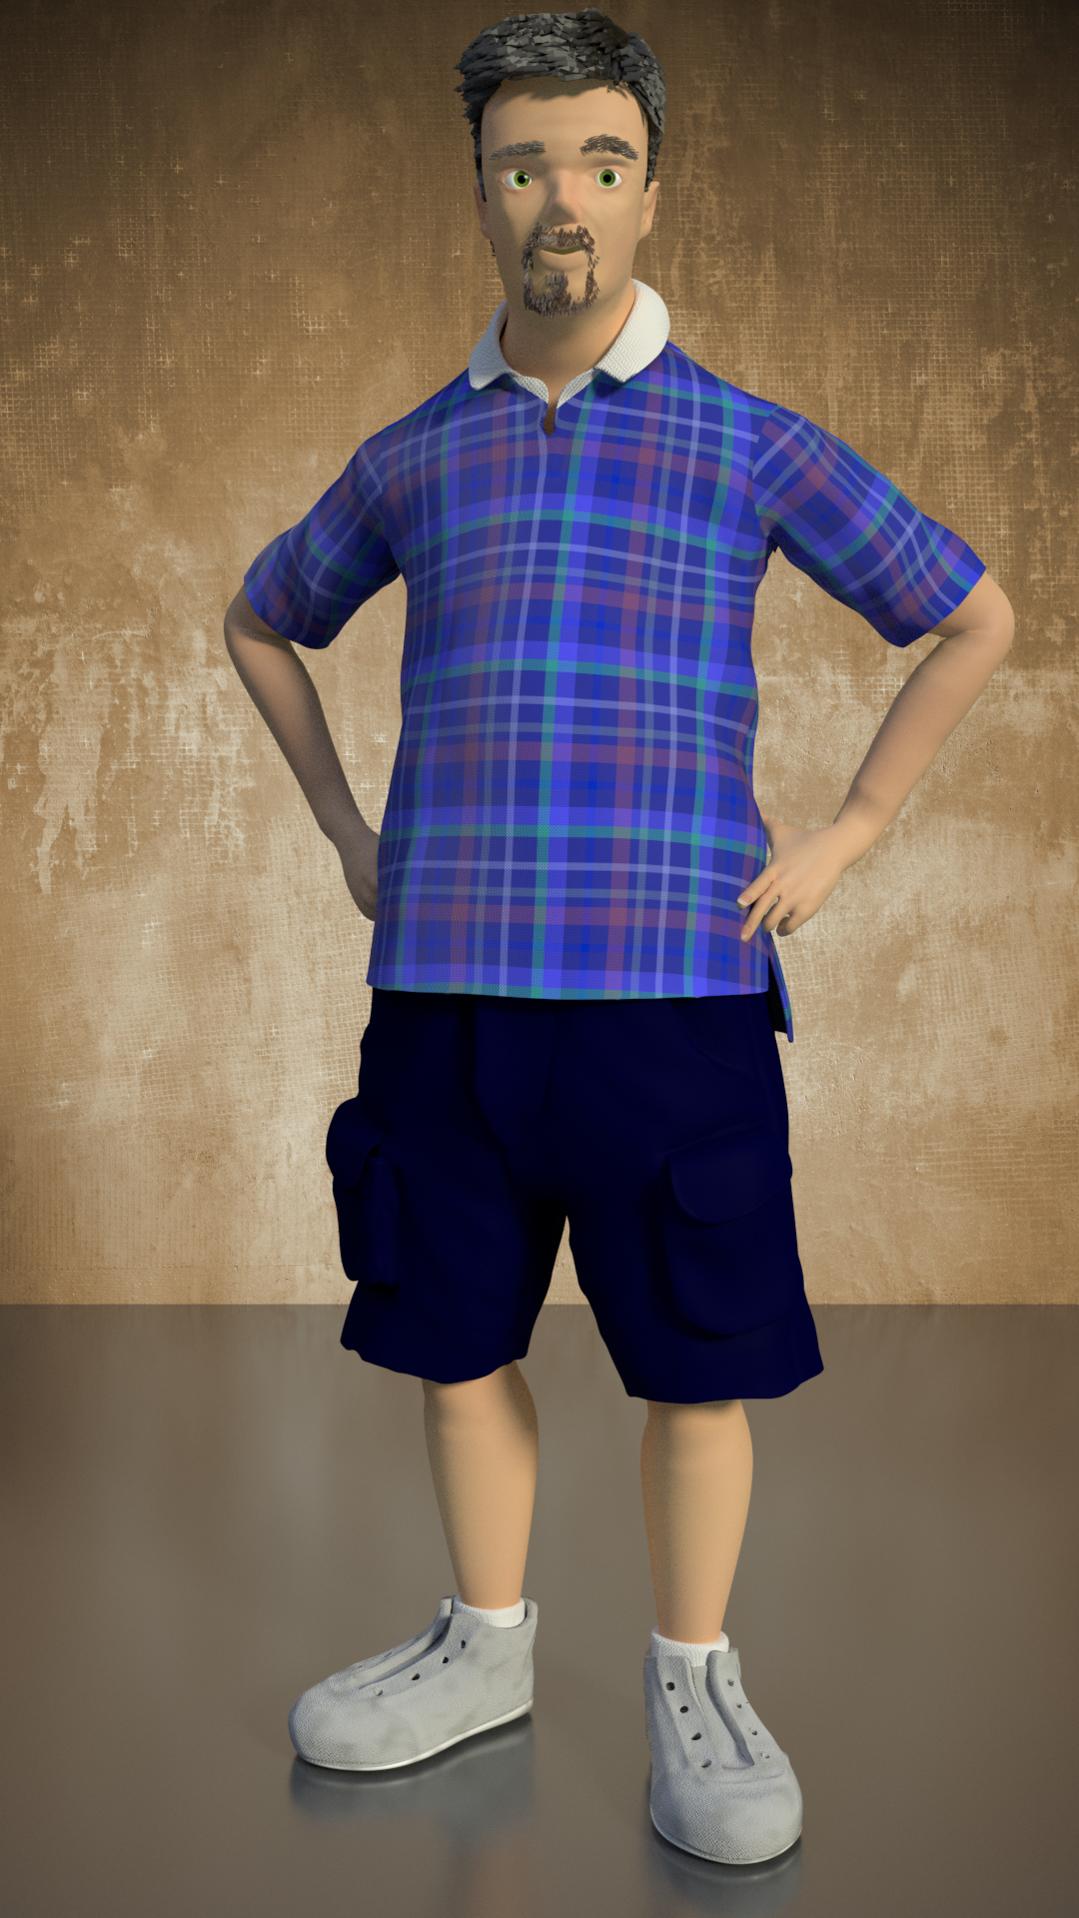
I tried putting one of my new shirt designs on my character that I did last year. I liked how it turned out.
Funny thing… After doing all these stripe patterns over the last week, I started noticing stripe patterns all around me. Just last night, my manager was wearing a shirt that was just a slight variation off of the blue cross striped shirt and have seen at least 4 or 5 others in the last couple of days as well (besides the stuff in my own closet).