Thanks! Actually, I do plan on using the Tiger on my bedroom scene when I redo that for the Time Change. It’s one of several things I’m changing from the version I did a year ago where I used a number of BlendSwap pieces to fill the scene.
As for the abstracts, I have to thank VickyM72 for her inspiration and tutorial on deviantART. They are the biggest influences on those particular pieces.
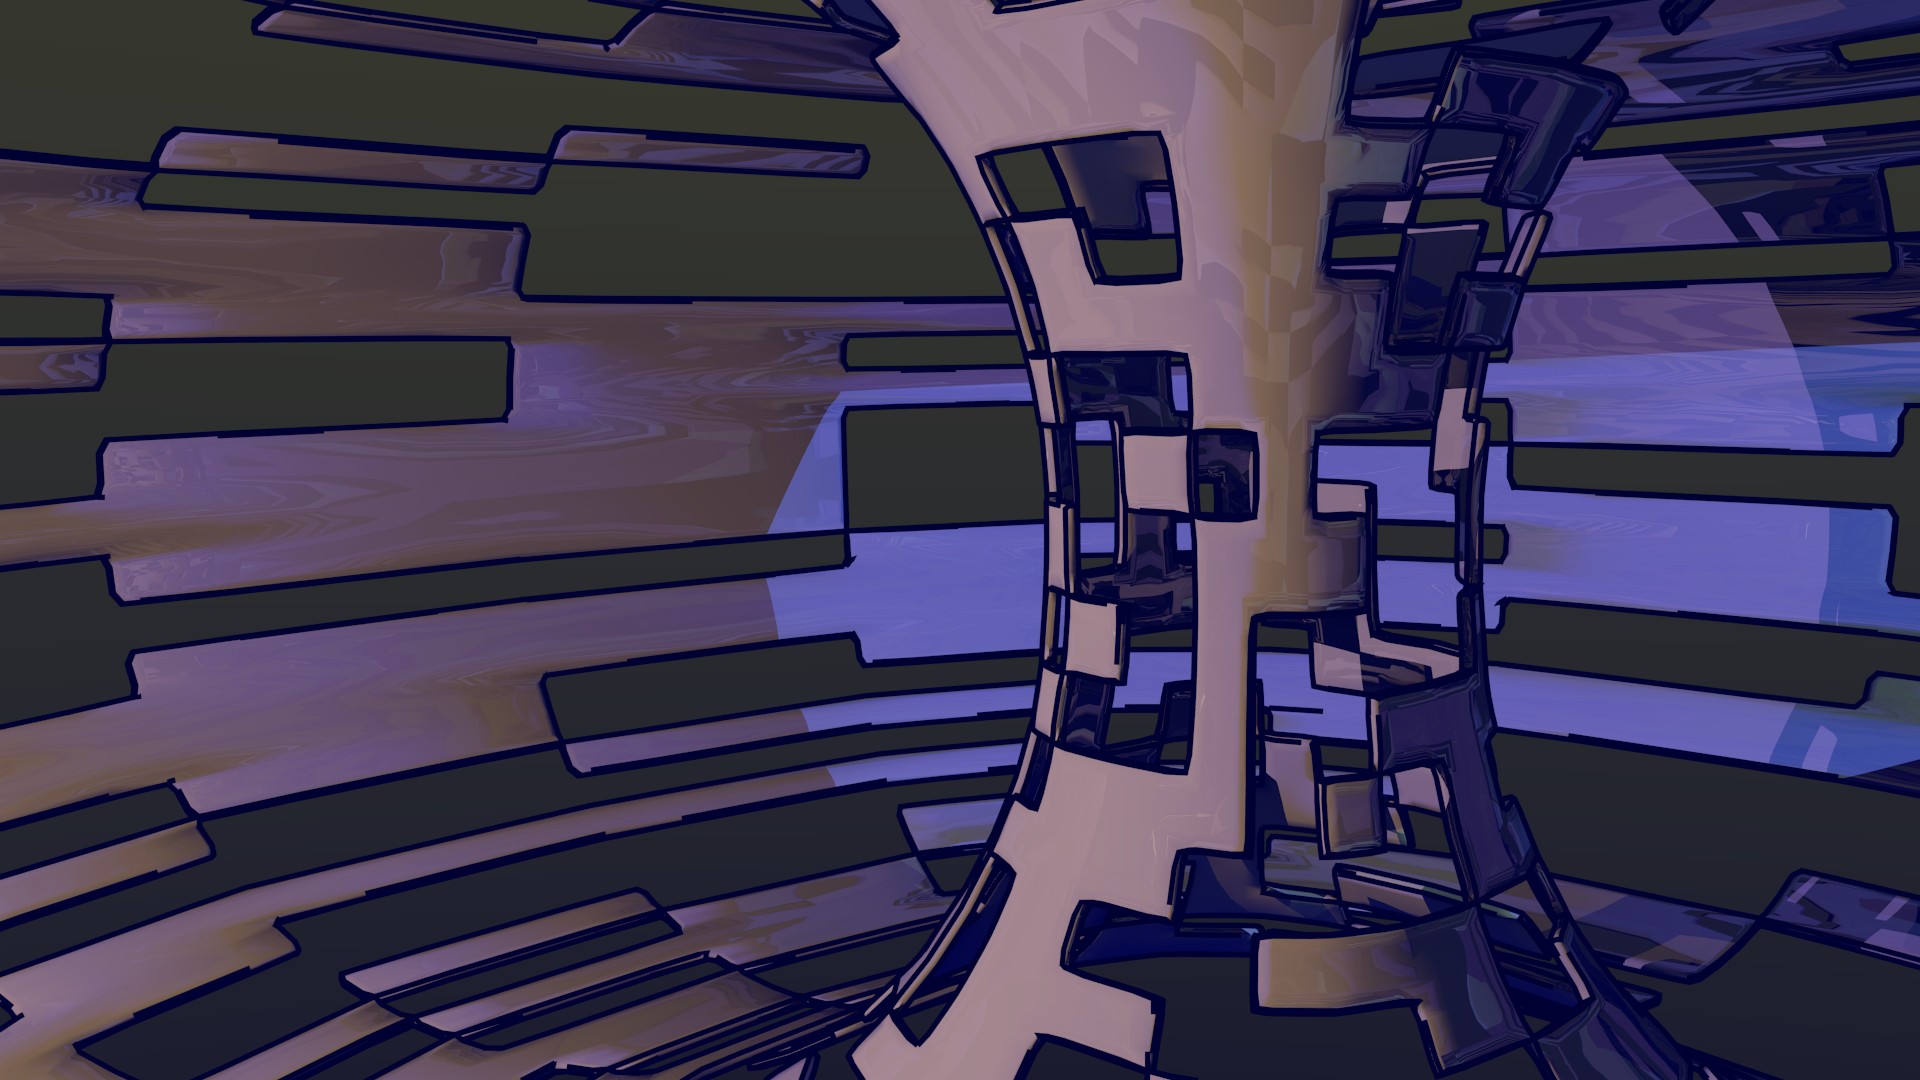
A Supertoroid (one of the Extra Objects available as one of the bundled add ons) that has had a few faces randomly deleted before adding subsurf, solidify, and edge split modifiers for the shape. Texture is Blender Internal’s diffuse and specular toon shaders with a little mirroring added. Two lights sit just outside of the object to the right along the x and behind along the y axis on either side of the camera. Freestyle linework added as well. An experiment, also, in double complements.
I like your supertoid. I’ll have to check out VickyM72. With the tiger, are you going to make his stripes more sharp on the edges? right now they are rounded.
That was just a quick texture I put together in GIMP to do the striping. Believe it or not, it actually comes pretty close to the striping on the stuffed tiger I modeled him on. I’ll see if I can get a pick later today to show the “original”.
Wow… Has it really been a month since I put something in here?  Okay… Well, I’ll have to work on something to add in here soon.
Not to mention visit everyone else’s 
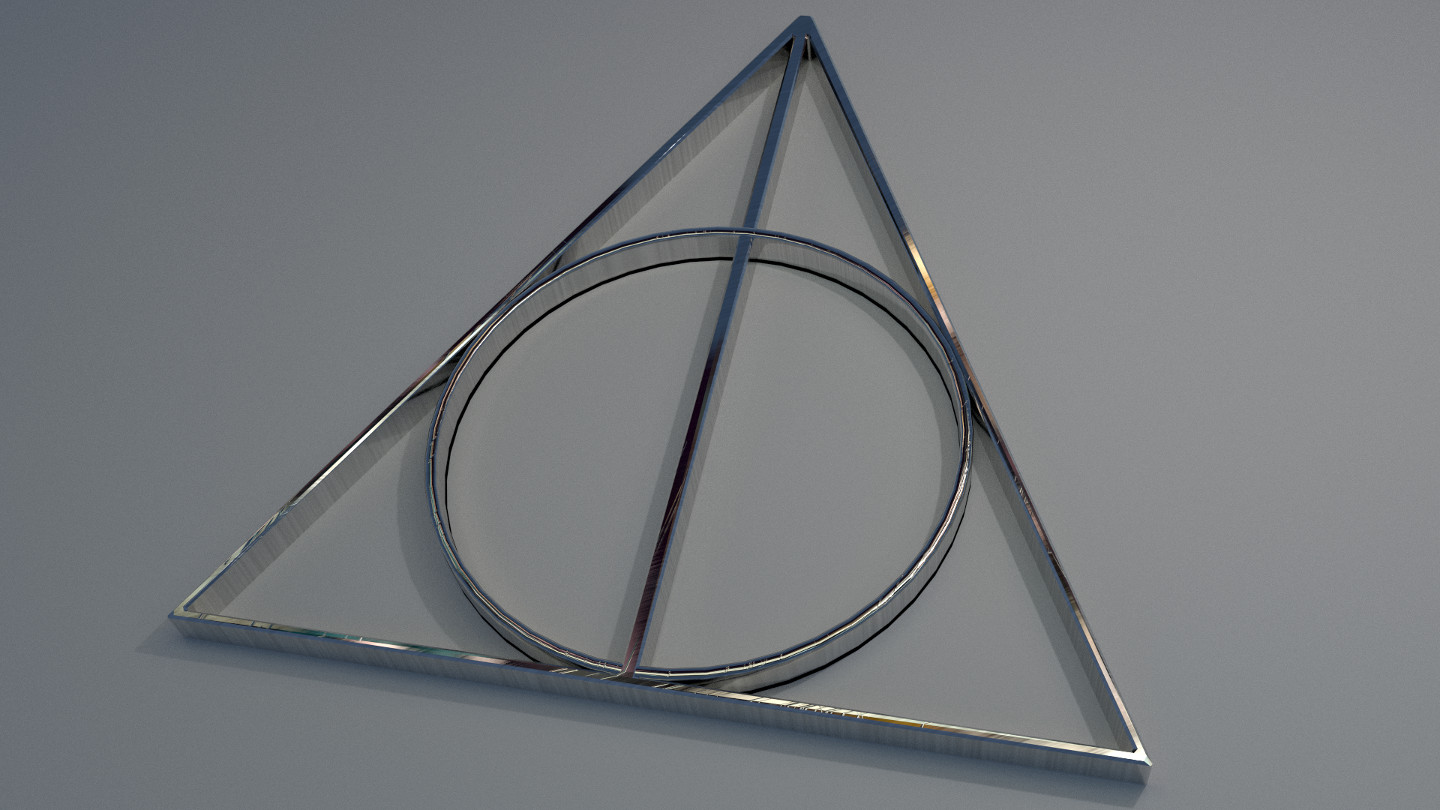
Told a friend I’d sneak in a Harry Potter reference somewhere in my Time Change poster I’m working on. This was a test shot to see how it turned out. Now, I just have to figure out how I want to use this 
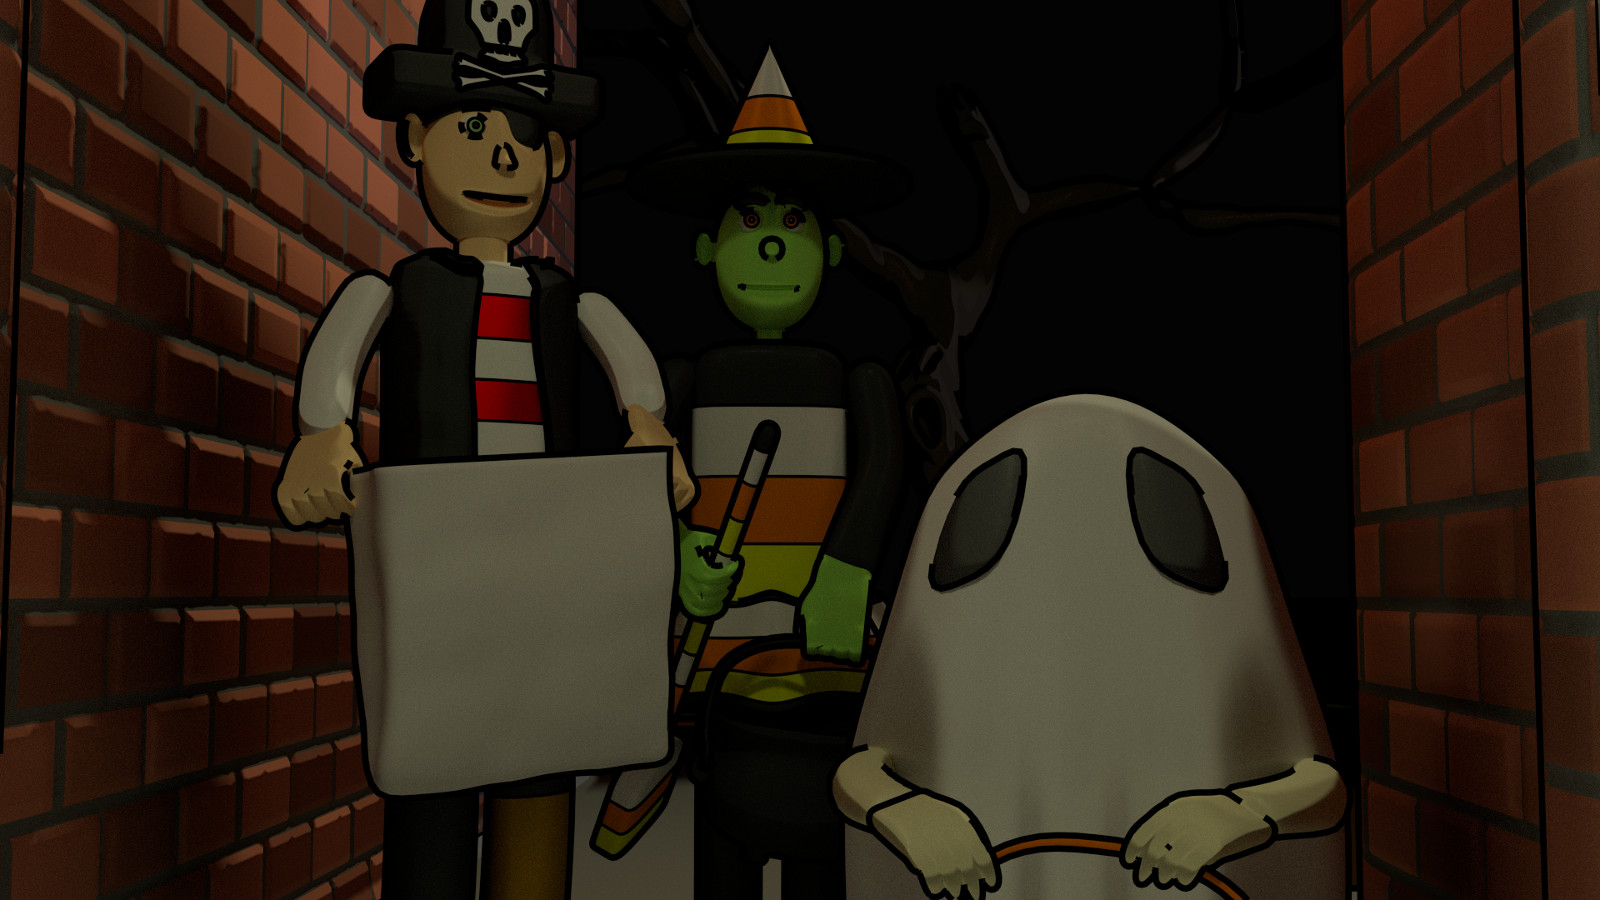
This is my favorite of my two version of the Halloween scene I did, so I’m putting a “copy” of it here.
For November, I’m working on two projects. The first is to write 50,000 words in 30 days. So far, 3 days are passed, and I’m up to 2,607 (which puts me about 2.393 behind). Still lots of time to get this one done
The second project is to do at least 10 Character sculpts. The original idea for the twin projects is that the writing would inspire the sculpts and the sculpts would inspire the writing. I’m a bit behind there too, but again, still plenty of time.
If I go quiet here, I’m probably working on at least one of these projects 
I also have a couple of character meshes that I would like to finish by the end of the year, and an animation that I want to figure out how to do in the near future as well.
So much to do, so little time
Well, I’ll post some updates here when I can!

Hmm… I wonder now what animation I was thinking of…
Didn’t realize it had been so long since I updated my sketchbook. Never did finish those two characters, but did start work on a project that’s more in line with my long term goals that I hope to bring to fruition. Taking me longer than I intended, mainly because I haven’t been putting enough time in my seat to get it done.
But on to today’s image. This was mainly just a test image to try out the marble texture from Kent Trammell’s Shader Forge: Marble tutorial. The two characters are from my 30 days of sculpting from last June.
The dragon on the right features my results from my first attempt at doing the tutorial. I’m not completely happy with it, but that’s mainly because I need to play around with it some to learn how to tweak the settings to get the look I want.
The elephant on the right features the granite material I’ve been working on (initially started last June as well). I was never crazy about the veining I had in the material, and this showed me how to do it more properly. I need to redo the material from scratch, though, because it got a bit messy trying to swap out what I had for this. Still, I like the results that came out here.
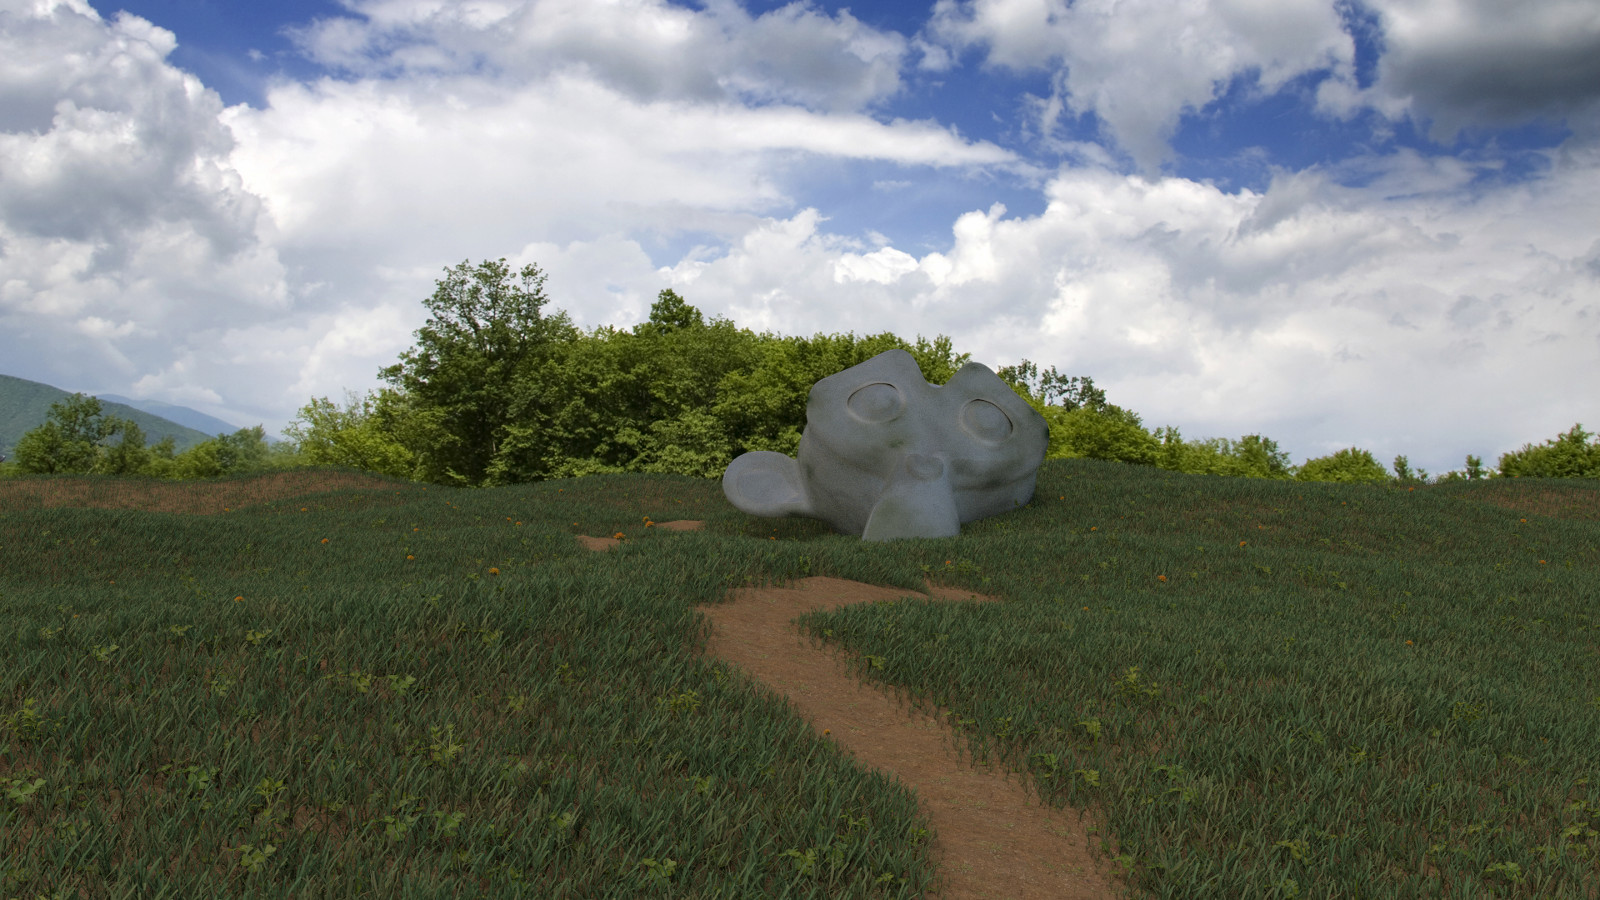
I know this one is far from perfect. Suzanne could use a lot of work to make the whole thing more realistic. But this wasn’t as much about that as it was testing out the Grass Essentials pack and the tutorial by Andrew Price at Blender Guru, so I’m pleased with the results.
Attachments

Wow… Hadn’t posted in here since Feb That’s okay… I’ve really been watching a lot of video on CG Cookie as background work for the Pegasus project (and just to go through the creature modeling DVD by Kent that had been wanting to go through anyway that just came up on the Citizens area). Other than that, the only modeling I’ve been doing was on the Spock sculpt that I posted a couple of days ago in the “Finished” section.
Still, I thought I’d post one of the WIP shots from that project here, because it represents the moment when I go the most excited about my progress and really felt I could pull off the idea I had in mind.
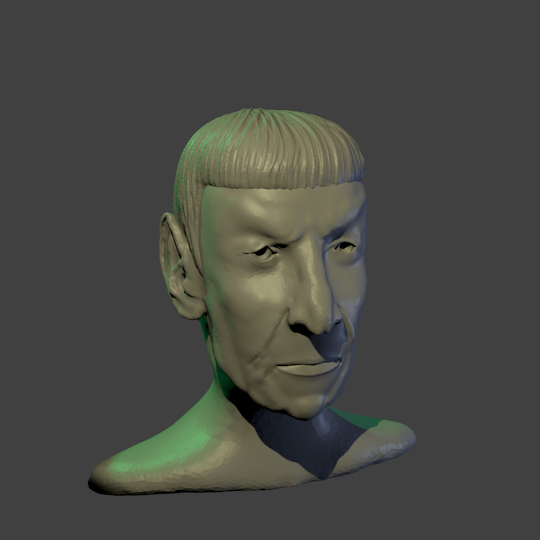
Although I later lost the hair and had to redo it because I hadn’t saved (and no auto save back up from around when I was working on this was available), I almost got chills when I pulled back from working up close to get an overall feel for it.
This was originally intended as a caricature, though here, I don’t think much was emphasized beyond his straight even hair cut, pointed ears, and angled eye brows. I pulled this together from 3 different pictures of Spock. One was from the original series, one was from one of the original cast movies (though a later one), and one was from one of the reboot movies. The result is a version of Spock that looks like it could be from around the TNG era.
All in all, I’m really pleased with how the final version turned out, though I am making a few tweaks (based on early comments) that just might make some big improvements
Hey Grady; You seem to have more of a knack for trying different styles than most people here (from realism to toon), which seems to be working in terms of improving your skills.
For the sculpts, things seem to be a bit rough around the edges right now, you might want to use tools like the smooth, pinch, and polish brushes to iron those out and really bring them to a professional quality (though you seem to have gotten hair sculpting down). Also, your grass picture would look a bit better if you randomized the positions of the individual elements a bit more, right now it looks a bit like a grid around the path.
Ace Dragon, I’ve tried a lot of styles in part because I am still working on improving skills but also still kind of searching for my “style”. Haven’t quite figured that out just yet
As far as the Spock sculpt, this one here was from before I set the smooth shading, though I’ll admit I do need more work on the smoth, pinch, and polish brushes. I have a more finished version over in the finished projects section.
On the grass scene, I wasn’t necessarily going for a perfectly realistic scene. I was merely trying out the new tool I had picked up from Andrew Price. I would have put more effort into it if it had been something other than a test for me.

Just a little curves and materials practice. Also did a sculpted version, but want to work on that a bit. Like how this turned out, though. Might use this for a blog post.

A quick image I put together for my FB cover photo with the rock material I was learning last night from the Blender Cycles: Materials and Textures Cookbook. The “floor” looks more like water, but it’s the brushed metal texture from the CG Cookie tutorial.

This has been my favorite, so far, from the Blender Cycles: Materials and Textures Cookbook (3rd Edition). Of the ones I’ve done, it’s the most “realistic” of the bunch, though I had to turn the strength way down. In fact, on the cup, I feel it’s still too strong here. After I rendered this image, I gave the cup a bit more depth and reduced the strength of the bump even further, and it looks even better.

Okay… Not anything fancy or great, but with meaning for me. A simple image to celebrate my 42nd birthday.
Everyone knows the meaning of life, the universe and everything is 42! :yes:
You’d be surprised how many of my sever co-workers don’t know that
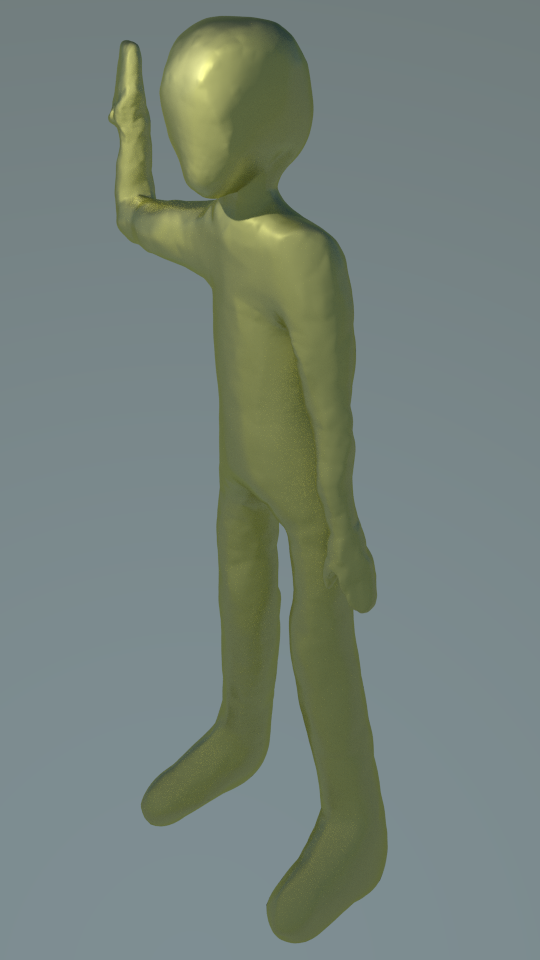
A quick “gesture” style sculpt I did with my mouse. Not intended as a “completed” sculpt, but rather as an exploration of a pose for a possible future project. This is actually a correction of my original version of this because I realized that I had the pose backwards. A simple “mirror” fixed that problem.
I’m considering the possibility of doing more of these “gestural” sculpts next month, exploring some possible poses with a couple of characters I’m working with for a current project and a couple of future project ideas.
The idea is to get a feel for the pose with a sense of movement. The pose in this particular sculpt is based on a more “formal” pose, hence the fairly “stiffness” of the pose. However, typically, the pose would be more “fluid” and filled with motion. The idea is to spend only a few minutes. It’s based on the gestural sketching style, which typically, in drawing, take anywhere from a 1 to 2 minutes, tops. That’s a bit too quick for sculpting, but spending only 15 to 20 minutes would be a sculpting equivalent. (At least, for me at my current ability, anyway.)