Dear god, that floral work is amazing!
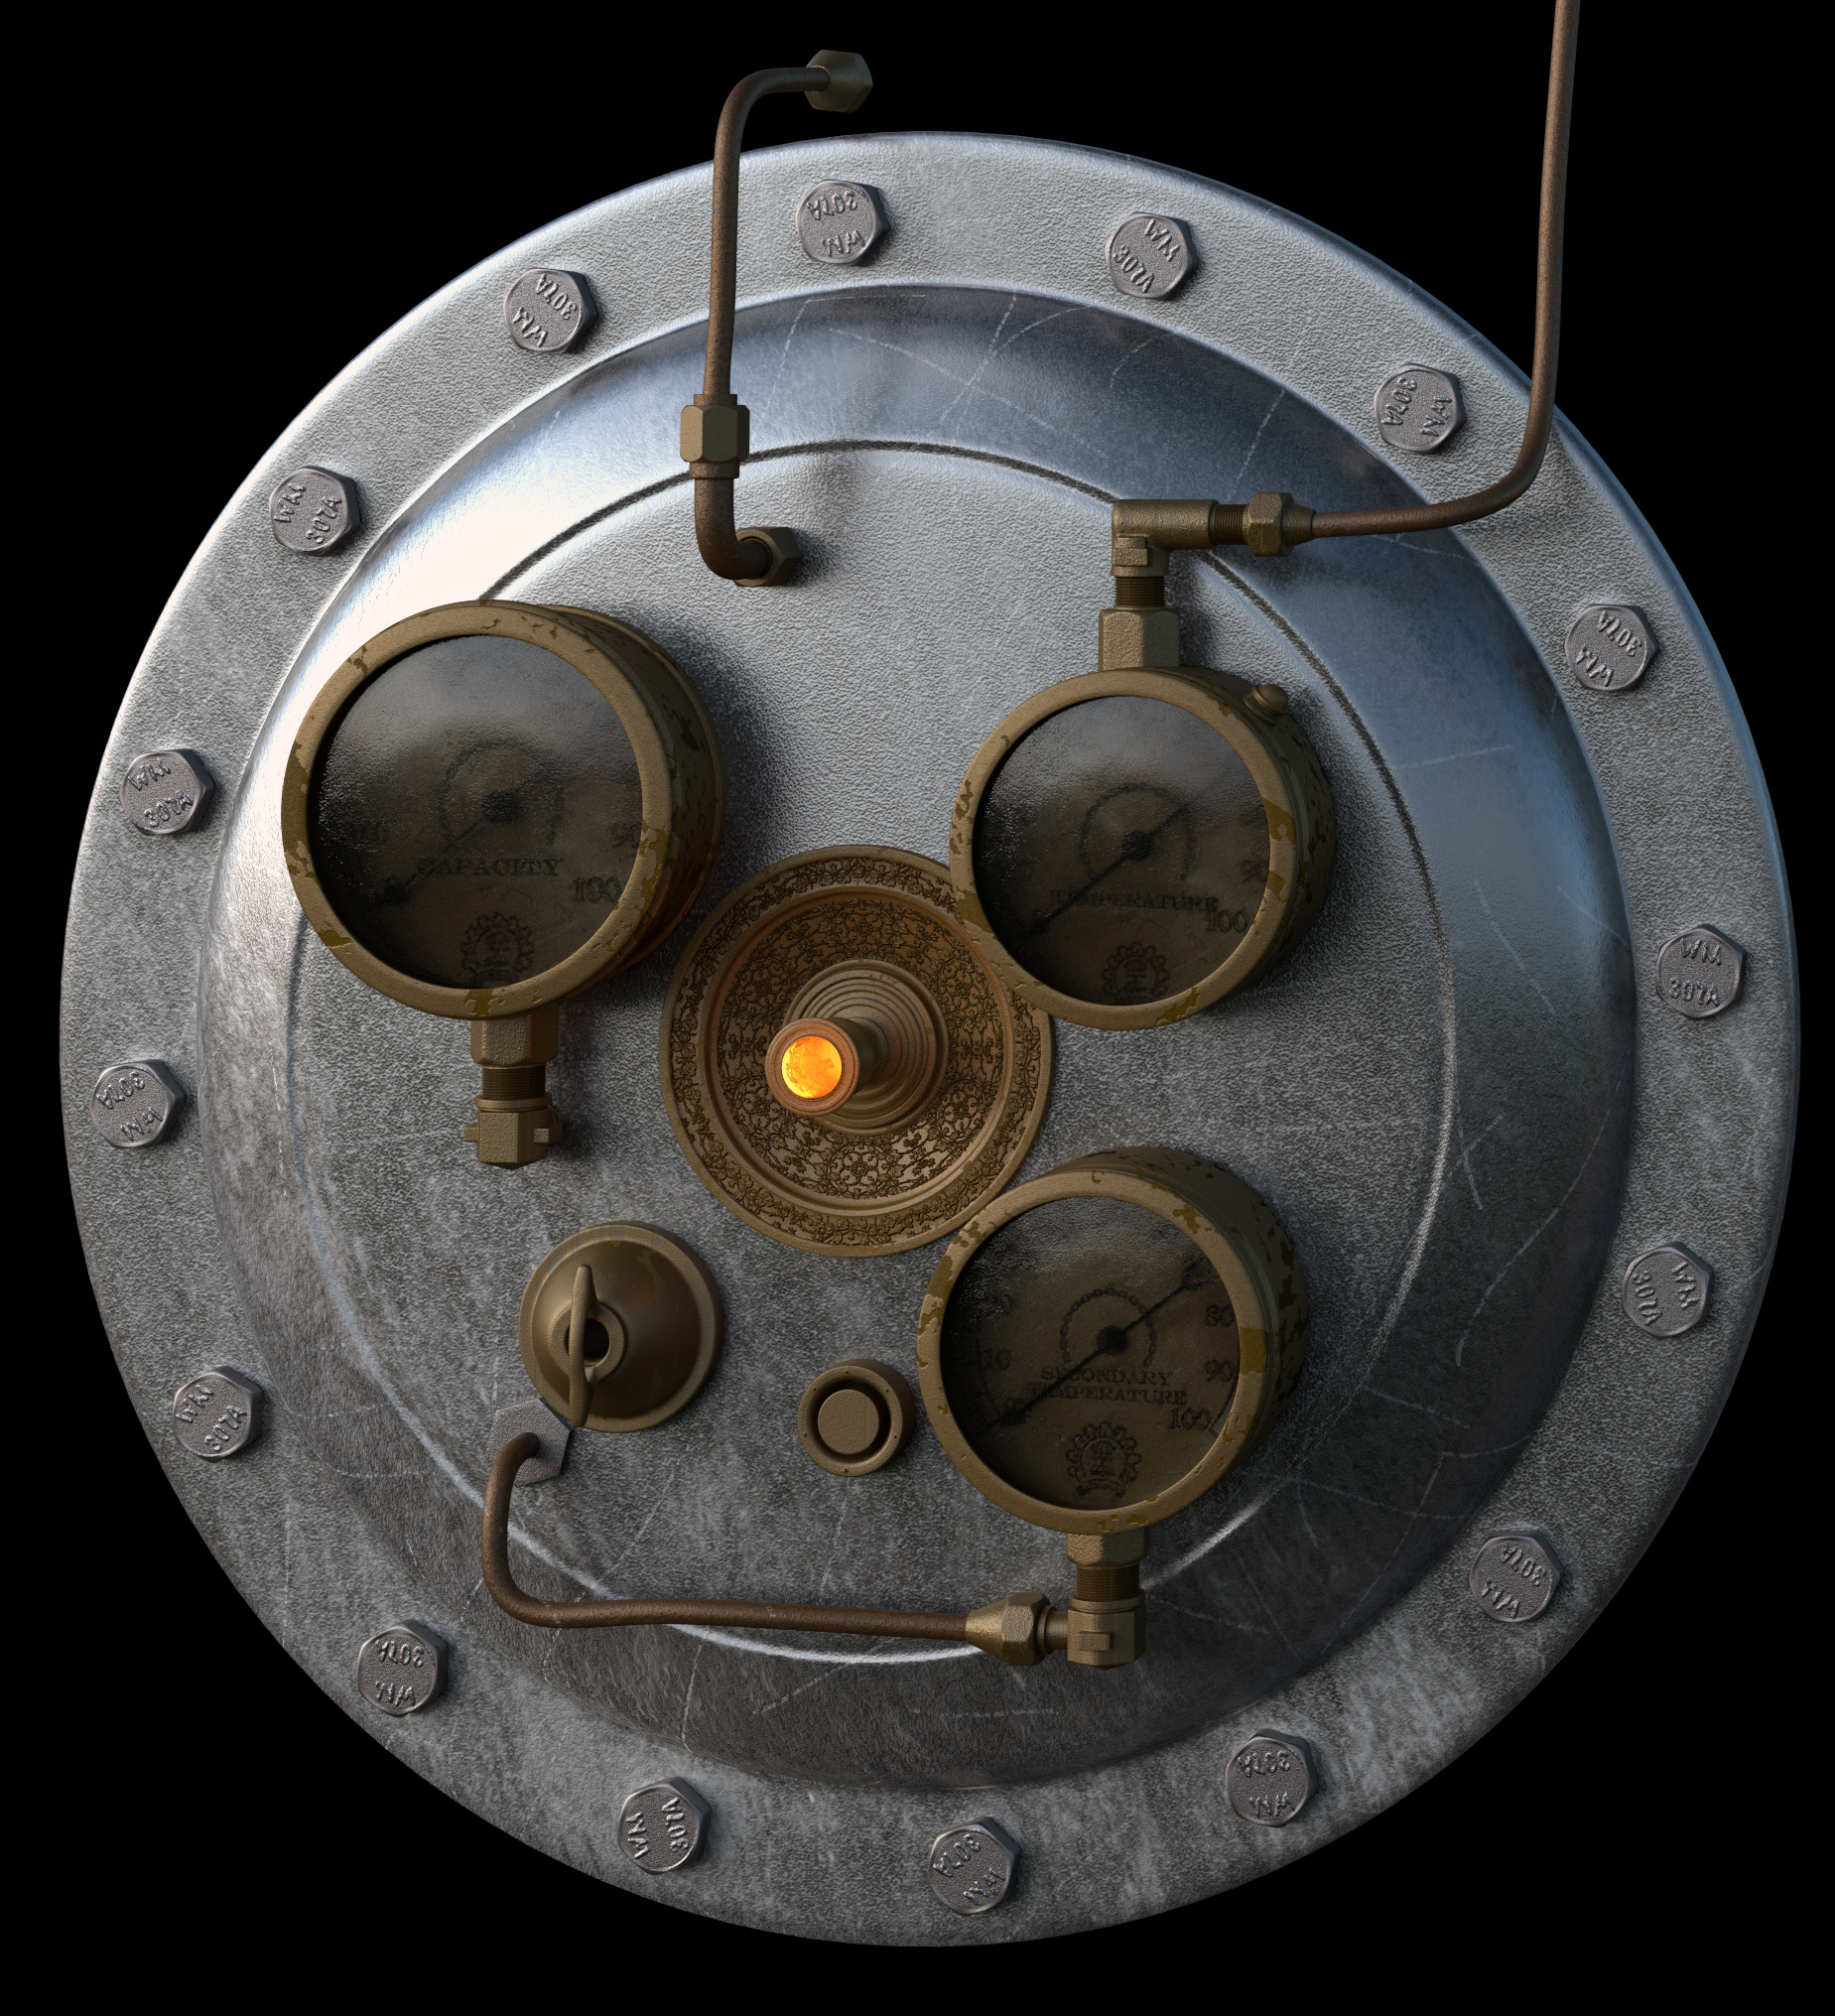
@ Thetax - Thanks man! It’s really simple, i just found a free vector online, edited it and created a heightmap. I then unwrapped the mesh that needed to be displaced and straightened out the U.V’s into a straight rectangular shape, so that i could easily map the image to the mesh  Then i just plugged the image into a math (Multiply) and colour ramp node to control the strength, then plugged that into the material displacement slot
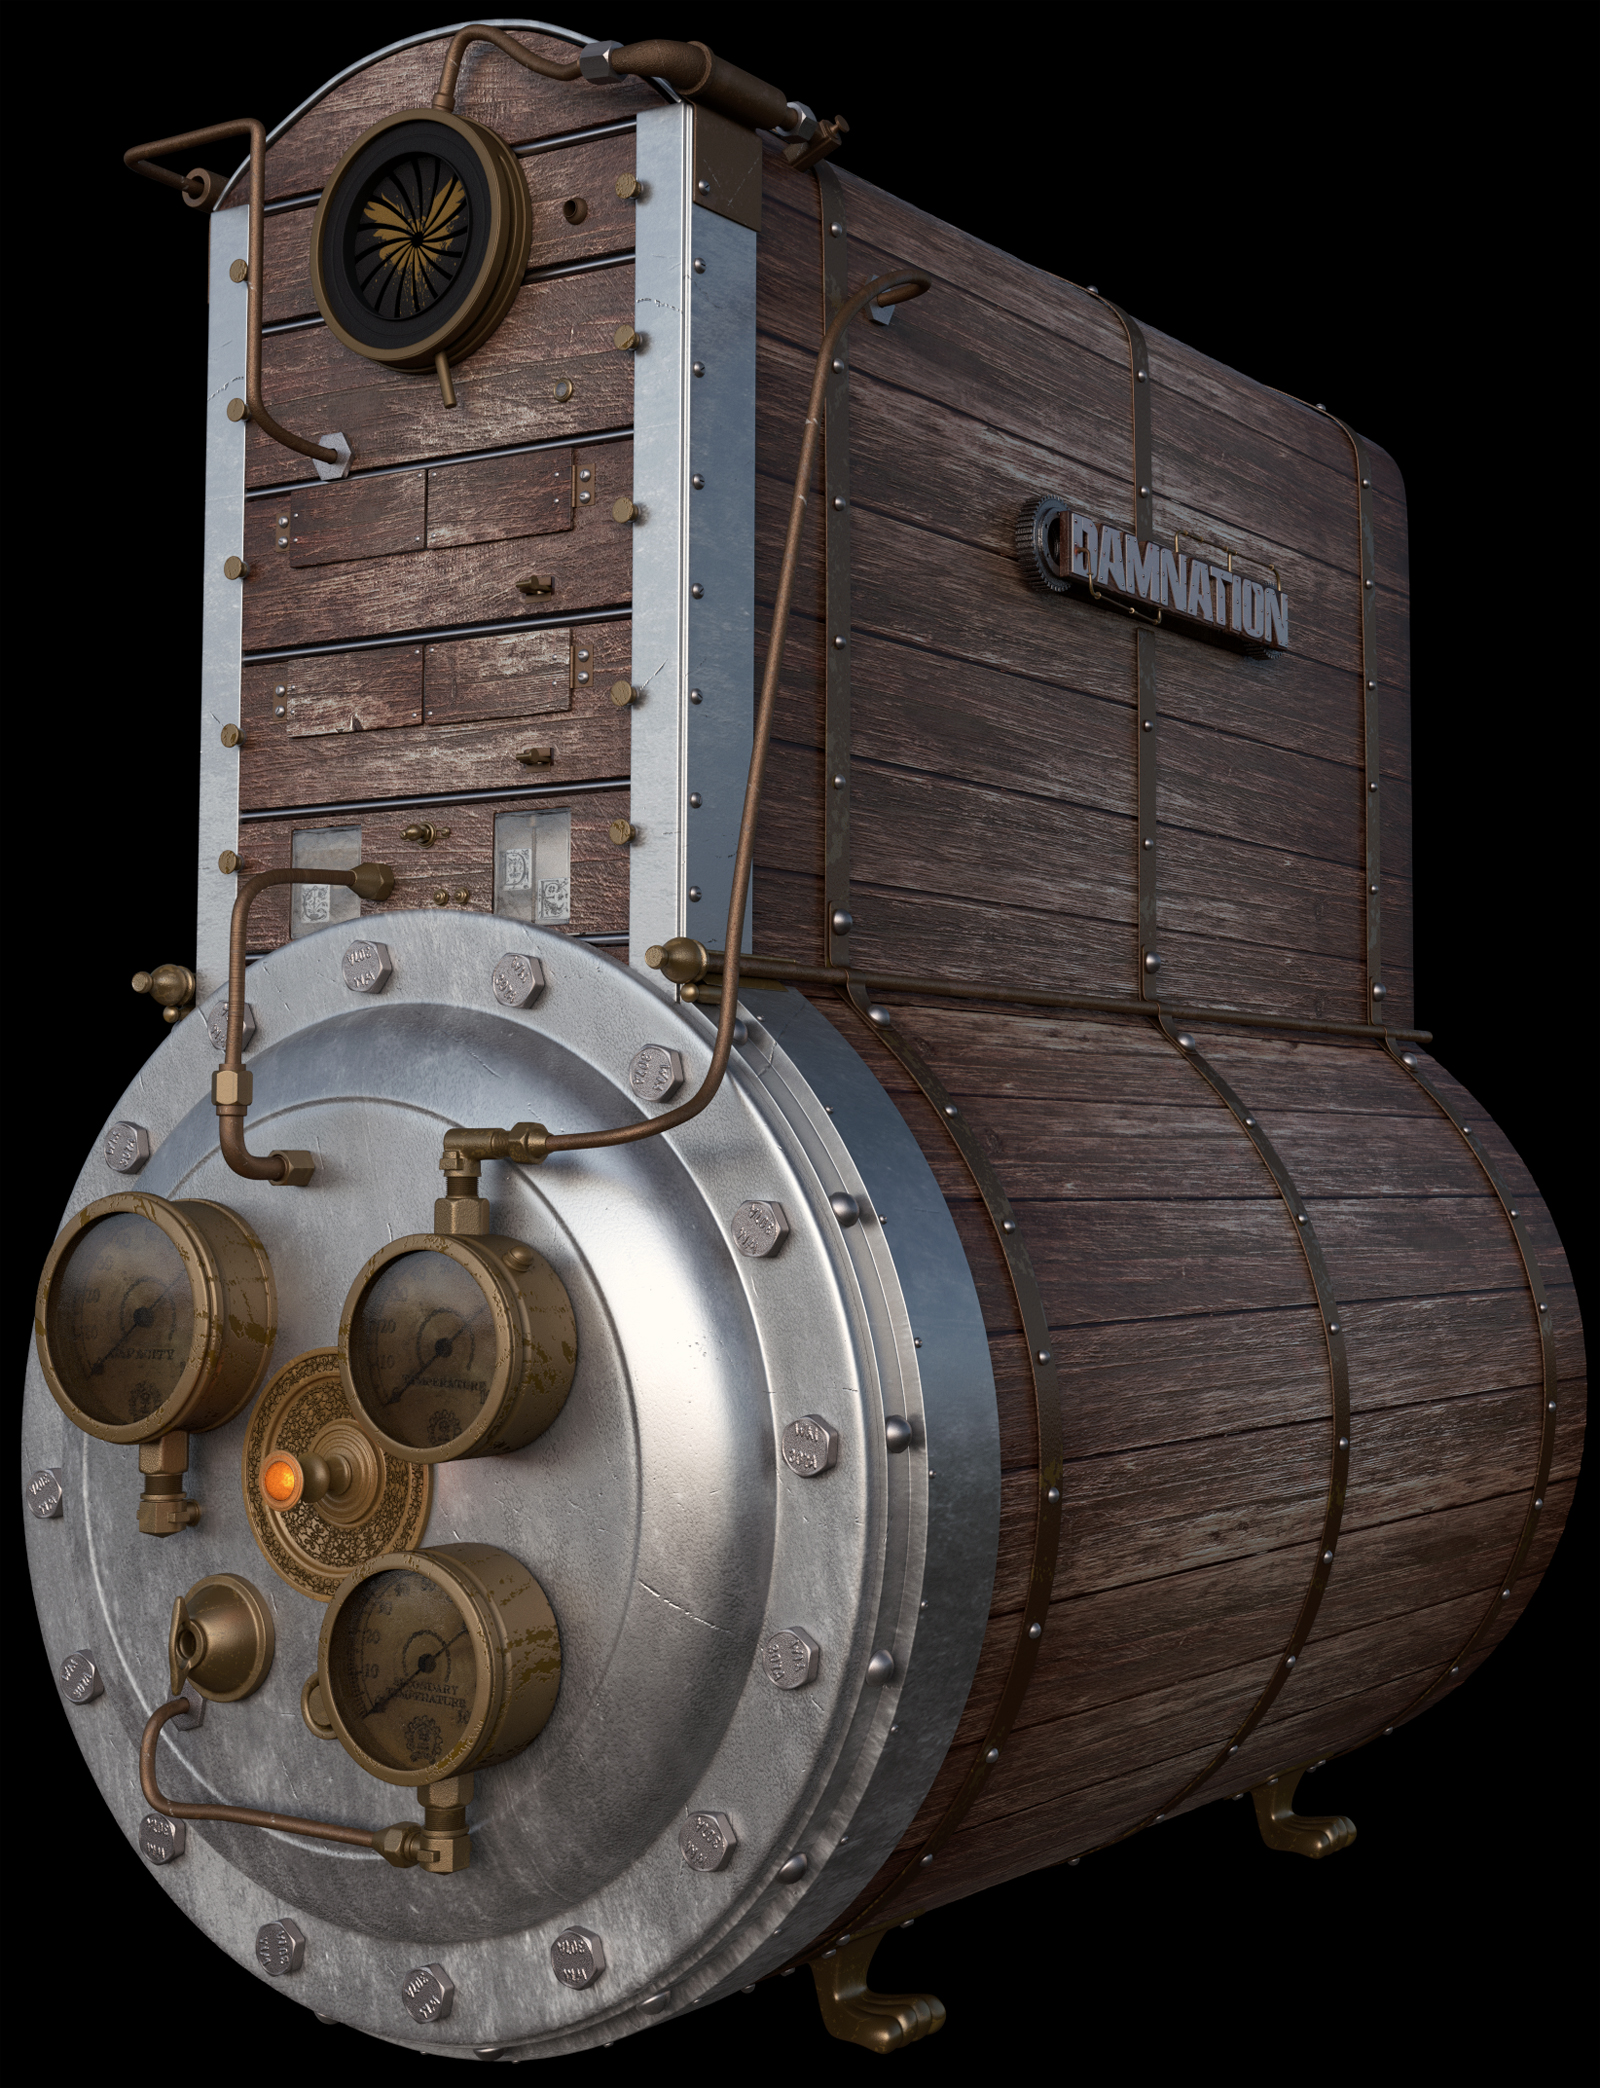
I’ve almost finished work on the front part of the machine now, although i do need to do some more work on the U.V’s (Some still isn’t unwrapped at all lol) but i’ve finished for tonight so i thought i would share my progress along with a render.
Some of these materials need a bit tweaking, but this is almost right.
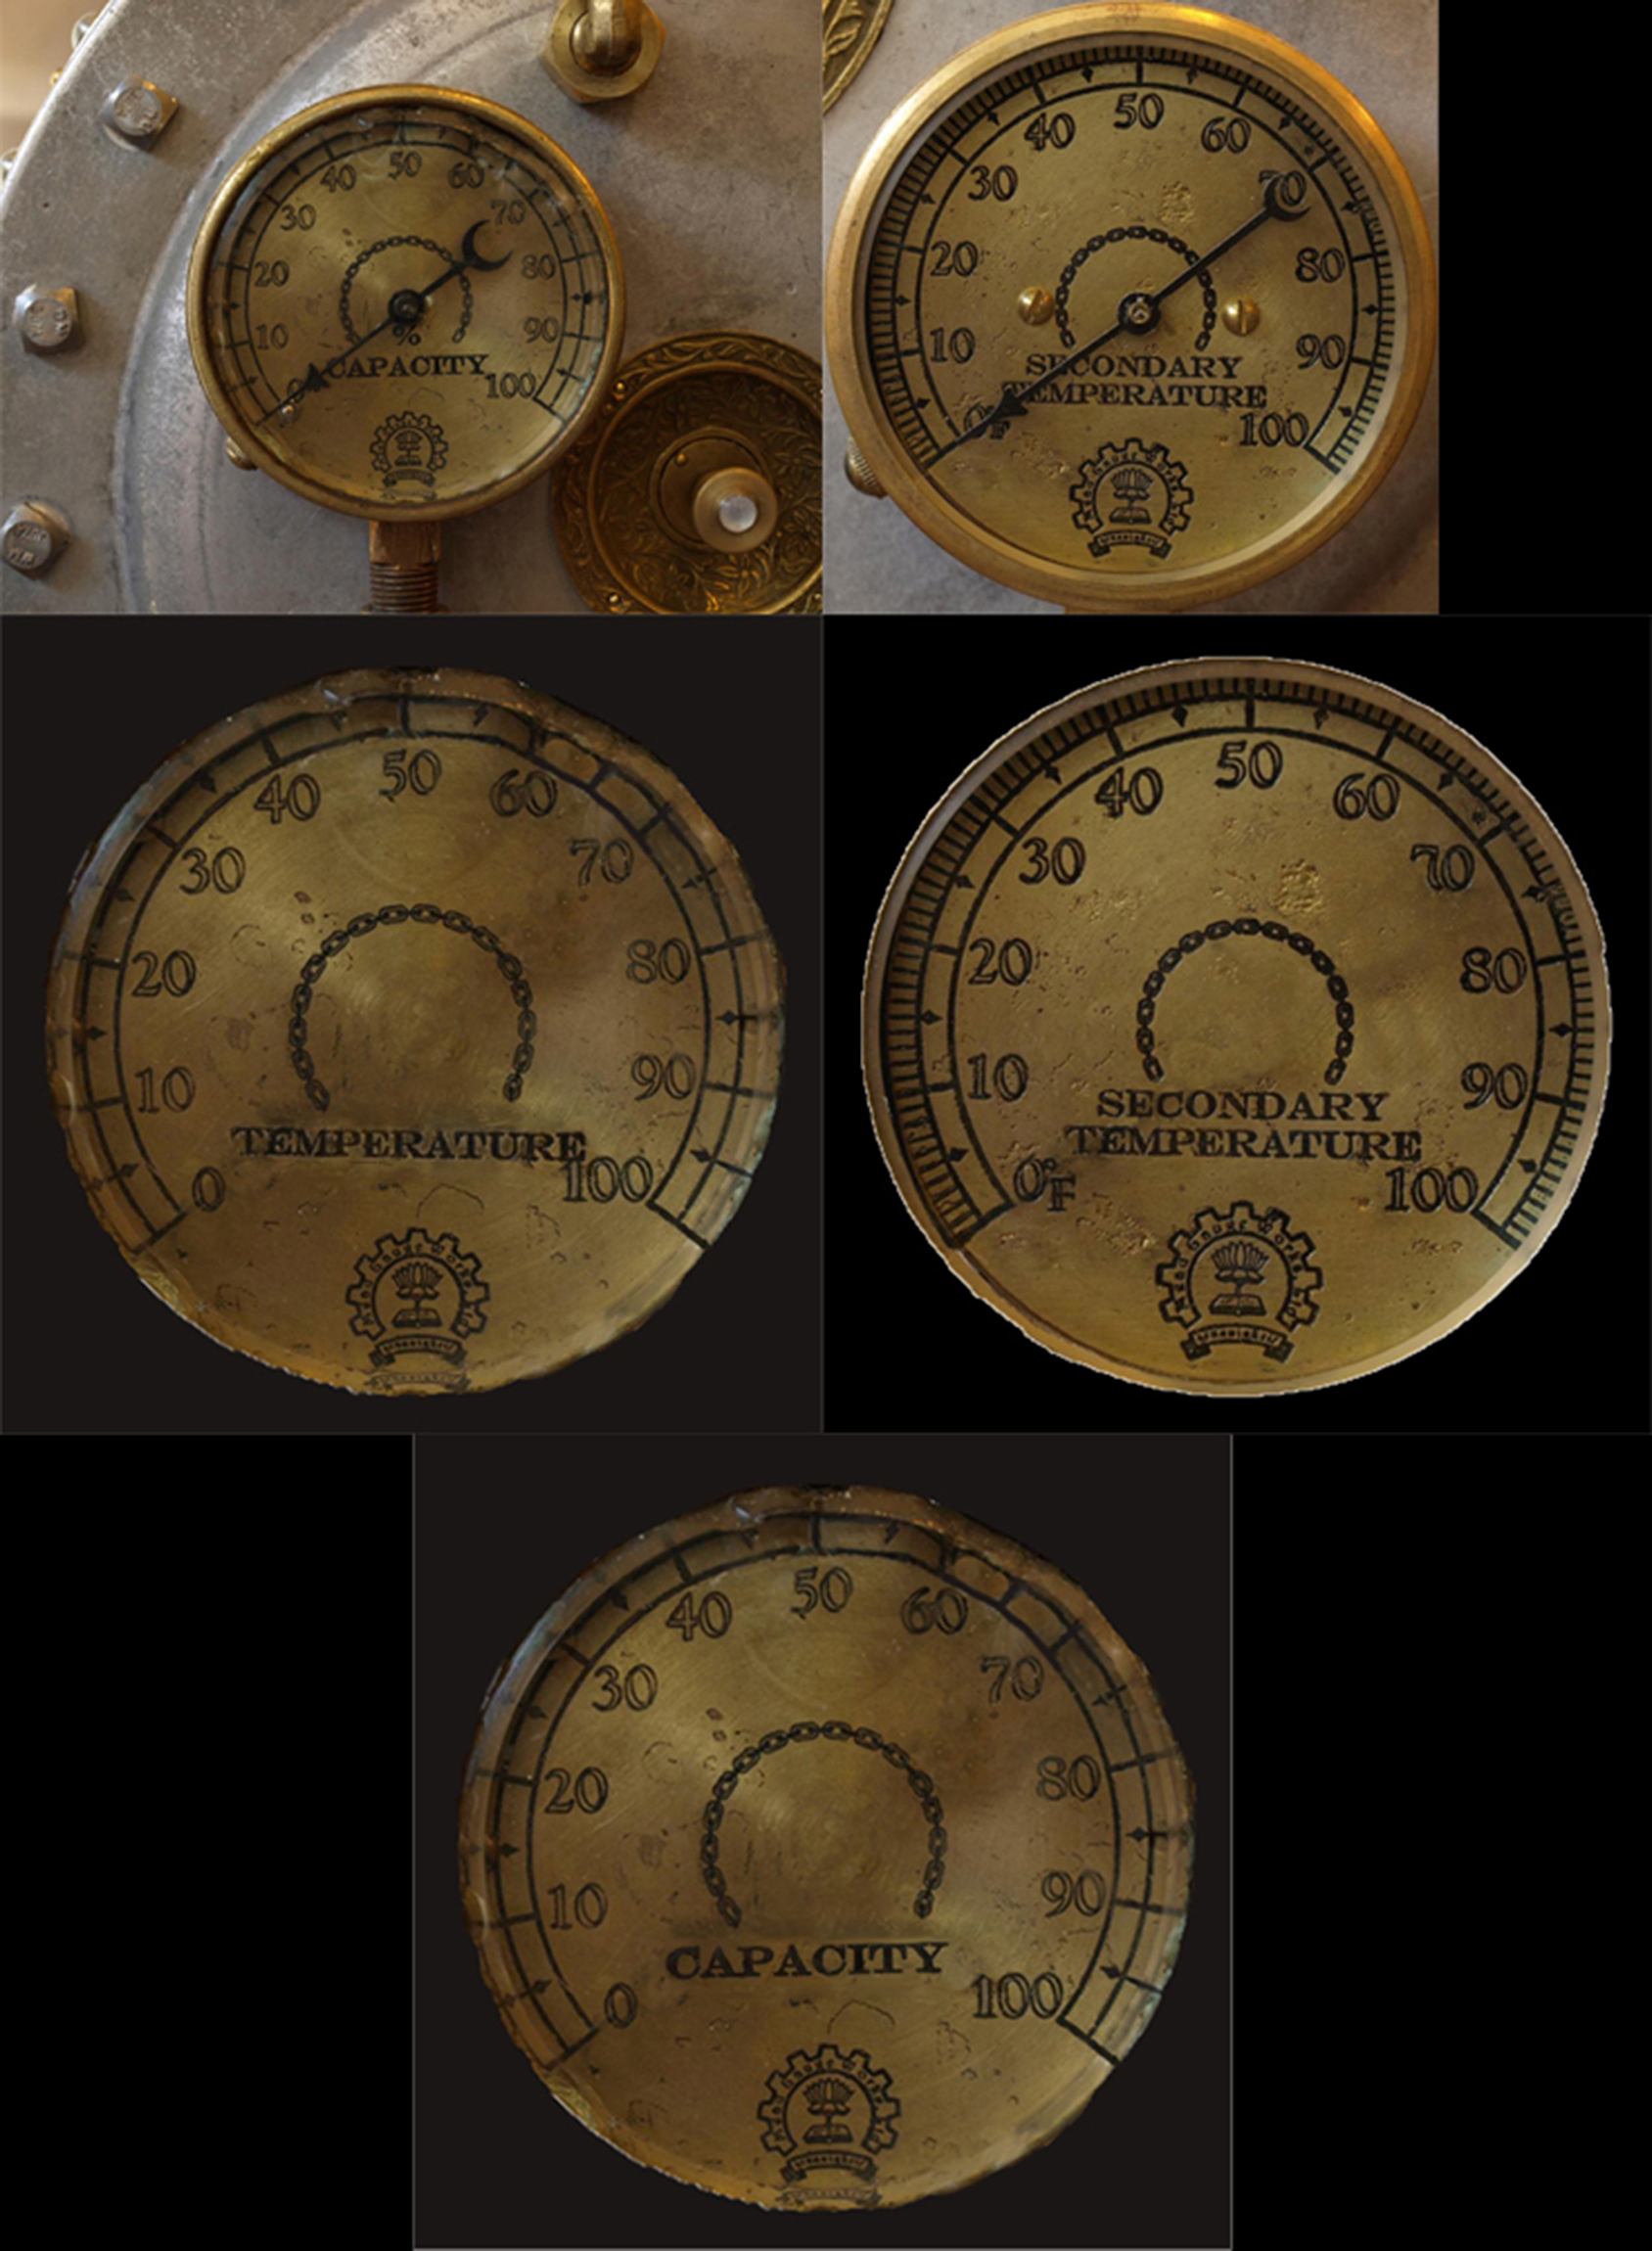
These are the textures for the gauges, i made them out of photos of the real world machine, using photoshop to edit out the screws and needles etc and modify the text. I’m pretty much useless with photoshop, but i did my best with my current skillset, but i needed those elements gone because i wanted to model them in myself… anyway, i think it looks okay when rendered 
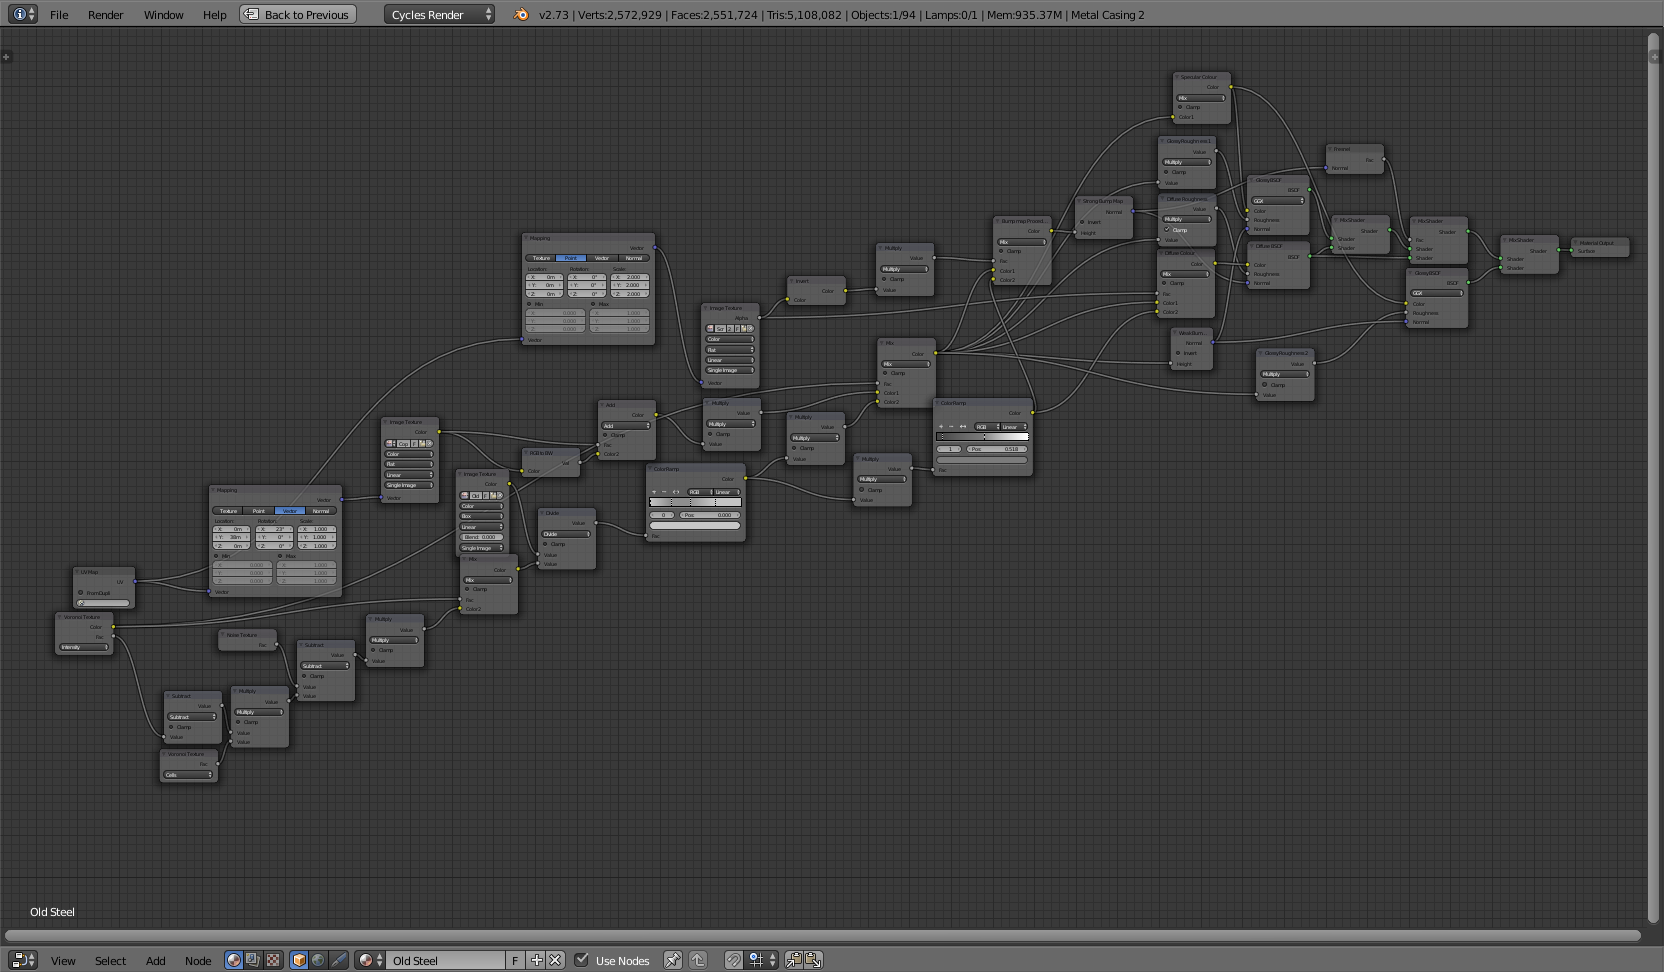
Here are the nodes for the steel casing. they are really messy, i probably wont clean them up either, i know where everything is and what it does lol… it’s organised chaos 
Looking very nice! You should have gone procedural 
Impressive materials. I love that glass knob. Keep working!
@NID Graphics - Thanks man lol, i tried… it was getting far too complicated far too fast lol… Must of had at least 60 math nodes at least haha. It was a lot simpler just incorperating a couple of images to get the effect i wanted quicker - i.e scratchmaps and dirtmaps
Have you tried out the new pointyness attribute node? It’s to create a mask around the edge geometry, to simulate wear and tear around the edges. I’ve been using it in my work and I think it’s pretty neat. I think it would look well on your round cylinder meshes.
I haven’t updated to 2.74 yet… In fact i will update tonight. Thats actually a great idea and it saves me having to use vertex paint for that effect. Thanks Rachel!
Looking really nice !! Good job!
loving the front
@Thetax - Thanks man I’ve updated the front and added materials to a few more objects. Rendering out an update now, will take a while though, I have to use CPU rendering at the moment because this scene is hungry for RAM, using over 4 GB at the moment! God damn subdivision lol… 2 hours maybe? haha
Computer Crashed halfway through the damn render!  annoying…
Gonna just get back to work on my materials and hopefully post up an update tommorrow .
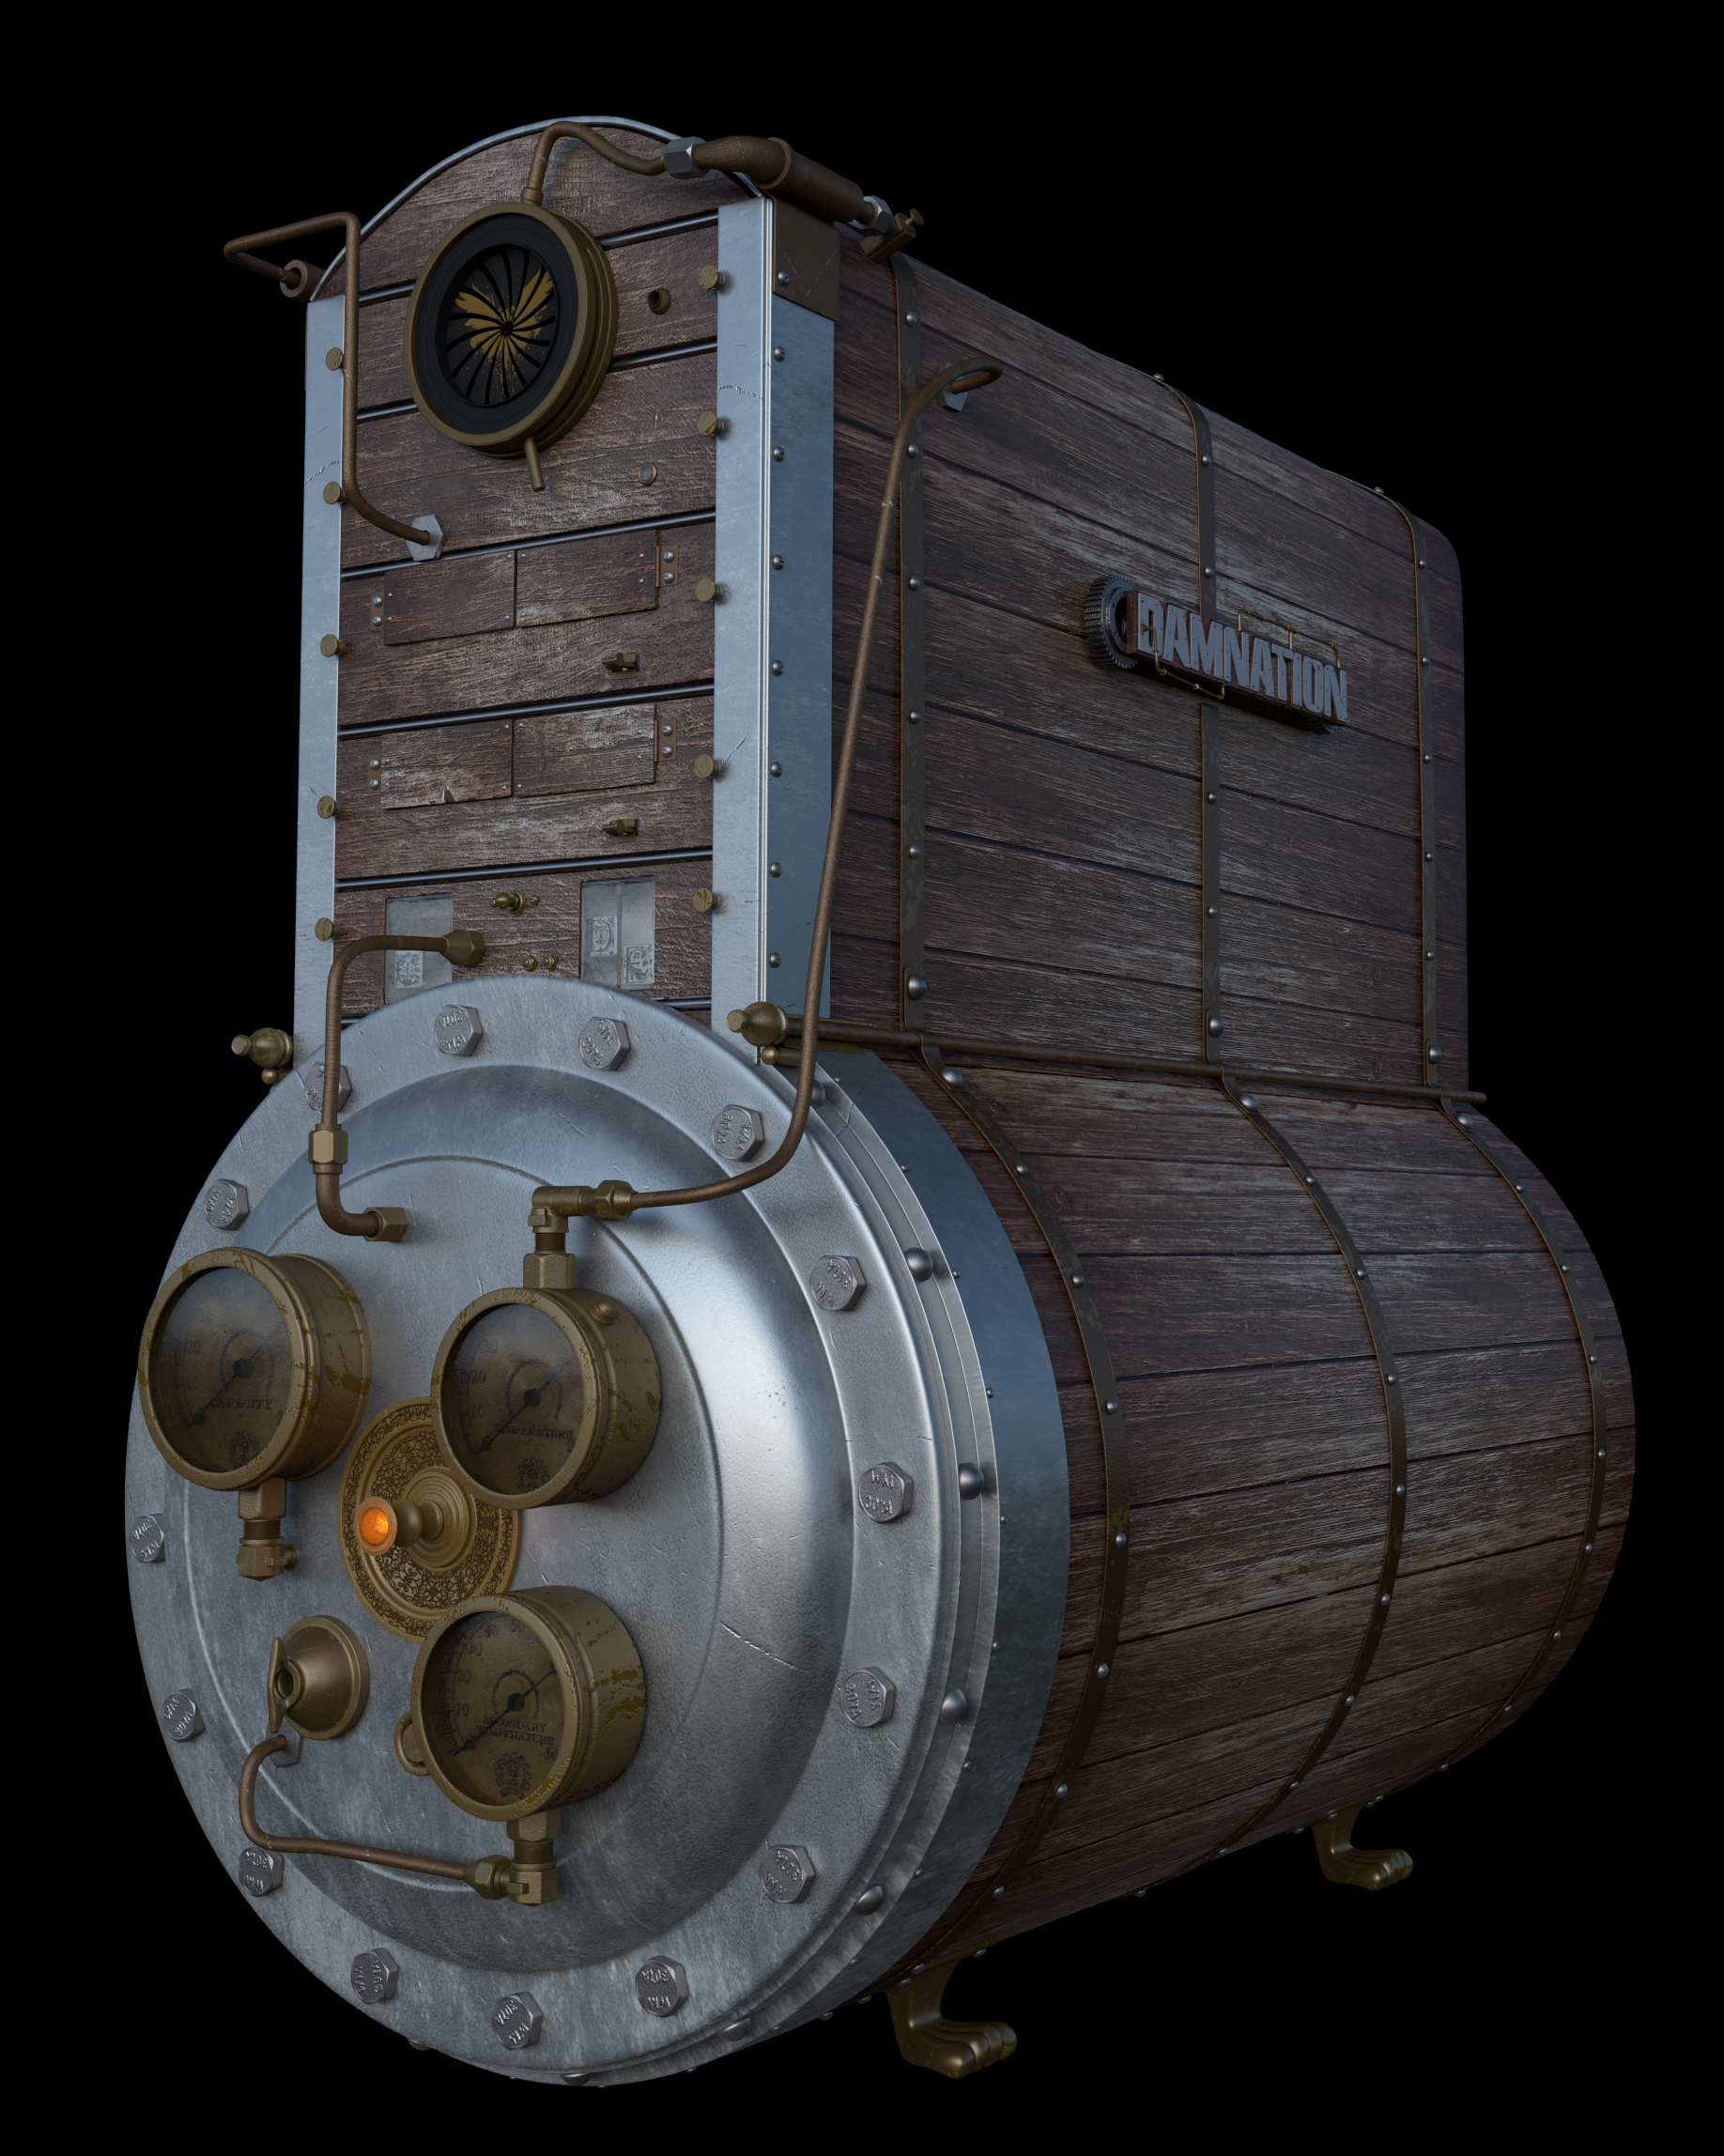
I’m about 80% complete on the materials side of things, 0% on a background scene though lol, still in the concept phase for that haha
I’ve added new shaders, and tweaked the others that were already in place. Yet again, i have missed some objects with bad U.V’s, but thats an easy fix.
If theres anything you think doesn’t look right, please tell me. I have my doubts about pretty much all of my brass and copper shaders, but i don’t know whats wrong with them. My wood shader is getting there, but it still isn’t right, The fresnel factor is a bit off i think, And theres too much glossy in the grooves between the wooden panels.
Anyway Here’s where im at so far -
Original Render -
Colour Corrected -
This is some great work, Jamie. From modeling to materials. Really impressive.
@daleforbes - Thanks man I’ve gotta get working on a background soon though, struggling to think of anything really.
Thanks for commenting mate
This is a great result! Maybe make the little drive doors a little more visible?
@NID Graphics - Thanks man Good suggestion, the textures kind of make the doors and panels blend in together, i’ll try and see if a different U.V layout helps, if not, i might tweak the door materials so they are easier to distinguish from it’s surroundings.
Edit: Succesfully removed spectral highlights from the wooden grooves. I used the wood texture to do it by converting it to B+W, then connecting it to a colour ramp node. The colour ramp allowed me to isolate the dark sections between the panels and multiply that darker tone into the glossy shaders colour, therefore removing the highlights… Yay
Got started on enhancing the materials of the “Damnation” Sign today. Made some good progress i think, but the rusted text and gear materials still need a bit of tweaking, and some of the U.V’s here are pretty awfull, still trying to unwrap the backboard of the text in a good looking manner… very annoying lol.
Here’s my current progress -
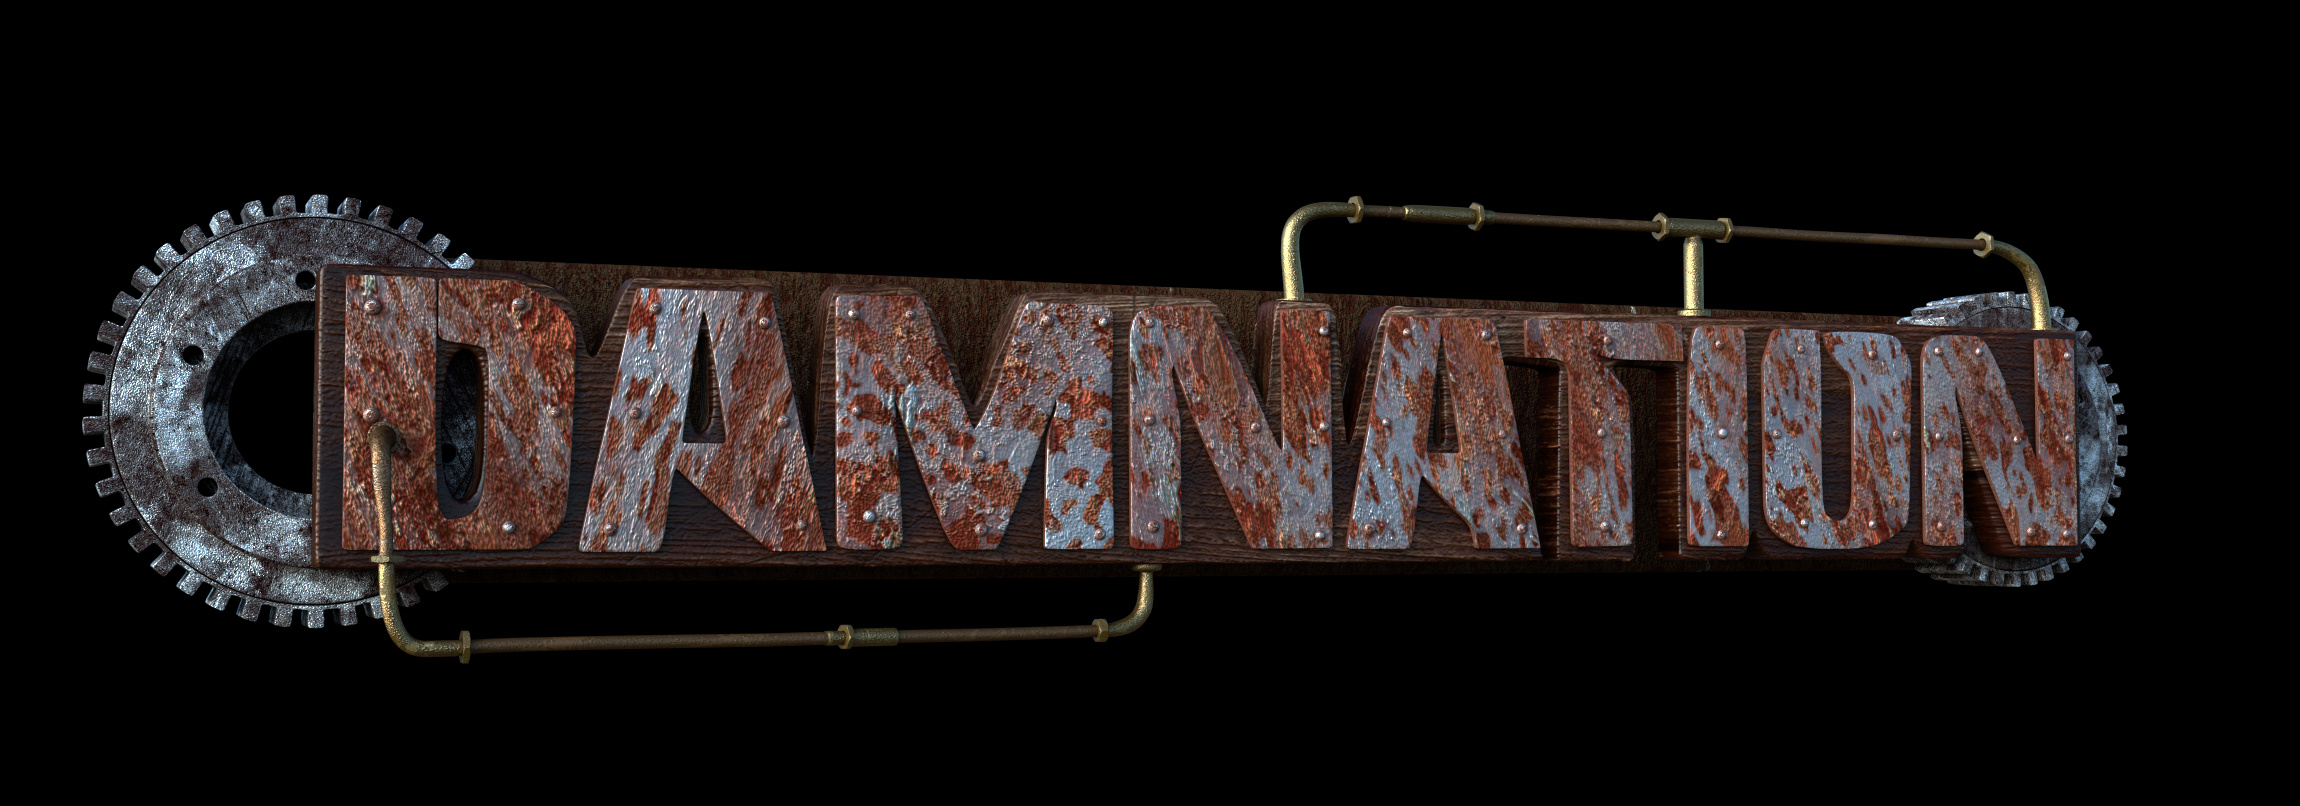
Rusted Text Material Nodes -
