Please let this comment stand for all that you have offered the community in the past week or so.
These are really excellent and appreciated.
Thank you,
Els
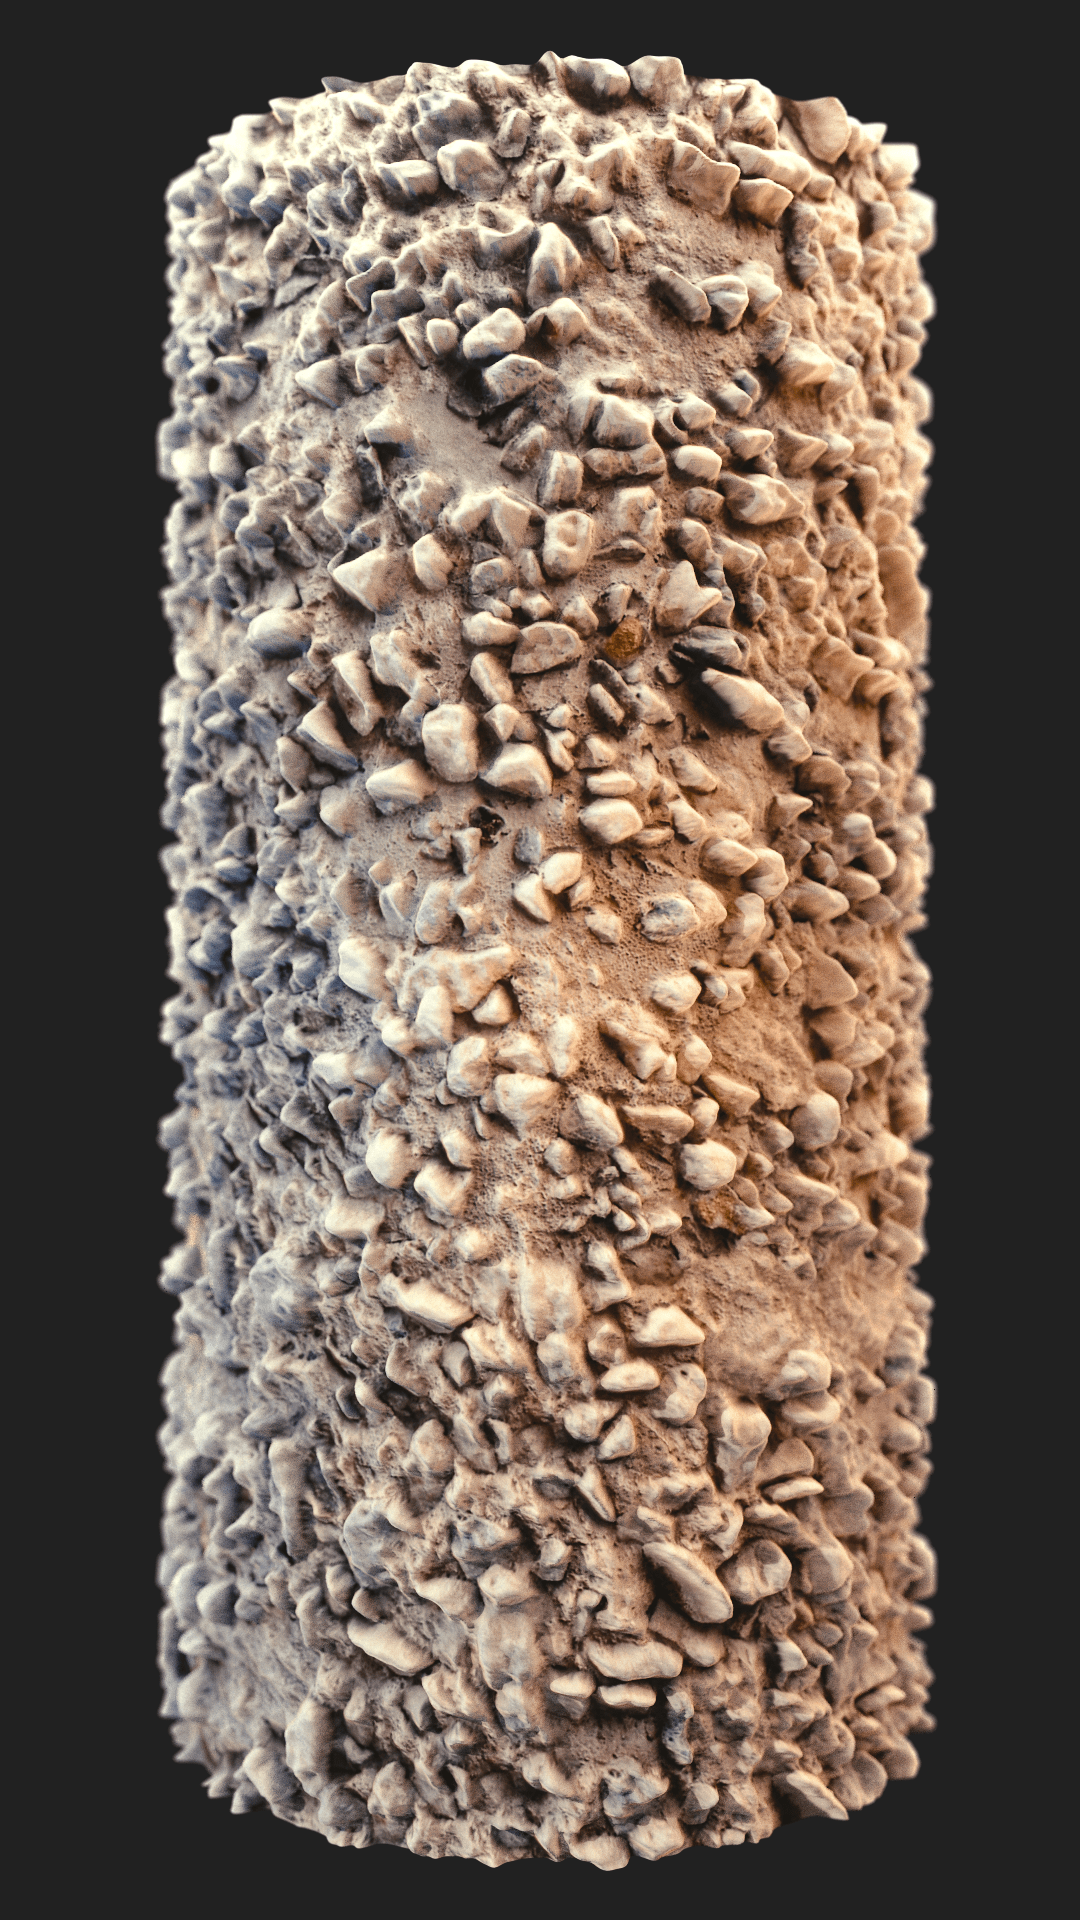
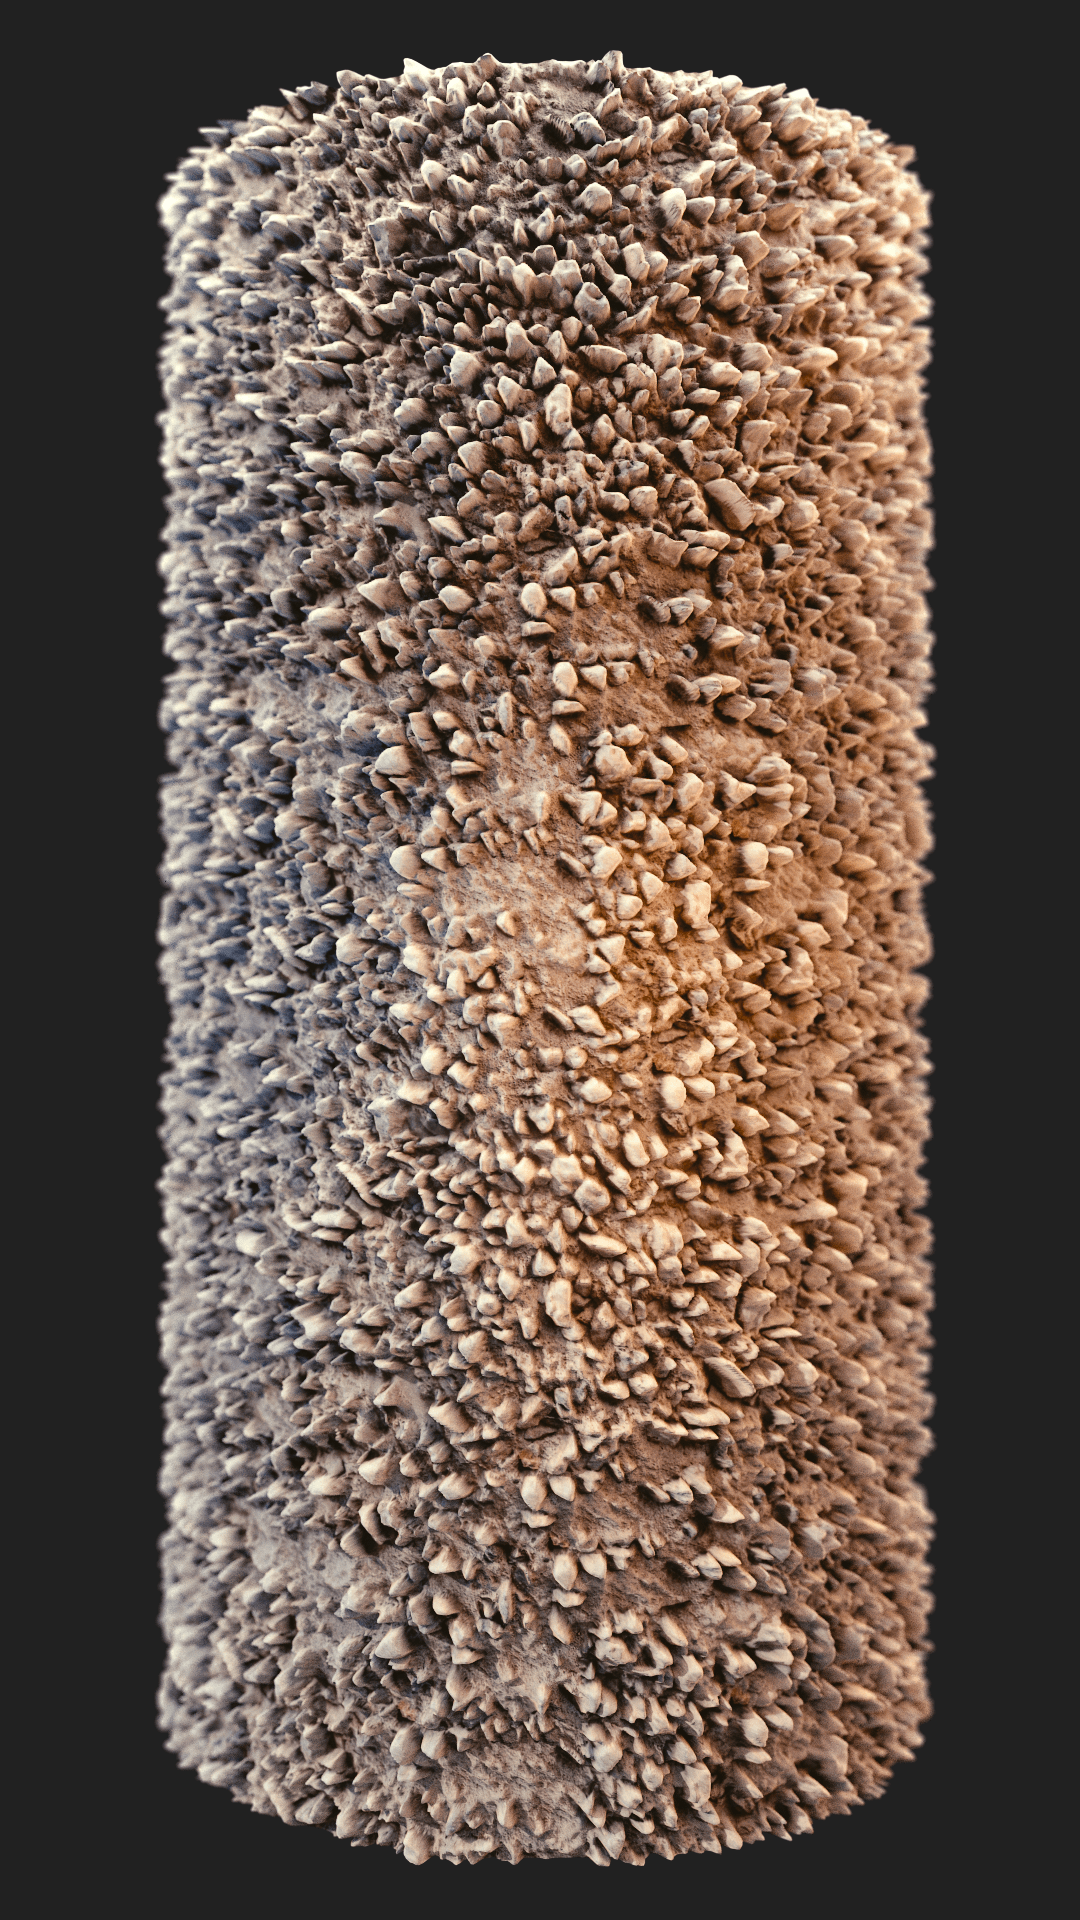
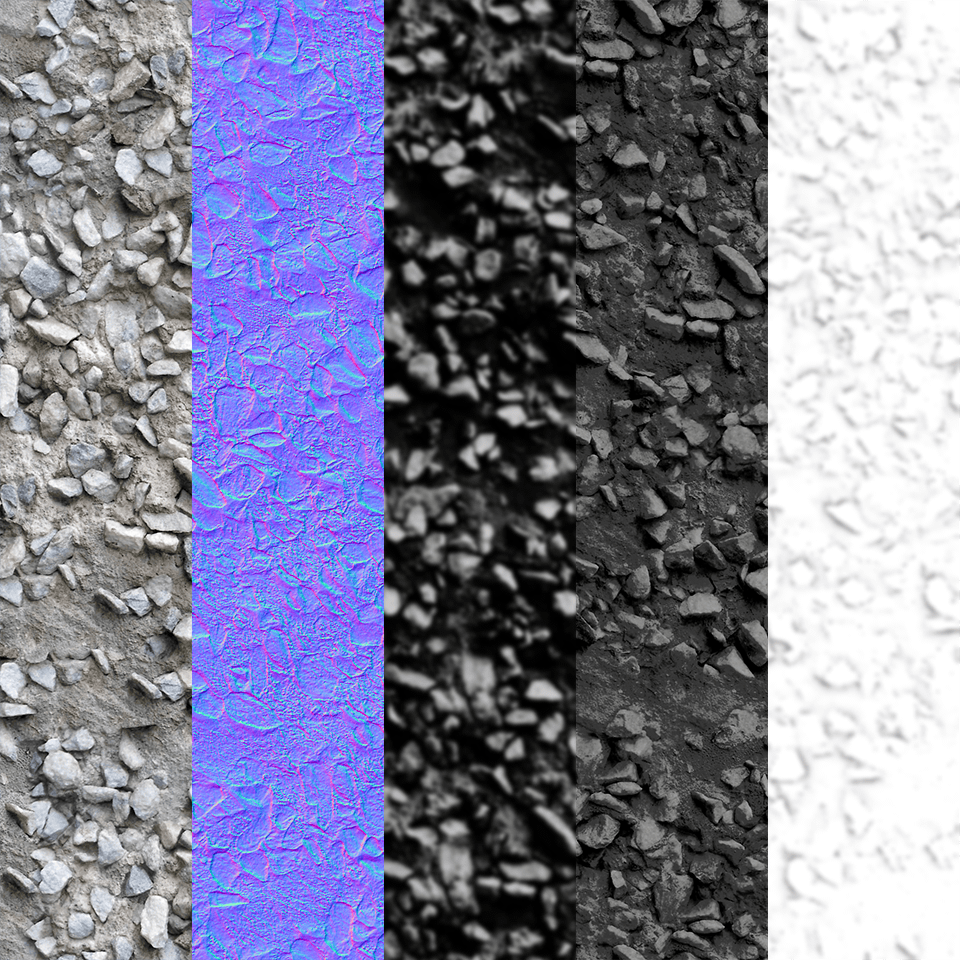
How do you set up displacement map to achieve this kind of result?
This is a part were I really sucks, so would appreciate if you share your thoughts.
I have tried to put it into displacement input, multiply | color ramp - nope
Tried displacement modifier… I am getting pretty random results here - made object with sqare faces - didn’t help
Yes, you need to divide your mesh into around 1000 vertices by going into edit mode, selecting all and pressing W>S. If your mesh is not square add edgeloops until you get rectangular faces. After you’ve done this you need to add a Subsurfmodifier and divide the mesh until it has around 500K vertices, the more the better. Then you add a Displacement modifier with the displacement map as the texture for it. Make sure you set the Texture Coordinates to UV. Experiment with different values for Strength. After this you can add a Decimate modifier to reduce the poly count but keep the general form.
If any of this doesn’t help you…
Here you can download for free a .blend file of mine:
Took me some time to get to it again. Appreciate for making blend available. Thank you!
Finally I did get some good looking results when I used displacement input from material node and changed its appearance to experimental->true displacement.