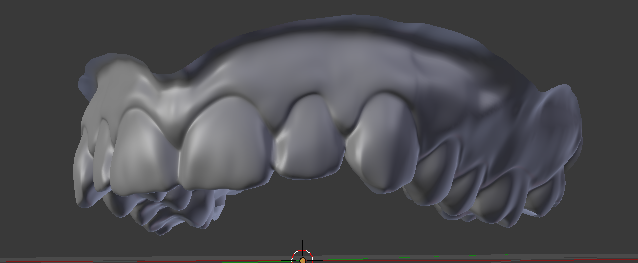
I don’t know if the expression is going to be mouth open or mouth closed, but I’m modeling some teeth anyway. I have the top part done so far.
I don’t know if the expression is going to be mouth open or mouth closed, but I’m modeling some teeth anyway. I have the top part done so far.
Nice teeth, good job Zeke…
Thank you! Credit goes to Lukas Hajka, who made the original scans on which I based these.
Holy Cow! That’s a good scan! :yes:
This is looking really amazing!!!
Thanks guys! Not too happy with the reflection on the right gums, but that may be the HDRI I was using. My goal is to make this as photorealistic and detailed as possible. Dana Scully deserves nothing less! 
But now I can’t work on it for a while because I don’t have access to my computer (I’m on the other side of the country but I am planning on shipping it). Darn, I really need a mobile workstation.
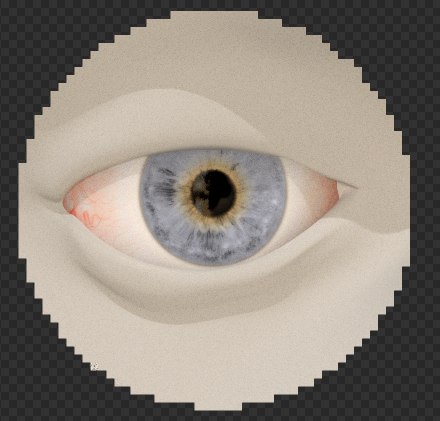
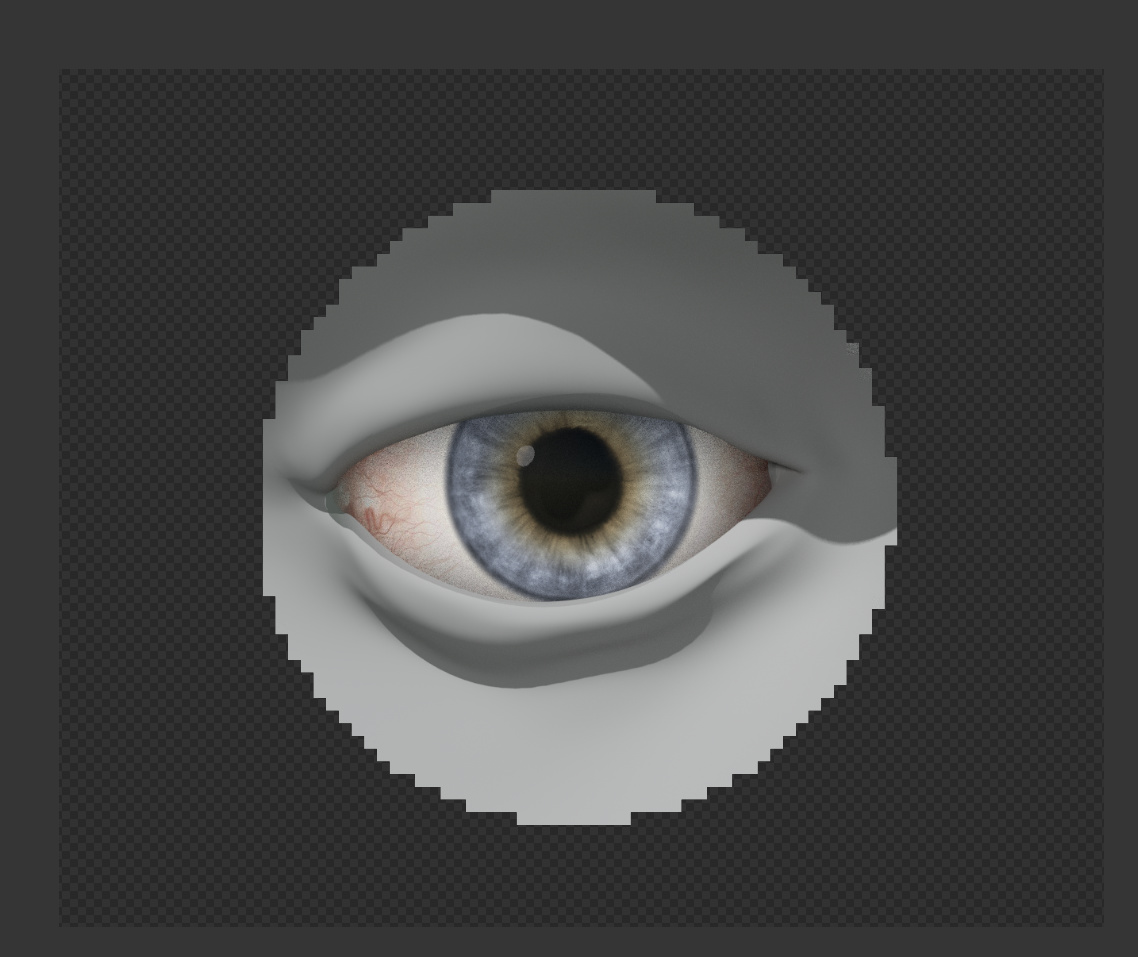
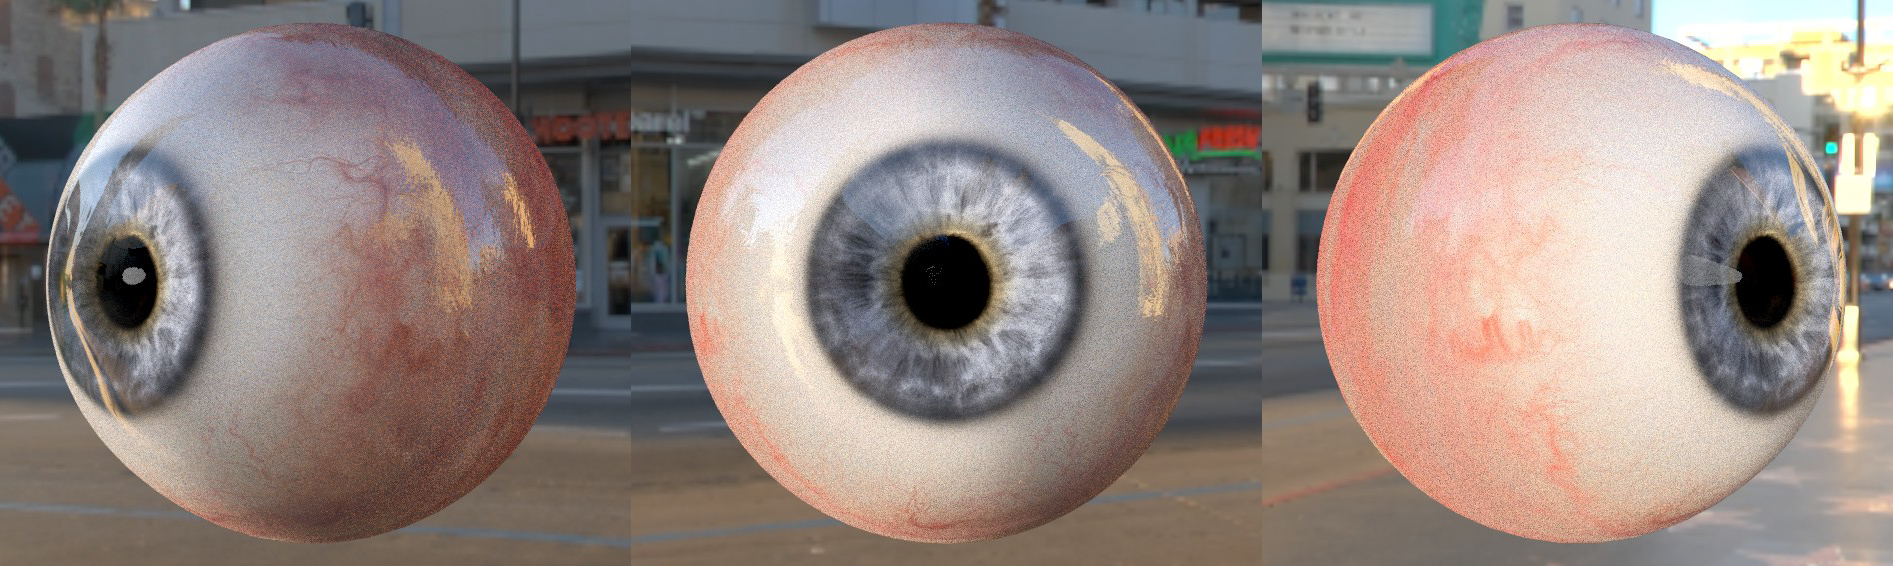
Eye test.
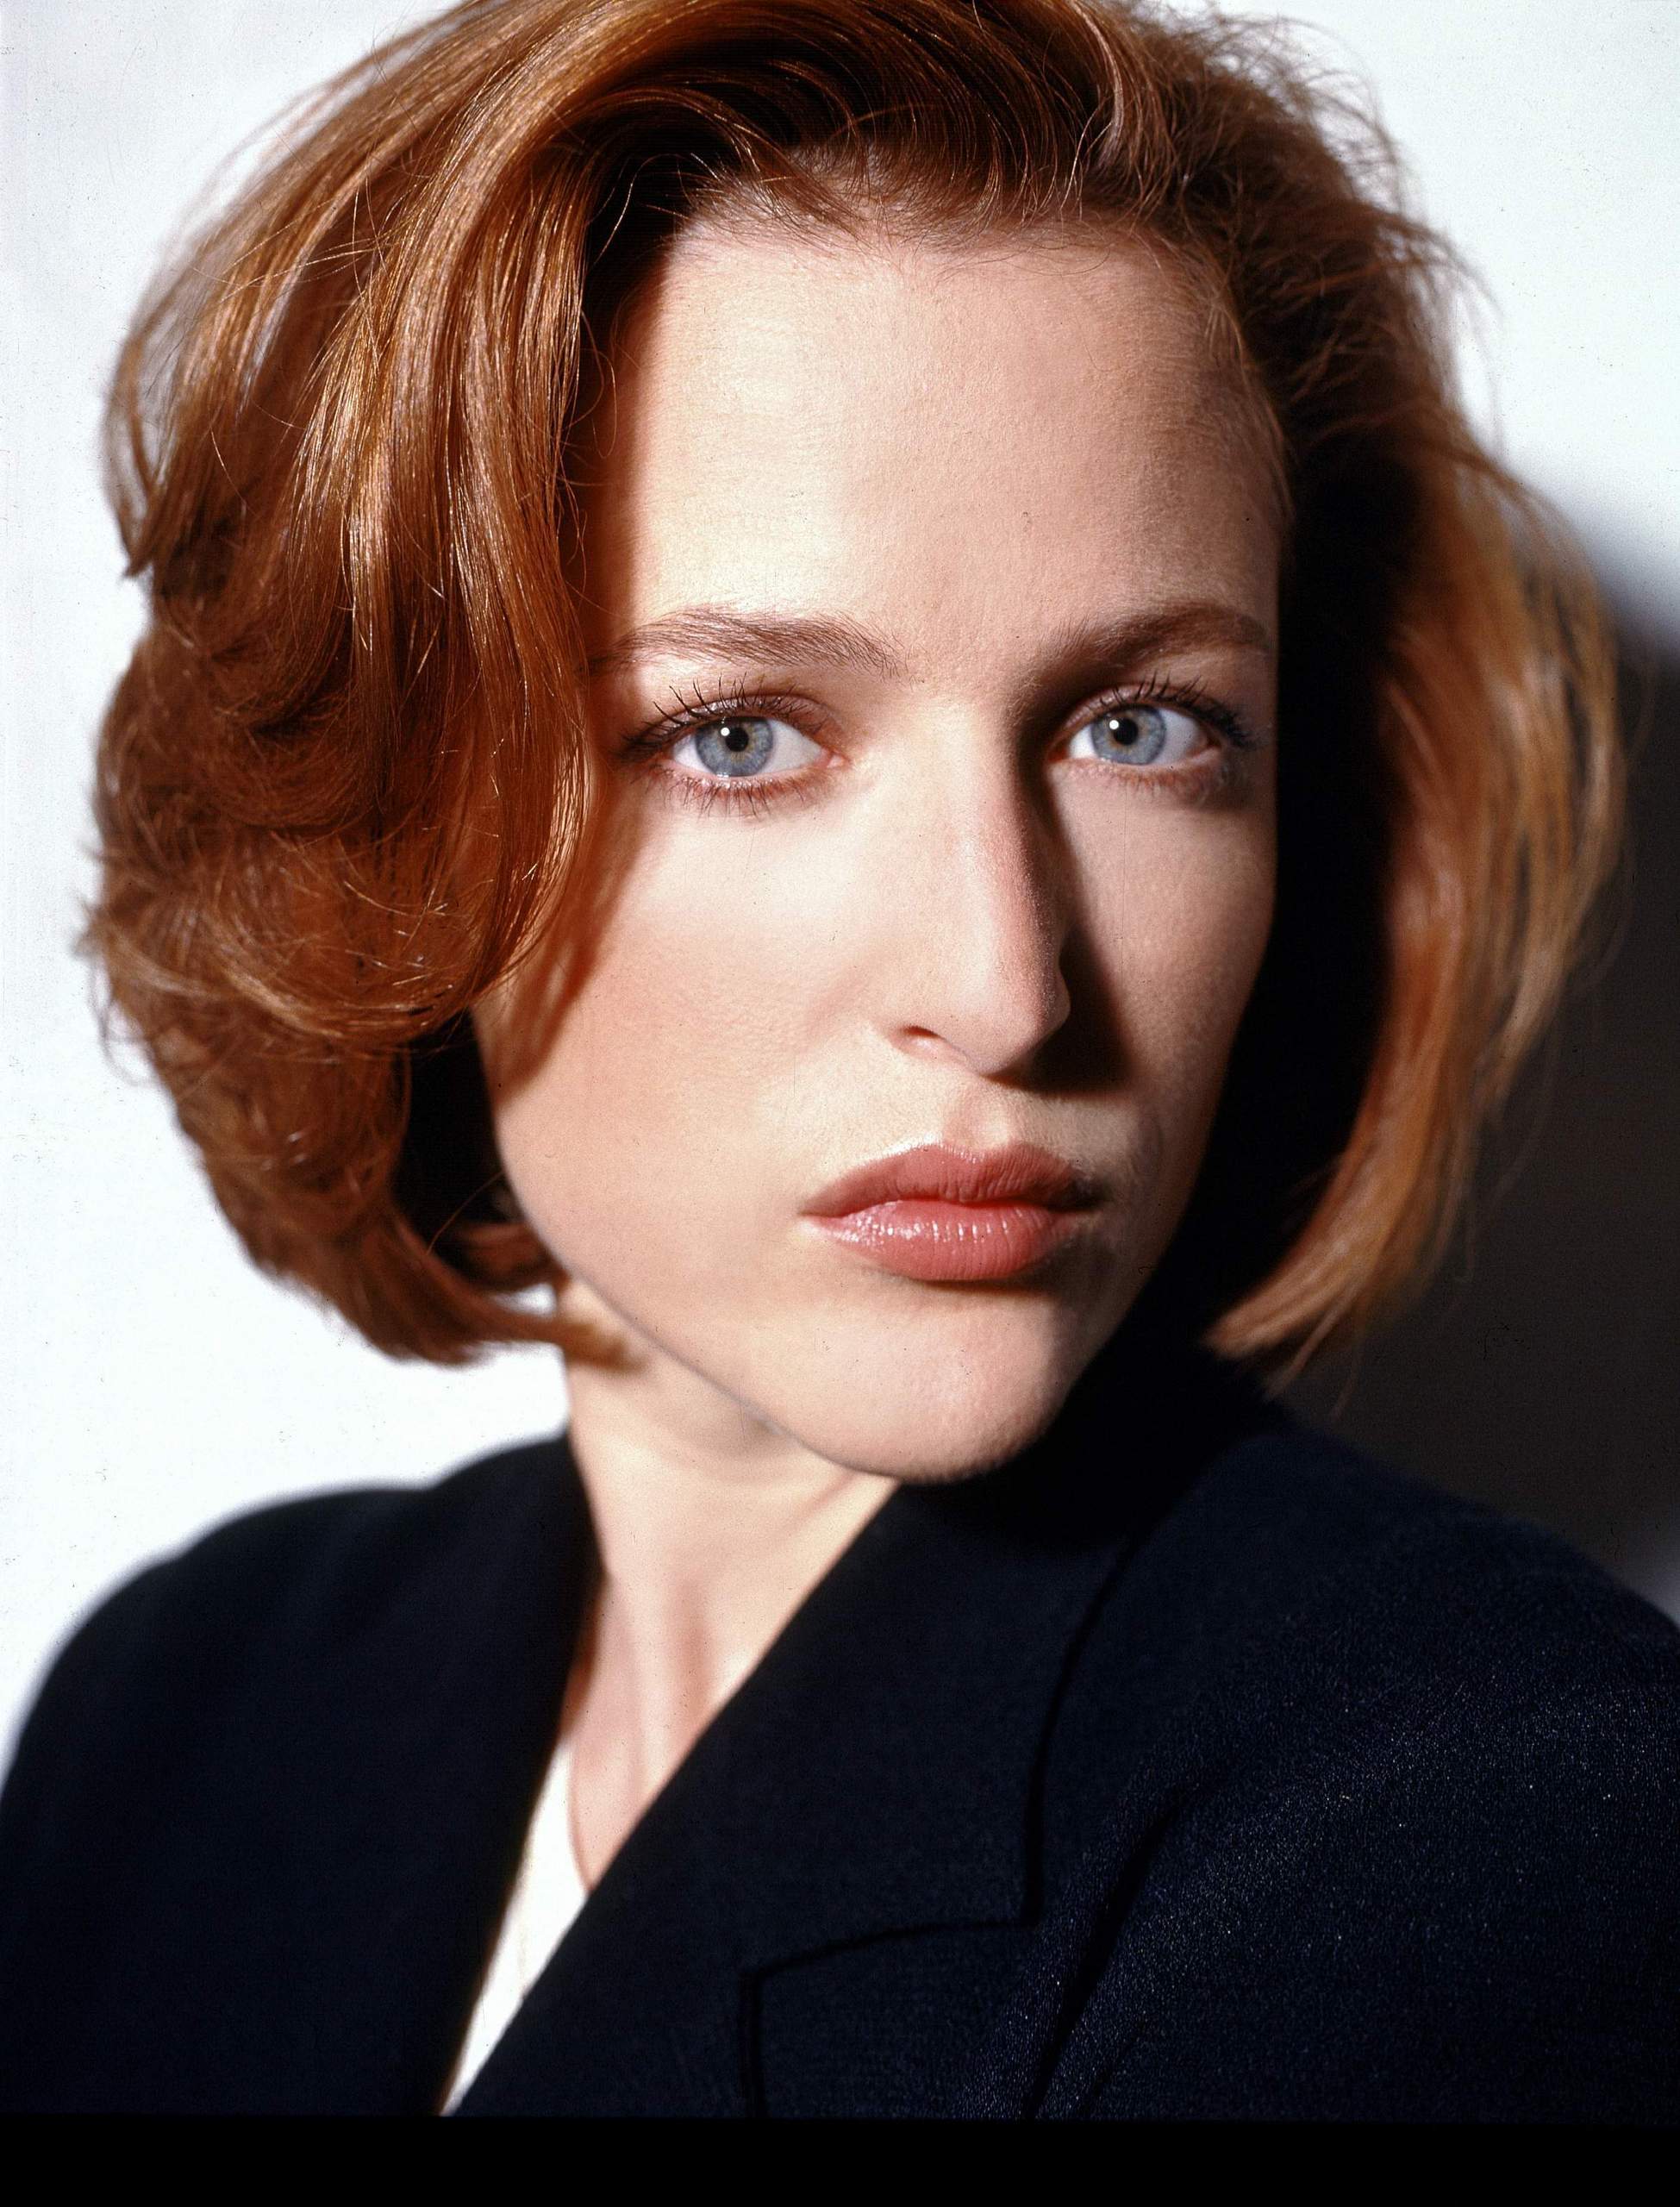
Since I can’t access my hard drives yet, I figured I might as well start on something new. I think I nailed the color of the texture, judging from these reference images, but the shader, as with all eye shaders I’ve ever done, is not looking right. Thoughts?
Oh and I’m using a sloppily modified version of the Lee Perry Smith head, just so I can see the eye sitting in something.
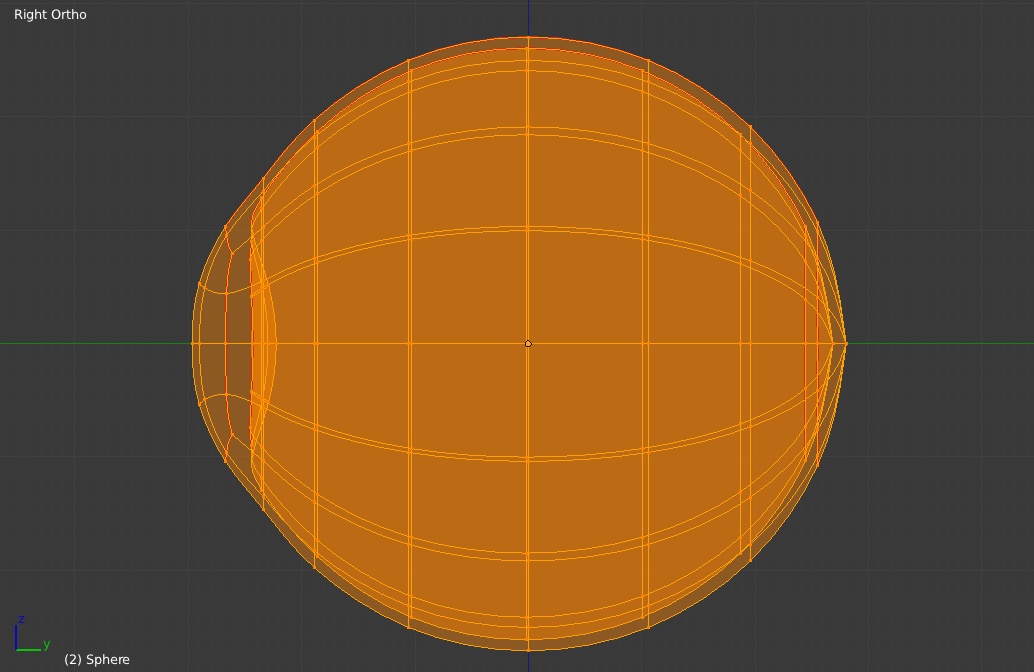
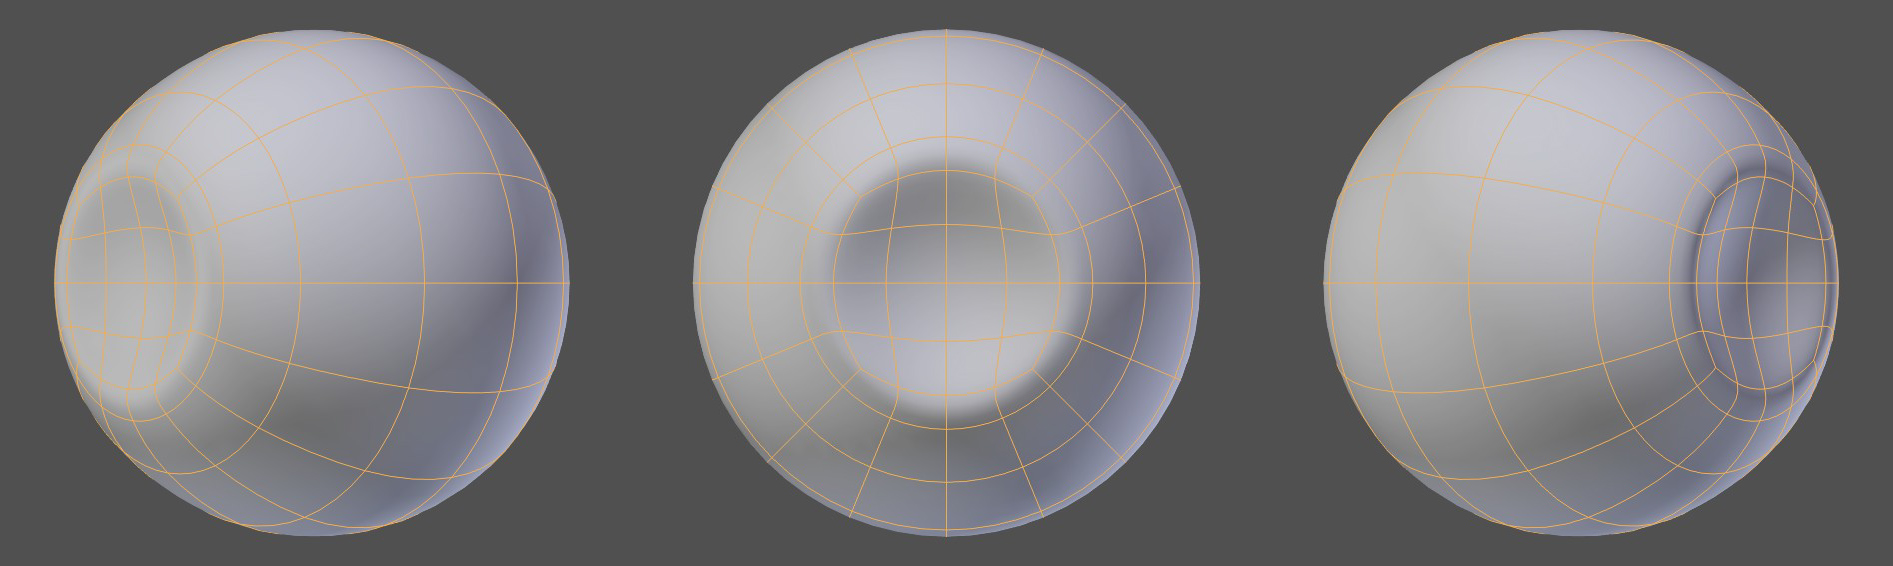
Did you make the eye as two layers, with outer a transparent glossy and the inner the other texture and diffuse? I had seen some eye tutorials in magazines before, just wondering if that was the approach you were takling. Looking good, I like the texture there.
Yes, the eye is composed of two meshes, one representing the cornea and one representing the iris and sclera.
My original plan was to have the iris as its own mesh, then the cornea and sclera as a single mesh covering it, but this proved to be too complicated.
Here’s a new render:
I’m wondering if it’s the lighting that’s making it look bad, but I imagine that properly set up materials should look good under any lighting scenario.
You might be suffering from the lighting being too strong and washing it out, maybe once you are in scene though…
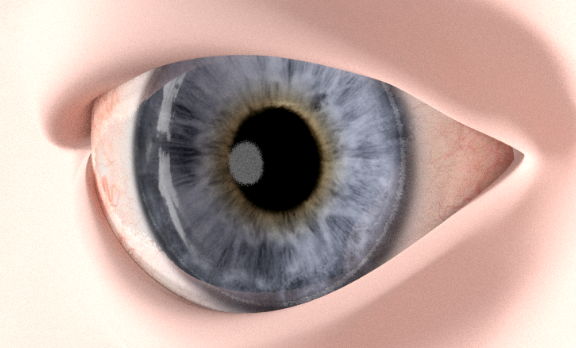
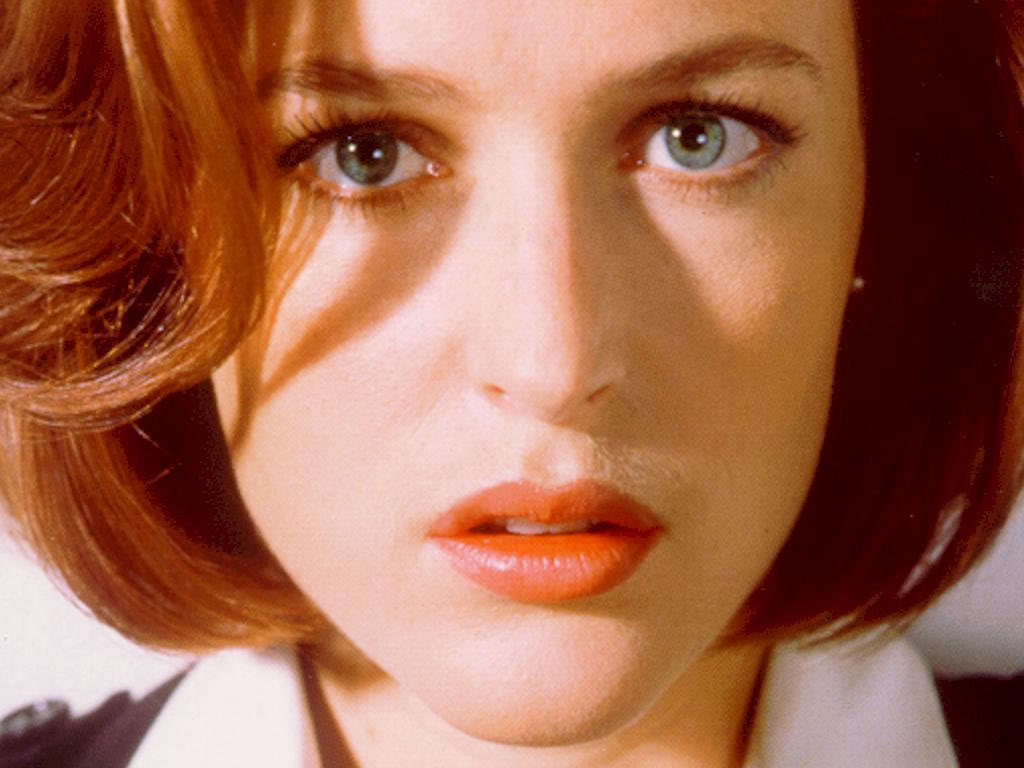
Newest version. I think I’m getting closer. One annoying detail is the specularities in the cornea. If you take a look at the second reference image I linked, the reflection in the eye is pure white, yet the rest of the eye is not blocked out by the world reflections. A behavior very similar, oddly enough, to fake specularity like you might find in Blender Internal. Meanwhile, my reflections are very weak, being made transparent by something within my shader. Maybe the fresnel value…
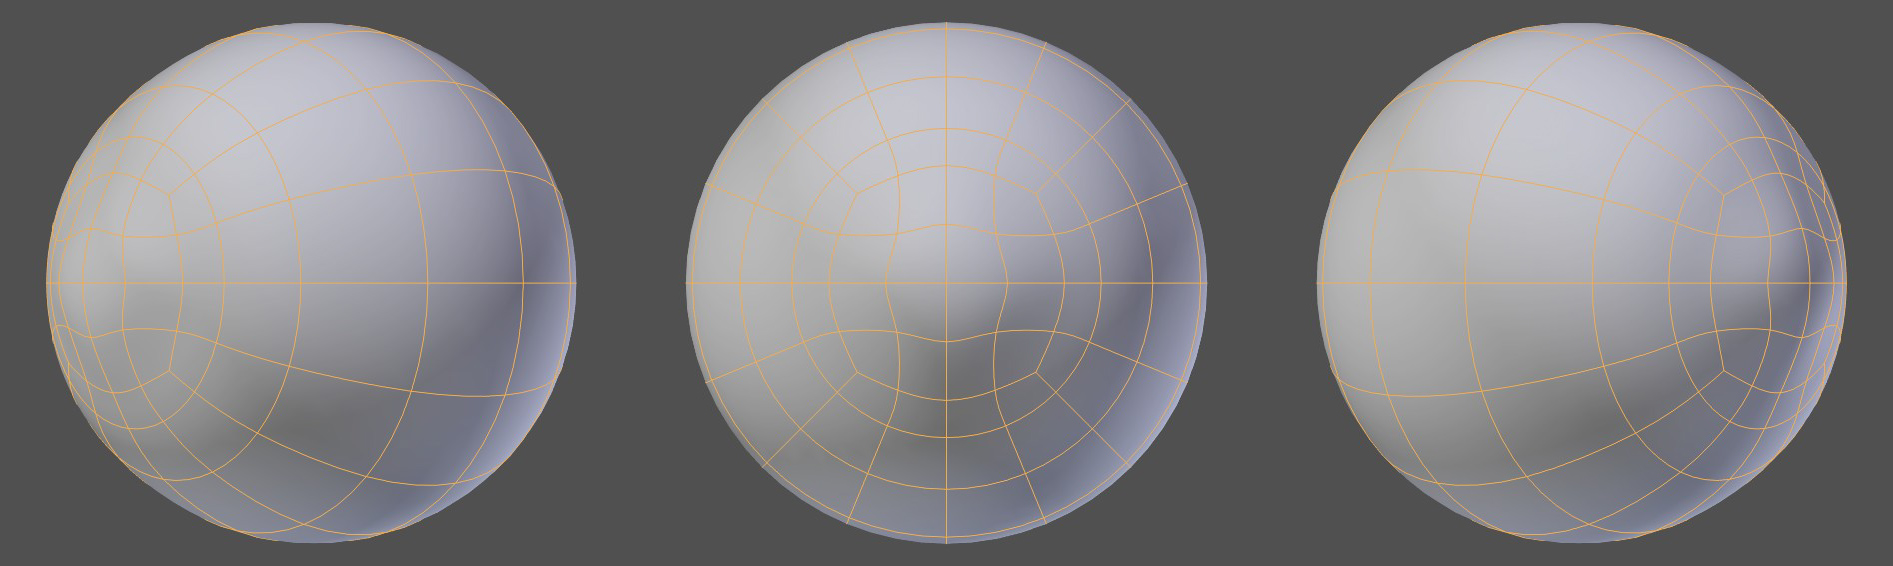
Another Test. Sorry about the huge image - I had to link through to photobucket because GIFs don’t work on this site.

Here, I’m testing the difference between the cornea mesh with a solidify modifier and without. Since there are two layers of material on top of each other, it seems to be doubling the reflections, which I don’t particularly like. It also has an effect on the refraction shader, though I can’t tell if it’s more or less accurate that way.
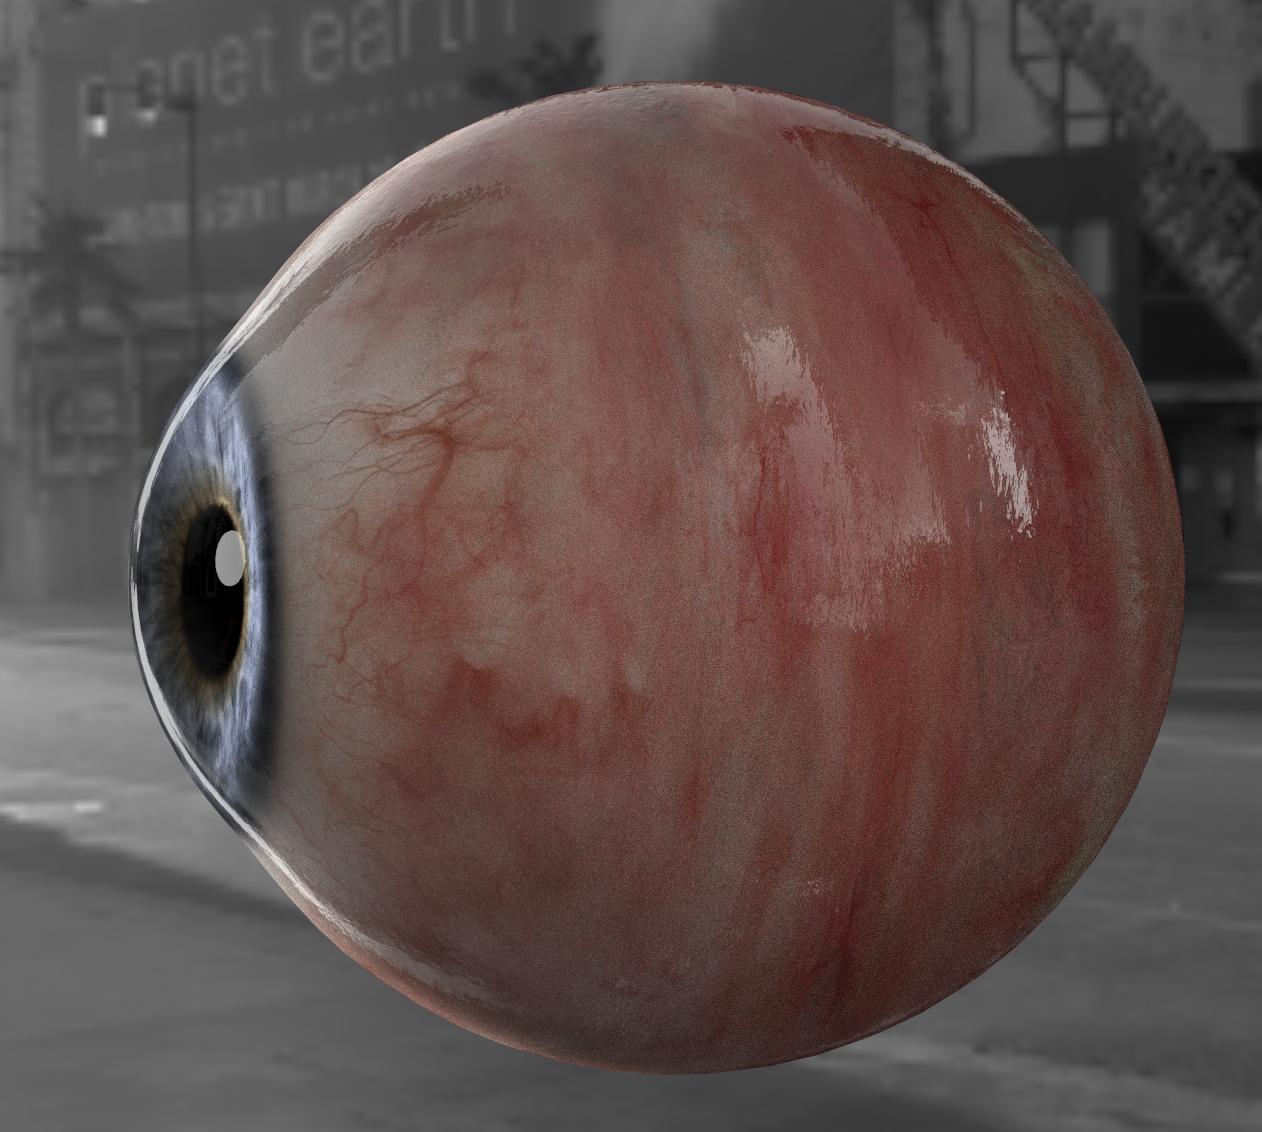
WOW! How did you paint the veins to look so real? You’re progress is really fun to watch, keep it up 
There are a lot of ways to paint veins. When I create them manually I like to start with a base of layered procedural textures (fractal noise in after effects) then add a second pass of manual details. In this case, the veins are an image texture I found online, again courtesy of Mr. Hajka. I actually think the veins are creeping too far towards the iris. I might tone them down a bit.
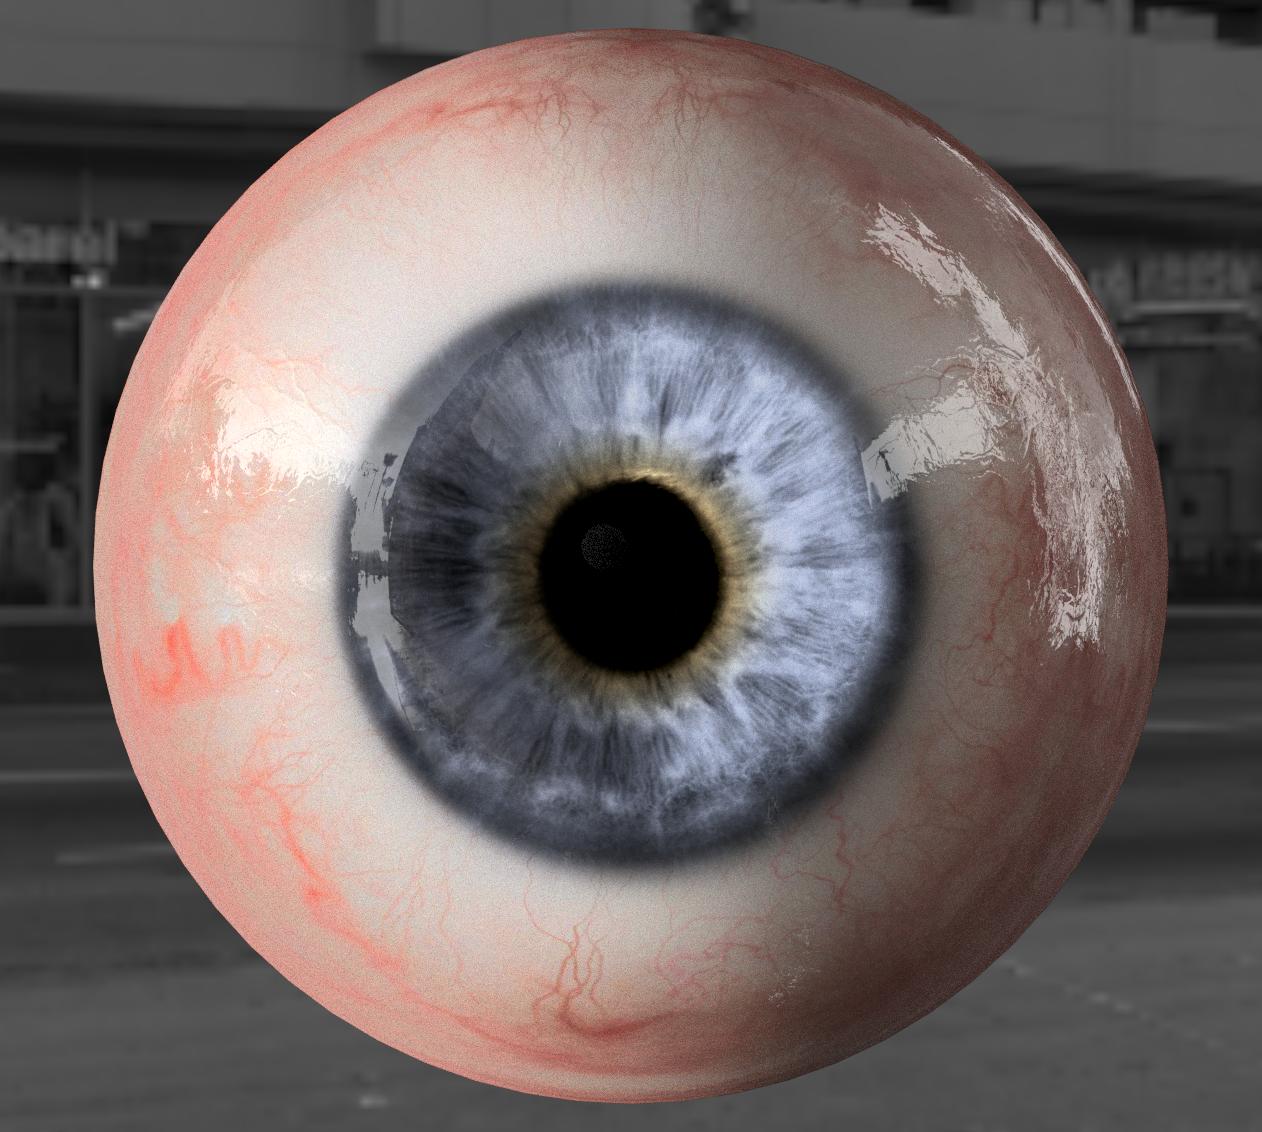
New renders:
Getting closer, but the reflections are still not there yet. I also think I’ll need to see it inside the head to really get a handle on what it needs.
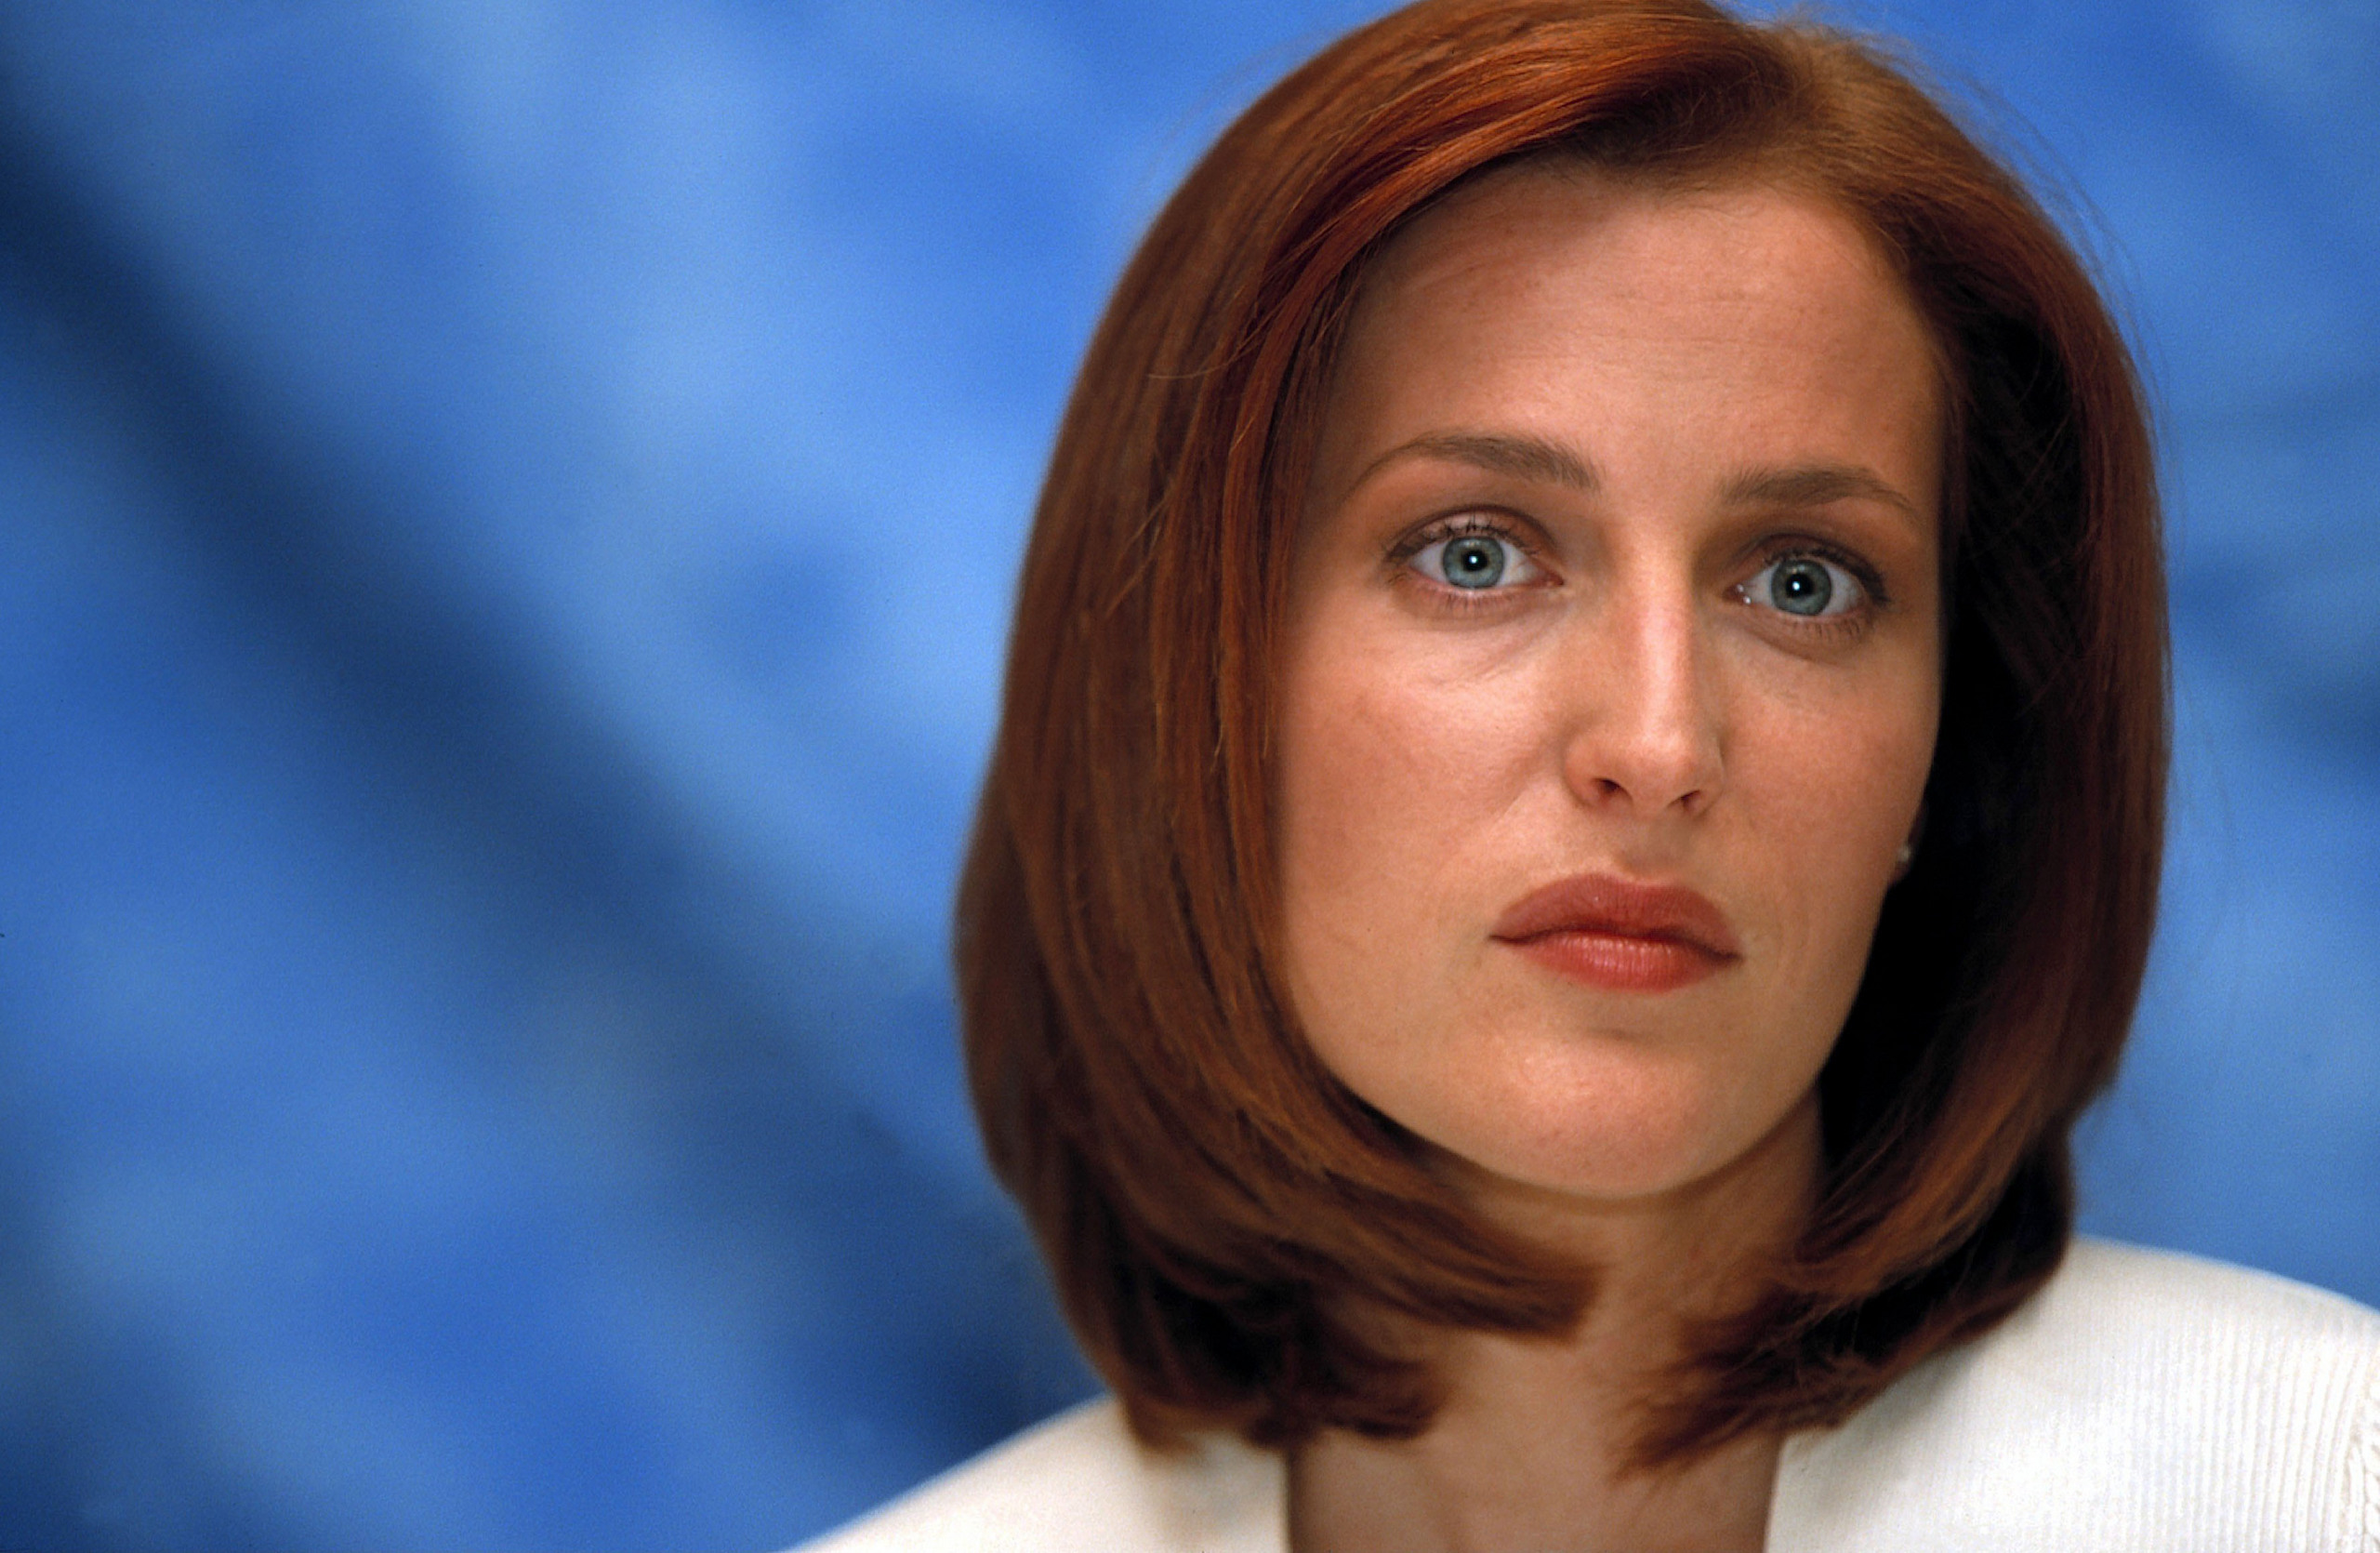
Yeah those veins are great indeed! But just too close to the iris. Now it looks like the eye is infected. Of course it’s hard to tell when it’s not in it’s socket. Anyway freaking cool eye! And Gillian Anderson/Scully. Nice choice! 
Thanks IconW
I think this will be the last update until I can get back to work on the head.
I moved the veins back to give the iris a little more room, plus I incorporated the normal map of the veins into both materials of both meshes. Finally, I re-made my cornea object, because I wasn’t happy with the bulge of the lens on the first one. However, I’m still not sure if the iris/lens is too big compared to the rest of the sphere.
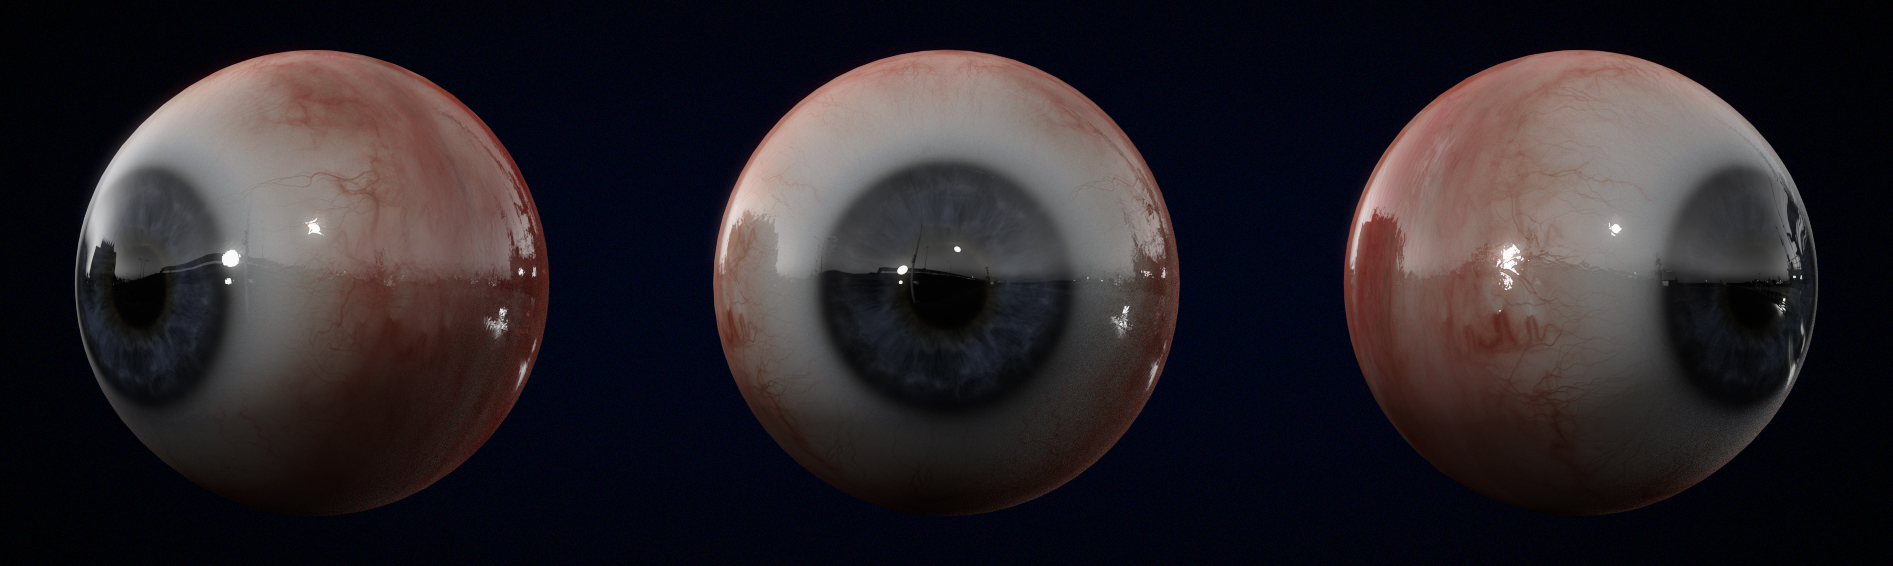
Alright I know I said I was done, but I get antsy when I can’t work on my stuff! 
The old eye was bad so I remade it with new materials and slightly new models.
However, I’m still running into the problem with the reflectivity wherein the exposure differences of emission materials is not respected. For example:

This region around the iris should only be reflecting the bright highlight cards I placed in the scene, but instead, it’s reflecting the sky and darker areas of the HDRI. I could increase the contrast of the fresnel node (which you’ll have to forgive me for accidentally inverting here, though it doesn’t change the problem), but this turns the bright specular highlights into semitransparent grey circles:
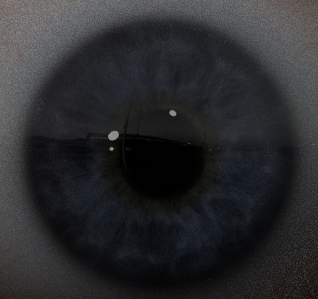
Obviously this is not correct, because brighter regions of emission should show through more strongly than darker ones. I have a feeling it has to do with the the way cycles treats emission rays within reflections, though that’s just a guess, since I have no idea how cycles works. Does anyone have any advice on how to fix this?
From profile view, mouth and chin protruding forward too much. Try movng the upper mandible mouth and chin slightly back, recessing the mass more under the cheekbones. You can see the very slight shadow of the overhang of the cheekbone in the darker front reference shots.
An option might be selecting all verts in upper mandible, mouth, and chin and rotating it (along X axis) using the topmost vert just below the nose as the active fulcrum. Swinging the whole section under the cheekbones a bit.
FXR
Thanks, I’ll look into that when I get my drive reader and I can access the file.
I don’t suppose anyone could shed any light on my eyeball situation, could they? It’s a question I’ve seen posted here before (albeit relating to Blender Internal) but still with no real satisfactory answers. Is this just a problem with Cycles that will need to be solved in compositing?

