Roller Coaster Simulator (or maybe not).

Pretty impressive… the guy second from the right seems to be having some wierd arm motion, but maybe he was dribbling a basketball or something.

Tell us a little bit about the character /rig…is this something from makehuman or a character you made… or does it come along with the motion capture library? I probably should take the time to watch video you posted, but I was just curious.

The armature actually is the one that came with the motion capture files, I found quite a lot on retargetting on you tube, which is probably the proper way to do it, but I ran into a lot of problems, and in the end I found attaching the mesh to the imported file easier. The files are quite old and the armature appears to be somewhat non standard compared to other things I’ve seen.
Also up to this point I haven’t found a satisfactory way of stiching different files together, I know it can be done, and will look into it later on, but I had to abandon it due to time constraints on this project.(I did waste a lot of time trying to get it to work).For the time being my solution is to edit the video in such a way as to use the files in an unmodified form, they tend to be generic actions like walking, sitting, playing games etc. There are a lot of them though (about 2000), so you have a lot of variation. You can modify them in the graph editor for simple actions like turning the head, or raising arms, but anything to do with walking introduces footskate, and makes the whole thing look fake. It is a very different approach from IK animation which I haven’t attempted yet. I am still very much a novice at this.

This will be the opening shot of the movie. The figures are very low poly but at this distance it does not matter. |For this I have used a variety of motion capture files files from the Carnegie Mellon Database.

It looks outstanding from this camera angle, I can’t imagine what it would take to actually animate all those people. So did you make the meshes for each of these characters or does the meshes come with the mocap files?

I’m really impressed with this.

I made the individual meshes, one male one female , and one child. These were very low poly and would not stand close inspection, I followed various tutorials on simple character construction and the intention was always that they could be seen from a distance. Once done I applied the same armature in each case. Then copied each figure (including the armature) to make a different object. thereafter I made minor changes such as adjusting the height or width, in object mode, and change the clothing colour on some to give variety. There was no UV mapping or texturing, I only used the base material diffuse colours. Always I checked to see that the figures remained small so that you cannot see them too clearly. (This is all sleight of hand), Finally I added the different BVH files to each figure (Having spent the previous evening finding ones that were suitable. Bear in mind that the animations come complete, so essentialy they work out of the box. And as they were originally real people they can look pretty convincing. I had already done the lighting and the buildings previously, so the whole thing took about 4 hours to set up
Just to show how simple they were, here’s a closeup.


This is a reveal of the car itself.The design has been modified. The principal elements that have changed are the screen, and the seats. In both cases to make them somewhat more practical. Once more I am using Blender Internal, as it has support for spotlight halos, and I wanted to get that car showroom effect. I have used mocap animated figures again, but have kept them deliberately low key, as the star in this case is (to coin a phrase) the car.

Wow. I’ve been impressed from post one. It just keeps getting better and better. These aren’t exactly photorealisitic (you already said that wasn’t goal) but It’s pretty good, and I really like the mood you’ve set. Probably at least TV quality stuff.

The entire motion capture thing is awesome. This is making me want to abandon all my project temporarily and just make some models that I can use it with.

Keep us updated. I’m really looking forward to this.

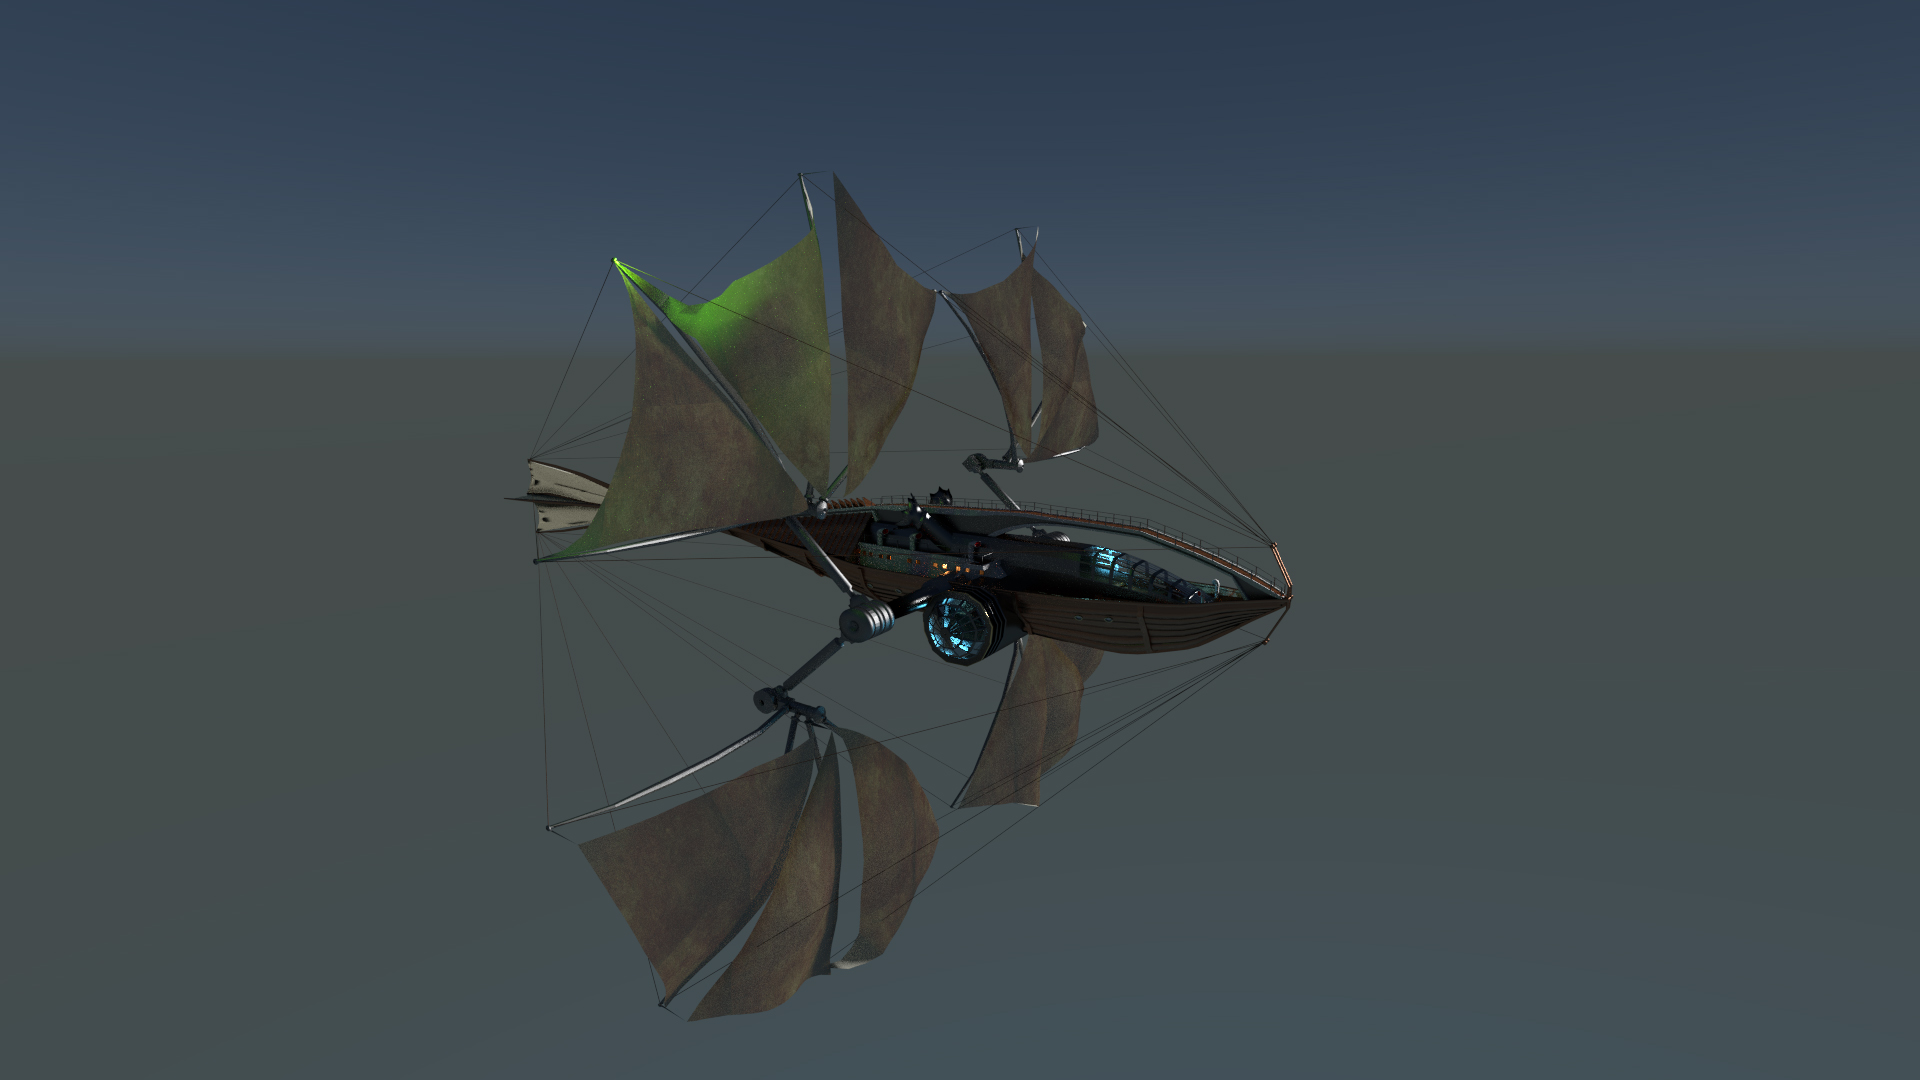
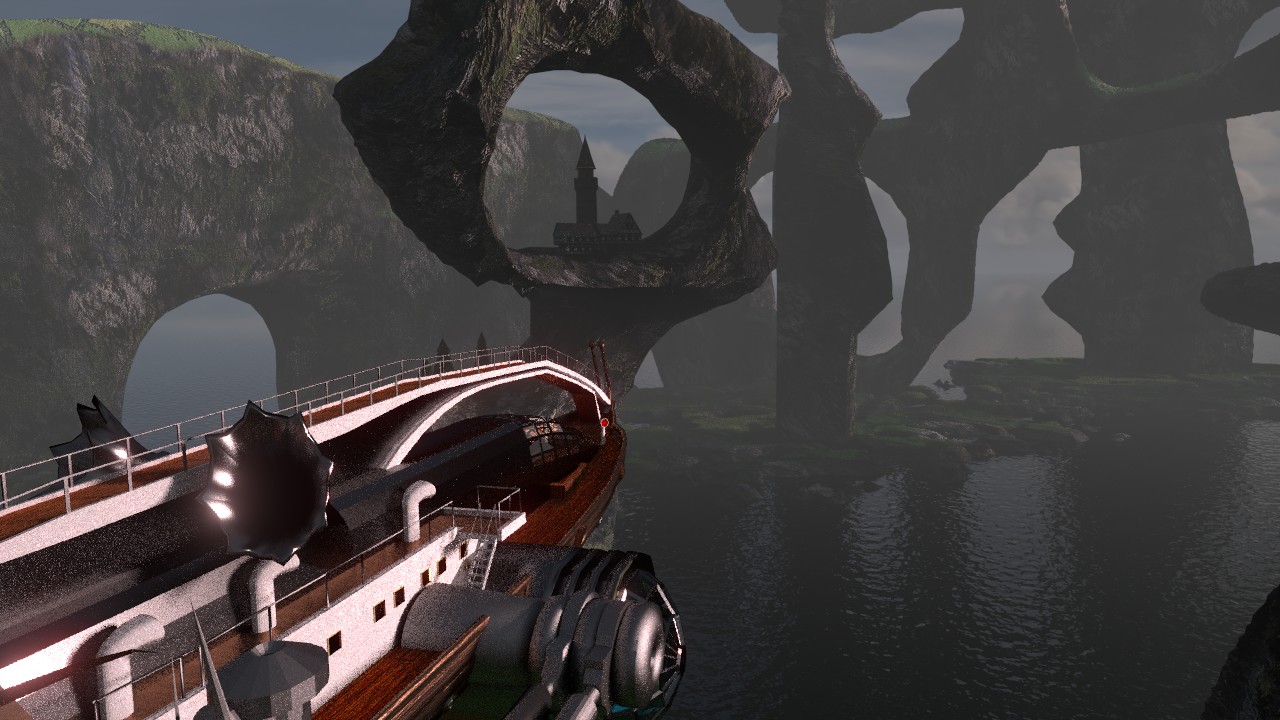
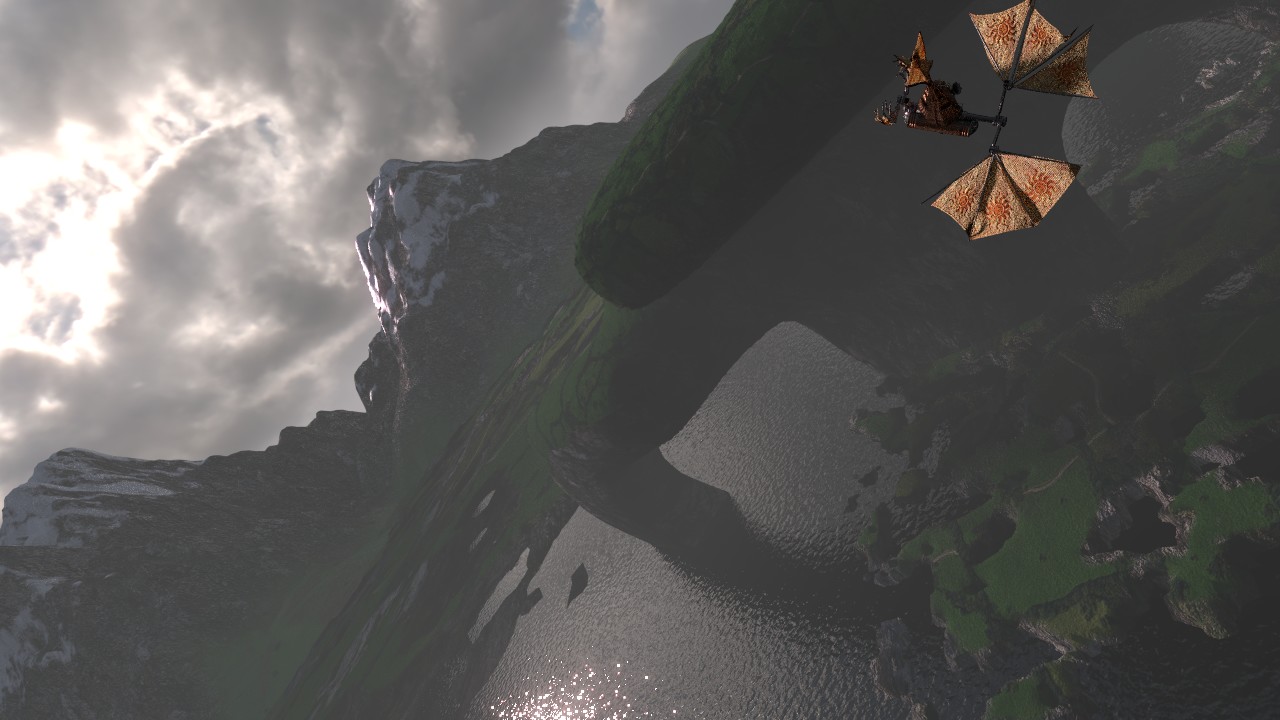
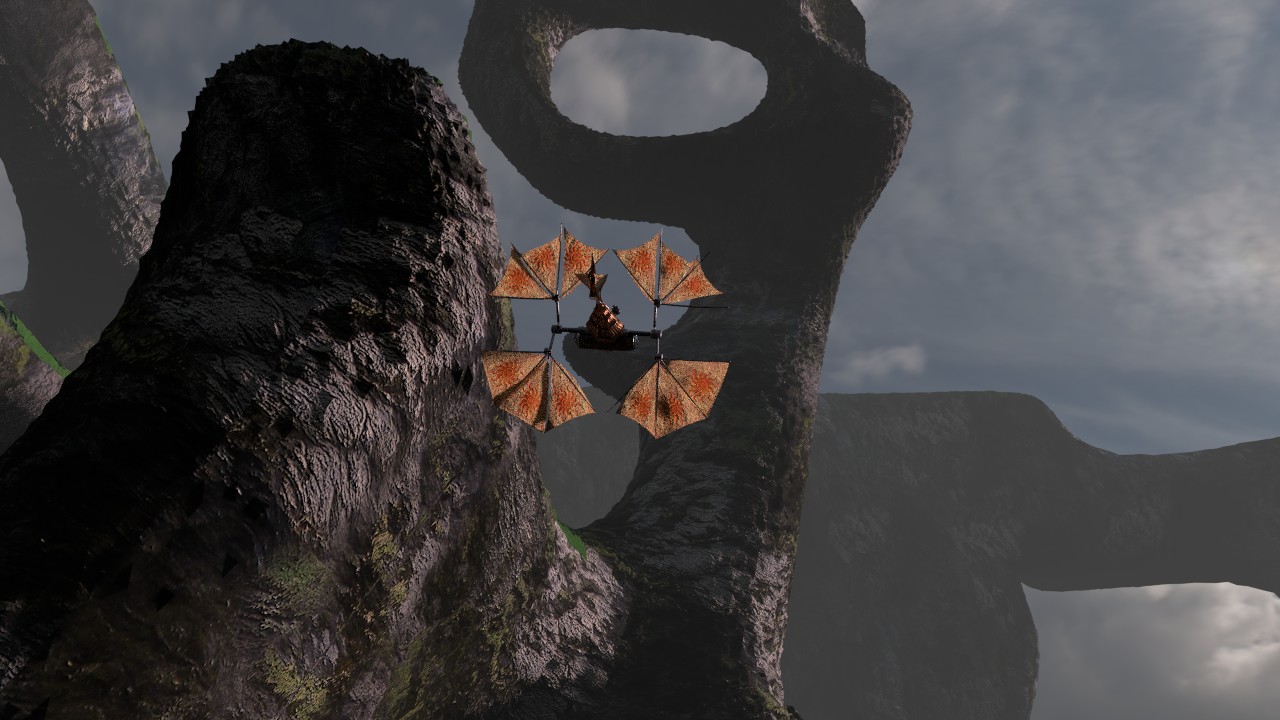
This is the “latest render” ,bearing in mind that I am doing this slightly in retrospect, (I am not really this quick!).
I had to address several problems here, In that I am setting the scene for the various rides to follow.
The difficulties I encountered were as follows.
Firstly, up until now I have tried to use only my own models and textures, and so far in this respect, I have been largely successful.
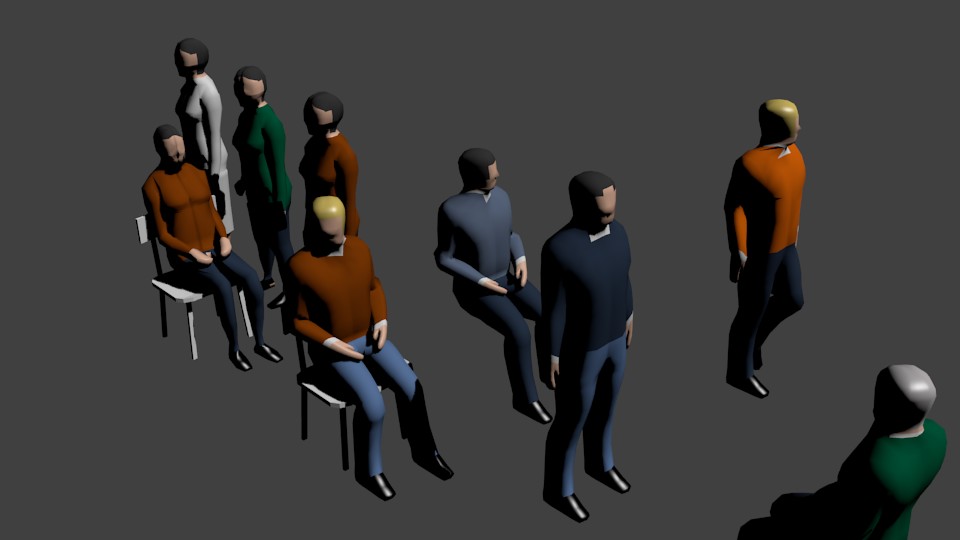
However a previous post has shown that my figure modelling skills are somewhat basic up to this point. I looked at makehuman, but there was too much to learn there and my time is limited.
So my solution was to go looking for a model made by a pro so that I could study how it was constructed, and learn from that. and the one I eventually settled on was this one.

http://tf3dm.com/3d-model/jennifer-52289.html

As she is under a personal use license only, she will probably not make it into the finished movie, but the experience I gained was invaluable.
On a side note. I think that CGI is possibly a hobby pursued by predominately young men, (I know there are ladies out there but bear with me on this one) I did notice that there was a definite preponderance of " ideal figures" with essentially impossible attributes, and I found it quite hard to locate someone that actually looked like a human being, and even here, my wife recons she could do with a breast reduction. Though I replied (truthfully), that her somewhat noticeable assets in the clip, (not in the original model) were as a result of my somewhat inexpert weight painting, I don’t think she believed me.

What I did next was quite interesting though.

I got my very long suffering wife to pose for a front and side facial shot, then I took the mesh from the Jennifer model and adjusted it to her facial features, then I replaced the original textures with a texture map based on the photos I had taken, a change of clothes, and all of a sudden you have a completely new character. It is a little alarming to see someone who looks not completely unlike my other half peering out of the screen. When I have time, I will build a model from the ground up, (I feel much more confident about that now) but in the meantime this has proved a workable solution.

As far as the motion capture is concerned, I used two separate files of characters sitting down, as I am at the moment unable to edit these files to my satisfaction, I had to redesign the chairs to fit the characters. The rest is tight editing, and use of camera angles to get the best out of the shot. Also there is a close up of the screen that sets the shot up for the next part of the movie, which will show the user interface for selecting the rides. The big problem with motion capture is that it is hard to edit, (not impossible but I will leave that for another day). In all these 3 shots were about 2 weeks work, a lot of it down to feeling my way through all the new stuff I was learning.

I now need to set up the user interface for the interior of the car, and this requires that I need to use elements of the three different rides. I can use the spaceship from the space battle , but I also need to decide what the other rides will be.
I have decided that one ride will be a recreation of a world war 2 dogfight. And with that as a starting point, I will refine it down to a carrier borne naval encounter, between the US and the jJapanese. The reason is practical, a naval encountere takes place over a flat plane, (the pacific ocean), so I can keep the landscape modelling down to a bare minimum. Also I already have a warship model I can use.
So for the principle protagonists, I have modelled the Chance Vought Corsair, and the Mitsubishi zero.
These are not super accurate, or over detailed, as they will be scooting about so fast that motion blur will make that irrelevant, but I think that they are recognisable. I am also giving cycles a proper go for the first time, largely because I have discovered how good the enviroment maps are.

Here are the corsair and zero, Combined modelling time, about 4 hours.


For the 3rd ride I am developing a steampunk style flying boat, this is still a work in progress.


All three of the models look really nice and I feel like you have plenty enough detail for what you are trying to accomplish. It will be real interesting to see what you have in mind for the steampunk scene(s).

Two videos this evening. The first is an attempt to set up the user interface for the rides. This is still looking quite crude, but it gets the message across. If I get the time, I will want to refine this. The patterns are generated by a program called Mandebulber, and are based on the mandelbrot equations, (look it up it is very interesting) but I think that I may have overdone them a bit here. Also this shows why I needed to make the corsair and steampunk models at this point.

Next, some fun with some old aeroplanes, I think this came out quite well.

Both animations came out really well. I like the background animations you used on the first one. One suggestion is I think your text needed to stay on camera longer for each option.

The dog fight sequence looks great as well… I’m trying to figure out what is making the ocean have that mist along the surface(for lack of a better word)? It seems to disappear as the camera is moving.

A brief update, I am working on what I have been calling “The Steampunk Airship”. It has been proving a bit of a struggle. For some reason when using stencil maps, they appear fine in texture mode, but in material mode, and when rendering, it it looses any correlation with the UV map. I don’t know wether this is a bug or something that I missed in cycles. I have certainly never encountered the problem before. In the end I bodged the result to an acceptable standard, but I haven’t got to the bottom of the problem. If I knew what was wrong I’d have finished this by now, but as it is it is still a work in progress.


The dog fight sequence looks great as well… I’m trying to figure out what is making the ocean have that mist along the surface(for lack of a better word)? It seems to disappear as the camera is moving.

I was using the new mist pass, and I set the start point a little too far away from the camera. It is not particularly apparent in a still. But very noticable in a movie sequence. I think the solution is to bring the start point to 0 and keep it fairly low in the compositor.
Also it is far more noticable on a flat plane like an ocean, than in an irregular landscape.

These are some stills from the airship part of the video. This is using cycles and I am beginning to see what the fuss is about. in these pictures I have turned off the motion blur so that you can appreciate the landscape. The Windsinger may not be equipped with jet engines, but she is very very fast.

I have taken the week off work to finish the movie and am relishing the prospect.

Each shot is rendered at 200 passes with caustics turned off, render time about 3 minutes per frame, using a gtx660 with 3gig ddr5 (an early birthday present to myself).


One more for luck.


What methods you use for creating and texturing the terrain? Those mountains and cliffs look superb.

Thumbs up.

These are so nice! Really great work. I prefer these to the ones lower, simply because of the detail and the focus on just that ride. Nice and minimalistic in the background. Makes the whole image just nicer and more appealing to me :slight_smile: Hope to see what next you’ll be doing!

The rocks in the closer foreground are created by fairly simple modelling , then subdivided, (there is a tradeoff here between quality and performance considering that it is an animation), then I added a subsurf modifier, and under that a displacement modifier, with the texture tab pointed at the rock texture that I used, in this case, a photo of a rock face near the Reichenbach falls in switzerland, which I tiled in photoshop, I then also added a bump map, that pointed at the same texture. The grassy areas were added by using a stencil map, (this caused me a lot of trouble as the coordinates whilst matching in the textures viewport, did not match when in the materials viewport, or when rendering, (this is a problem I have never encountered in blender internal). It made that element very frustrating, as I had to use trial and error for something that should have been quite simple.
The grass texture started life as an arial photo, that was extensively modified in photoshop.

The distant mountains were created using the ANT landscape generator add on, (which is great), I made those some time ago, and imported them from another project. They also use stencil maps to differentiate between the rock, grass and snow, but did not require the use of modifiers, I simply used the original textures to generate a bump map.


The steampunk landscapes really look nice Carel. Your making good use of the mist, and I think it adds a real nice touch to these renders. If and when you have time, could you post a screen pic of the landscape stencil image, I was looking at your node setup and was just curious what that image looks like that you used for the factor.