Realistic Space Landscape Project

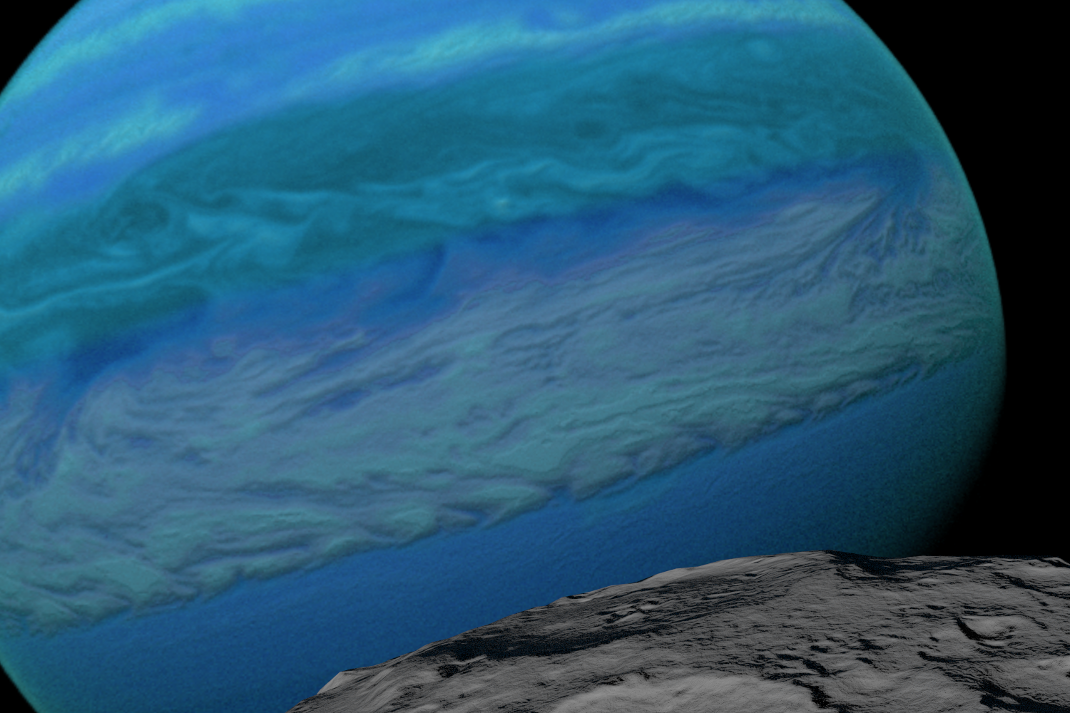
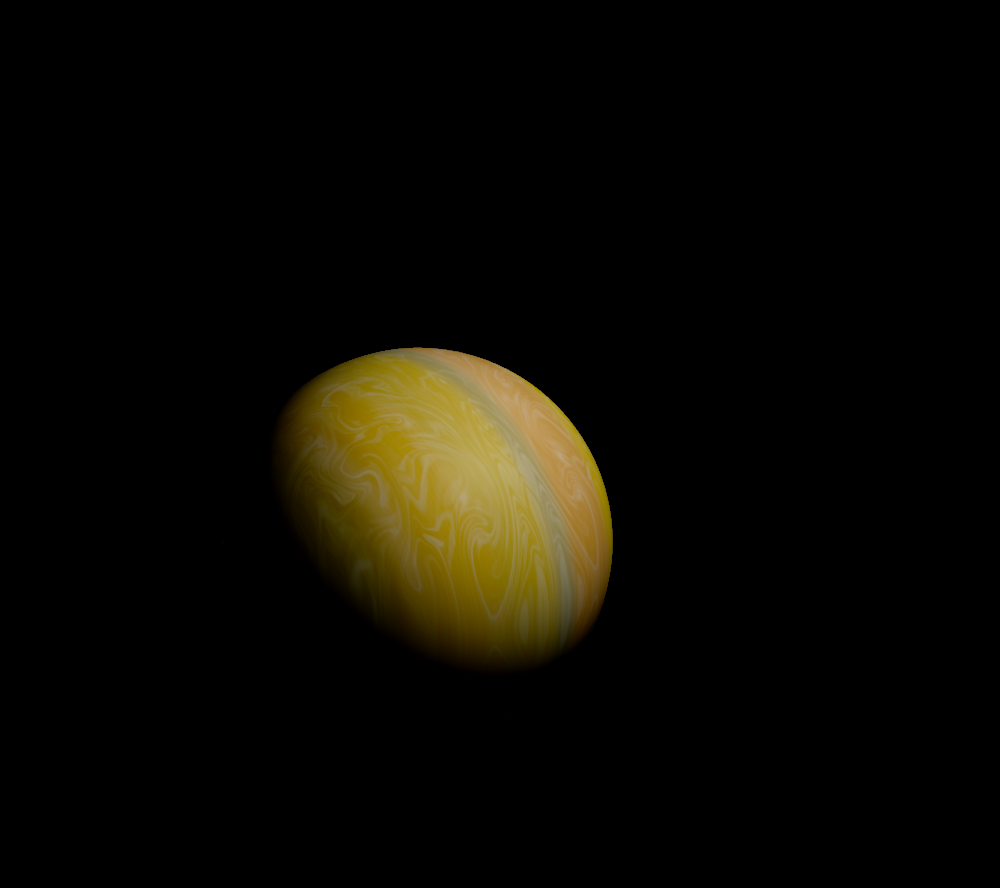
From the first post I was planning to have something, such as a planet or another moon visible in the background. In one more recent post, I included a star, but at present, I think that a planet would give the option for better looking lighting in the scene (as we are not necessarily looking into the only major light source around).

Therefore I need to make a planet:


My very first 3D render. Before I realized you could move the camera.

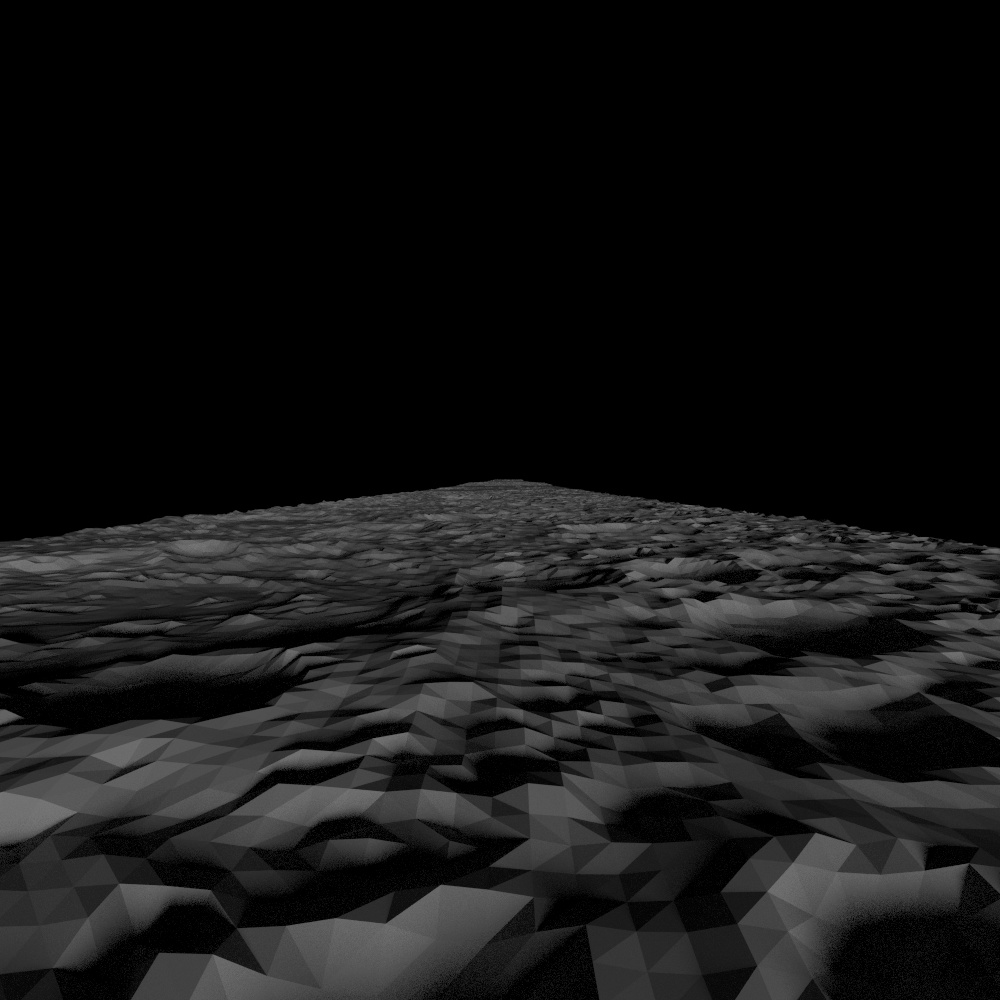
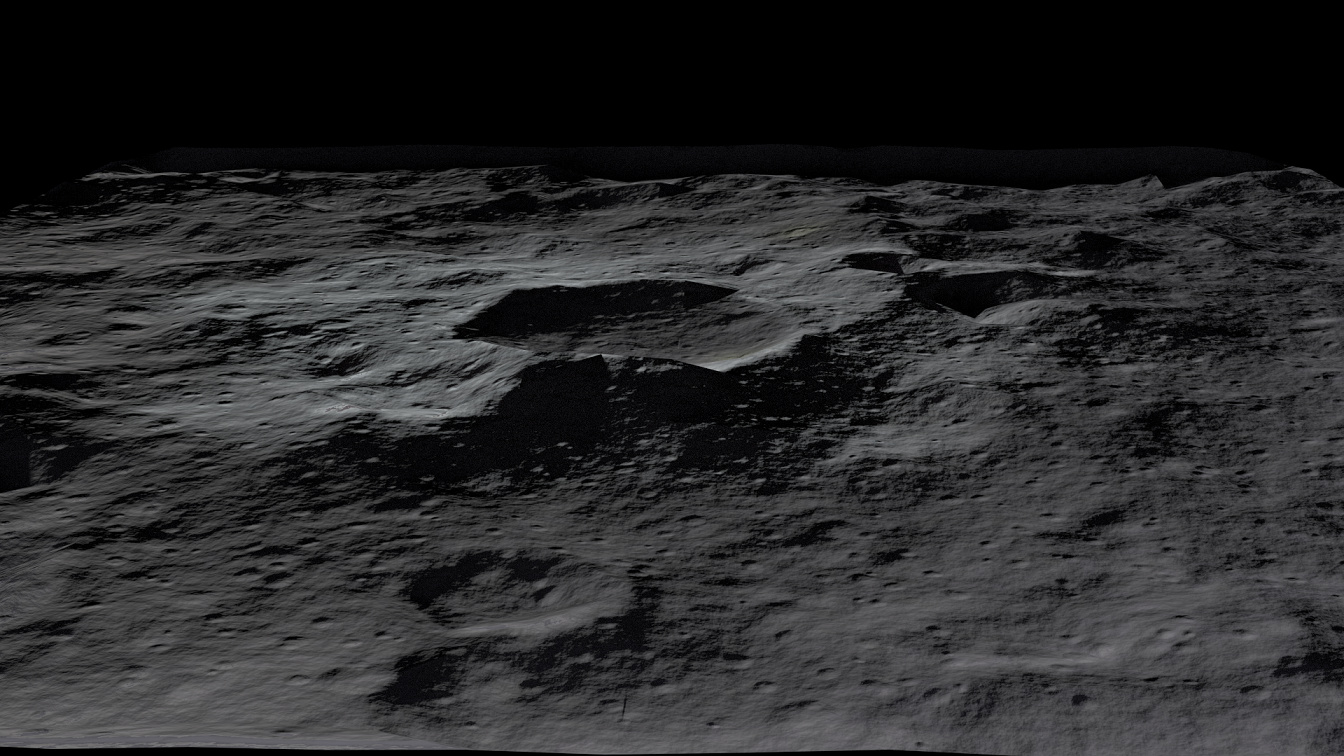
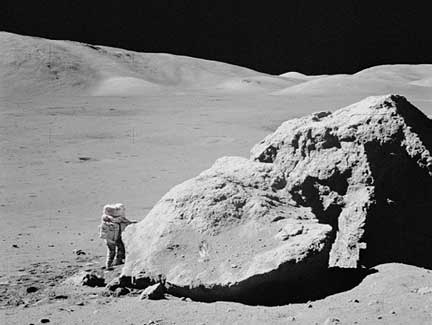
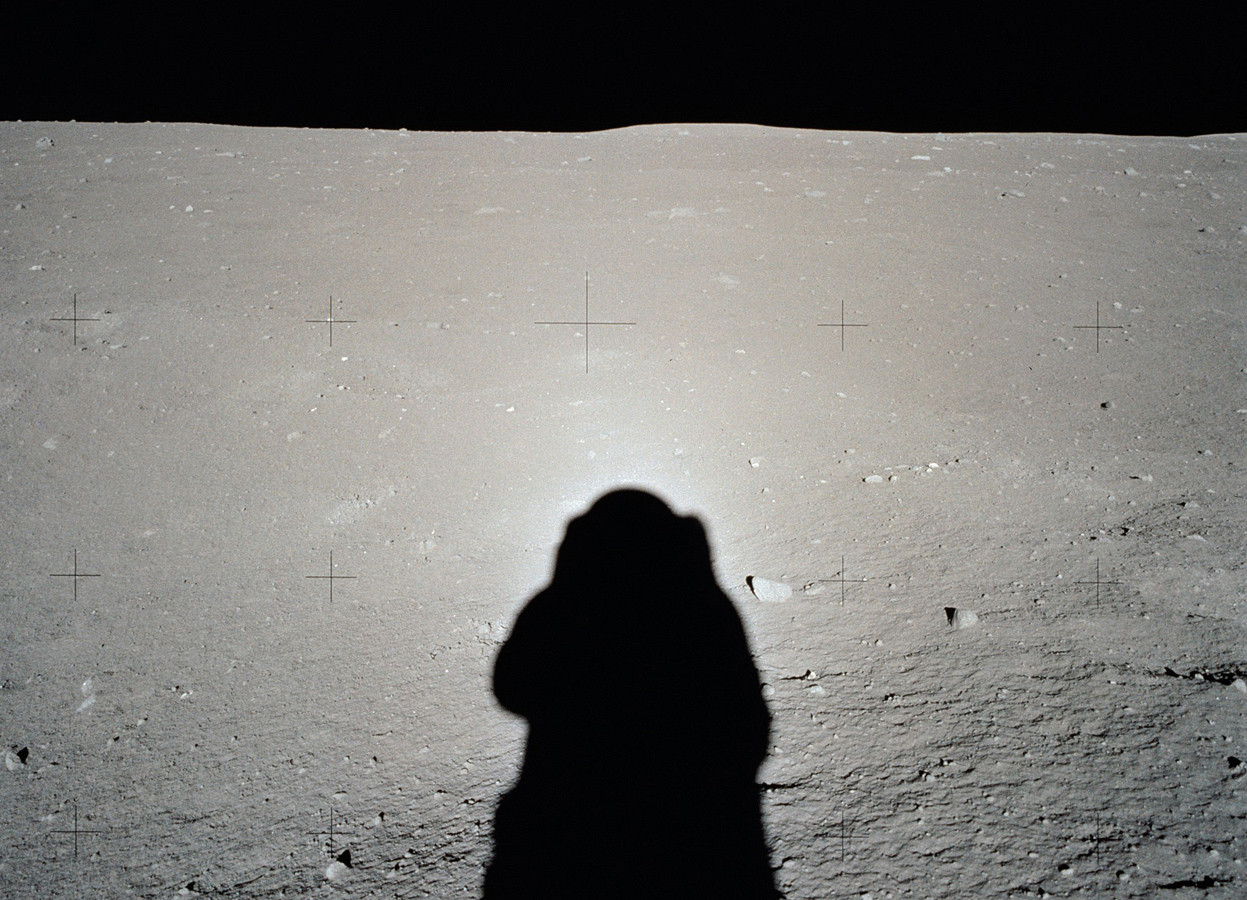
I had started doing this part of the project before this thread began, and am thinking that now I shall work on this large scale scenery as a bit of a brake from the ongoing frustrations of the landscape portion. If you have any comments about either part of the project, I am by no means done with the crater and foreground work, and still am looking for advice on that area, as well as this one.


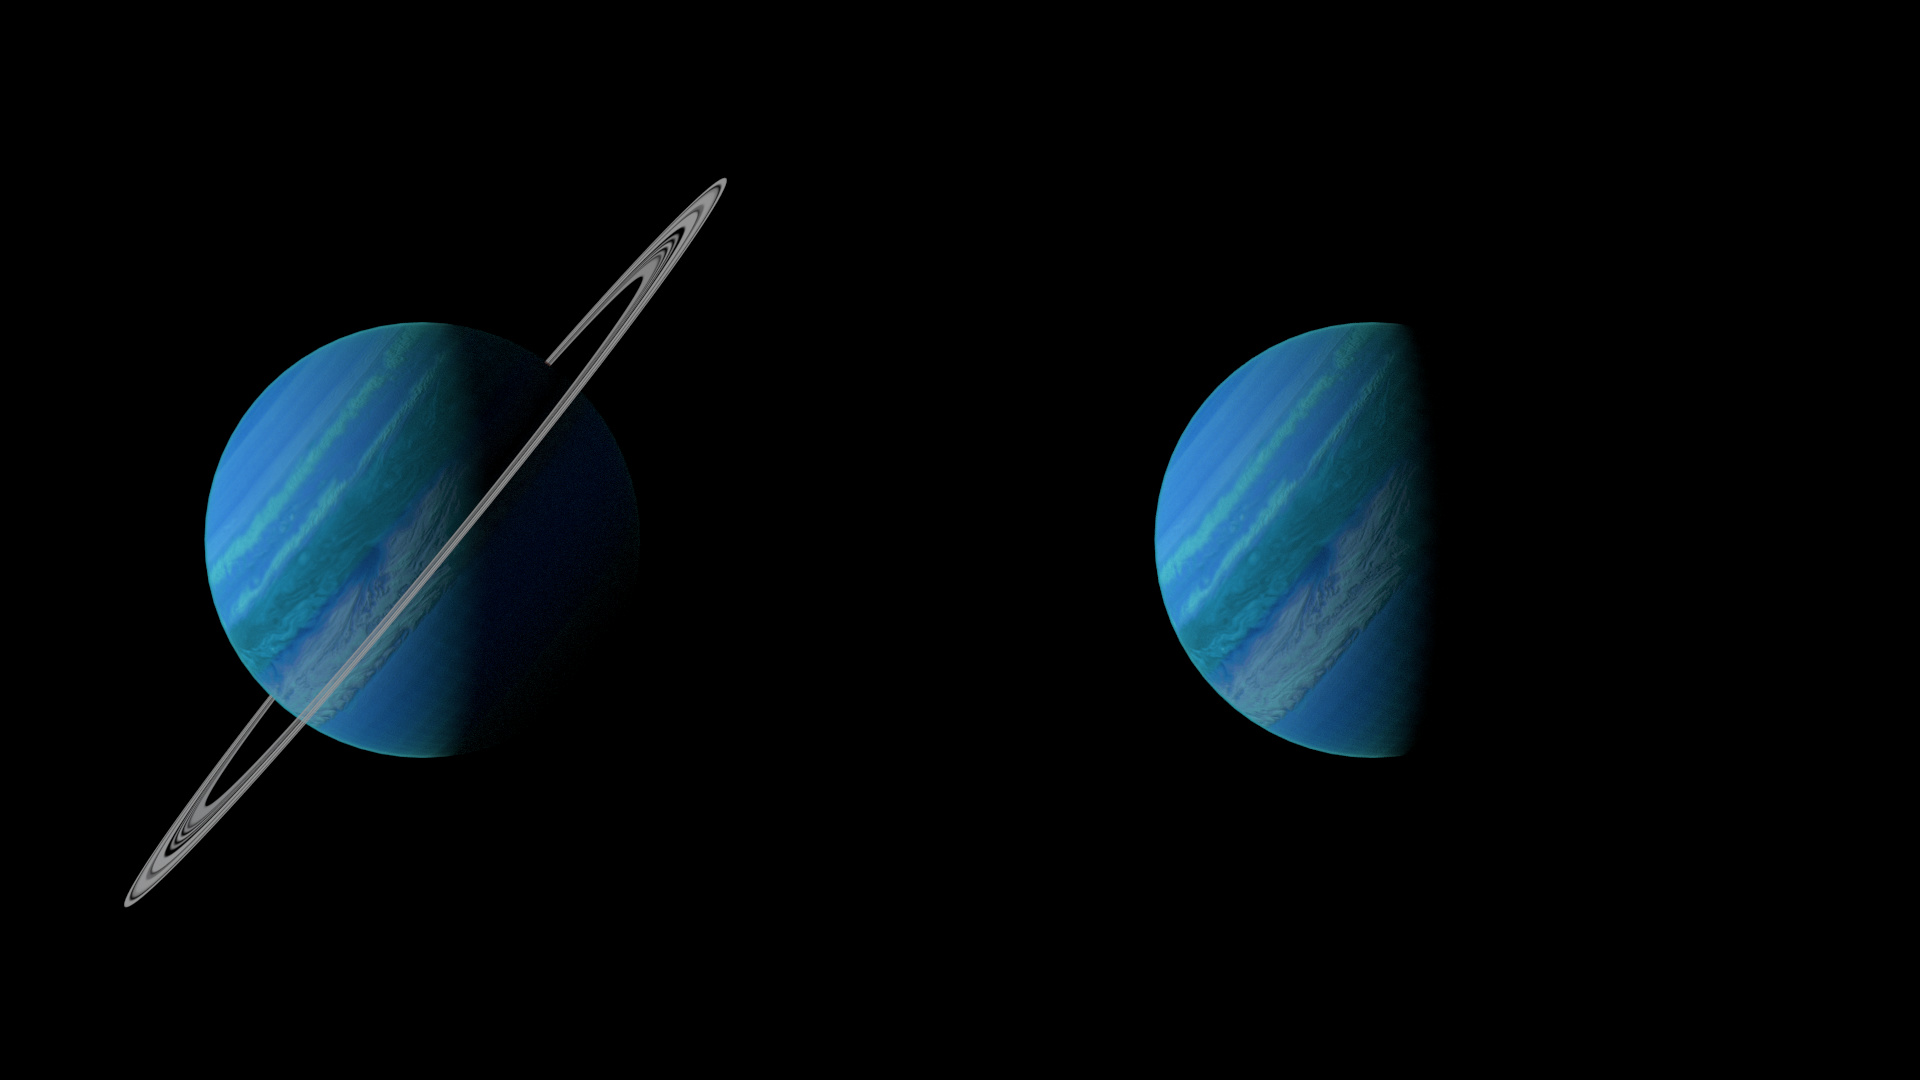
A gas planet with rings, taken earlier today. Probably, methane in the atmosphere gives the planet its blue colour, although it is primarily hydrogen by mass.


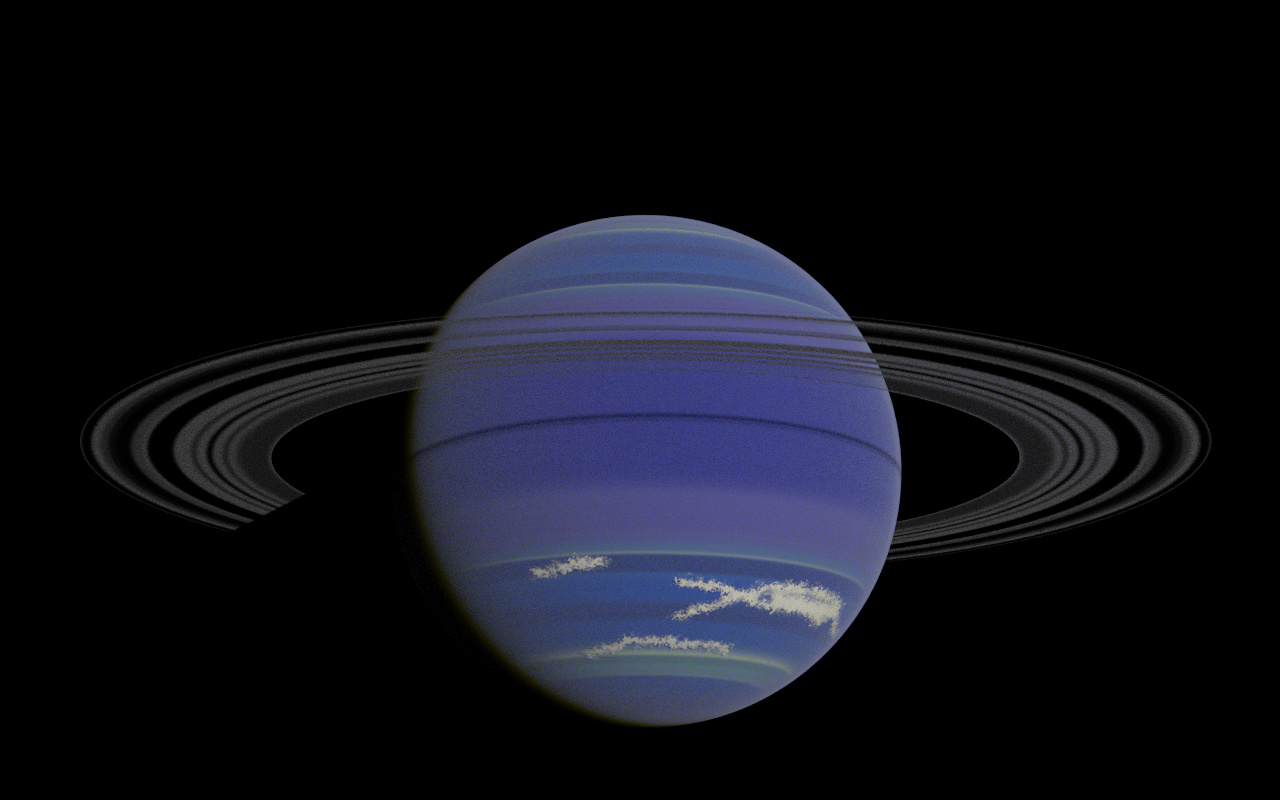
A bit later we had orbited to be over the planet’s day side. Here you can see some clouds, and more visible banding.

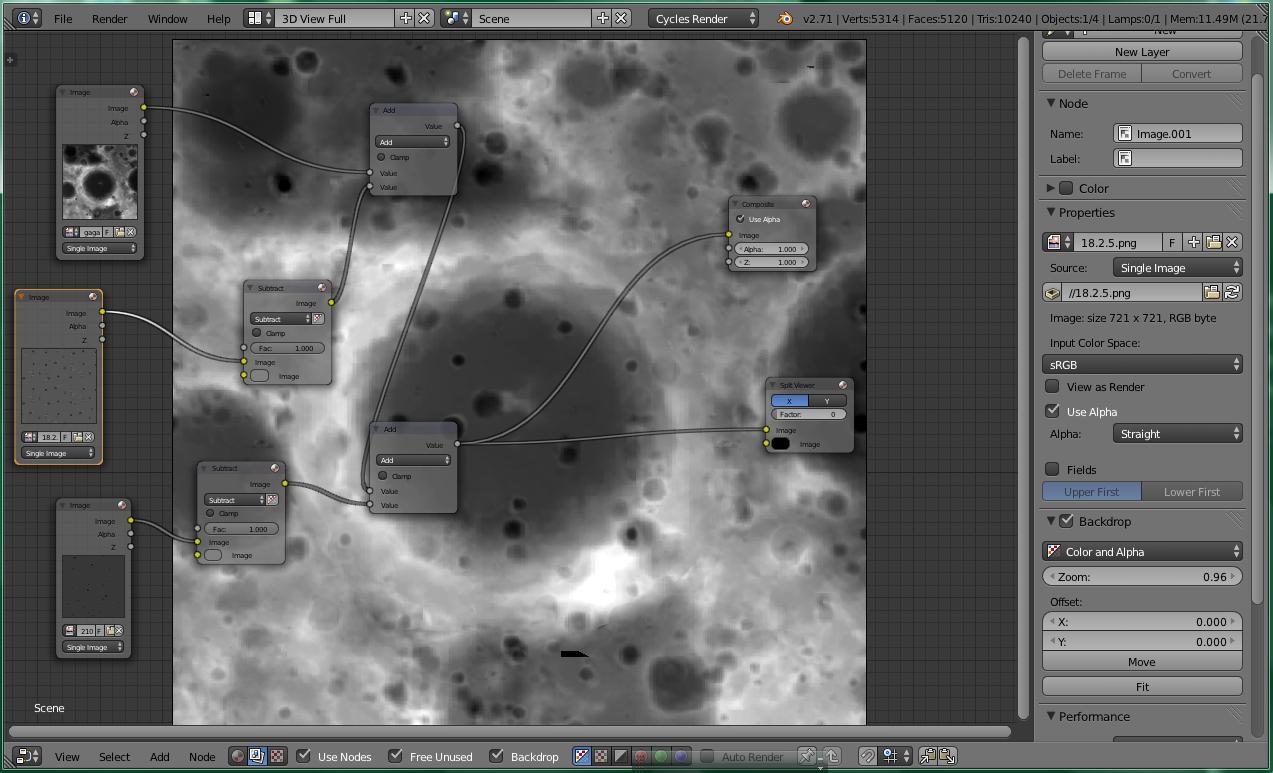
I made the above planet using some textures from GIMP, the standard three sphere planet approach, and a simple ring texture. There are some white clouds in the southern hemisphere, visible in the second image. The ring was a bit finicky, probably I should use a volumetric setup, rather than a translucent shader. That is, if I choose to go with such a visible ring at all.

The planet work is going well, and I am happy with my textures pretty much as they are. The object, being in the background probably need not be really high quality, but it it fun to work on anyway. At its current state, a mix of two photo based textures from NASA of Jupiter and Saturn, with color changes and layers cut out of them to show the other layer below.


I am still debating the rings. These here were produced in what I think turned out to be the best, easiest way, a UV mapped circle with a diffuse and translucent shader. They seem a bit distracting and overused, so I am thinking I will probably leave it without them. But interesting to try making nevertheless.

Normal map issues have been by and large resolved, after I ended up trying to go back at it as though I had never made one before. Ultimately I have ended up displacing the high-res mesh in reverse of the low-poly one, and it works far better.

I have also been developing a means to stack different height maps together. First I thought I maybe could just use several displacement maps, but distortions abound on that road, and I see no reason to go back there for now. GIMP probably could do this somehow, with an add on that I have not found (or written (yet, perhaps)), but Blender can fairly well. Here are my nodes:


This may not be the best way to do it, but it works, it seems, to add the different grey scale maps together, rather than blocking the other it can add the values of multiple maps. It needs to be saved in a large range format like OpenEXR, for, in PNG’s (without frustrating, slow efforts to squash the values into the right range) I have come into a surplus of white or black space, so the subsequently generated terrain has large flat mesas and plains which should not be there.

Also recently I have started work on a new aspect; the general curvature of the terrain. Over 50km, on a 270km (radius) object, there is about 10° of curvature, which rather changes the way that things look, as the horizon is so much closer (on Earth, over 50km, we have about .45° curve). This is leading me to rethink about some of the proportions of the crater/moon, as well as the way that it should be imaged.


This view covers about all of the square terrain that I could fit without seeing the edge. The background planet is set up such that the planet is about 70.000km in diameter, and we are about 80.000km distant. The focal length is 38mm.

Next I plan to try doing more work on getting a decent view of such small, warped terrain. I may try to do a shot from low orbit, or figure out something interesting to view on the ground. Perhaps a large cliff or rille can cut across the terrain and show more area….

Well, I guess it is needless to say that constructing 2.3% of the entire moon in equal resolution is, a bit over the top for a still that cannot possibly show all of it clearly at once.


I threw this together as a test. It is a basically unmodified stitch together of regions of martian highlands east of Tharsis, and part of the lunar farside and eastern limb. You can see the stitch lines, one weird place where the texture vanishes, and the fact that craters morphologies are inconsistent throughout the region.


A low poly style image, with more than half a million faces! In case anyone wondered, it is, indeed possible. A flat application of the above heightmap. Any more subdivision levels caused a crash (Who would have known?).

I was thinking that I might could do a sort of very very wide shot that could show a bunch of the near object, as it curls away to reveal the planet, possibly sticking in a tiny lander/orbiter probe, but keeping the surrounding huge. I will need to work on varying the resolution in order to do that, though.


View from low orbit.

Work on trying to get a bigger region done more effectively and cleanly has been progressing, as has that on wrapping an area over a spherical surface rather than a flat plane. It has been going more or less well, and at the top I have a new render that shows a probable low orbit view.

In order to make this, I took two images from Map-A-Planet, by selecting them from large global maps of two objects: Mars and the Moon, to try to give it a more unique look. Both of these were slightly edited such that crater depths would be consistent, and that there would not be too weird of effects from overlap. The Mars view is of highlands near the prime meridian and equator, the lunar view is from one of the mare.

These were stuck together in Blender, and used as a height map for a heavily subdivided 2:1 plane, and from this I baked a normal map. After that, I made a large UV sphere, and selected from the equator a smaller region. This is too minimize distortion, and keep the tiles uniform in size. I deleted all but that region from the sphere, subdivided the curved plane, applied a displace modifier using the same texture as before, and applied the normal map as essentially the sole interest for this material. I have been working on other material setups, but this was mostly a modelling test, so far. Hopefully more material work can reduce some of the peculiar light color patches that the normal map caused in the above image.

Overall, I am pretty satisfied with how it turned out, and will probably use mostly the same procedure in the future.


The heightmap used for the above image. I actually displaced from an .exr filr, but needed a PNG here.

Additionally, after seeing both the recent Orion flight’s photographs, and coming across some taken from the inside of an Apollo Command Module near the Moon, which featured interesting glare, and reflections of instrument panels and controls, I was starting to think that I might would try to set the final image inside of a spacecraft near to the object.I am thus looking into the different world of building such a model, possibly to add in the compositor.

The past few weeks have been busy for me, so my ability to work here has been hampered. Last time I said I was thinking about working on a spacecraft to add to the scene. I worked on that some, but ended up unsure of really how to take it. I may come back to it at some point, though.

Therefore, the bulk of my recent work has been on finalizing what I have come to regard as a far-ground crater dominated landscape. This mostly was a task of synthesizing the techniques that I already had tested, and adjusting them so that they all worked well together. While there are certainly more improvements to make (as always), the result I have produced mostly satisfies me for the time being (not that I would not like to hear critique).


This image I thought turned out pretty well. It is a flat surface (that is, not mapped to a sphere), of 1024 square tiles, displaced, from a stacked lunar topography map. Normal mapped from a higher resolution model, with bump maps for very small craters, and noise textures for surface roughness. Several colour sections defined by the region around the large central crater, and a few smaller craters with rays. 72 samples.

I also have started into the work of making a different medium range surface with higher resolution, and combining that with a farther ground model to achieve a seamless mixing. This has been done so far mostly by taking a small region from within a large low resolution region, and subdividing and displacing several tiles there, and giving them a different material treatment.


This image shows both medium and long range quality models. I believe that the nearest part may be a bit overly rough, but overall am happy with how it is going so far. The blue on the distant mountains comes from the planet, not visible directly.

So now, I probably will proceed to try to work more on near and middle range terrain, which will be fun. Yesterday I spent a few hours browsing Apollo surface images, and have some ideas of what I need to do from them. One issue that has vexed me so far is that of boulders. Getting them to look decent, while sill being well distributed, has been difficult. I am thinking I may be able to by mapping a rough gradient from the side view, to decide strength of a pixel noise bumpmap, focusing intensity lower down. We will see…

This is some very nice work, do you have any plans to do a full tutorial (preferably text and images rather than video) explaining exactly how it was done?

I would be willing to make a tutorial of it, if you like. It might not be too challenging, as I have a lot of personal documentation that I have been keeping, just a matter of pulling that all together into an accessible format.

This last month has been a bit slow, as I have had a number of significant events in the rest of my life, so progress has been rather slow.


I have, however, started trying to do work in extreme foreground, with somewhat unsatisfactory results, but it is a start. Here is a rock, on some ground, neither of which look really good to me so far. Most of the textures for both are procedural, but I need to make the ground more ‘crumbly’ I think. If any one has good tips or tutorials for either rocks or ground, I would be much obliged to see them.


A view of the Lunar Regolith from up close. I do not need boot prints (maybe later), but the fine, powdery effect eludes me.

The boulder has an image texture to define two main regions, as well as the lines on the surface, which was supposed to be something of a sedimentary rock look, but did not go over well. Most of the actual lunar rocks I have seen (photos of) seem to be characterized by a sort of strange flaky appearance.


A very large, split boulder visited by Apollo 17.

Again much time has passed since my last post, but I have here a bit of an update:

Progress has been made on the ground:


A panorama of a small square region. The sun is not visible, but it probably should be.


Over the same square patch of ground. At this resolution you can see many rocks, and some of the strange edges caused by my hasty normal mapping job.

I began to try making rocks not with a particle system or with seperate objects, but with bumpmaps that use noise and cloud textures. These I exagerated with the color ramp tool, and used that’s output as both a bumpmap and a mix node factor, between a rock material and the ground material. At close range they can look odd, but they seem fine mostly from a far. Perhaps too much like drips of liquid sometimes, though.

Extreme roughness values for the surface materials can make interesting and peculiar results. I have been messing around with fairly high values on diffuse/glossy shaders in an attempt to reproduce some of the peculiar light behaviors on the surface of th Moon. Because of the incredibly fine dust there, it seems, halo’s appear around the viewer’s shadow, and depending on the angle at which the sun strikes a part of ground, and the angle at which you are looking at a patch of ground, it can look different colours as well. I used fairly high settings for the images I have here, but not all the way up at 1.


Buzz Aldrin’s shadow and halo on the Moon. I am unsure of how to do this yet, high roughness settings on the diffuse shaders begin to work, but not in quite the desired way.