and a bit more…

and a bit more…
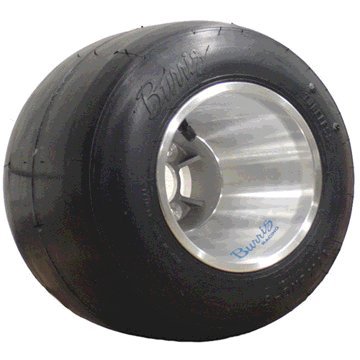
even though I will argue that Kart Racing Tires are somewhat unique in that the difference between the sidewalls and the tread (on a dry tire) is minimal… I agree there is enough of a difference for me to treat the two with a different texture or material…

I think I hit my attachment limit…
Aha, looks nice. I’m loving all the detail in the metal for the smaller bits.
Tip: I’d use a clamp on your test renders and turn off caustics to speed things up.
I looked up my texture on the tires I did. I did not vary it between the tread and sidewall either. It is a very simple set up.
Whether or not it helps I don’t know, but I look forward to watching your project evolve. Might even give me the confidence to try one.
@Benjamin Dod
Yep I have caustics checked to off… in the camera > Lightpaths settings… but … when you say use a Clamp… you mean in each of individual textures or in the final Render setup… I acutally have hardly touched doing any node modifications in the Final Render… (perhaps this is what I need to work on next…)
thanks for the input…
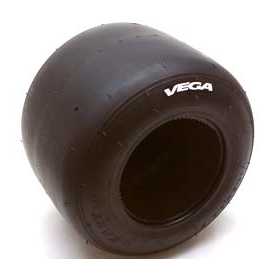
Yah … the more I look at them the more I realise just how much those tires look like Sponge Rubber Paint Brushes like what you buy from the cheapy counter at Home Depot… LOL!
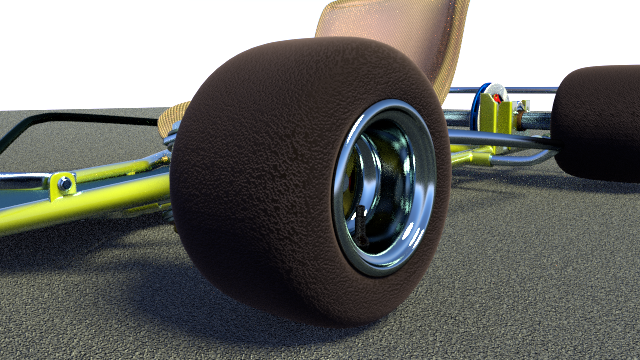
Here’s my crazy sponge tire setup… in case anyone needs to make some foam paint brushes…
Crazy Tire Material setup_001.blend (1.14 MB)
Incredible details on this, right down the the threads and the welds, really nice!
Thanks… if you will note… I did those with a proceedural texture… those are not modeled…
Norv’s_FakeThreads_001.blend (1.19 MB)
Hey! I dug up a discussion of Tire Materials and textures in cycles here…
looks pretty good… but I’m not going to mess with it until tomorrow… I had better get some sleep… work day tomorrow…
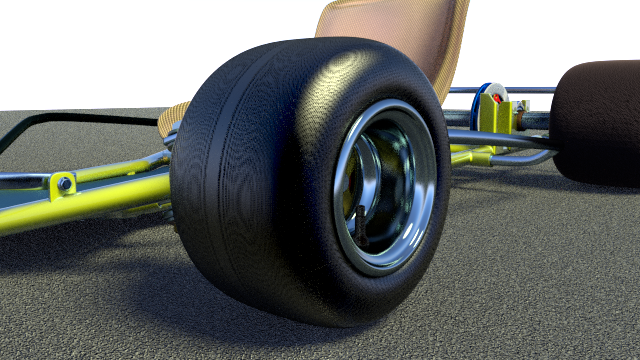
Here’s latest effort on the Tire texture… much closer to something that looks accurate…
@norvman:
Under the ‘Sampling’ tab, try adjusting the values for ‘clamp direct’ and ‘indirect’ values. See if that reduces noise any.
I edited your crazy foam material a little bit. It looks good from a distance, but once you get a little closer, it starts suffering. I added a displacement channel to add to the spongy look, and the effect can be turned down/off if desired.’
Crazy Tire Material setup_001.blend (1.27 MB)
some how I missed posting the node setup for my Improved Tire Material… er… maybe I posted it on another thread? … don’t remember… it was late when I did the post… anyway here it is…
Under the ‘Sampling’ tab, try adjusting the values for ‘clamp direct’ and ‘indirect’ values. See if that reduces noise any.
Thanks Dod … yes I found those last night and was doing some googling on how they work and what they do… I goofed around with them a bit in some of the above Renders…
also… take a look see at my more updated tire material… and visit the thread where some others have made some good Tire Materials… Referenced above in post #31
Wow, that tire discussion was fascinating. They had a lot of useful setups.
more Renders of those Tires…

Very cool. I’m guessing it’s the wave node into the displacement…? I will definitely have to give that a try. Is there some way to assign it only to the faces where you want it like a vertex group or does it have to be uv mapped? Just thinking ahead I would like to be able to only have to have a single paint material. Either way it is a nice effect.
Yah… Open up my blender file I provided above then up on the top line where it says… “Default” select “UV editing” there should be a Node editor in that screen setup… select the object and tab into edit mode and you should be able to see my UV map and the Material nodes there…
To get the Polys to line up … select your Polys (the sides of the cyclinder) hit “U” to unwrap… then “F” to Follow active Quads… pick… Even… hit Enter…
In the UV editor window… use edge select mode … select an edge (use Shift+Alt+LMB)… then… ‘W’ … and pick… “Align Y” or “Align X” to get all your edge squared up… then you can just select them all and rotate them a bit until the threading looks right… just whatch what the threading is doing using cycles Render mode in a camera window…
note that you proably can accomplish the same thing by just using the Mapping node… but I find that using a UVmap gets me there faster…
having said that because your using a proceedural… it’s still a bit of guess work as to where that proceedural is lining up it’s lines… 90*… 45*… 30*… ??? you just have to set something and look at the render until it lines up right…
Close one eye and hold your tounge just right…

