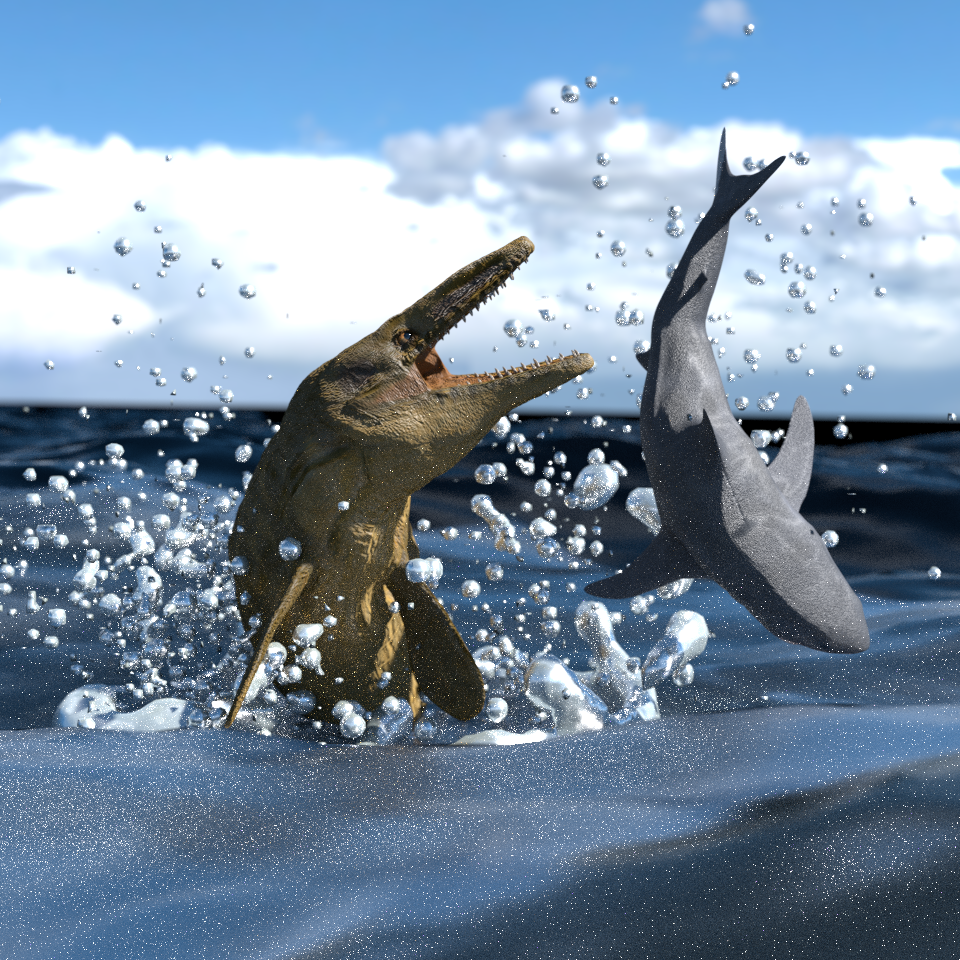
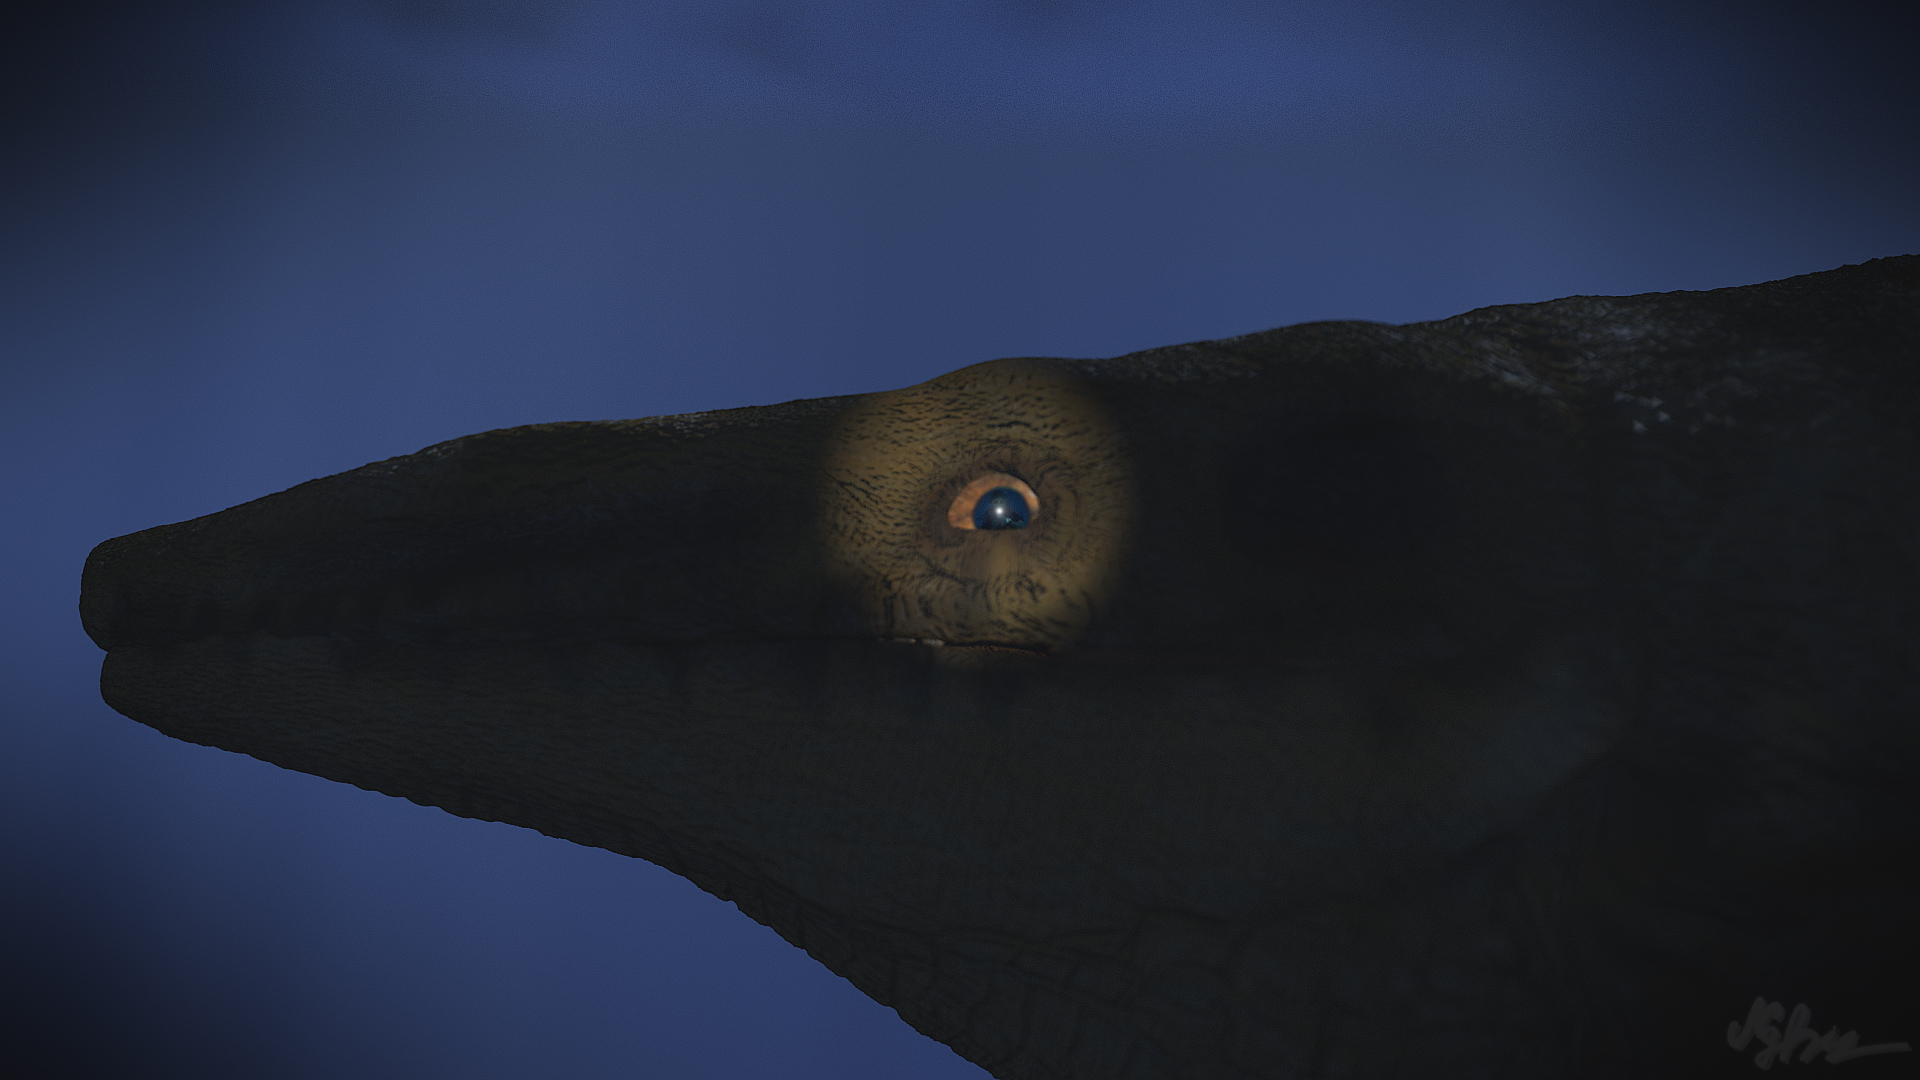
i tried to tell a story, and also want to guide the viewer’s eyes toward the animal’s eye. is it working?
the diver was added in by PS BTW, it’s not 3d.
since i wasn’t planning on making such a close up shot on the eyes, the level of details in the head is not very great, if i were to have plan this, i wouldn’t bother to make the whole animal. now with subdivision level 5, i can’t crank it up any higher without my laptop crashing. so this is the most detailed it can get.
I don’t really think that “flashlight on eye” thing is very clear, and it’s a pity to see such an excellent model in an otherwise poorly-lit scene. But the tylosaurus looks terrific by the way.
yeah, like i said i was not intended this, i needed the environment lighting to be weak so that the flashlight on the eye is clearer. but at the same time, i wanted to show off the level of details i put into the model . i’m working on another scene, with more components to cover and better lighting. thanks for the feedback
These are nice models in a nice environment, yes there is some tweaking to do, but it looks really promising. It’s also nice to see scientifically accurate models of these creatures from prehistoric times rather than the stuff that film producers turn out. Keep up the good work sir!
still got a ton of works to do, i know, i’m still experimenting with the materials for the splashes, it doesn’t look right. but it’s 2 am in the morning, and i have been working on this scene waaaaayyyyyyy longer than i should be for once day
also, the new Pro lighting addon ( i think that’s what its called) that Andrew Price introduced in his latest Blender Guru tutorial is really great, and it’s still just the demo, i probably can’t afford the official one. i recommend
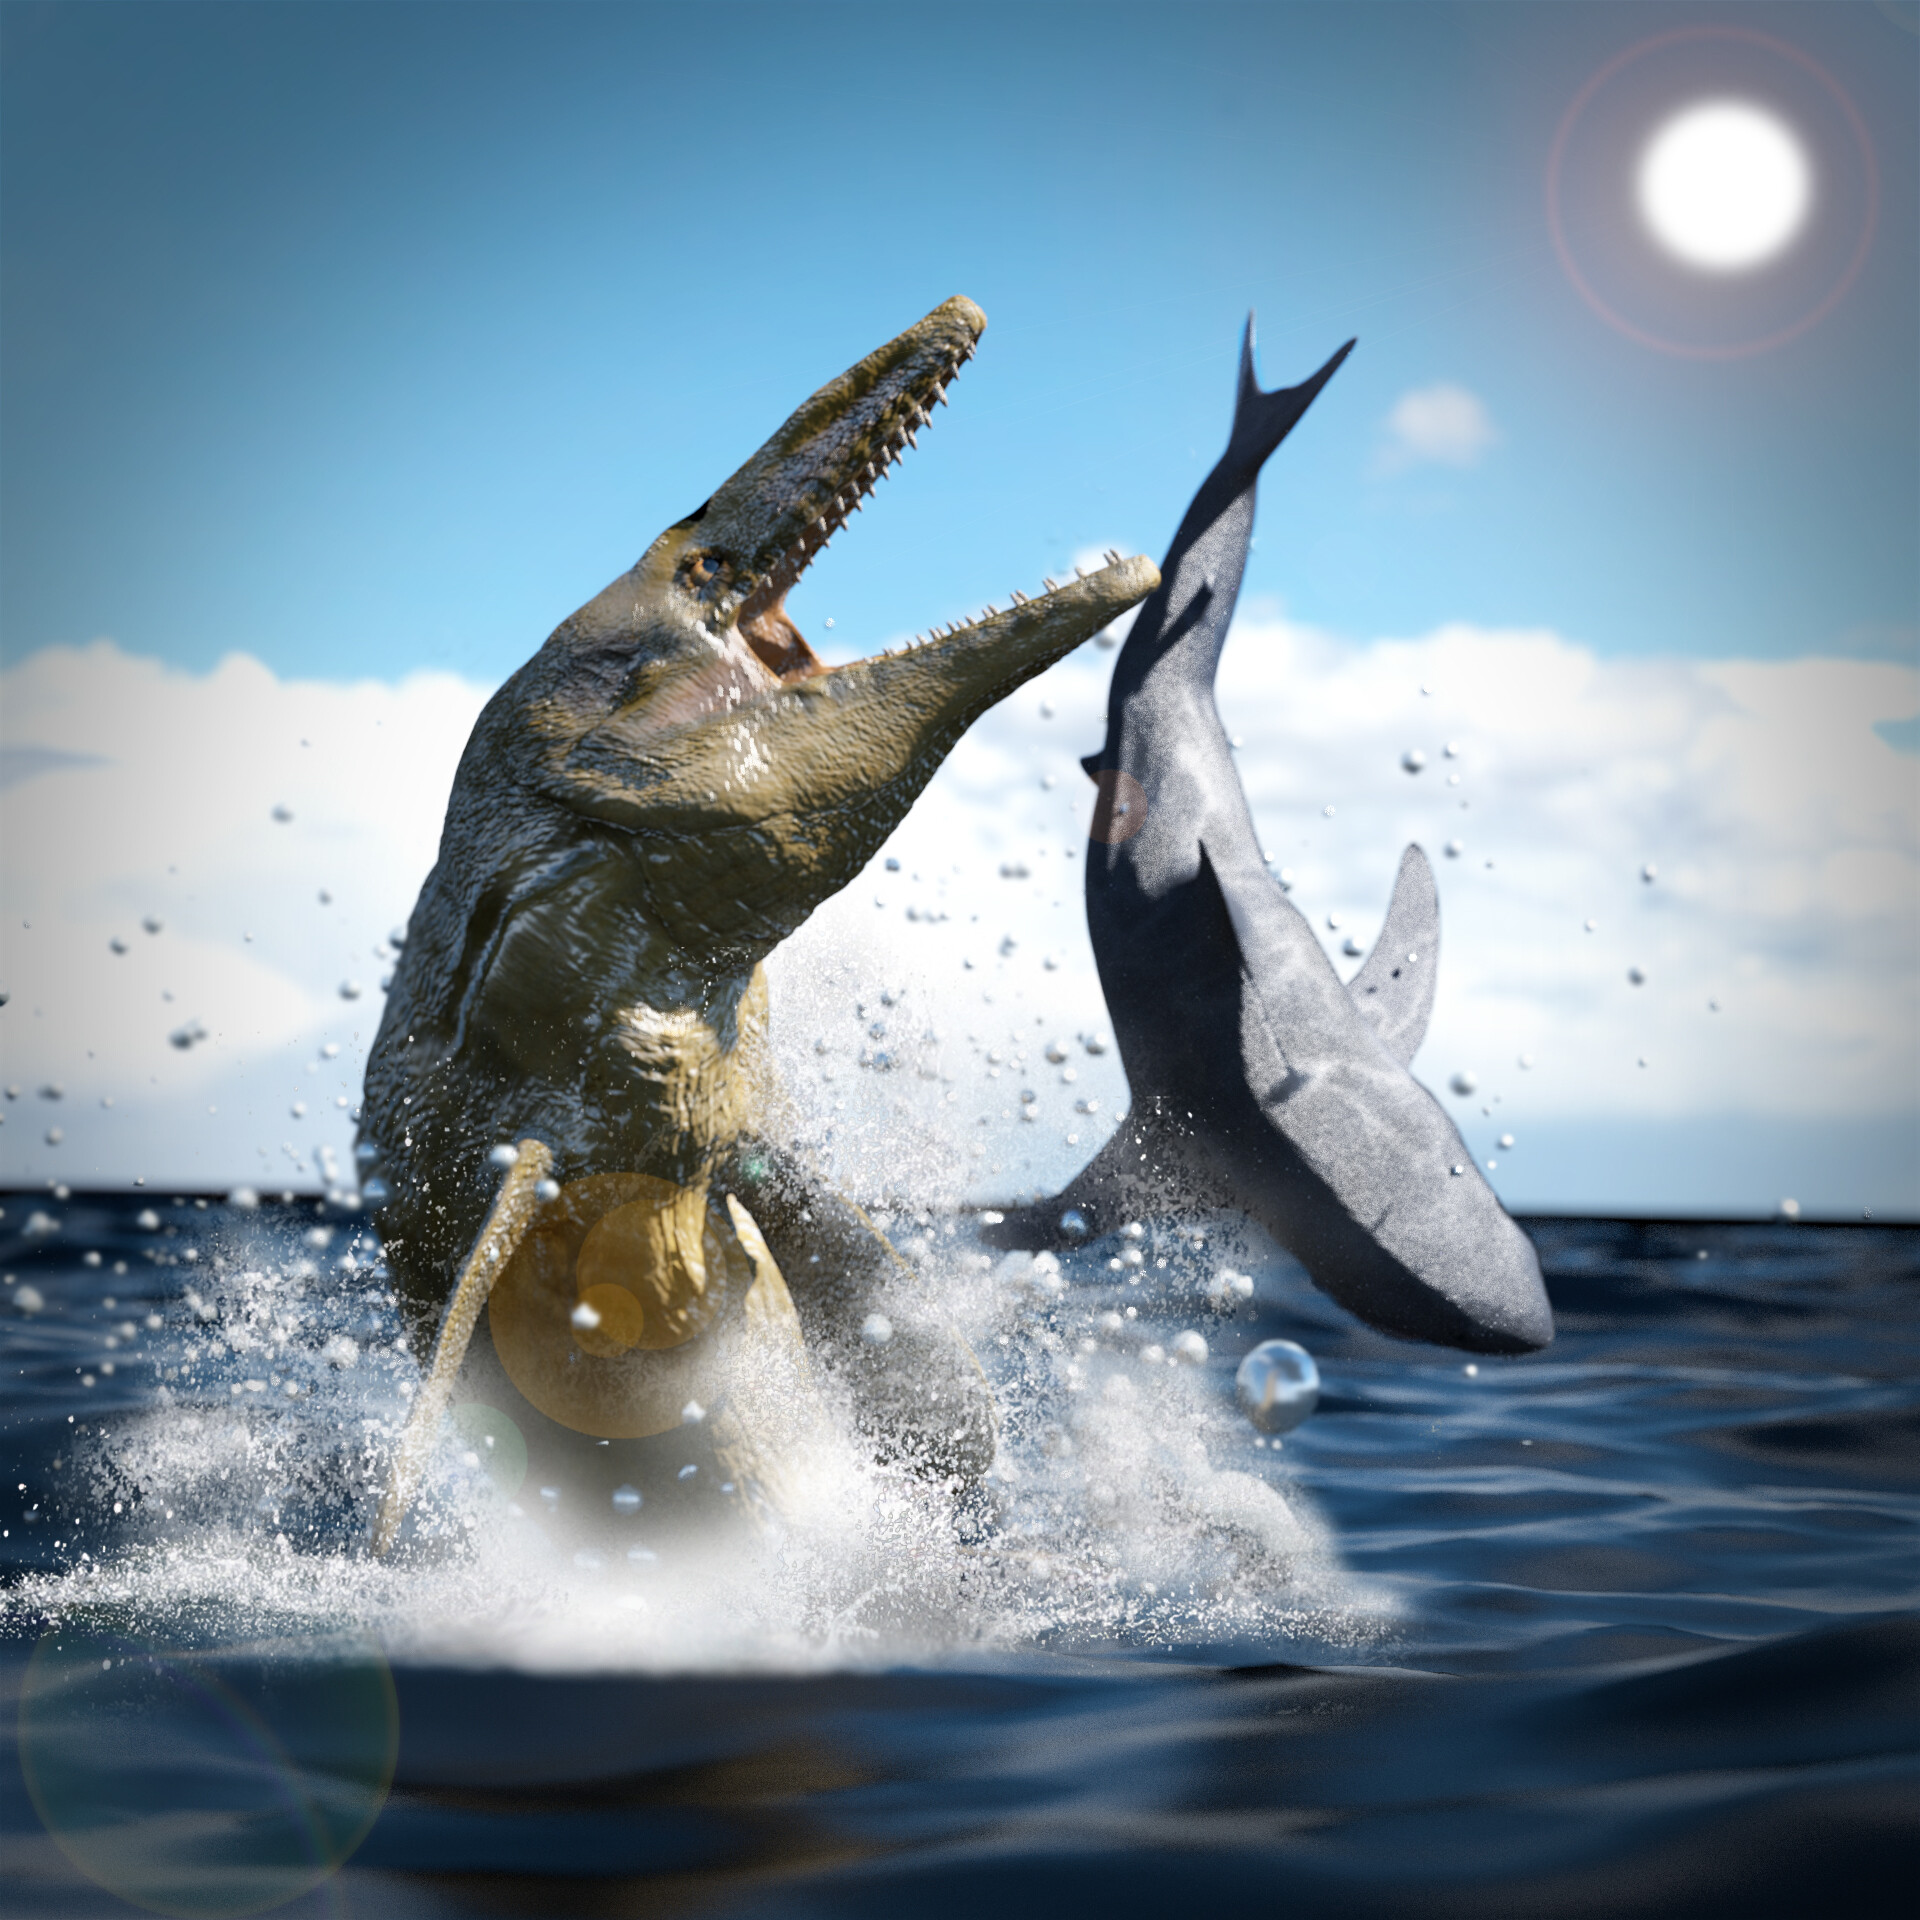
after a few attemp at compositing, i personally find the process not very effecient, i would rather do it in Photoshop where i have a lot more control. like adding that sun glare, i would have to make a circle for the sun in blender, and go through the nodes setup to make the glare, while in photoshop i can make it with a simple filter. so this scene was composited in Photoshop Cs6.
i also tried baking for the first time with this, although there wasn’t that much components. the render time was reduced by half! so i’m definitely gonna bake a lot more in the future. however i did bump in with some problems, not sure if it’s just me. the sea surface was of course made with the ocean modifier, i used a glass node mixed with a refraction node to get the material. i unwrapped it, bake it like i did with the tylosaurus and the shark, but the result, was not pretty:
it’s immensely dark, i’m not getting the same effect as the real material. the tylosaurus and the shark didn’t went that well either, the glossiness wasn’t potraited well in the bake, i added it in through photoshop. so is this the limitation of baking? or am i doing something wrong?
Latest scene looks cool, although the water needs a lot of work. If you’re going to use the fluid simulator, use it at an extremely high resolution. Otherwise, it looks oversized and blob-like. For giant splashes like this, you need lots of water particle with the “fluid” physics setting (rather than Newtonian). It’ll be tough one way or another, though.
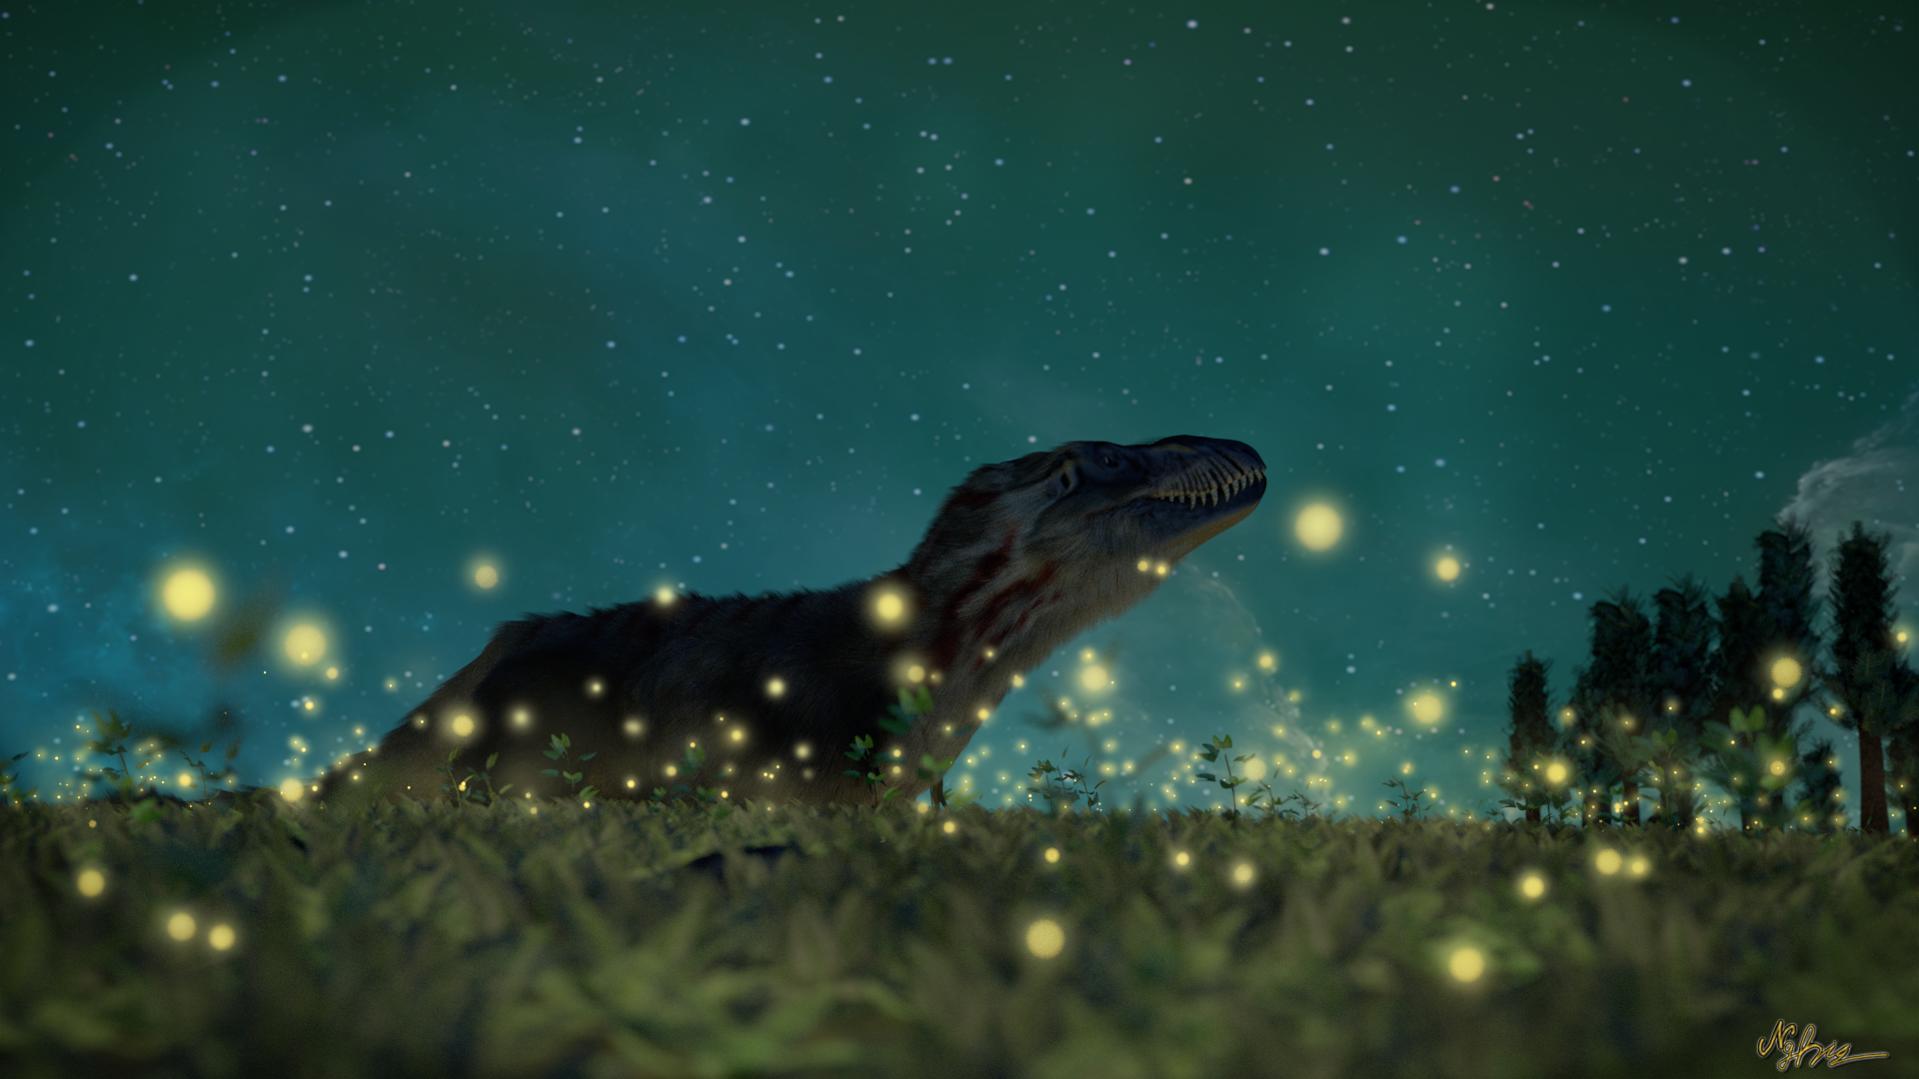
i was told that the sun flare don’t look very well in this scene, and i know it don’t match the lighting setup so i decided to remove it. same thing to the splash drops in blender, i need a lot more sample for the fluid sim and my laptop can’t handle it. so i just went with the composited splash. the shark, the worst thing in this scene probably, i don’t even know if i improved it or made it worst…
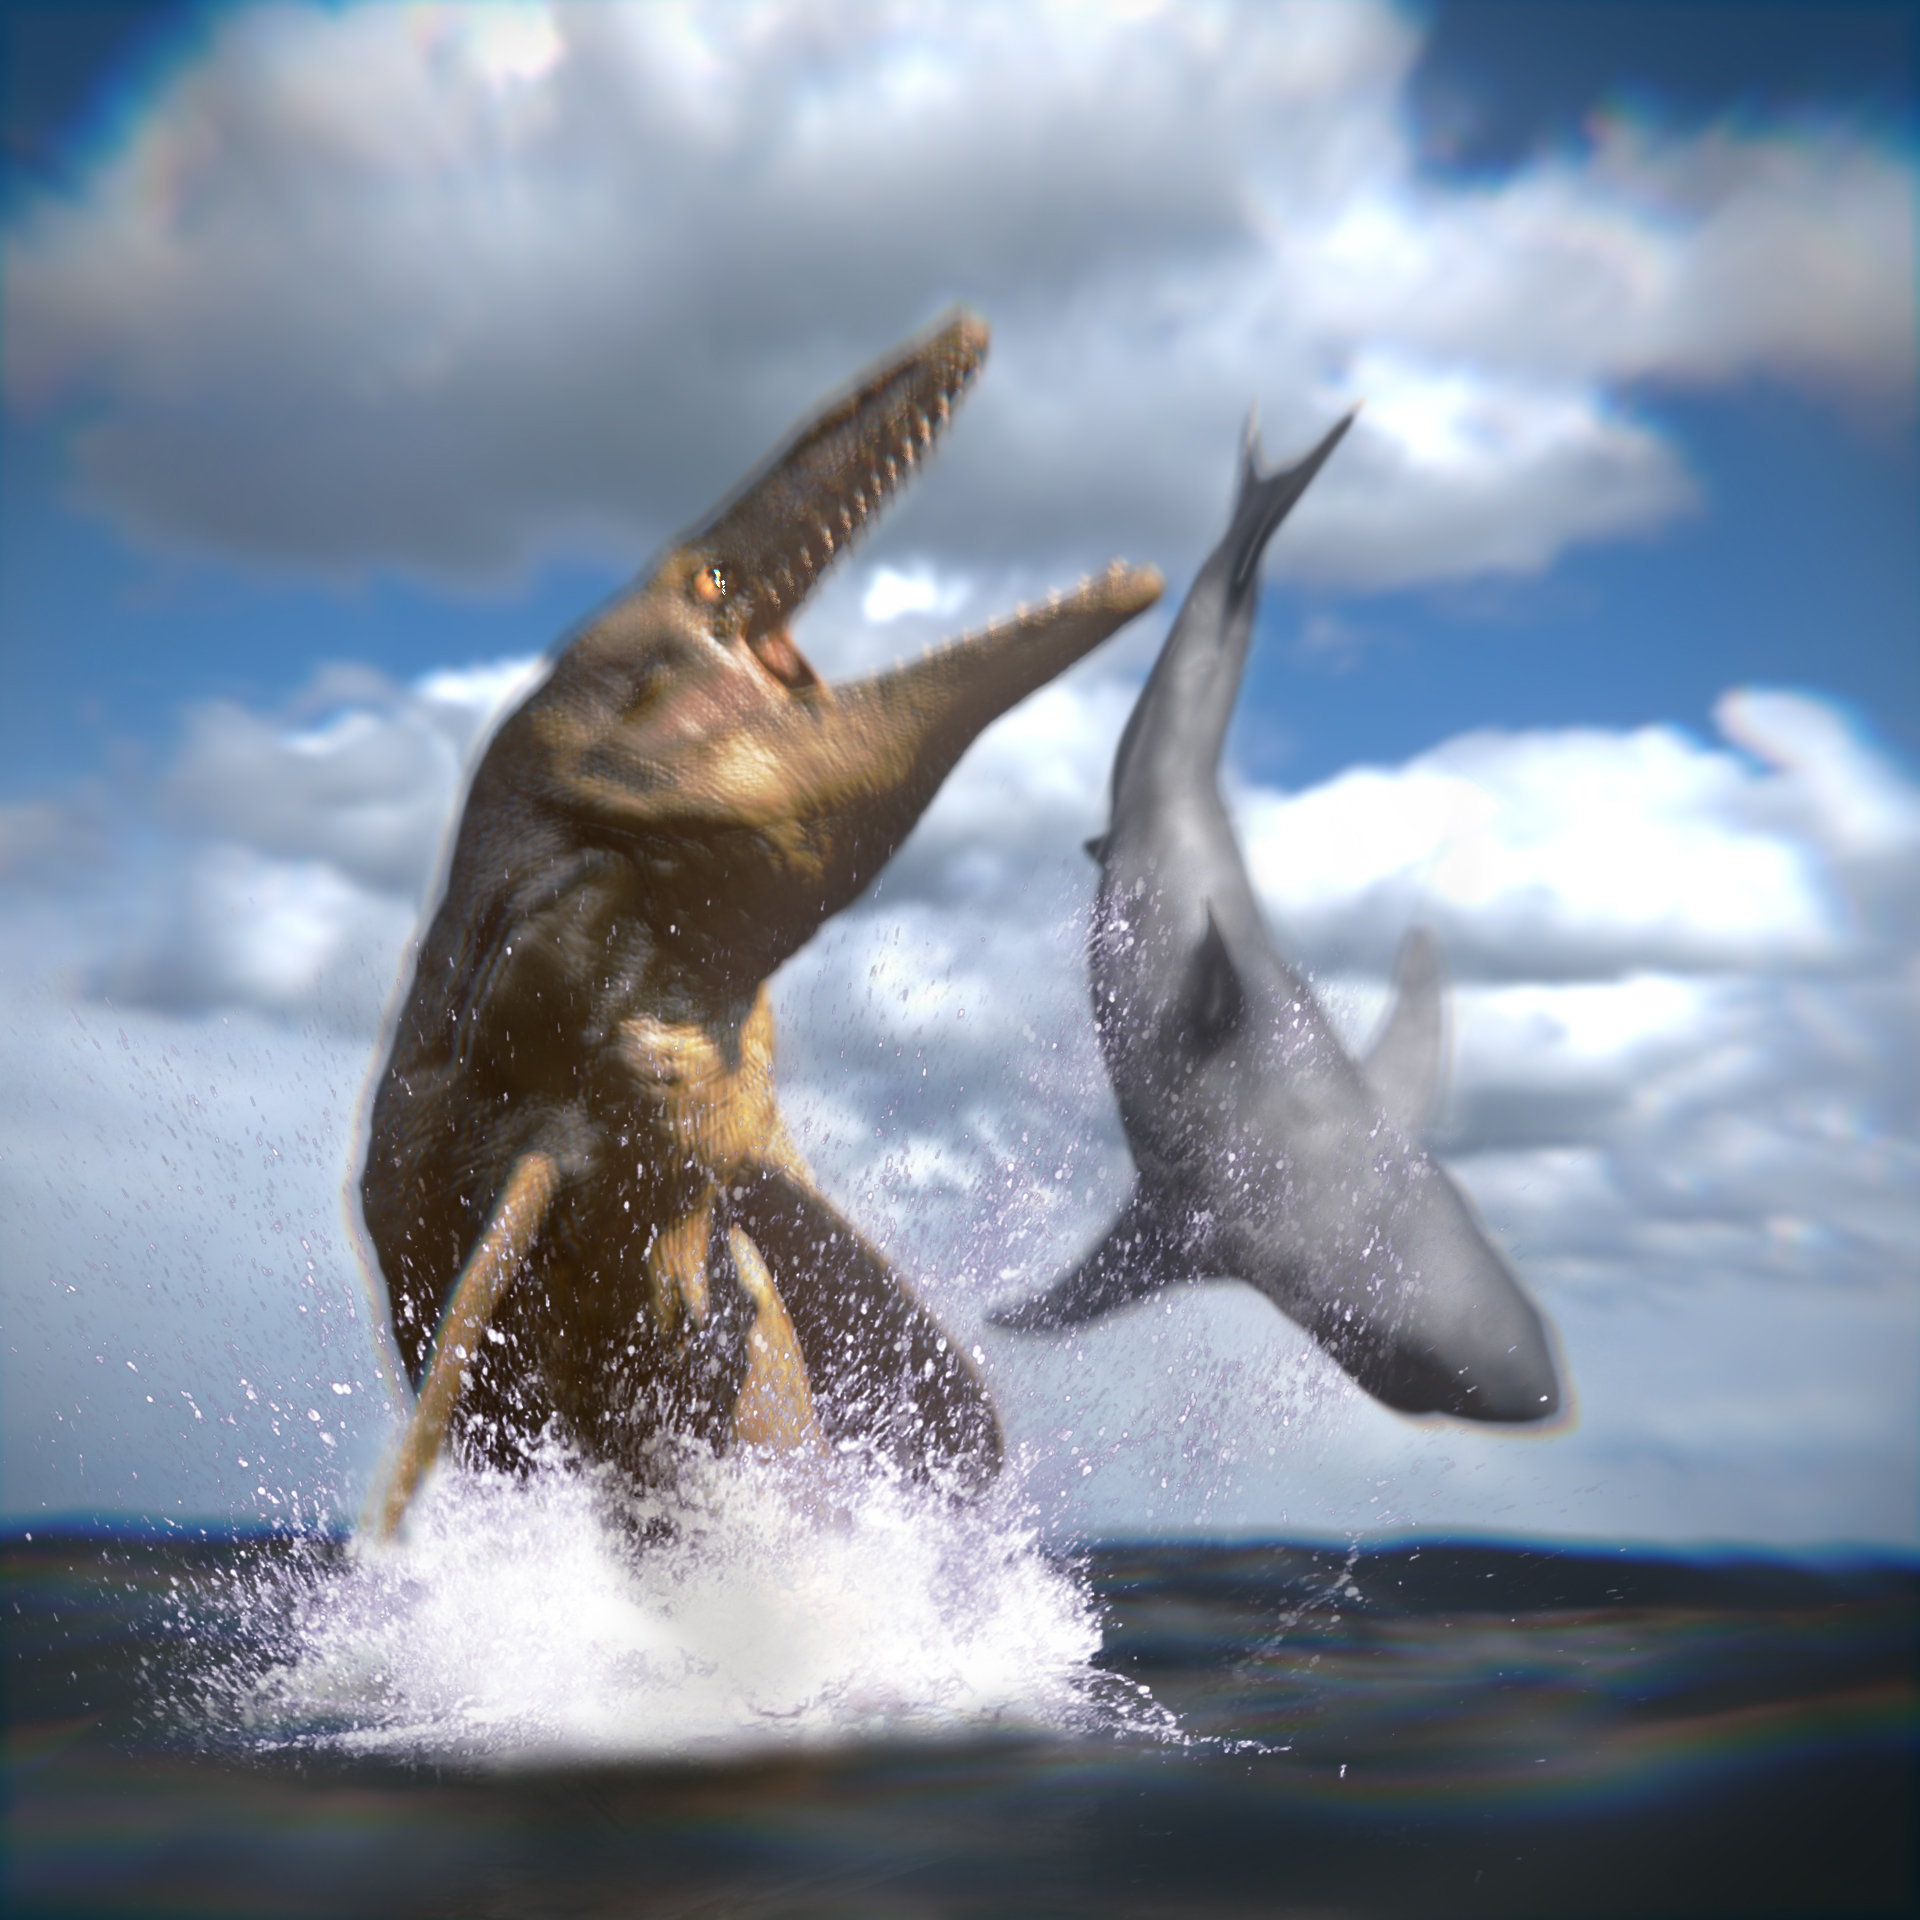
also some more color for the tylo, to make it pop, just applying the complementary colors here.
water much improved.
Have you considered playing with the post colour options in blender?
Ive been using them more recently after reading up on Gleb’s open lighting project thingy and it provides quick options to play with colour grading and overall look and feel.
Great modeling by the way.
i actually haven’t read that projects yet, im still a noob, i haven’t read and watch that many tutorials. but i will sure read these when i have time, thanks.
@@Owldude: about the motion blur, i actually thinking about add more in, i want a really dynamic, intense mood for the scene. so i tried some lens distortion.
unlike, The Breach, the name of the Tylo scene, i want a peaceful feeling for this one, The Birth, so i went with a light blue glow, not sure if i over-did it though.
quick turntable and simple animation. rendered at only 10 samples, and yet took 6 hours. i simply can’t wait for it any longer.
i just registed at sheepit render farm and started helping people out rendering their projects, and hopefully i’ll get some help in return one day when i do a serious animation work.
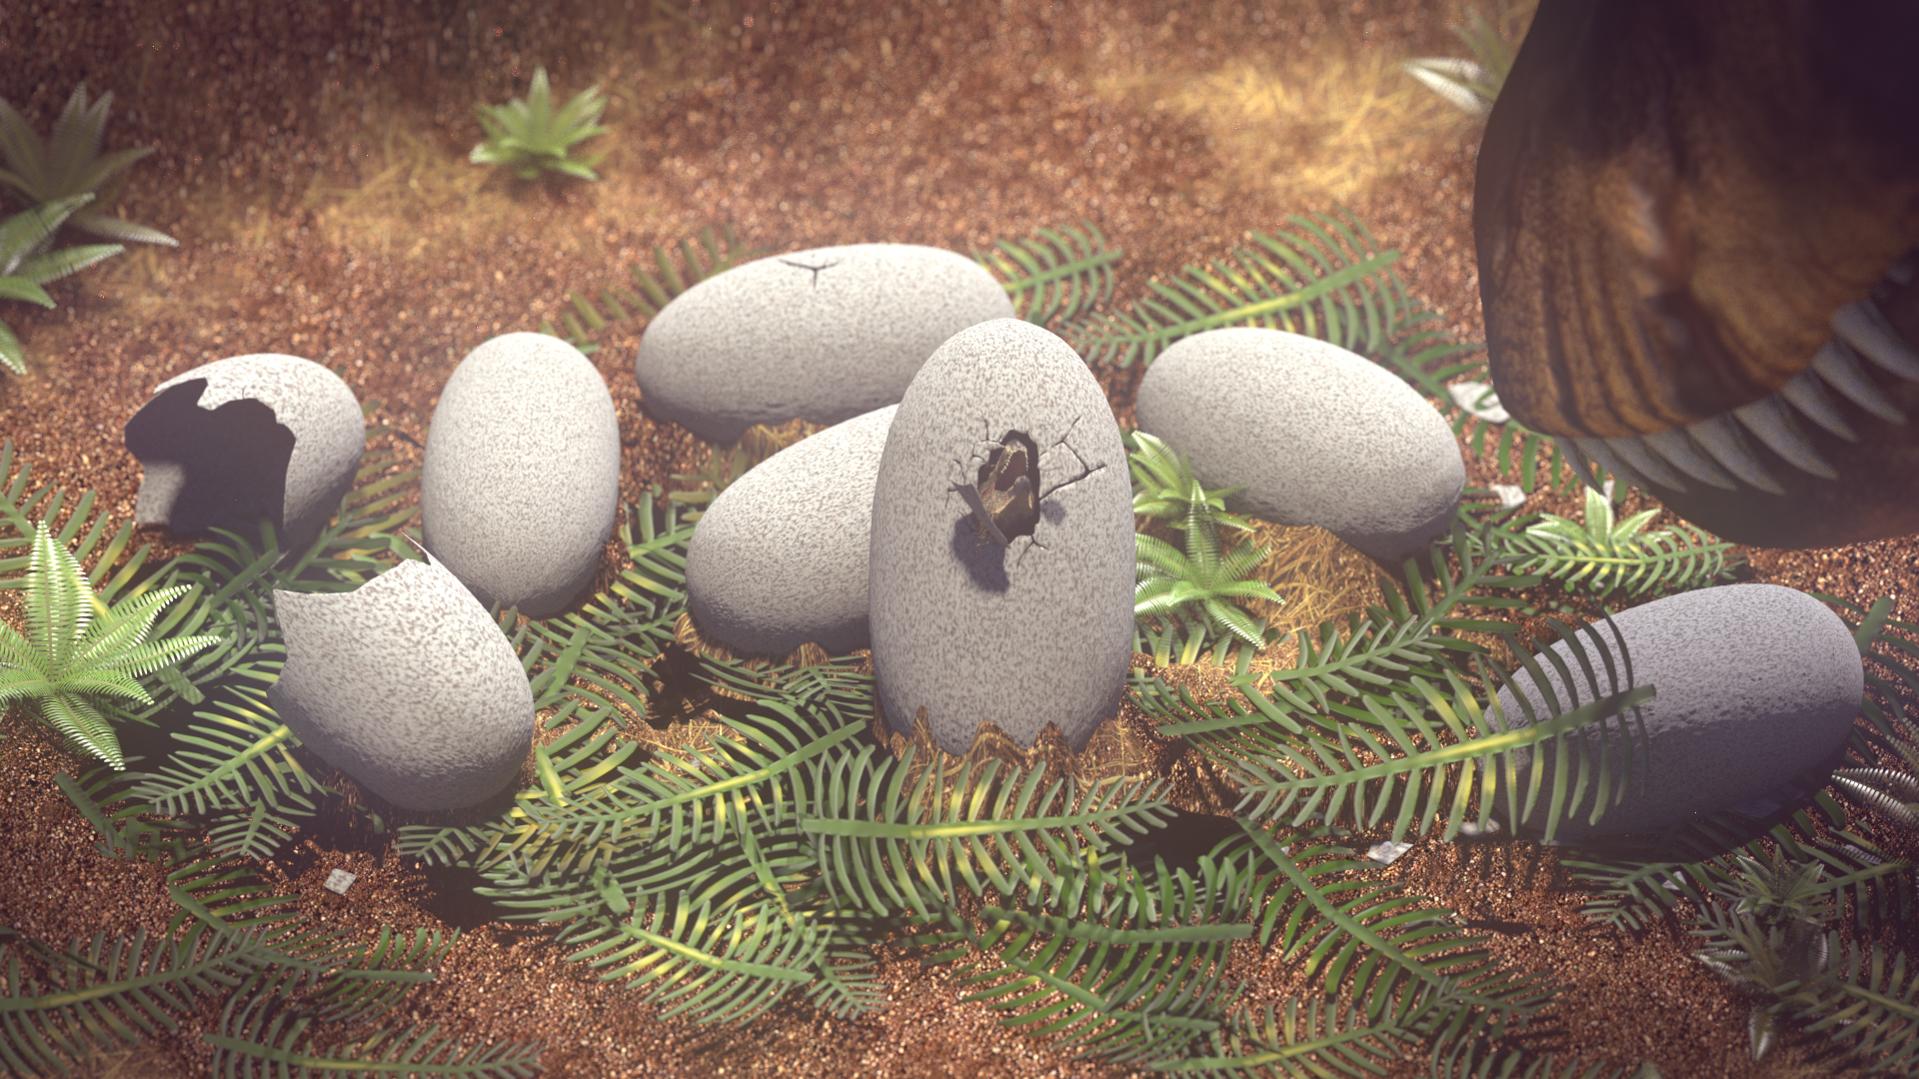
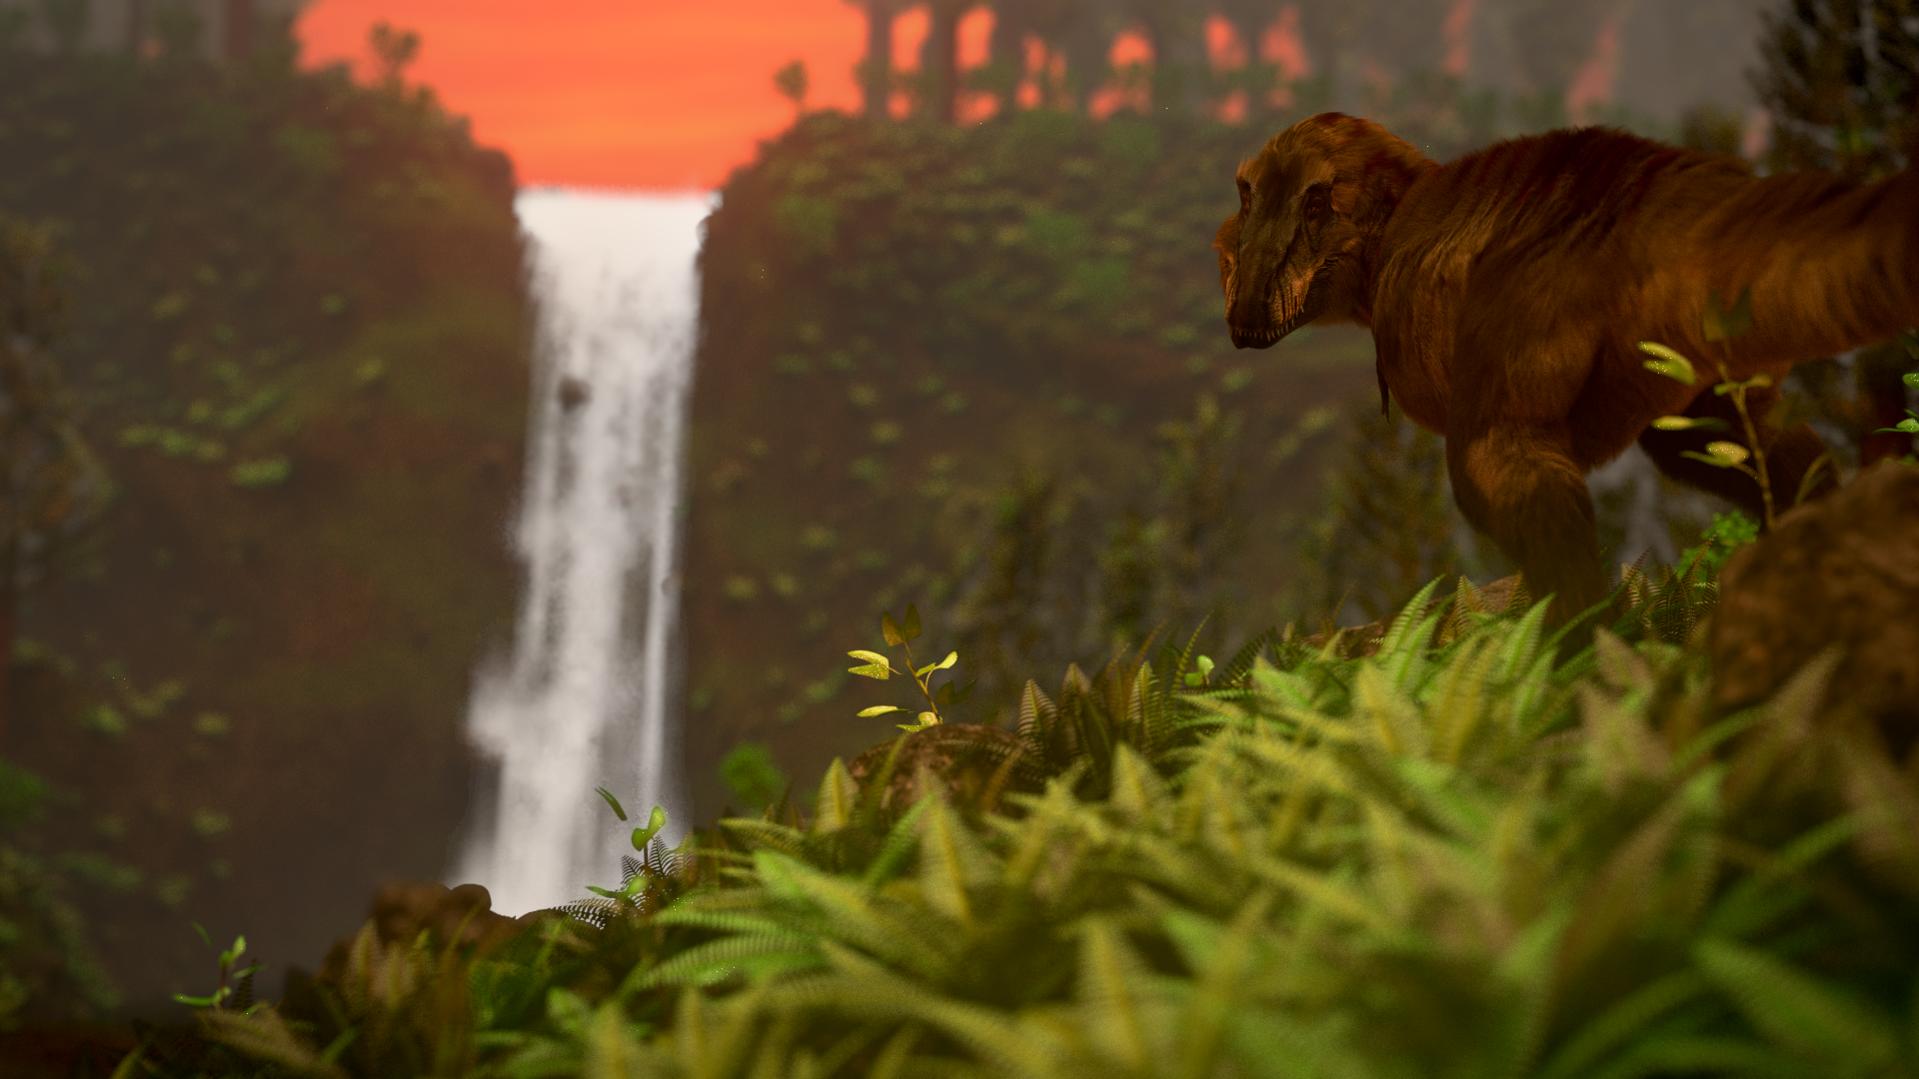
-fixed materials for the rex, with normals, specular and everything, before it was just an image texture.
-add DOF, something that the image was screaming for before. focus on the rex of course.
-add mist, adjust camera angle, to see the scale of the scene better.
-had some fun with the foliage placement.
*technical, remove unnecessary components to reduce render time.
any criticism is highly appreciated
funny story, i set up the files and let it render before going to uni, came back 5 hours later, everything is done, and only than did i realized the clamp value is not high enough to remove all fireflies. so now i’ll have to render again…
Nice animation for the deinonychus! I will say though, when it walks off the screen, you need to make its hips move up and down/side to side. If you watch Jurassic Park’s raptors (which are basically the same as deinonychus) running, they have a lot of hip movement as they run.
The Deinonychus is really great! i love the look of the feathers!
About the render with T.rex and the waterfall: I don’t really belive the mood of the lighting. The sky behind the waterfall is red, so I assume that is the direction where the sun sets. But the foreground objects look as if the red light came from each direction. I think it would look better if you had a dark, blue environment light and a medium bright red sun lamp coming from the direction of the waterfall.
 . i’m working on another scene, with more components to cover and better lighting. thanks for the feedback