haaaaa… We have a winnnnnNOOOO! failed
I’ve use a dempt to and a strecth to.
But to what?
I also use empties… does this put you on a better way? ![]()
haaaaa… We have a winnnnnNOOOO! failed
I’ve use a dempt to and a strecth to.
But to what?
I also use empties… does this put you on a better way? ![]()
looks epic  My guess is spline IK rig with the mesh weighted to the IK bones and then the curve controlled using emptys as hook on the curve. If it is that I did something similar as well but gave up using the empties and hooked to bones instead just added them to the same armature after I’d done the auto weight on the spline for convenience then you can pose the hook bones rather than having to remember where the emptys were Or I could be completely wrong! either way loving your work looks great!
Haaa not too bad but not completely true.
As told before, the bone chain is made using dempt to and strecth to constraint.
I have like 30 empties I think.
The questionning is… If I use empty to make the belt moving and ajusting to the hips it will be a hell to animate.
My goal here is to avoid any need of controling the belt.
Only the sjull plate and the hanging lanyard will be manually deformed.
Note I will use the same technic on the Chest, simulating breathing… that would be a mess if I have to manually move each empty manualy…
The Clue is in how the empties are currently moved?
How do the empties move following the underneath skin or fabric and then drive the bone chain?
I like this game, I’ve become obsessed with rigging as I’m learning ![]() how about vertex parenting the empty to the mesh then the bone chain follows that
how about vertex parenting the empty to the mesh then the bone chain follows that ![]()
TADA!!! We have a winner here.
Empties are 3 verticies parented to the pant. (very important as it sets orientation while a single vertex parenting doesn’t)
Then the bone chain controler have a child of constraint to the empty.
The deform bones have a dempt to and a strect to constraint to the controler bones.
I’ve recorded all the creation process. I’ll post it as soon as I have finished skinning and testing of this part ![]()
I’m looking forward to seeing that! when I tried I only did one vertex and had limited success, that makes so much sense when you say use 3 so it triangulates and you get a clear normal direction, I’ll try that next time I run into that, really good tip thanks a lot!
Black rigging magics happening here :eek: I bow my head
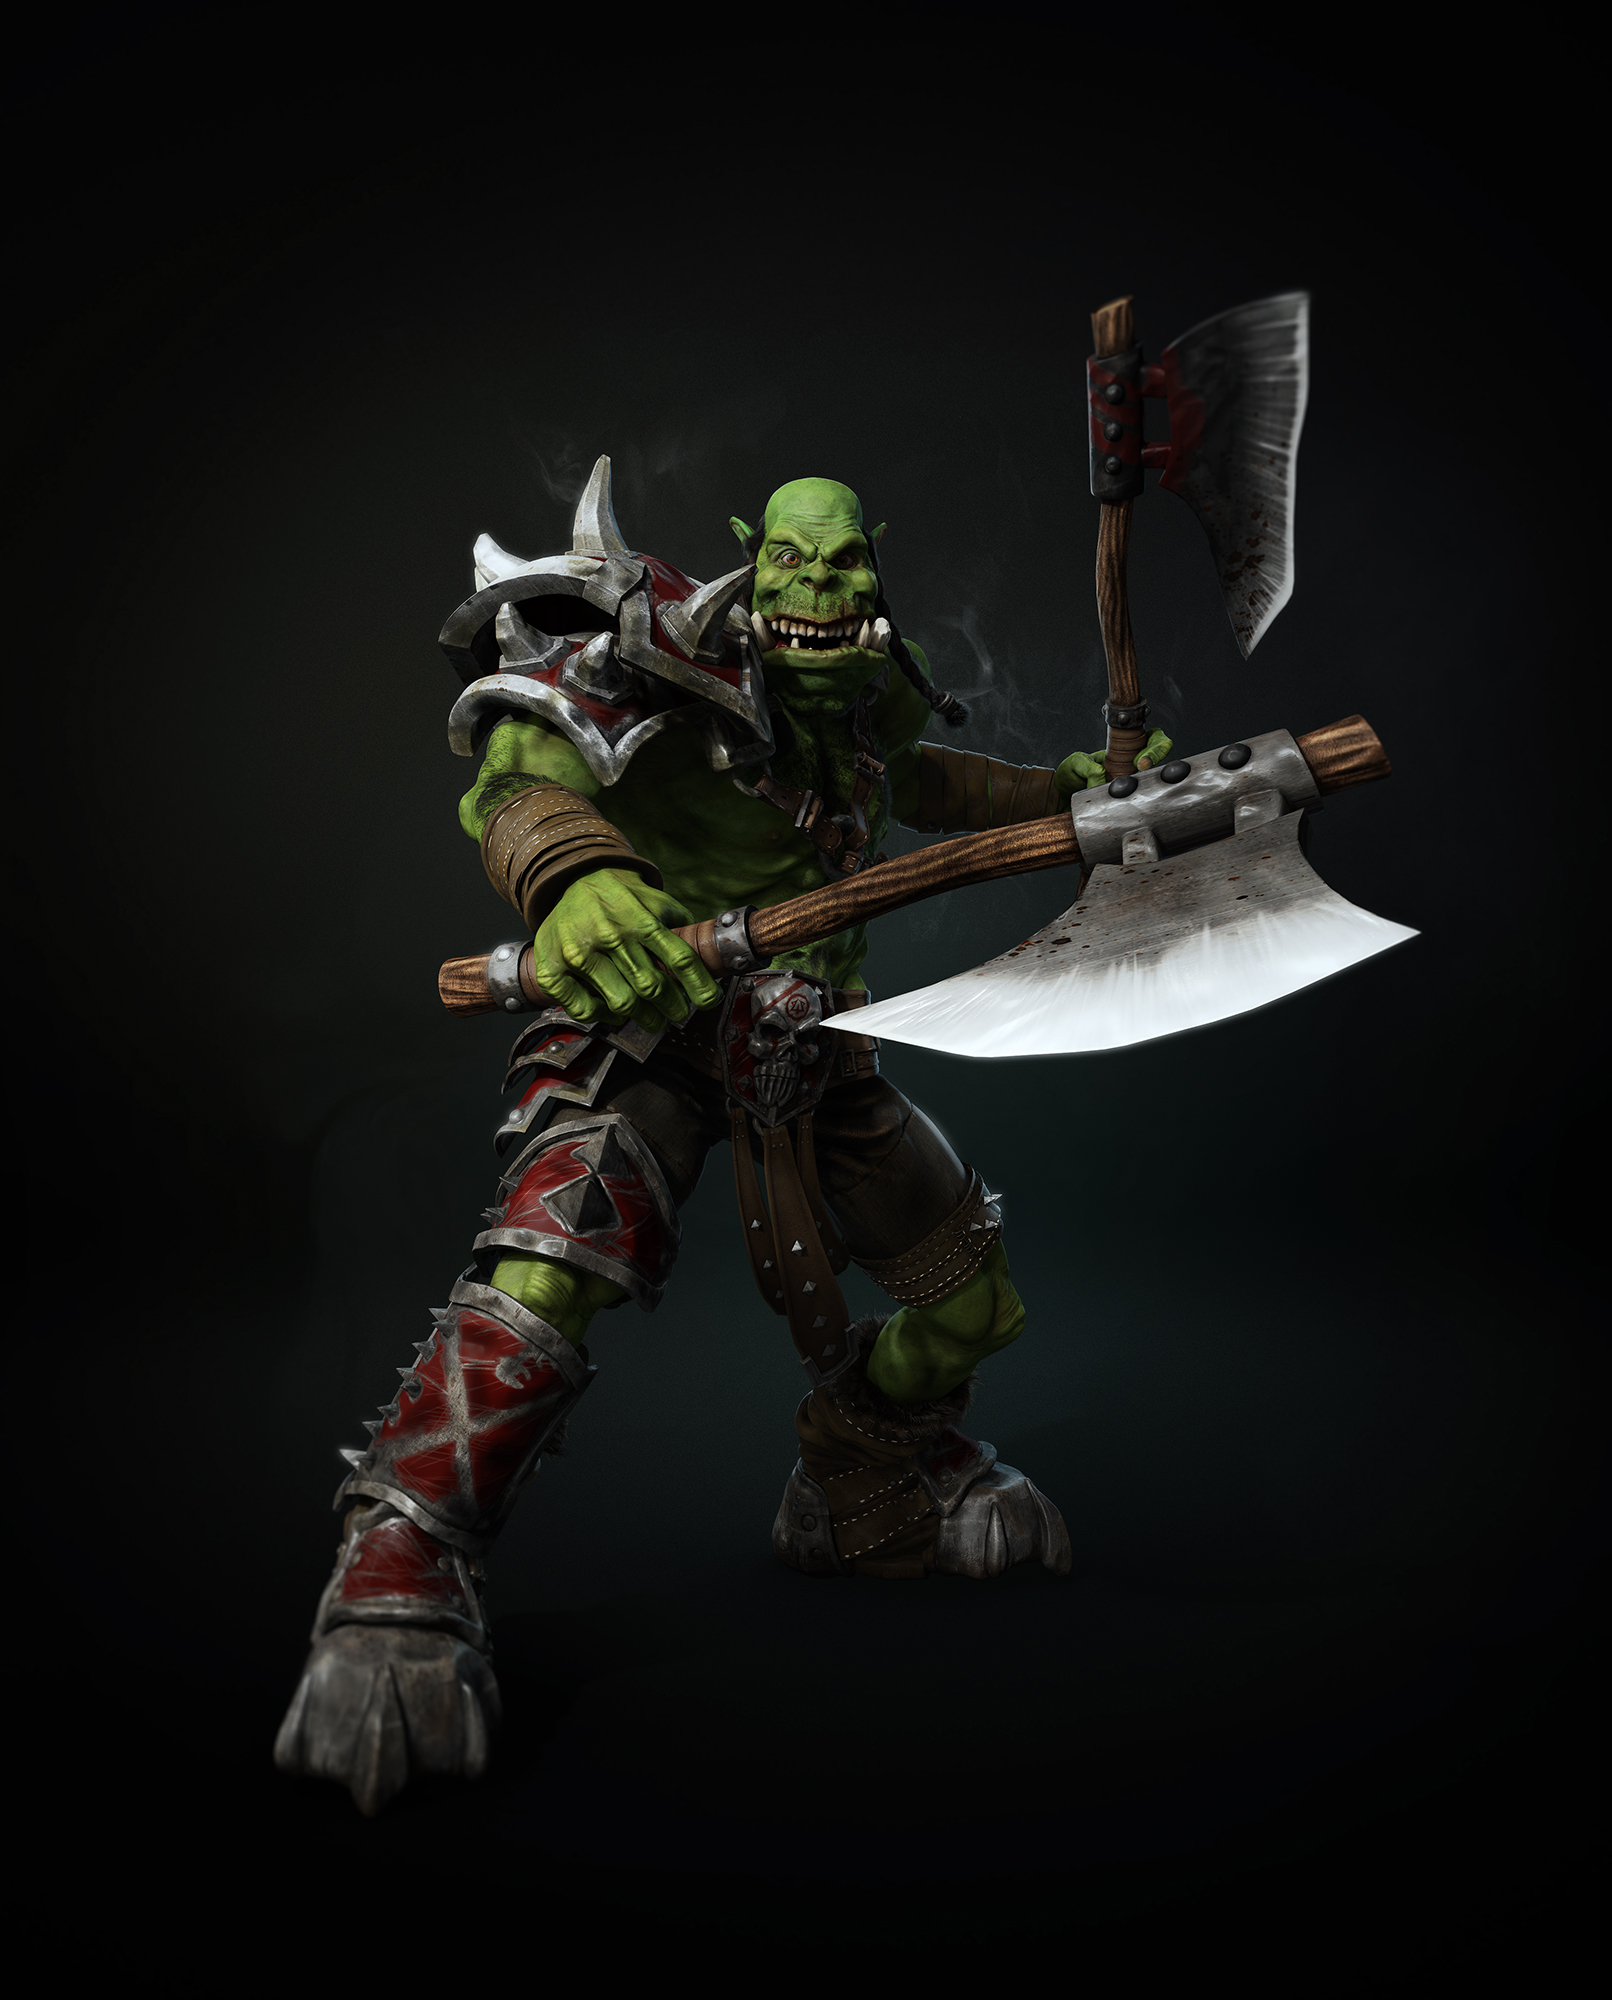
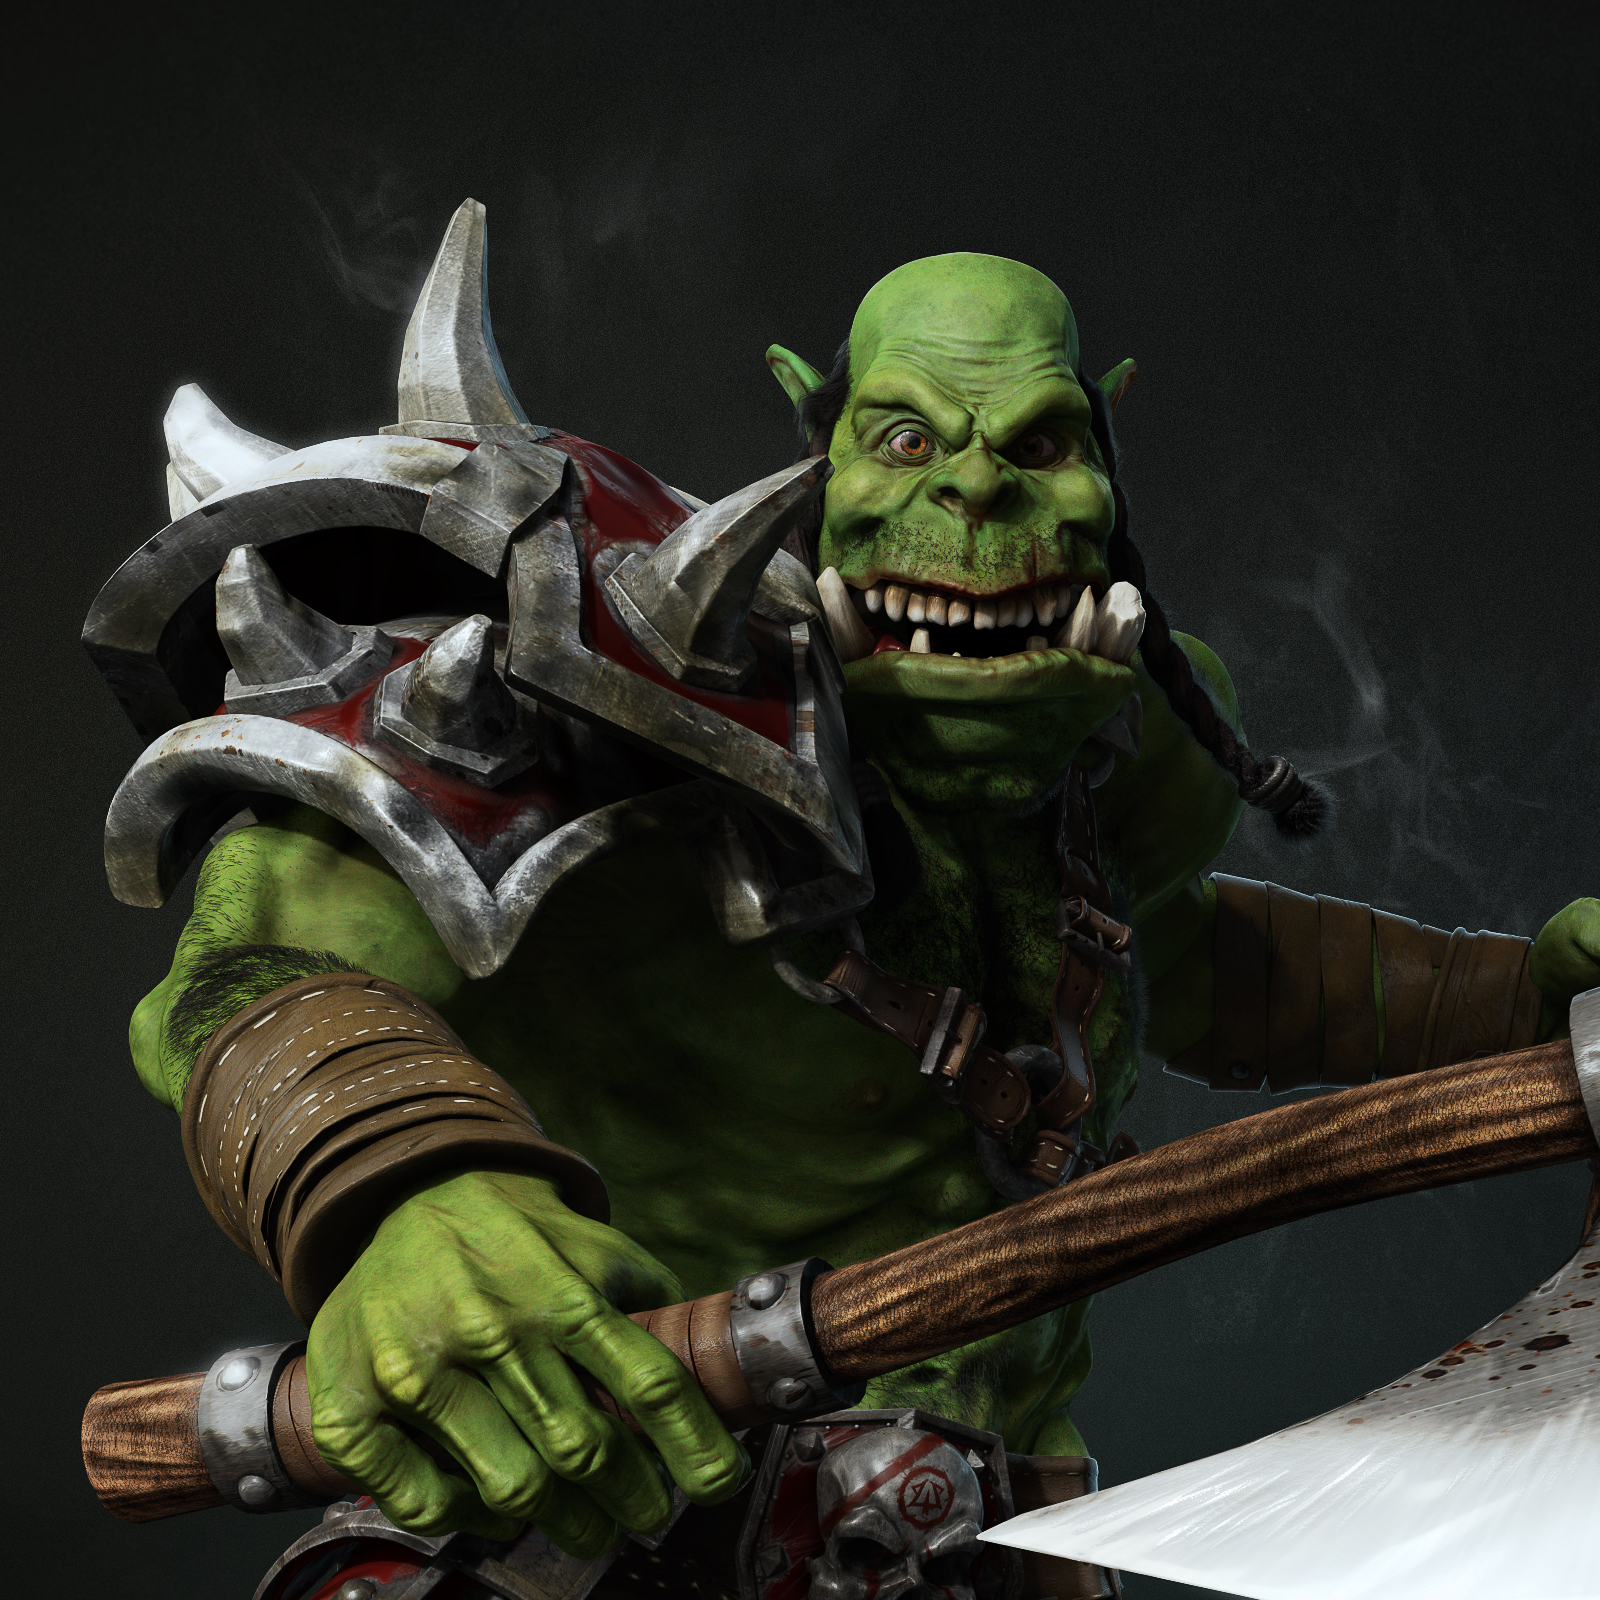
Wow epic model bro!
ho thank you so much.
i’ve finished the rigging now. I will work on corrective and muscular shapekeys but I think I will post the making of the rig plus tips to rigg a belt in the meantime.
I’ll try to keep this thread as informative and interactive as possible.
Hi Followers 

Ok I’ve just published the video showing some tips using damped track and stretch to constraint. It includes the trick to rigg belts and equipement using empties. It’s not perfect, I’ve done it rapidly but I think if you’ve follown a bit this threat it will sound pretty clear. Hope you’ll like it.
(REVISION) In the tutorial, I’ve missed a problem. When the root bone is rotating 180°, the belt bones flipped their Y axes and it’s weird and not good. To fix it, You need to add a track to constraint in first position in the stack targetting the closest empty. “Track to” avoid unexpect flipping. (revision)
Thanks for the informative tutorial Pierrick, I can’t wait for finish my first piece for made a timelapse xD, and nice diction! your english is pretty clear! I like the tip with the snap tool for built the rigging of belt! and the parenting a vertex with a locator (empty), I will take more time too practice all that, thanks for sharing!
Hi José, thanks for your nice comment.
I’ve just discover something today about drivers using bones… Where to get transform information and why in some case it doesn’t work (the problem I’ve met when I was creating the tutorial about muscle deformation). I will make a short video about it ![]()
BTW, did you get my PM?
BTW, did you get my PM?
yes mate sorry for not responce to time, because Im studing making some courses and trying to update my renders!, sorry for my bad education! I will made some updates on my treat and I will update today now I have time to responce all you send me!
(the problem I’ve met when I was creating the tutorial about muscle deformation)
the cool things where we shared knowledge, we can quickly find fast and efficient new methods of doing things! ![]()
Hi all,
Rigging is finished, corrective shapejeys also.
I now need to drive my normal map for advanced skin deformation, create a proxy base mesh for animation as this one is a bit to dense for my engine. Create a lip sinc library and I’ll be OK to start a short animation 
Original size 3500x4700.
600 samples.
85 minutes rendertime
Postproduction (I’ve try to make it subtle and proceduraly makable not to cheat on my lighting and shaders) in photoshop.
To come today, a short tutorial about drivers where I’ve been trying to define what they are, how to set them, how to use them and a little more advanced feature at the end for rigging.
Here is the tutorial about drivers.
Awesome model, the facial rig you linked to looks really interesting, my only criticism would probably be the hair, but I’m not very good with the hair/particle system myself.
Oh My Goodness!!! This looks absolutely BRILLIANT :yes: I don’t know if you’ve been asked this question, but, are you gonna be releasing this character rig to the community once you’re finished with it. I’d love to animate something with it
Hi Nathan,
Actually the base rig is the Blender trunk with the riggify addon.
My custom rig is OK for this very character. I will cover its creation through a few making of videos but I can’t provide this character freely as I will use it for personnal and commercial purposes.
Currently, the video posted about damped tack and strecthed to tips is quite wrong about the belt rigging but thanks to Cody Winchester, we’ve fixed it and found a relevent solution I will showcase in a new video.
To know more, I invite you to join this discussion.