Thanks for the tutorial, it was helpful. I’m using mesh lights, actually. What were you thinking of for the lighting?
Here it is with a stronger backlight:
I might try this res and sampling if I render on Sheep-it. It takes an hour and 6 minutes on my computer.
For the lighting, I wasn’t thinking of something very precise, but like the guy says in the tutorial, le lights have to be oriented so that the shadows really reveal the shapes, and you can use different colors to make it more pleasant to the eye. The back light could be more bluish for example. And you’re not limited to 2 light sources, you can use 3. Also the image is still burnt, I personnaly don’t really like that.
I’d highly recommend this video if you haven’t seen it :
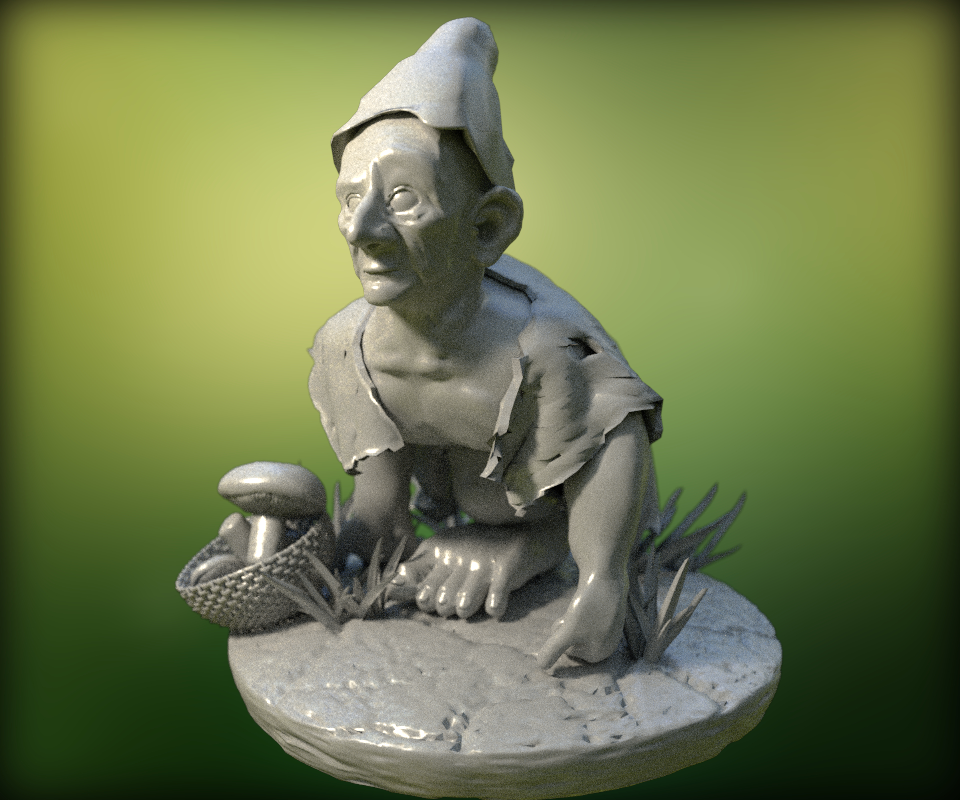
The ear is better, but it’s hard to see in the shadow. I’m also still annoyed by the contours of the clothes.
The dof can be interesting, but it’s weird if you don’t focus on the face.
The SSS are still not looking like real skin (too waxy, not dense enough). SSS are long to do. Ideally you would need to create 2 maps for making the scattering vary on different areas, and on 2 skin layers, or at least one map to make variations :
http://bensimonds.com/2010/05/31/three-layer-sss-in-blender-demystified/
Thank you again for the critique. The render-time is so high that it’s very hard to see what you’re doing with the lighting, but I now have taken duplicates of all the objects, deleted the particle systems, and assigned a diffuse material to them, so I can light it easily. Thanks for the suggested tutorial, I hadn’t watched it, and it was quite helpful. As for the skin, I might mess with it later, but right now the priorities are lighting and color scheme, and then I’ll see how realistic the skin needs to be. Here’s another render with better DOF. I didn’t have time to do anything else yesterday, as I had to catch up on homework.

Here it is with a 3-point lighting setup, except that the backlight got put on another layer. The reflection in the eyes doesn’t look good, so that will take some work. Sorry for the unfinished render.

Hi GPS14
Couple of things for me.
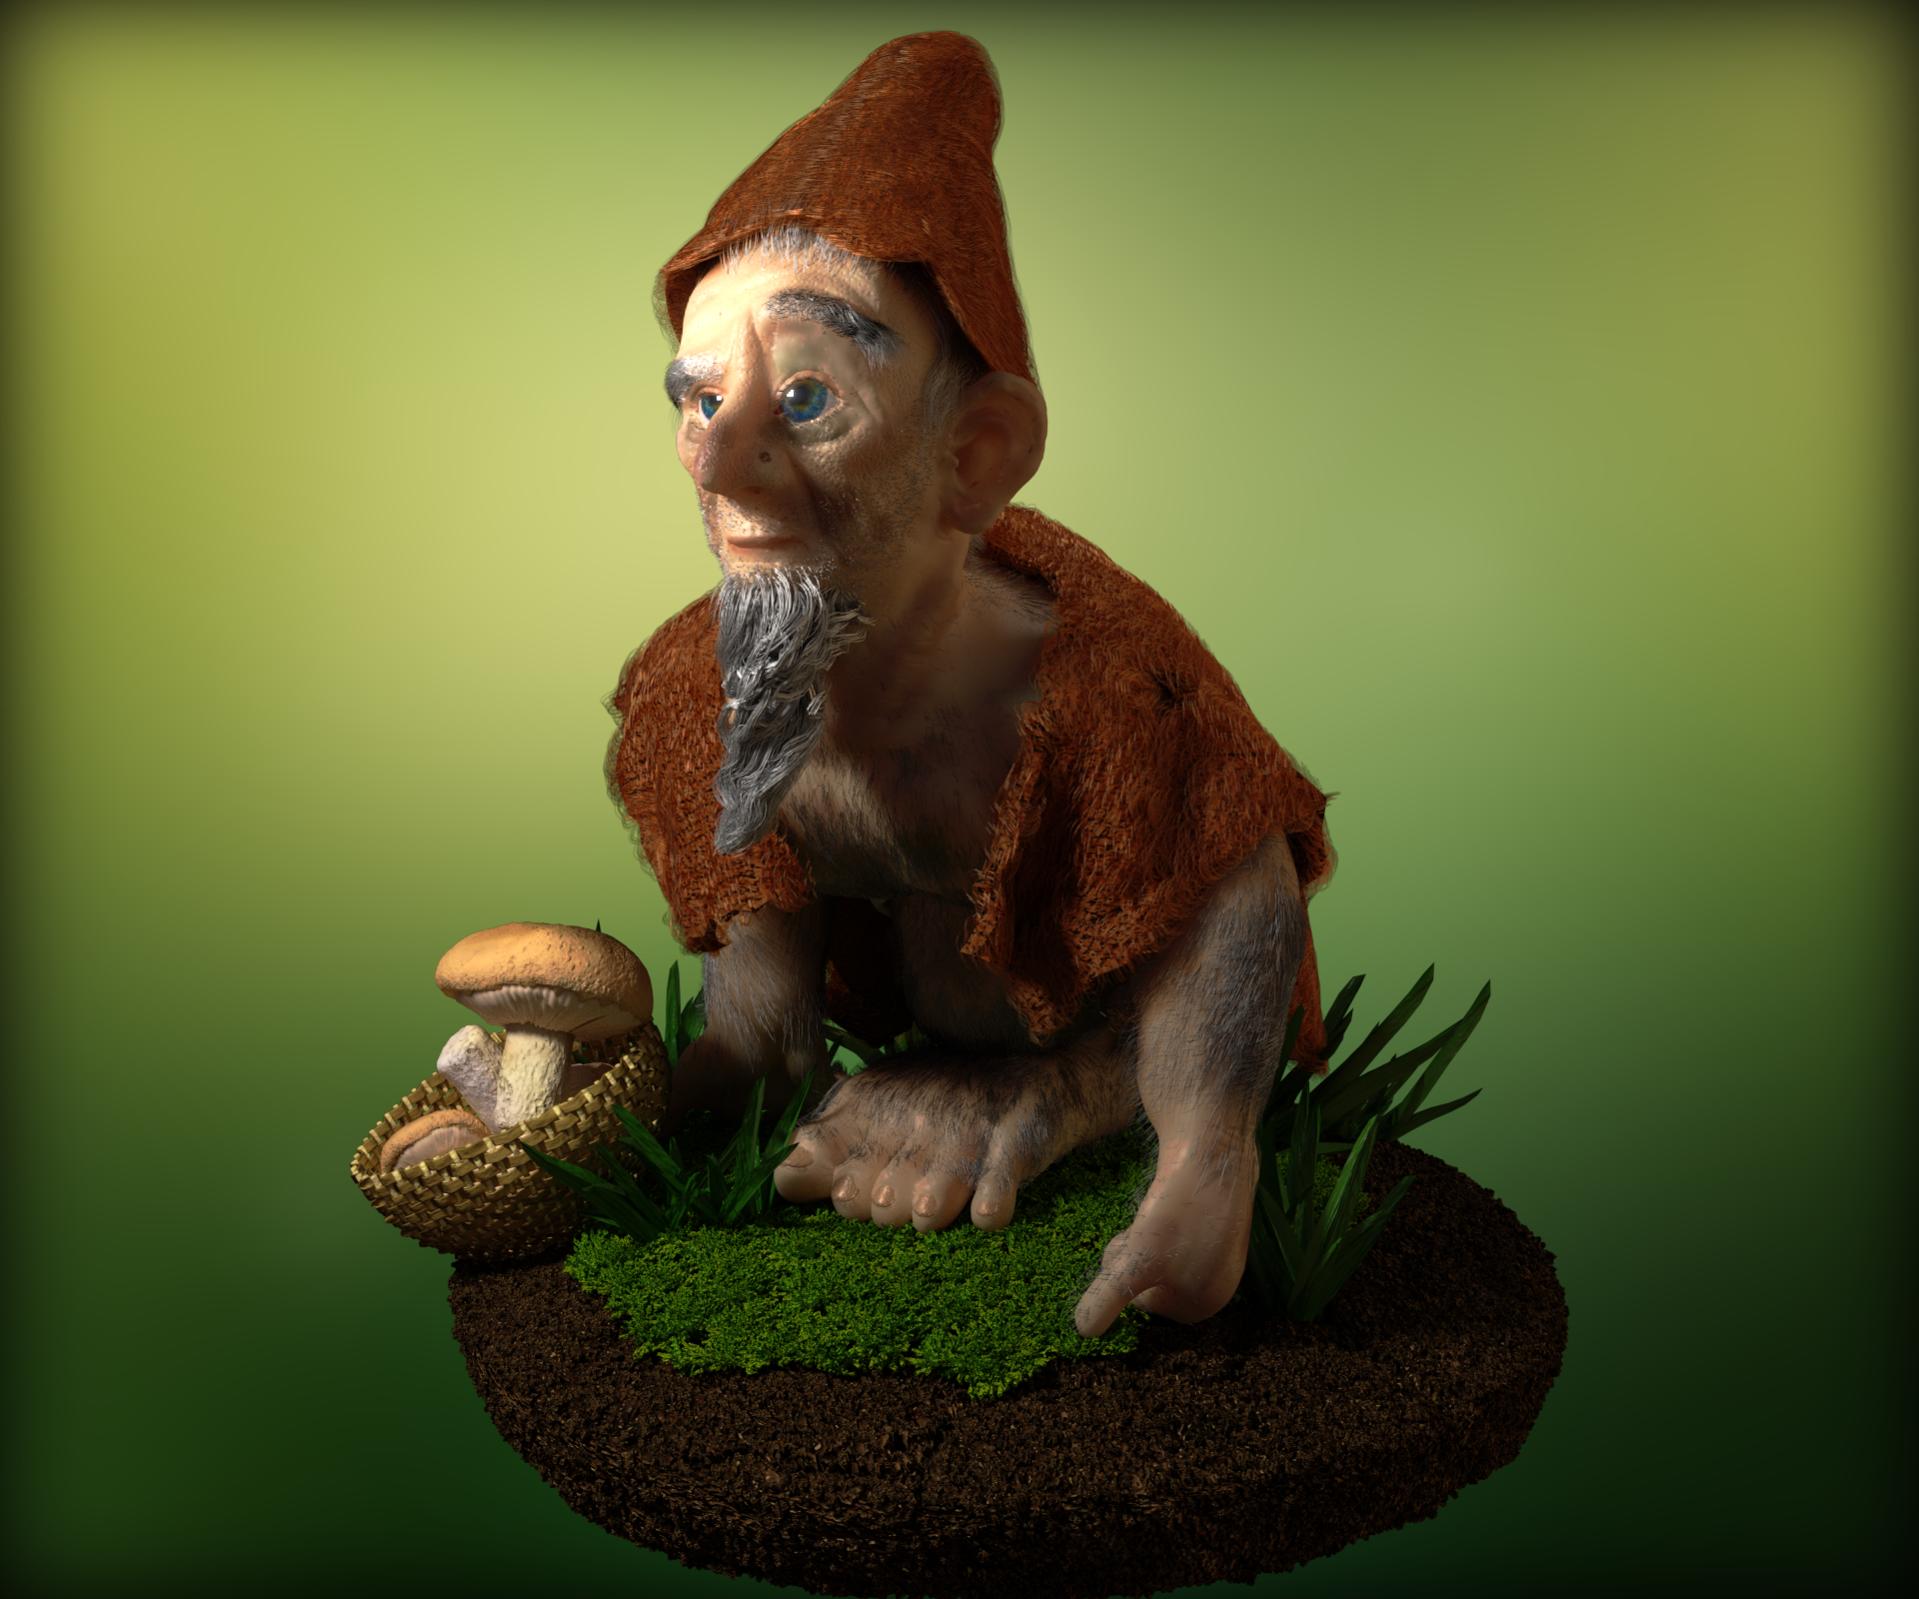
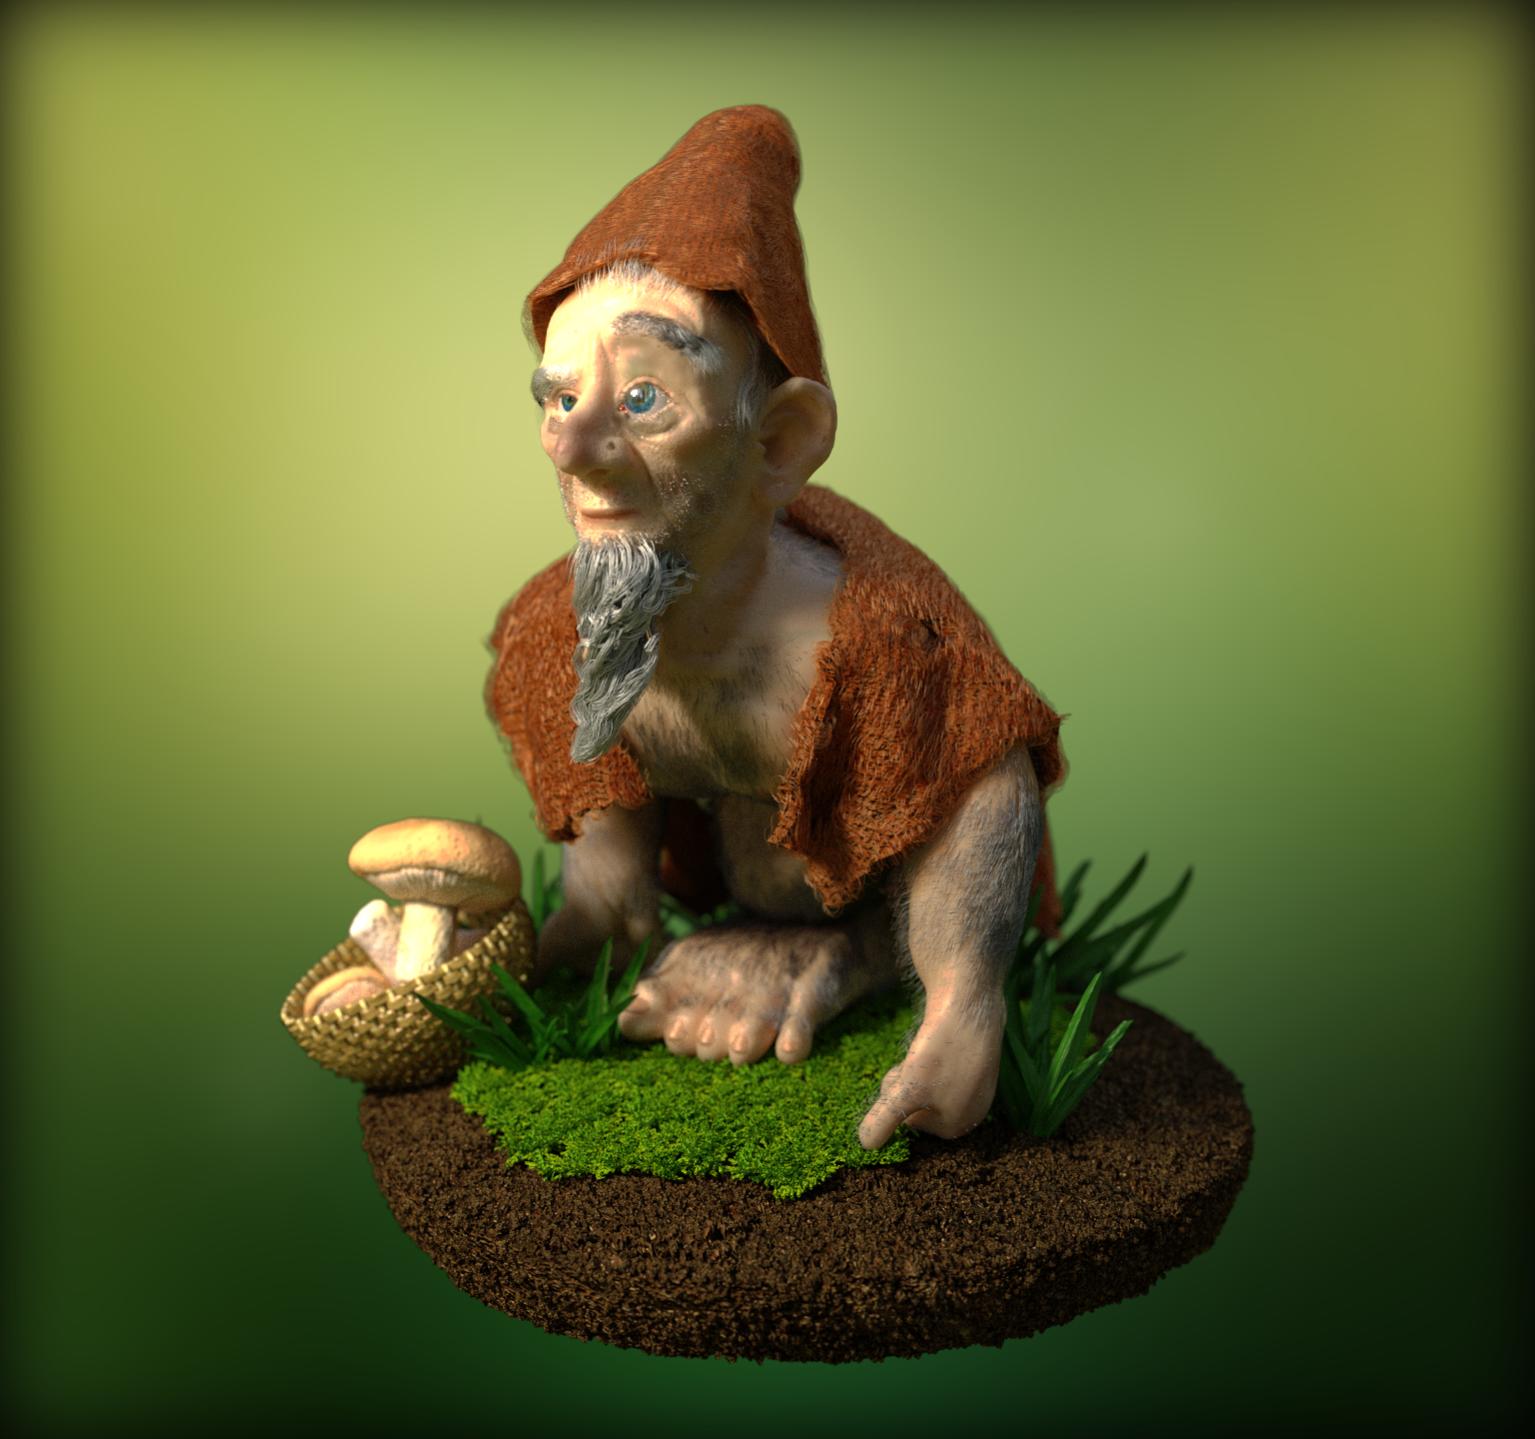
While the whole scene and the modeling looks good to me especially the grass, mushrooms and wicker bowl, you are obviously struggling with lighting. If I repeat what has been said, sorry as I did not go through the whole thread.
Have you tried a HDRI as I think it will show up the Gnome nicely. Subjectively the image is also too under saturated. I think a nice HDRI to evenly light the scene and a sun lamp for some shadow will work nicely.
Maybe still too much SSS on the skin, but I think get it lit nicely first and then judge.
The hair systems on the cloak and hair on the body look really nice.
Shaun
This is not a 3 point lighting setup. The key light should be 45° from the camera, the fill light 90° from the key, and the back light, I don’t see it on your image. Again you keep on burning your image. Also I didn’t mention it, but I think you should move the mushrooms to be on the focus distance. And you should definitely give a try to sheep-it. It’s super easy.
Just register here, then install the client for your system so that you can render and earn credits in order to get higher priority in the render queue, then add your projects here.
Thank you for the critiques.
@Shaun: I’ll try using more HDRI lighting, as this isn’t working very well, but I do need some sort of lamp for the gloss in his eye, and since the gloss roughness is set to zero, it’ll have to be mesh. I’m glad to know the modeling and particle systems are looking good.
@Caetano: The key and fill lights are actually in the right positions, but your right, I accidentally moved the back light to another layer before rendering. I think the burning is mostly the composite, but I’ll see what it looks like with HDRI lighting before I mess with the nodes. I’ll try Sheep-it when I have time.
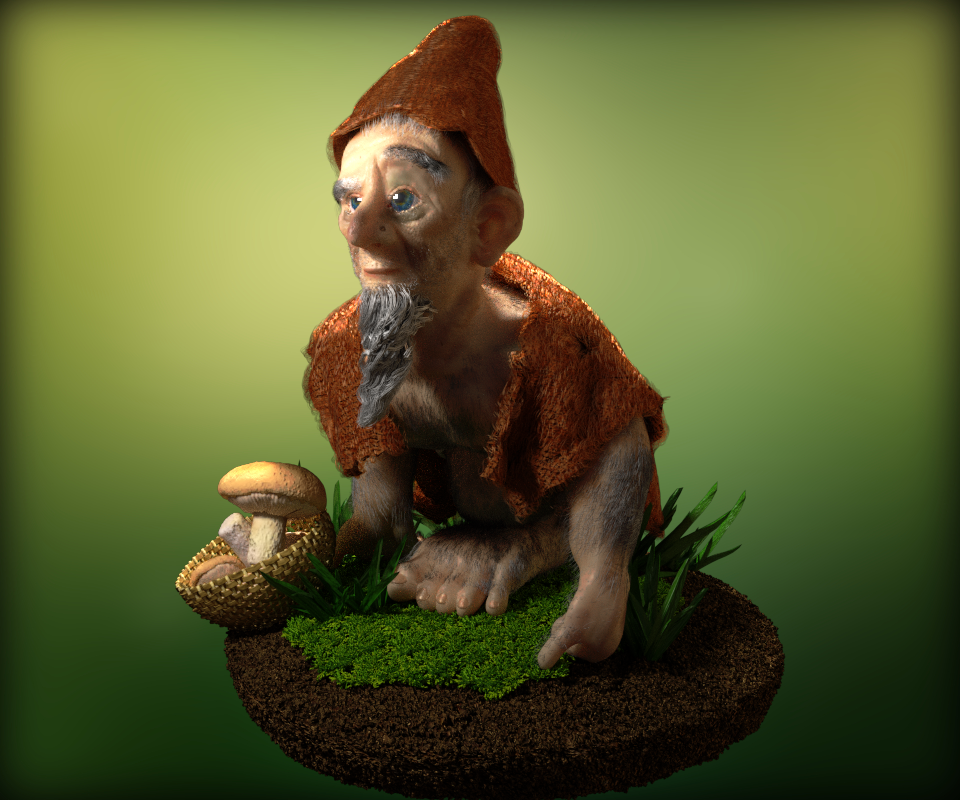
Here it is with the back light. This is rendered at 1000 samples and took 18 hours for this unfinished render, but it’s still quite noisy. That’s another reason I need to change the lighting.
and the non-composited version.

Sorry if I was mistaking about the lights. It’s strange though because it seems the gnome’s head is oriented at 45° from the camera, so I was expecting the key light to aim at his face. Here it seems the key light is oriented 90° from the camera. We can also see that half of the mushroom is enlightened, which is what would happen if the light was at 90°. But you have the scene, you know better.
It’s a “roughly estimated” 45º ;). Probably far to rough of an estimation.
Tomorrow is Saturday, so I don’t have any school. I might be able to get some work done on this project. Can anyone suggested a website to download good HDRI maps?
Pro-lighting : Skies have good HDRIs and renders faster (the free demo version gives you 3 HDRIs). Open footage seems good, then I don’t know, but google images shows some decent results.
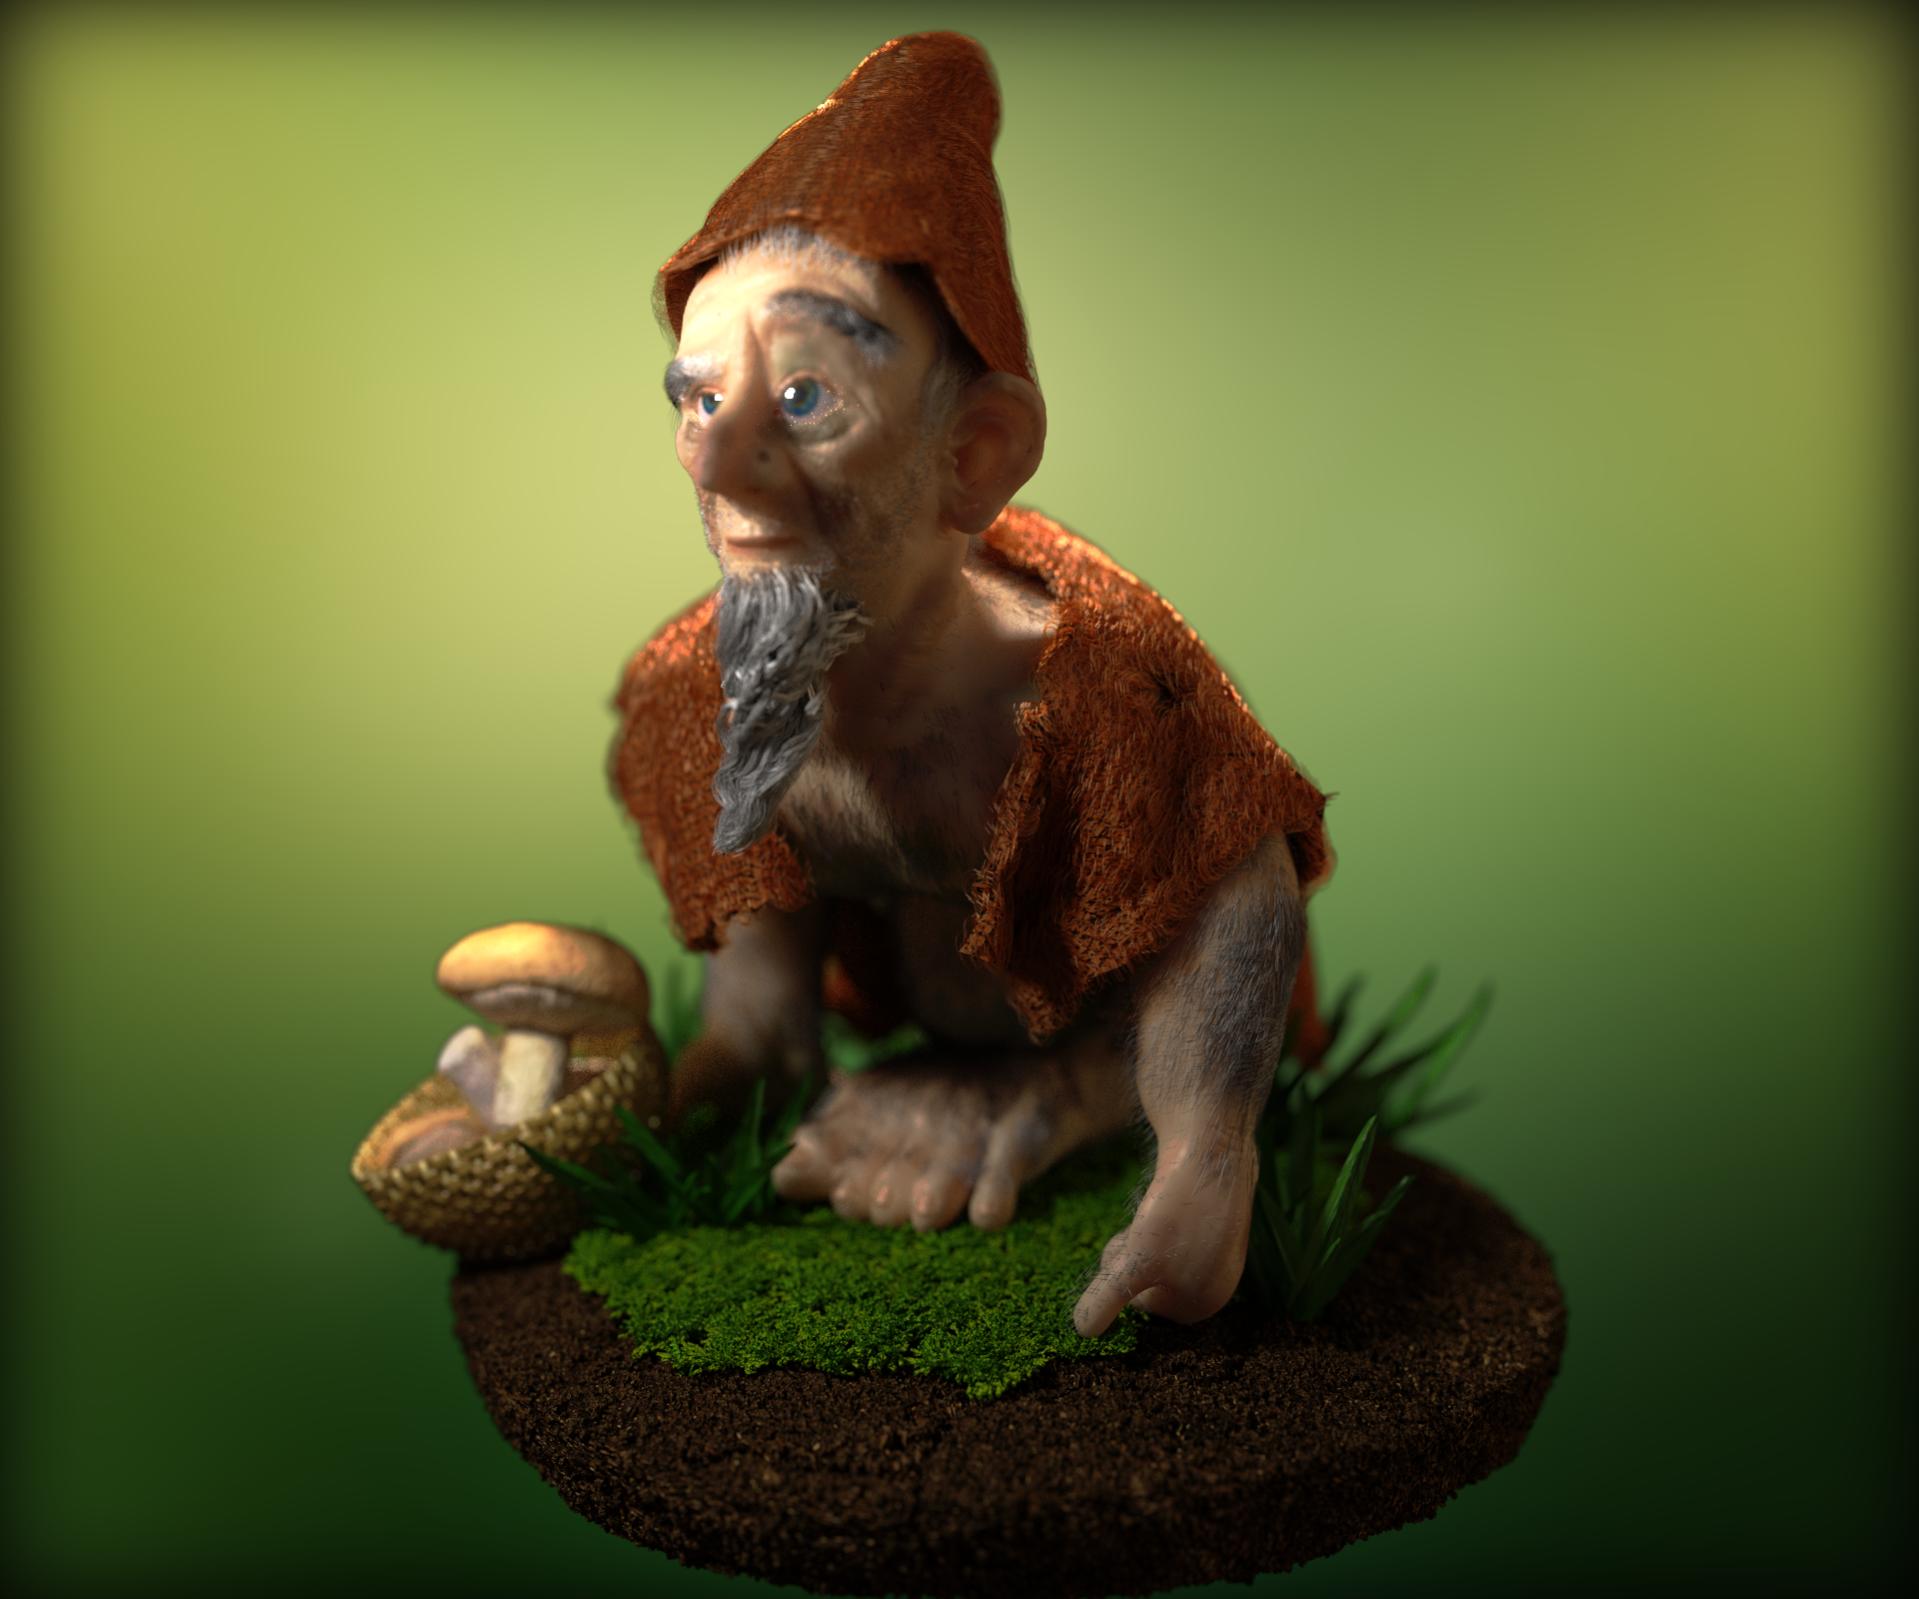
Thanks for the links. I’ve now found a good HDRI, and am testing out a new lighting setup. Here it is on my test model:
I’ll render the “materialized” scene soon.
Other than the clipping on the forehead and mushrooms I think it looks really good.
Well I think I’ve said all I had to say before so you know what I think.
I don’t know your workflow, your hardware or how much time you spend on this, but if you feel like you waste many precious hours by rendering and can’t do other graphic stuff while your computer is rendering, then I don’t really understand why you say “I’ll try Sheep-it when I have time”. This is precisely what it would give you. And your computer wouldn’t even be busy during that rendering time.
@Shajuke: Thanks Shajuke. What do you mean by clipping? Do you mean there is to much white?
@Caetano: OK, I’ll try Sheep-it. These images are rendered over night, so it doesn’t waste any of my time.
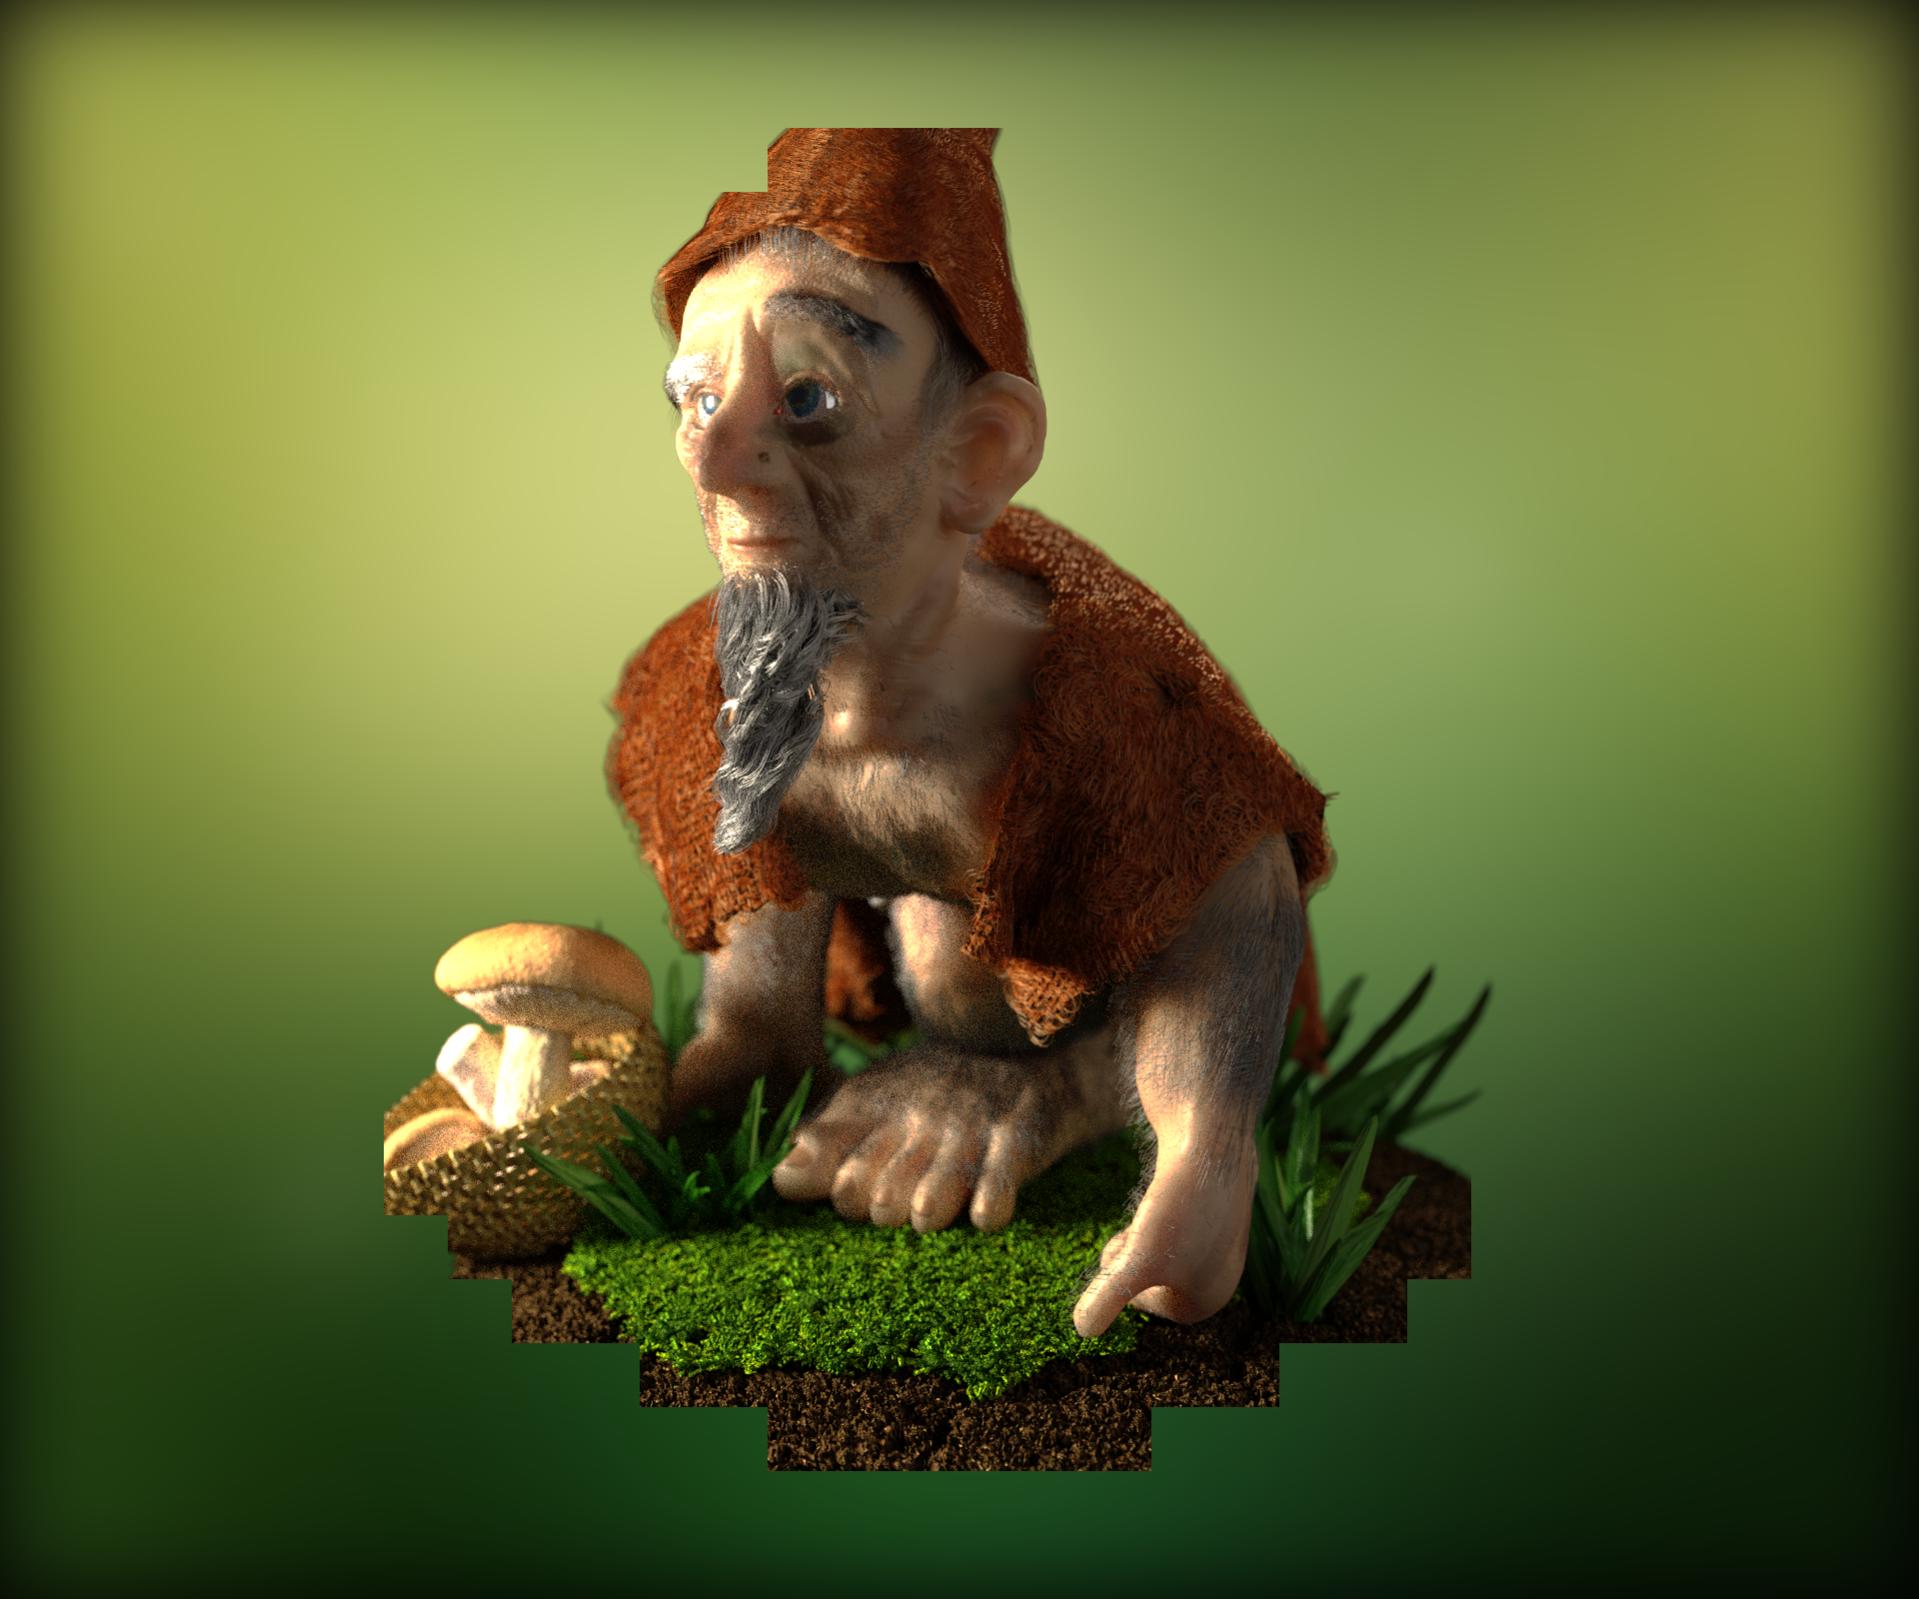
the lamp that you have shining on the face and the mushrooms is way to bright and burning the image, try and turn it down a bit and turn your HDRI up a bit, also you have to much yellow on the lamp, it should just be a hint of yellow.
not to sure what you are trying to achieve with the lighting, but if your HDRI is set up nicely you will just need a lamp to cast some interesting shadows on your gnome.