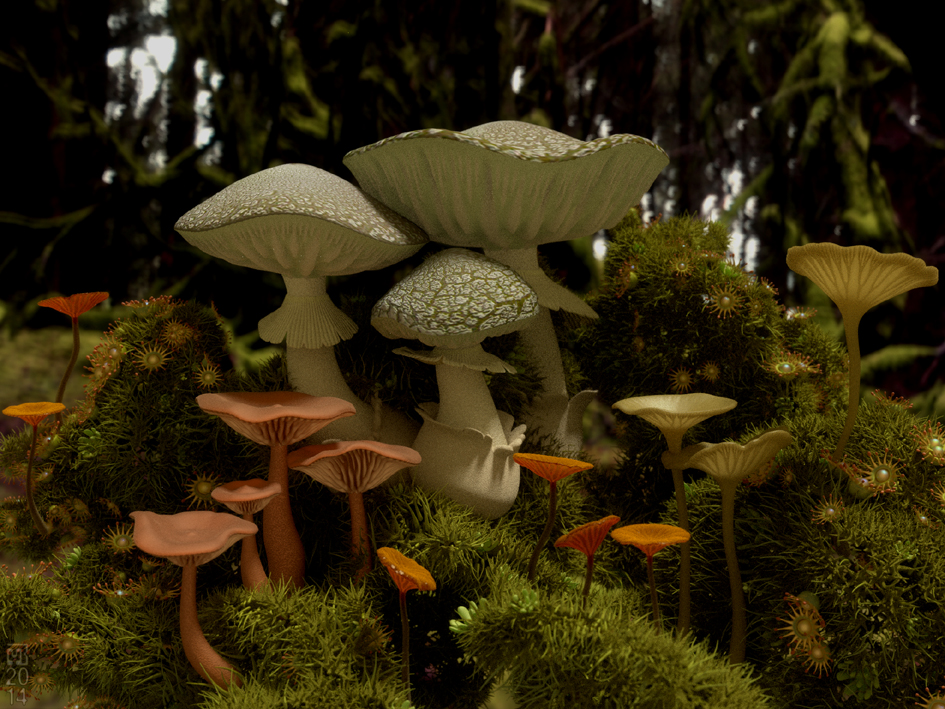
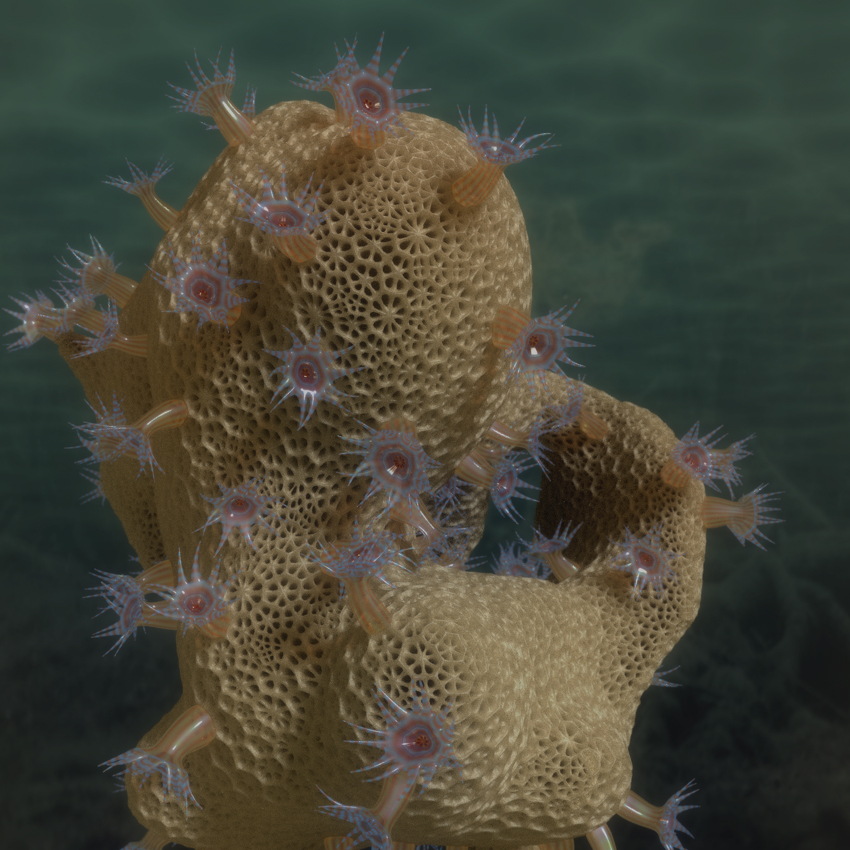
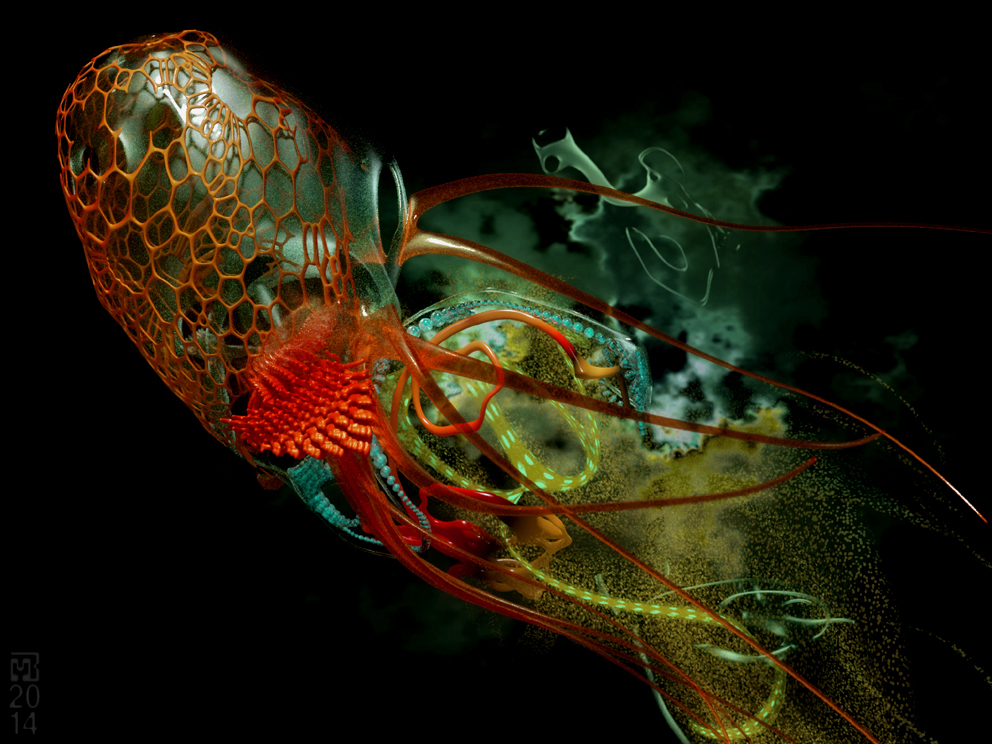
some experimental sketches
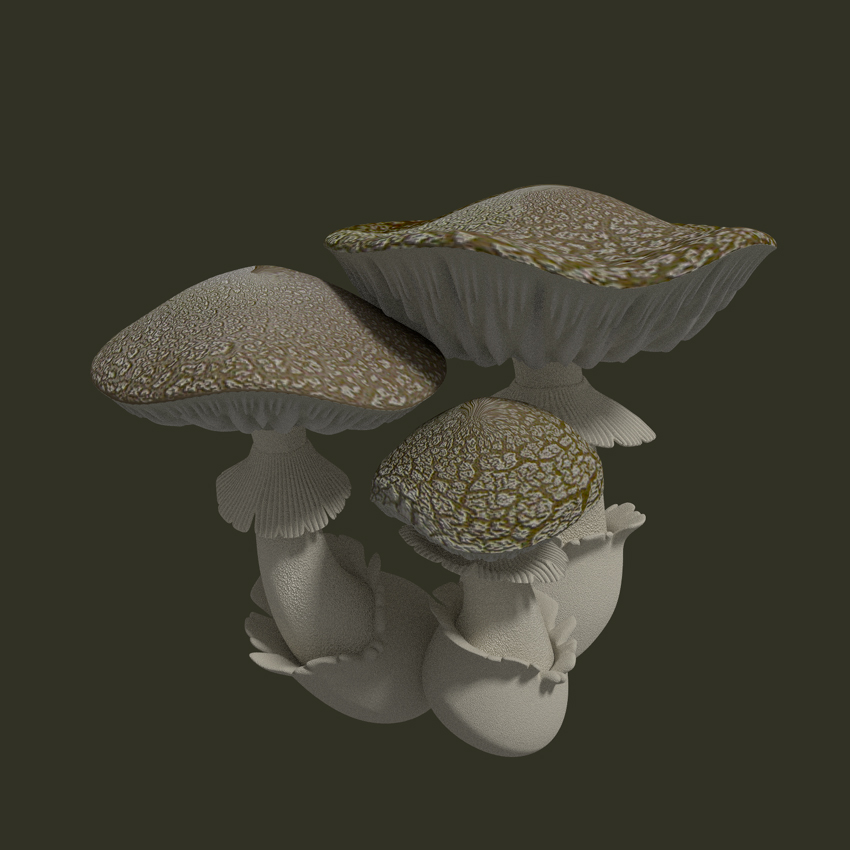
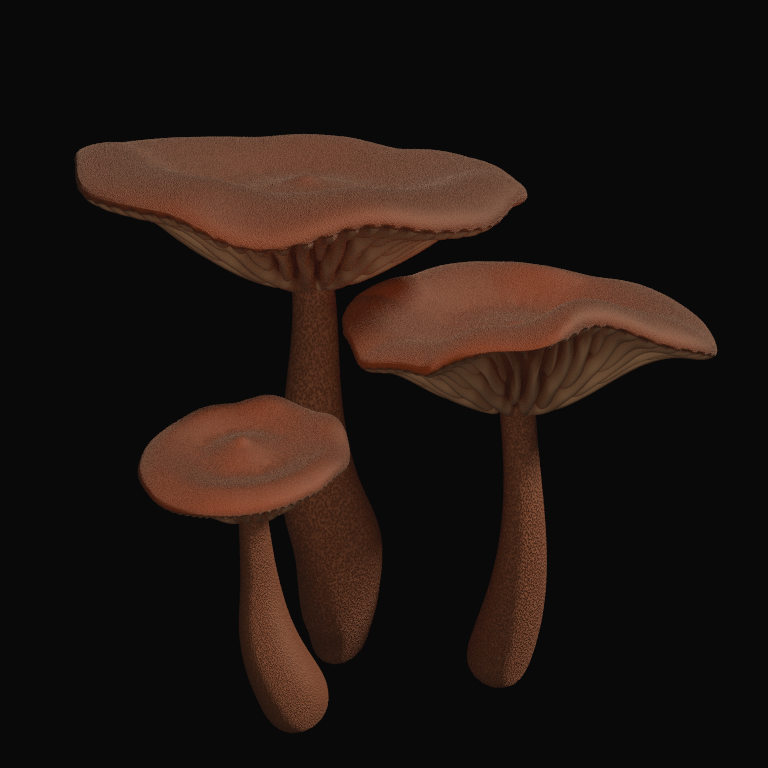
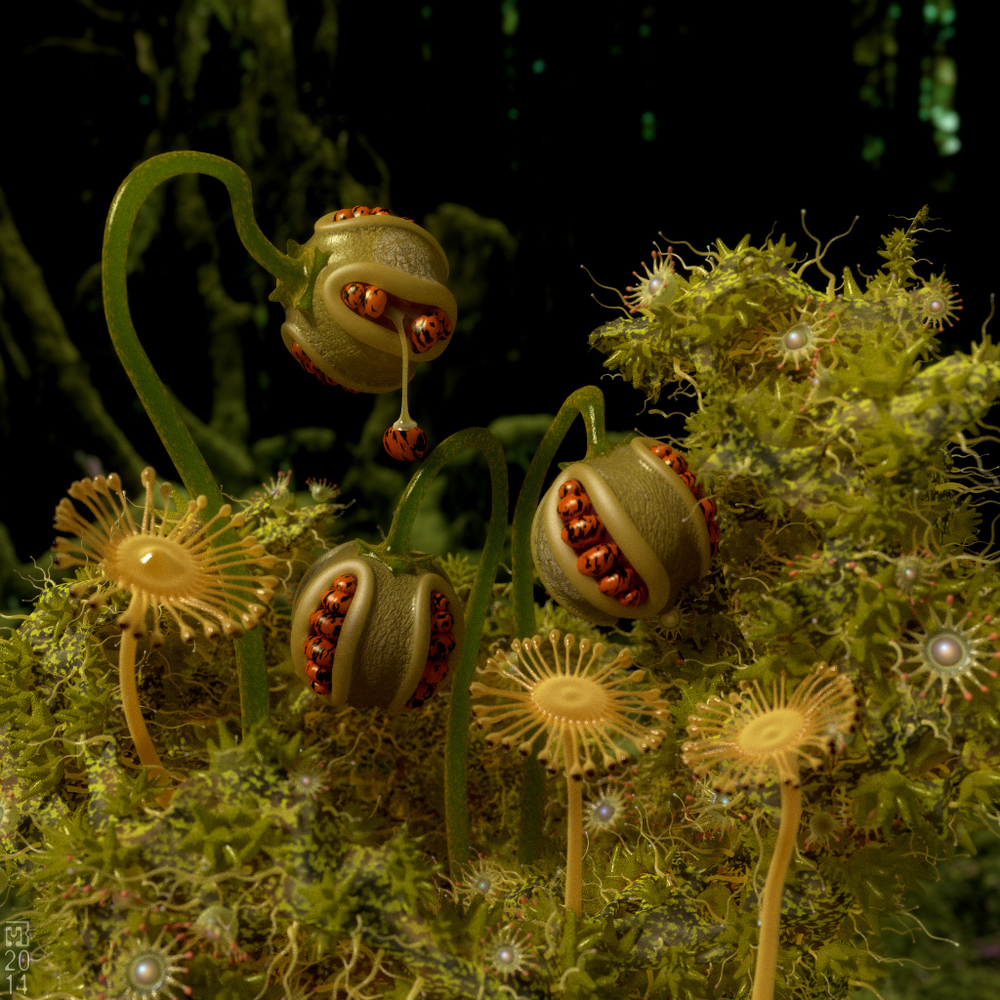
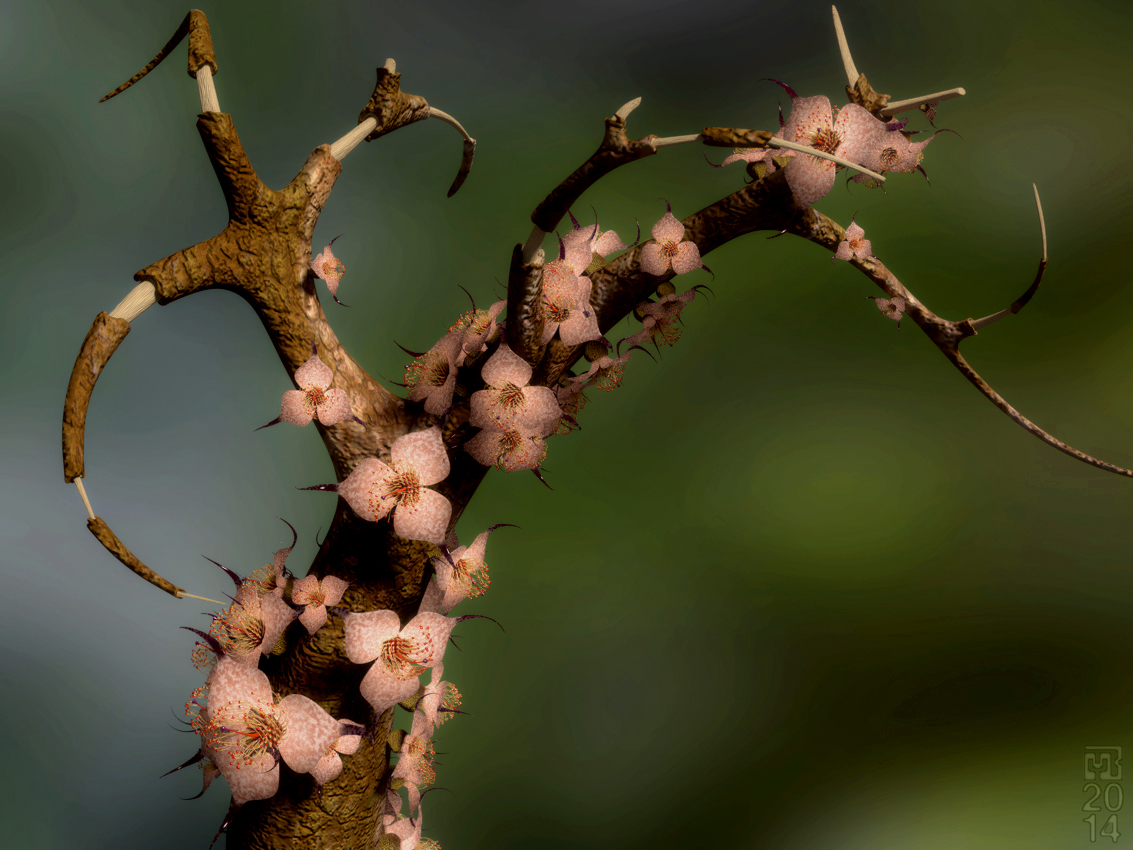
more mushrooms
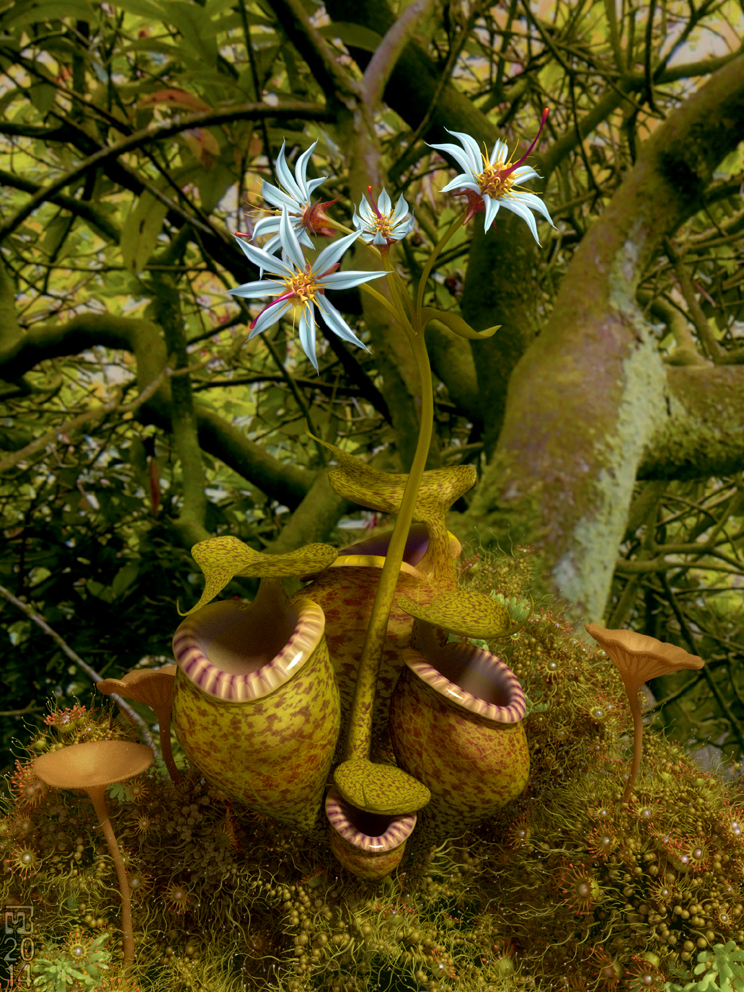
and full scene
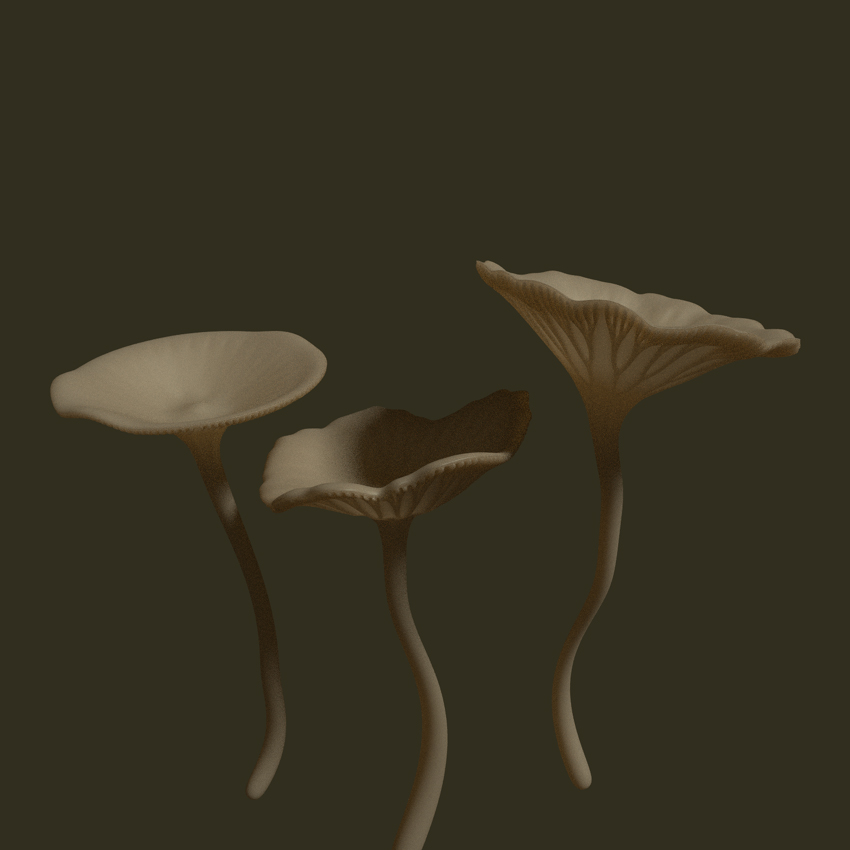
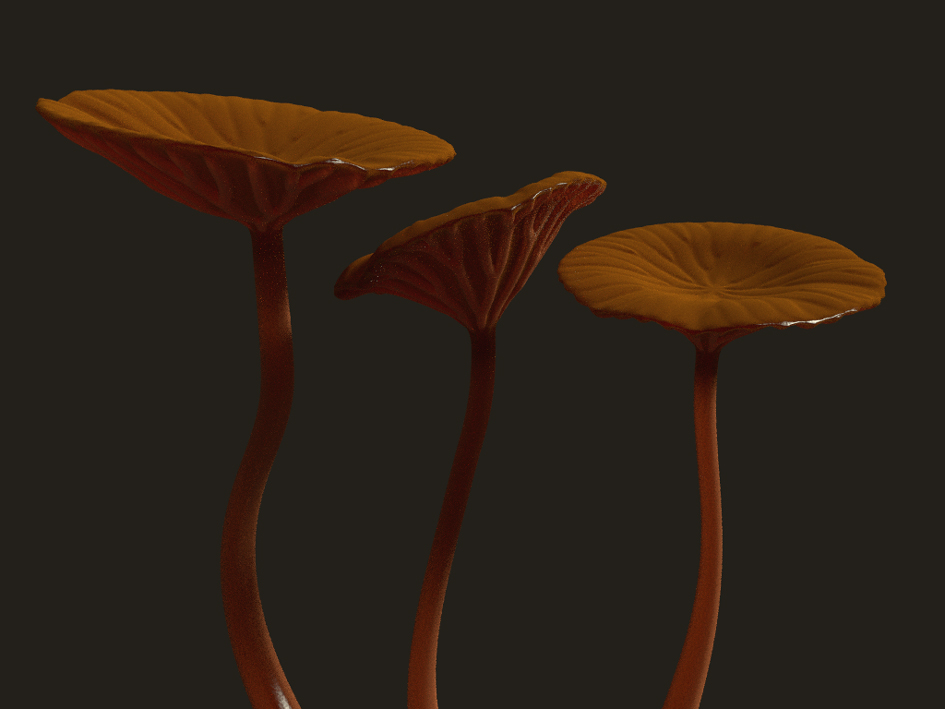
still experimenting with the appropriate topologies
for the mushroom gills
Carnivores and the pink shell shader are my favs. The geometries are rad. Awesome work.
Any organics tutorials coming?
Look forward to see some tutorials , about the veins topology and the honeycomb etc…
Wooow, you’ve got some amazing stuff here! Love most of it! I especially like the painted feeling most of your renders have and especially that they are proceduraly generated.
Subscribed.
Greetings from Baden-Württemberg 
Yes, yes, yes… amazing work. I’d like to learn from you. Having artistic & architectural background, interested in math & fractals, your images, shapes & forms are really lovely peace of work. Pure procedural passion! Shame i haven’t stumbled upon your thread before. Do you have a blog or a site? Are you willing to share some math magic? Are you also using Sverchok (addon) or Houdini? Thanks again… subscribed.
Hi Fabian,
Thank You for appreciating,
and greetings from Hamburg
Hi Burnin,
Thank You for keeping attention to this thread.
Maybe You overrate my math knowledge a bit, in general i suck at math, i only
have a good and quite intuitive visual understanding of 3D vector geometry,
and my approach to do things is largely experimental.
If You are interested in generative stuff, try StructureSynth. The script language is easy,
even for non-coders. And thank You for pulling my attention to the Sverchok add-on,
I didn´t heard about it yet, and it looks promising.
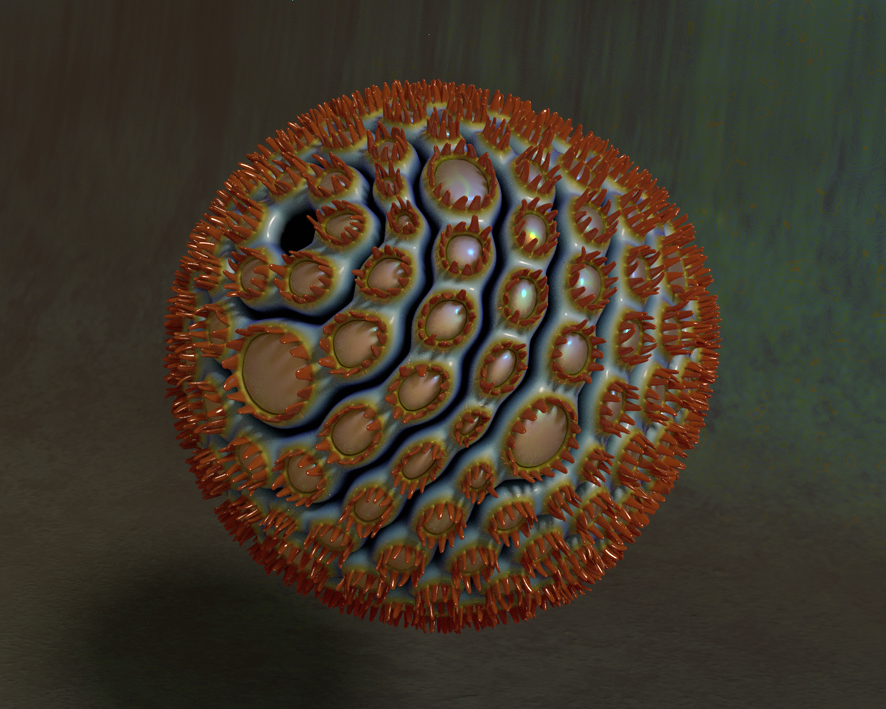
I been asked for some tutorials on organic modeling. Now i will start with the honeycomb tutorial :
You can do this with whatever mesh to achieve a honeycombish topology.
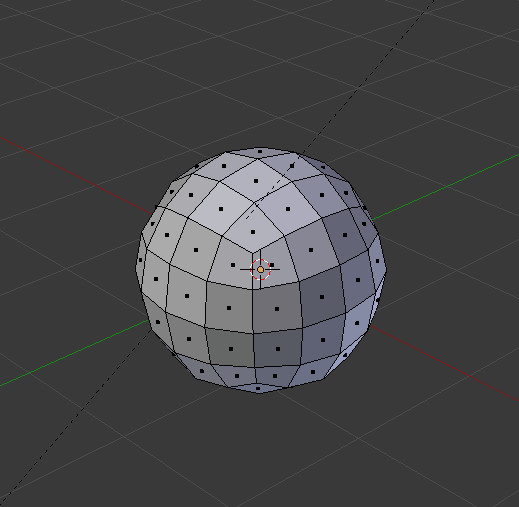
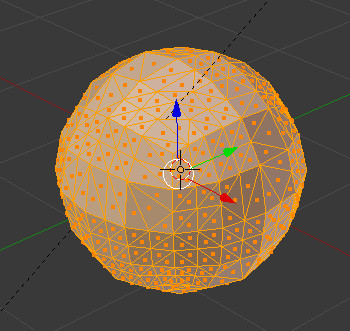
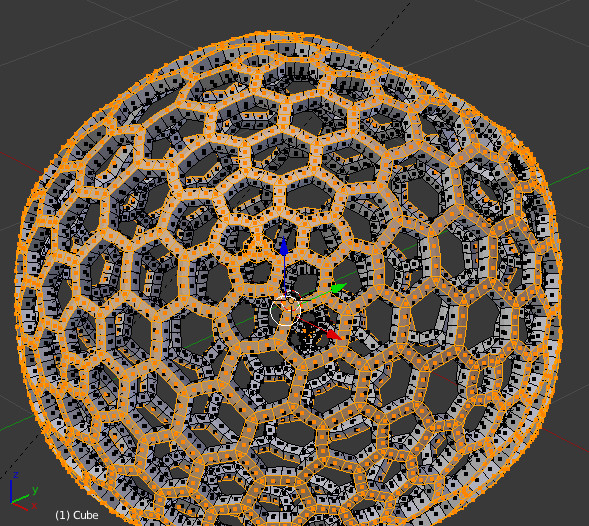
Let´s start this example with a cube.
- Add a subsurf modifier to the cube, and apply it with two subdivisions.
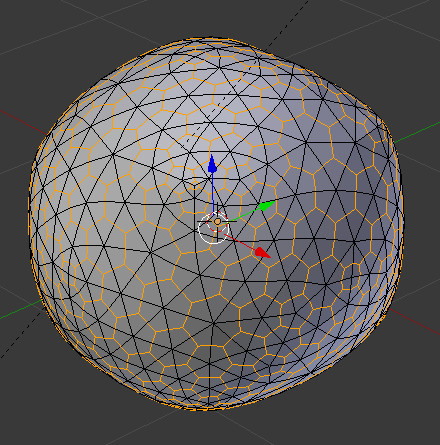
Looks like this in edit mode :
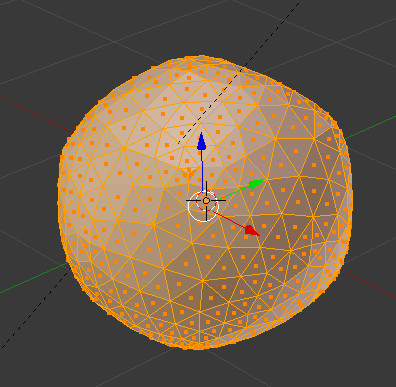
- Now, select - random from the selection menu,
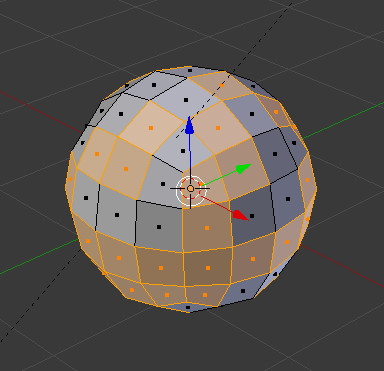
and subdivide the
selected faces with the subdivision tool once.
This step is done to achieve a somewhat irregular and more organic
looking result. Many variations are possible to achieve this stage.
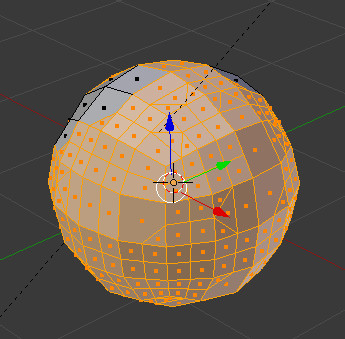
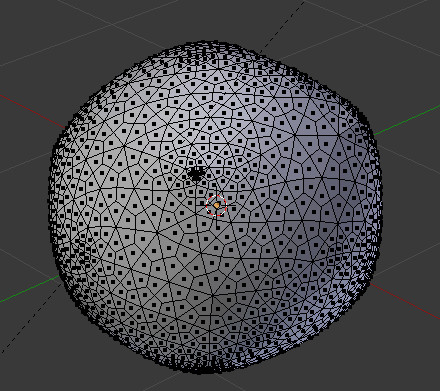
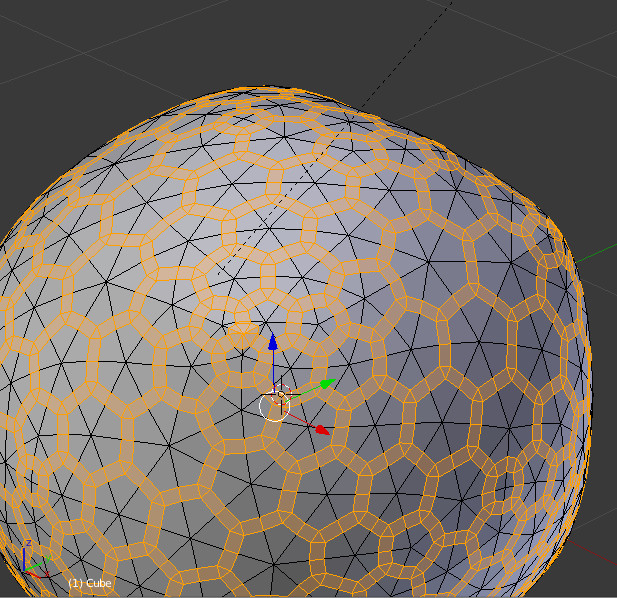
- Then select all faces, and triangulate them (ctrl T ).
- Now press " smooth vertex " several times to get rid of remaining quadrangularities.
- Go back to object mode, and apply a subsurf modifier with one subdivision.
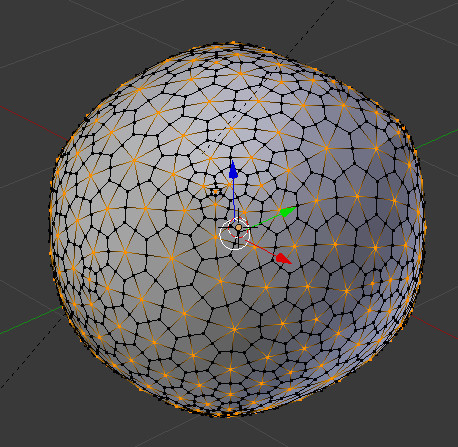
- Go into edit mode again, and have a look at the resulting mesh - you can
already see the honeycomb topology.
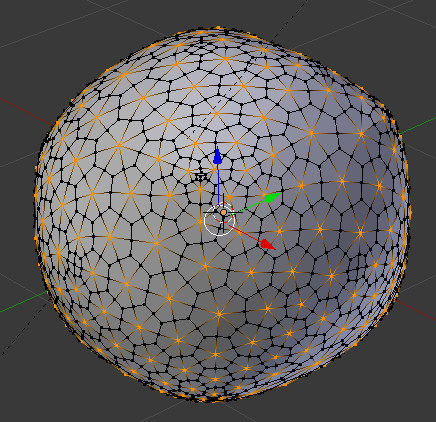
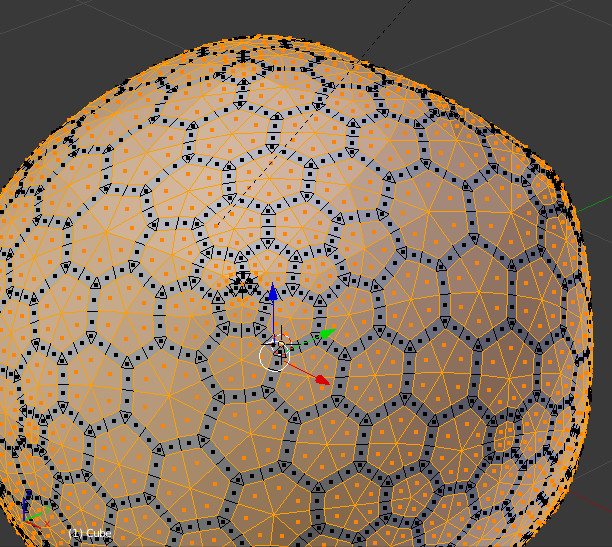
Now You have to do some selection tricks to work with the mesh.
- Go into vertices mode, then select one vertex with three, and one with four connecting edges,
then go into the selection menu, select similar - amount of connecting edges. Result is this :
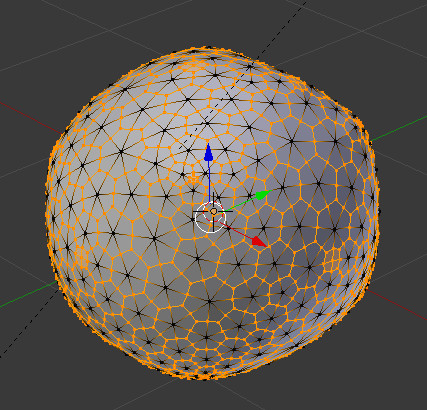
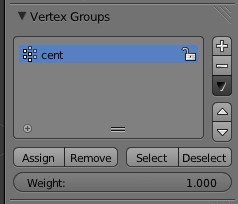
This is almost what we want , but some center vertices with four or three connecting
edges we want to have deselected too. You can do this by hand, but there is a better way :
- Invert the current selection (ctrl I ), and assign it to a vertex group. I call the group here “cent”,
for center vertices.
Attachments
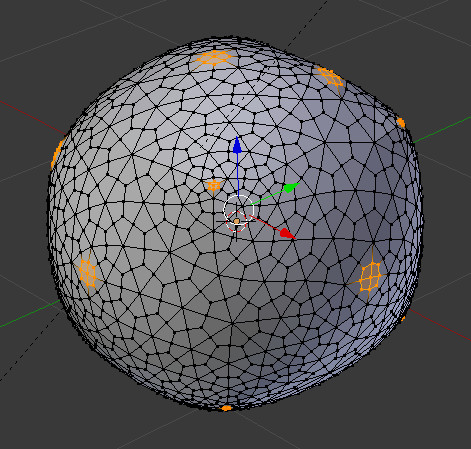
- Then invert selection again, go on face mode, and than back on vertices mode. Result
should look like this now :
- Then select - less ( sorry , i don´t know the default key shortcut for this, because it didn´t
work on my laptop keyboard, and i changed it some time ago. otherwise you find it in the
select menu),
select the stored vertex group “cent”, and assign all selected vertices to it.
Now, all center vertices are selected, and the vertex selection is ready to work with it.
From this point on there are many different options to work with this mesh.
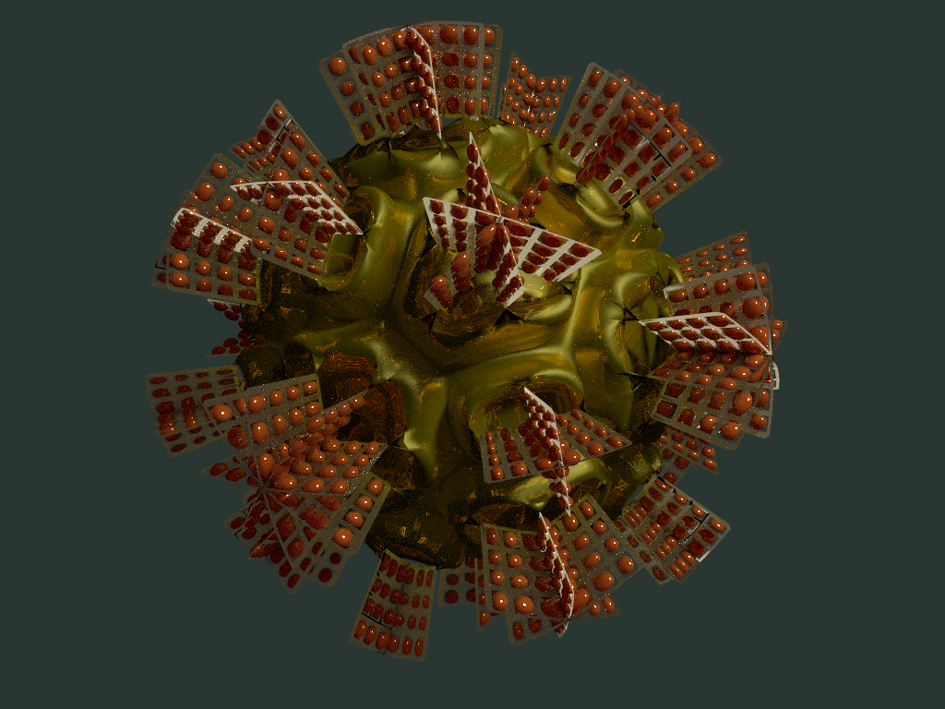
We could make , for example, a mesh ball now :
- Invert selection again, then go into edges mode.
- Bevel the selected edges ( ctrl B ),
go into faces mode, and invert the selection.
- Delete selected faces.
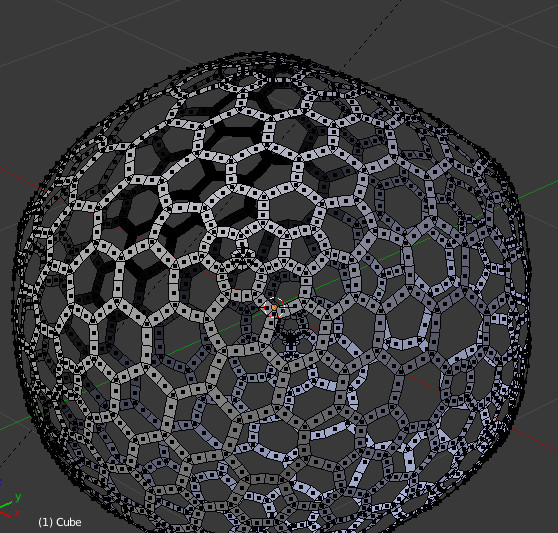
- Select all, extrude them ( E ), don´t touch the mouse and press enter.
- Scale the extruded faces with ( Alt S ), at least, if axis orientation is set to global, and
pivot to median point, like default. - Ready.
With smooth shading, and subsurf modifier added , the result looks like this :
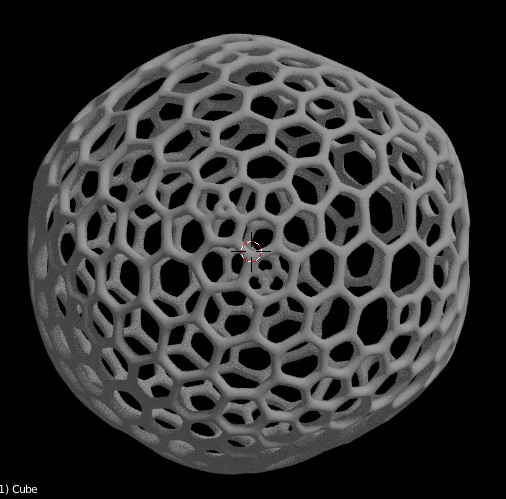
Hope You enjoyed this.
1 Like


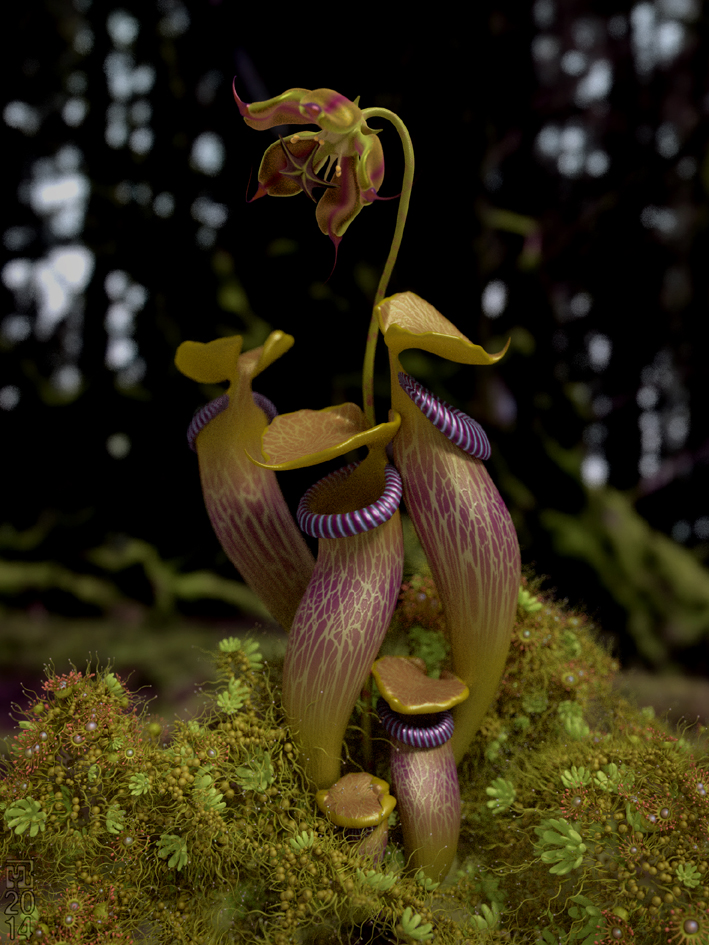
My goodness, I am glad I stumbled upon your sketchbook. You are creating some just incredibly cool art here. I love the colors in post 62 and am so impressed with the third image image in post 61.
Your creating some ultra cool organic art, I’ll look forward to seeing your future work.