Wow, that is really cool!
One day, you could just buy a 3d model of a motherboard and then 3D print it at home and put it on your rig and have fun.
A lot of love went into this. Well done.
Just an outstanding job on this whole project, well worthy of the top row. First thing when scrolling thru the images…I said…damn, how did he do that foam … thanks for sharing that node setup.
You’re saying you used two titans and it still took 24 min or so?!
This is an amazing project.
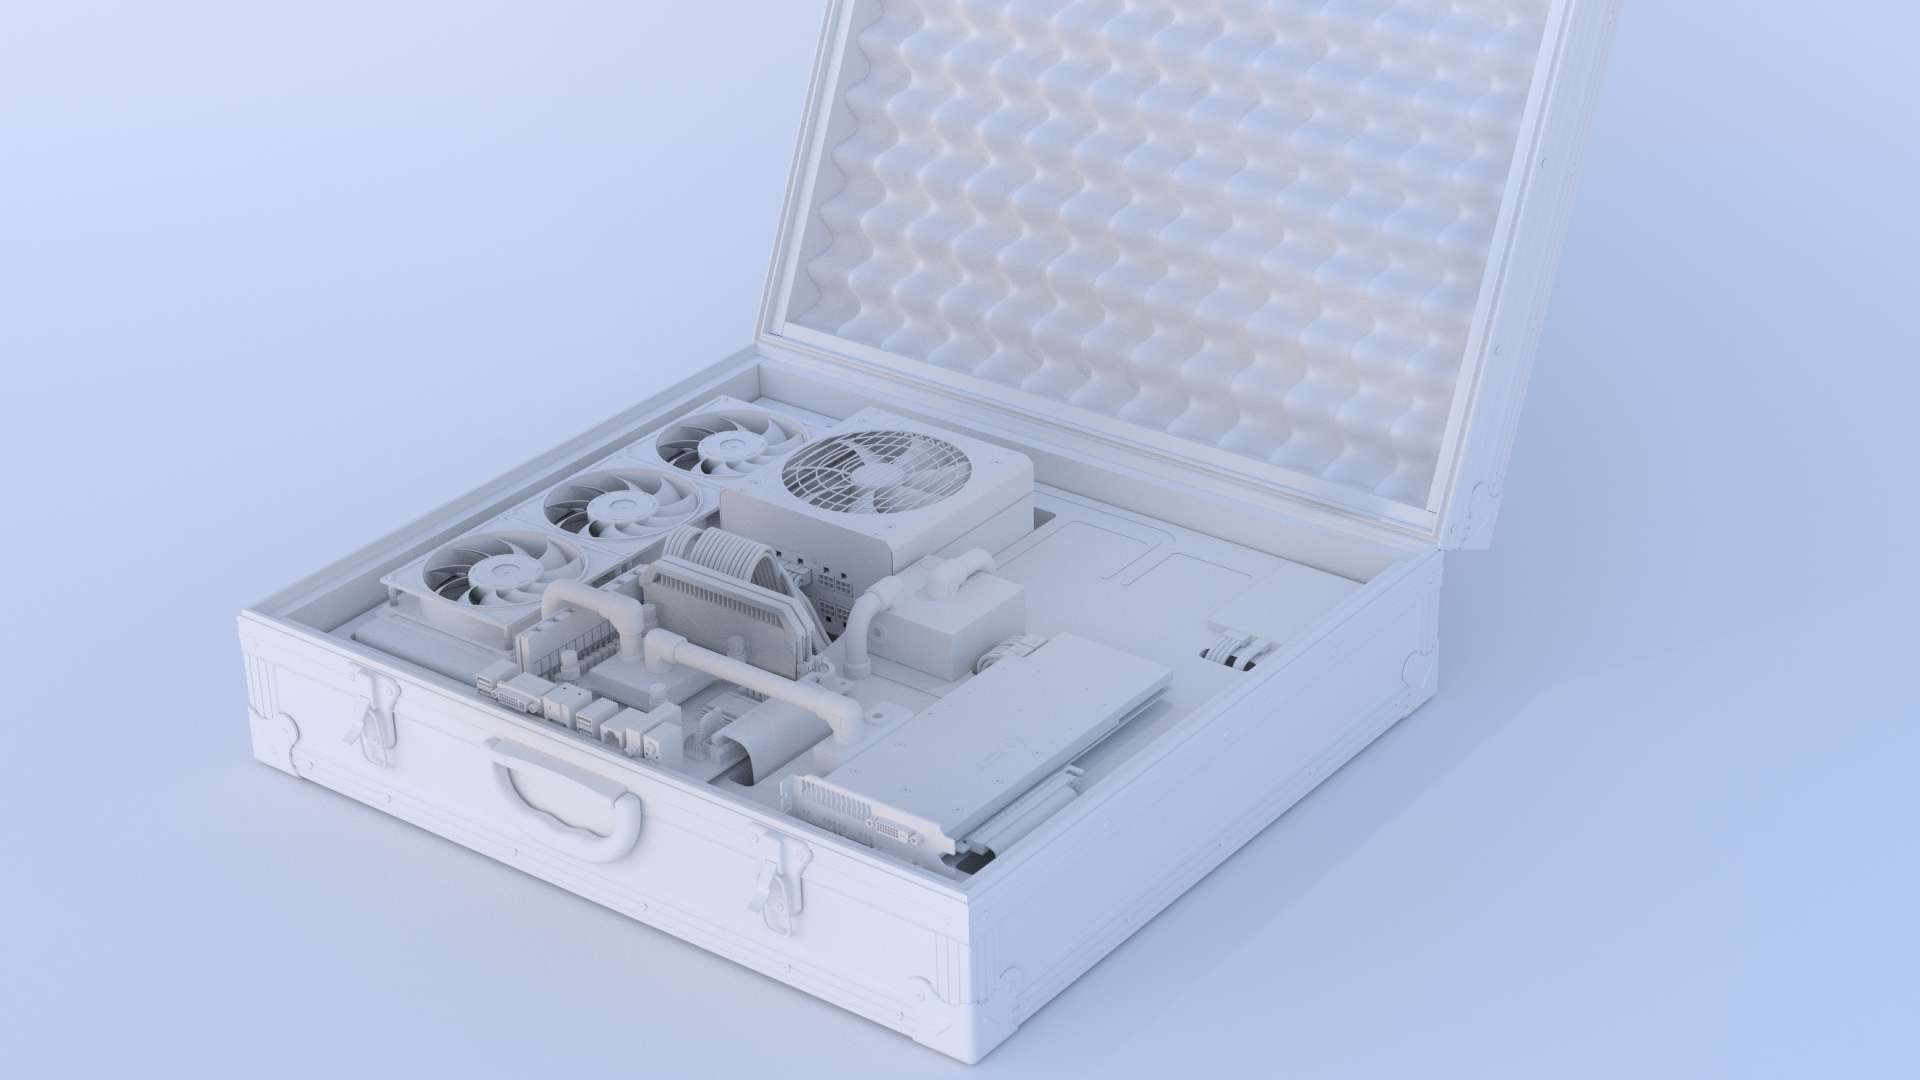
The case alone would have been impressive!!
Just built my first computer recently, Looks spot on!
Ok, I’m going to need you to lower your level of awesomness until my work looks good again. If you could do that, that would be great.
Again, thanks for all the positive feedback guys, I’m really looking forward to seeing how the real version turns out, I’ll be sure to update this thread with it when it’s done.
Yup, remember that these were rendered at 3840x2160 resolution though to 1200 samples. Just cutting the res down to 1080p and then pushing samples down to 800 or so would lower the render times to in the region of 3-6 minutes.
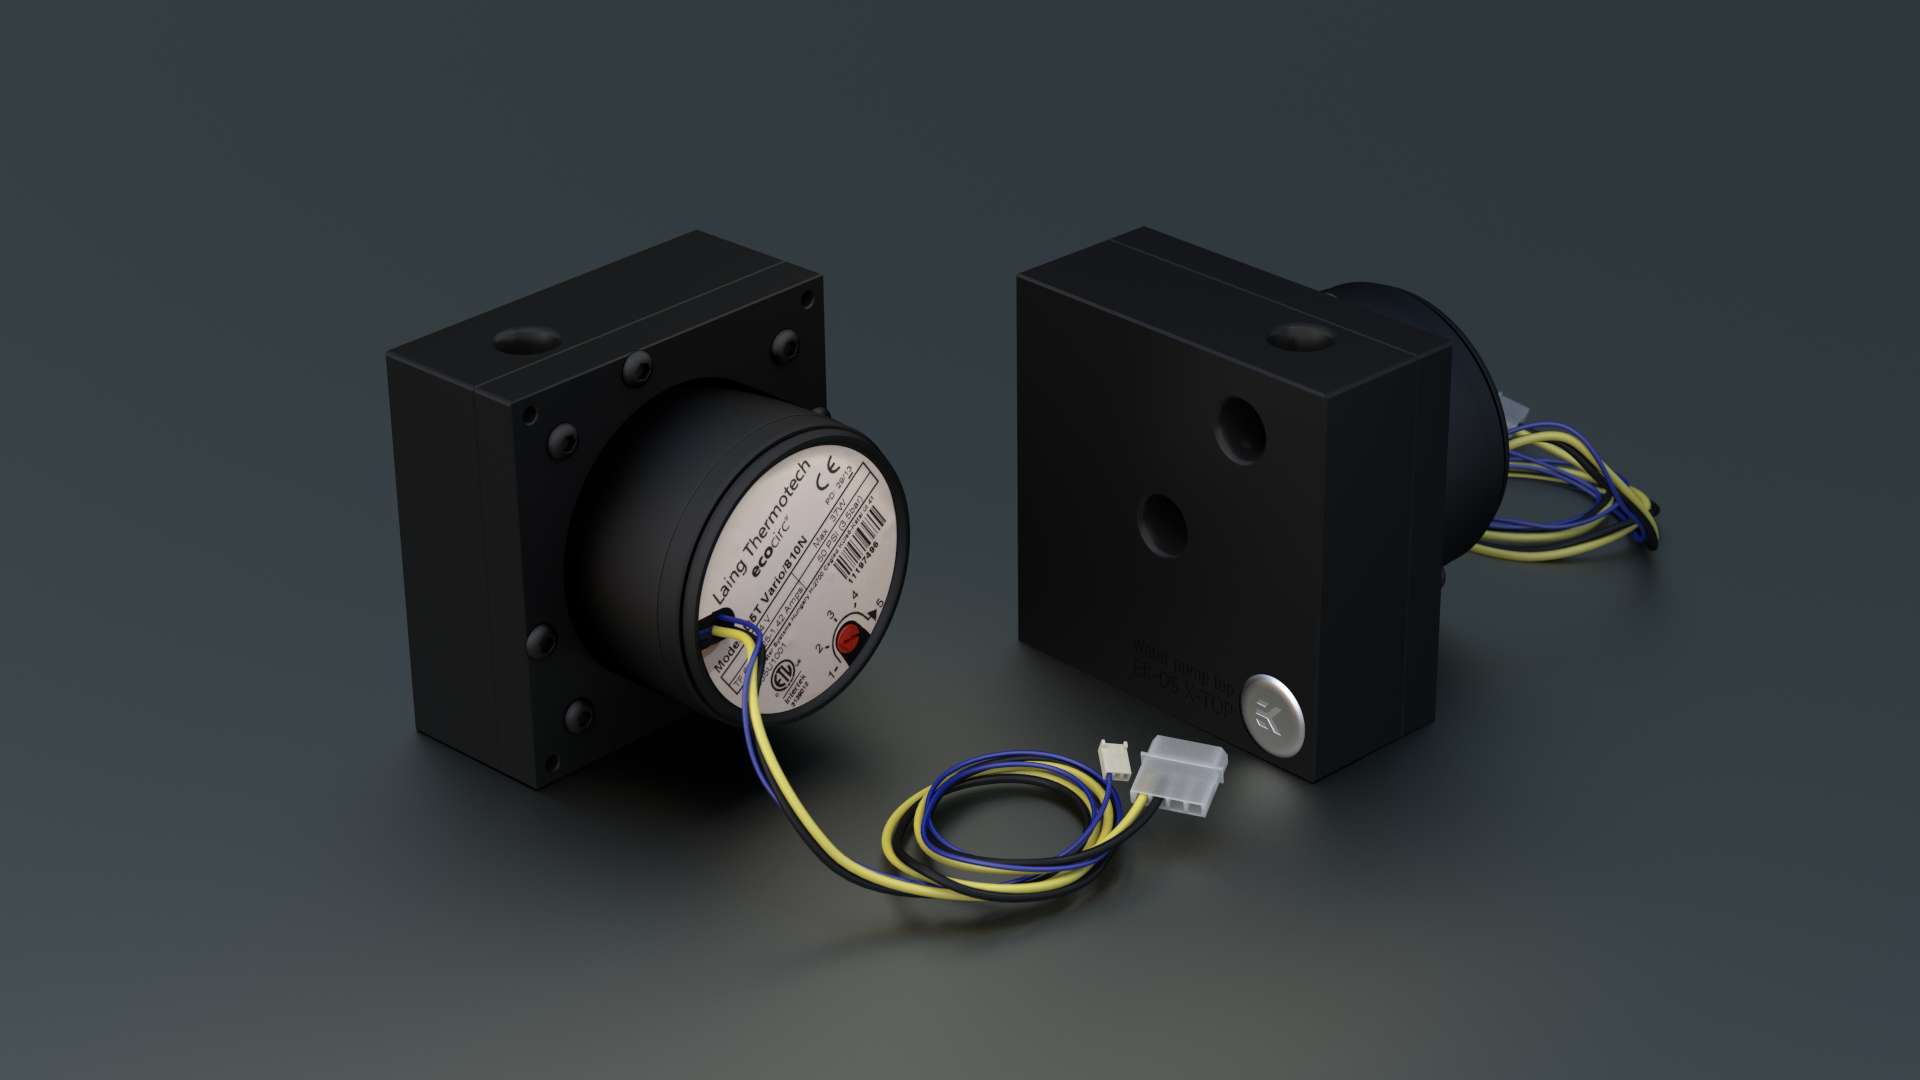
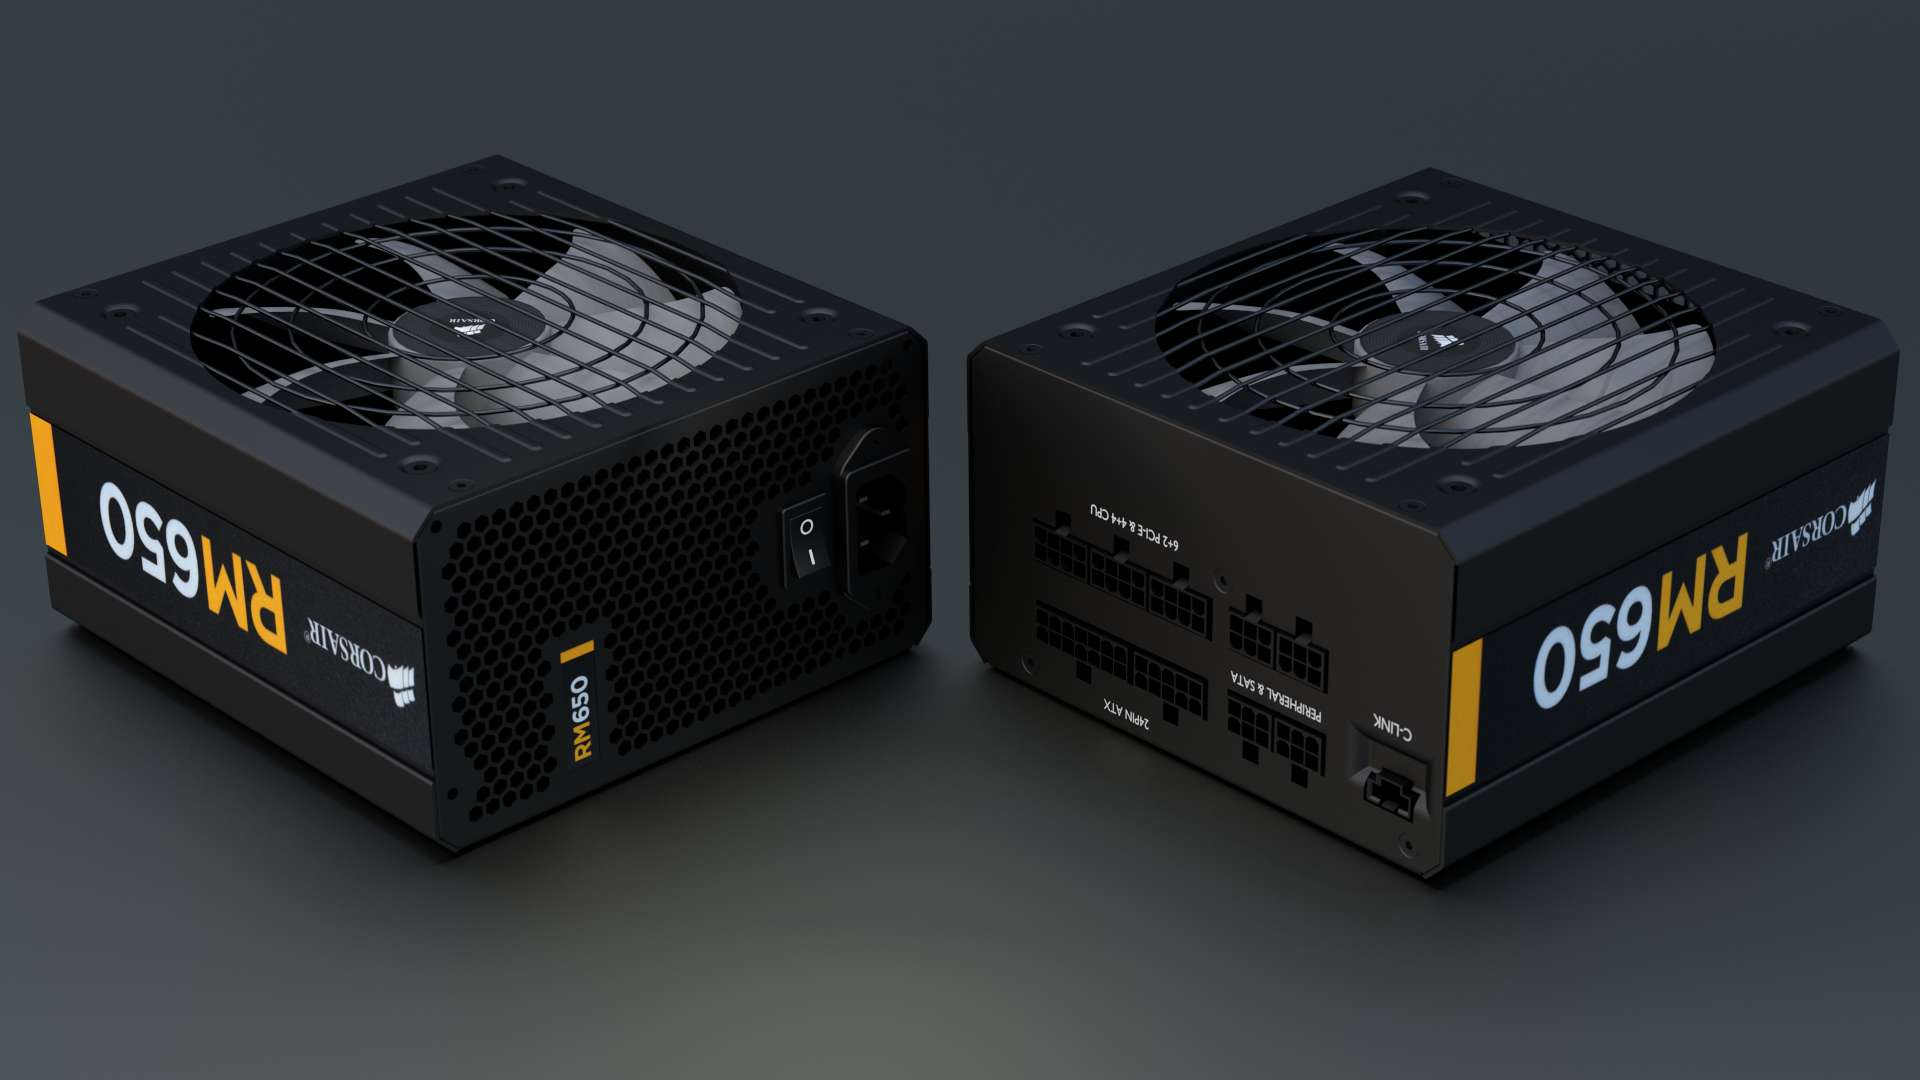
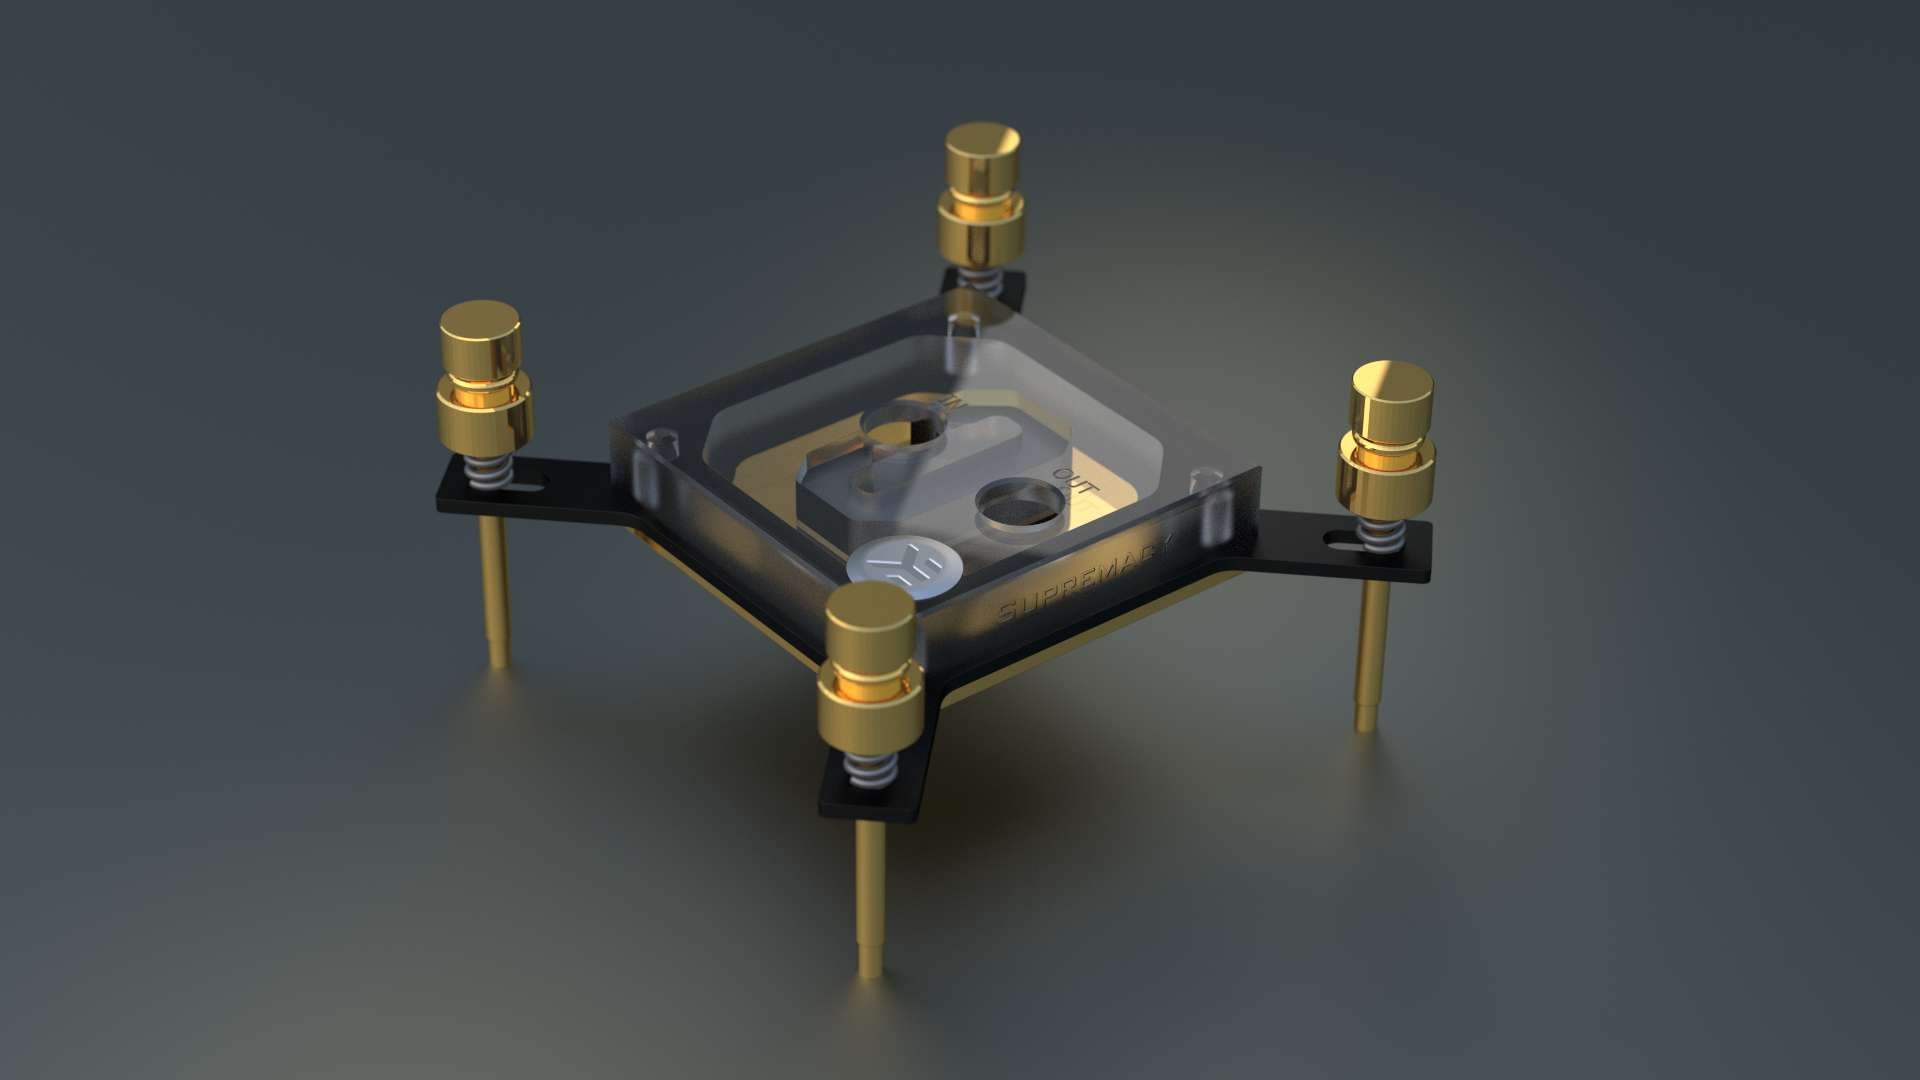
I figured I would post up some renders of the individual components themselves so you can get a better look at them:


[
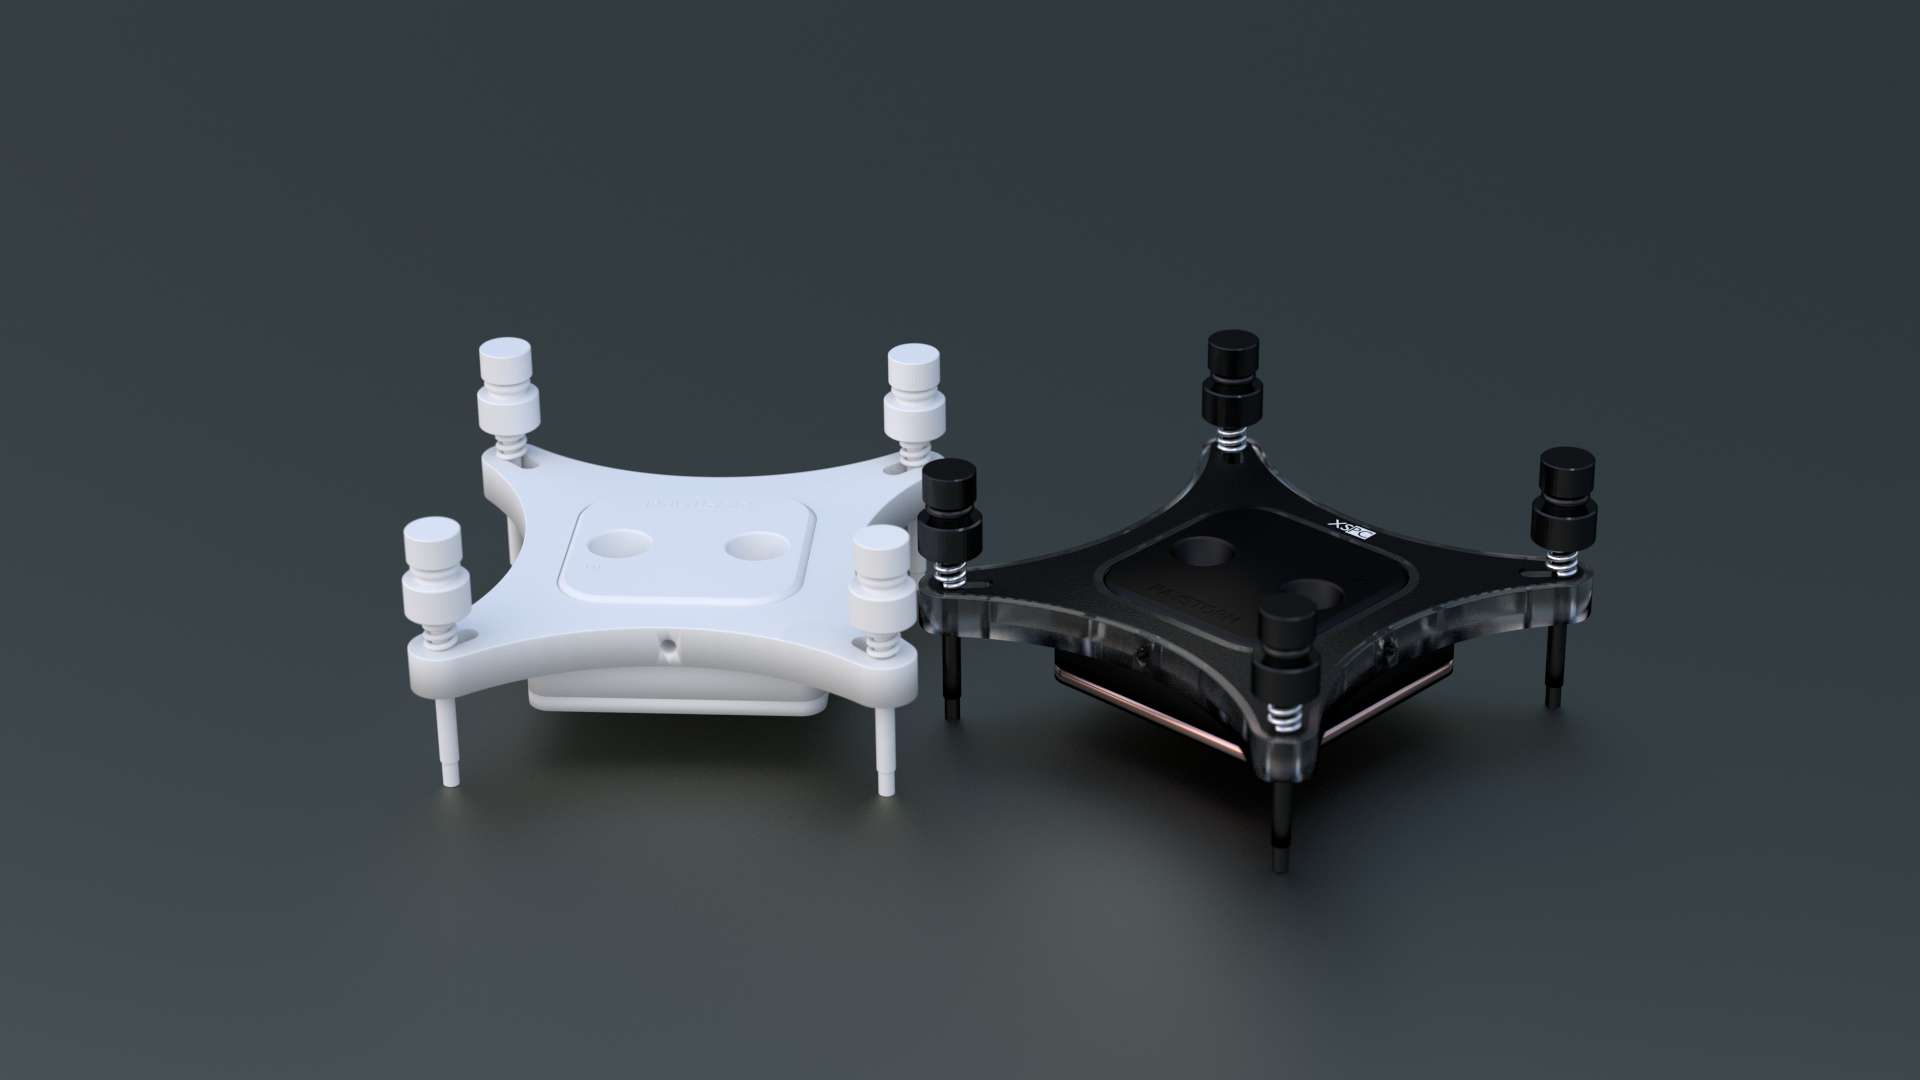
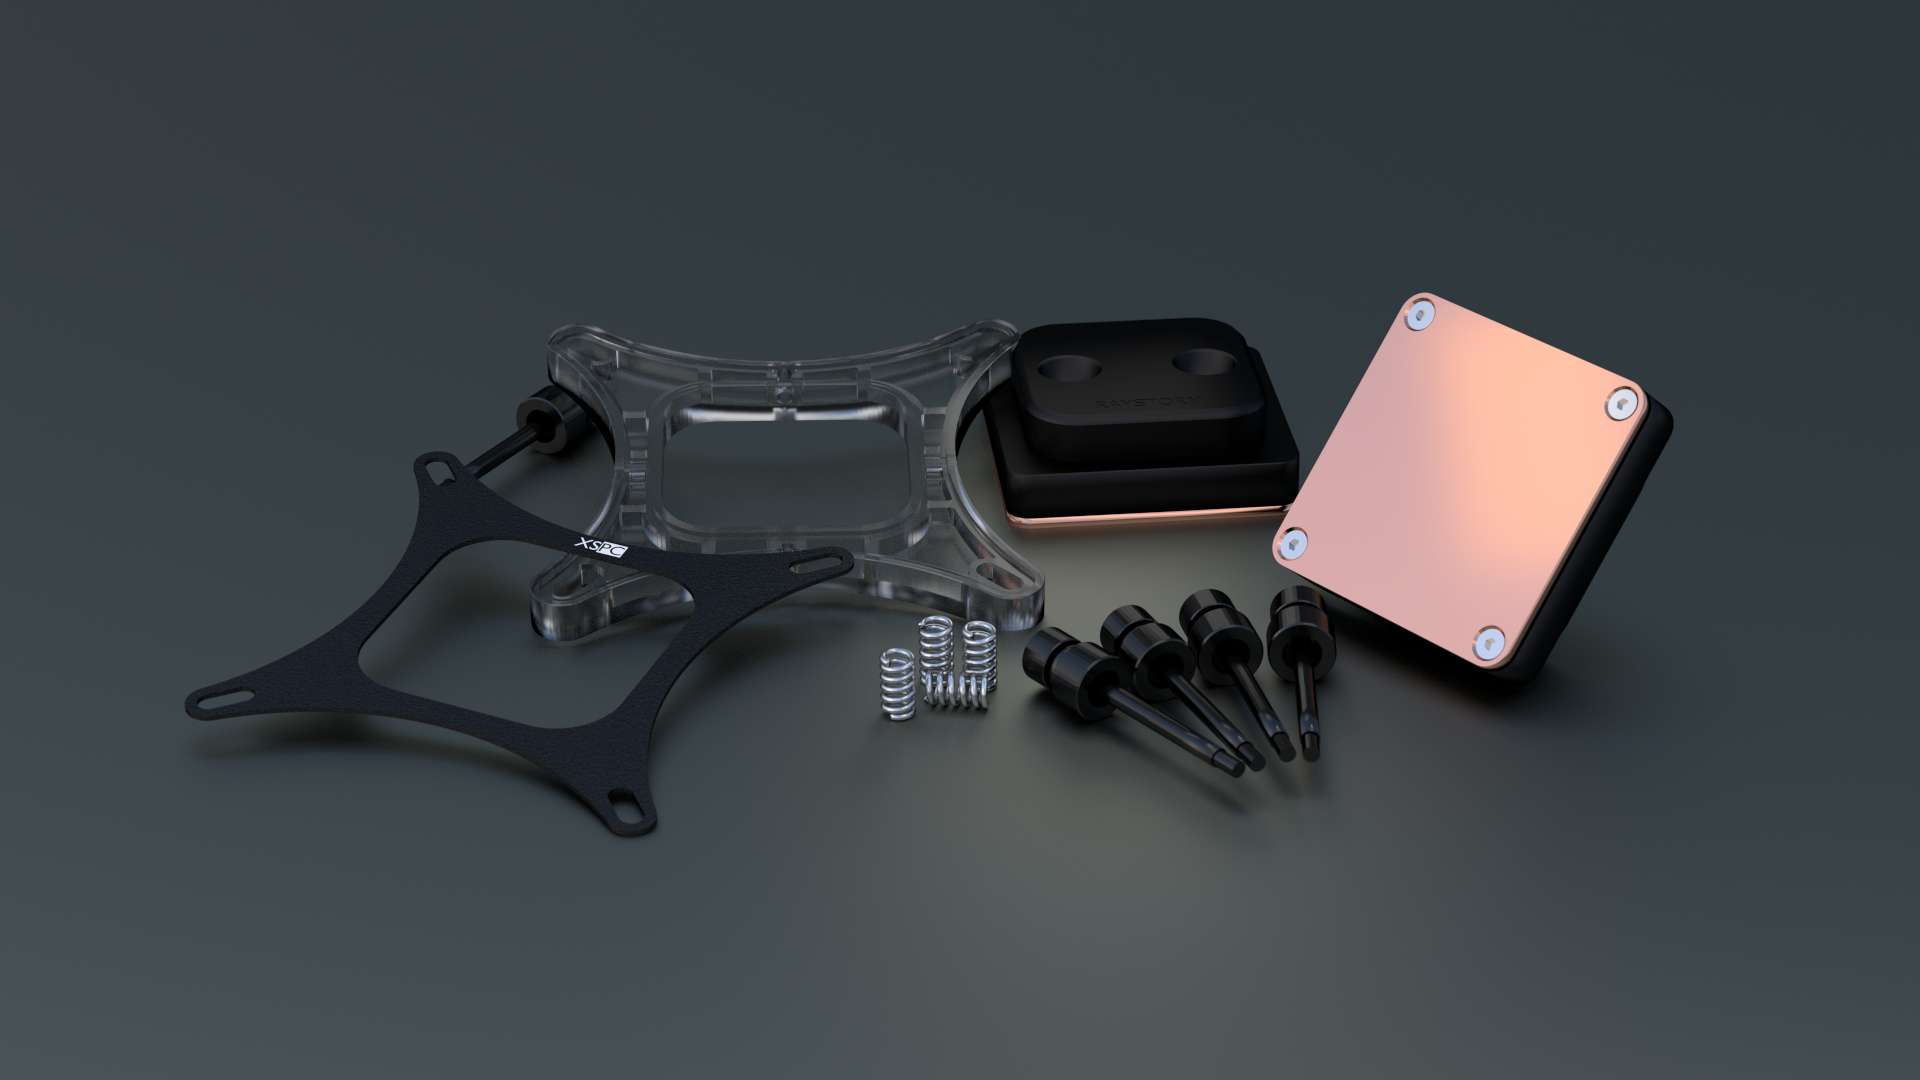


Again if anybody has any questions regarding the process I’ll happily try to answer them!
Super cool! There’s a lot of things on this thread that I don’t understand. 
I think it’d be cool if you post matching photos once you build it, to compare photorealism with the real photo.
Nice Job. I like the concept. I cant seem to find a reservoir… so it could be assumed that it is a dual Radiator/Reservoir, unless it is the glass panel in the back part of the board. Still, you have no way for coolent/water to escape from the Graphics card… Besides the technicalities and my minor pet-peeves, it is a great model, still, and you certainly rendered it wonderfully.
I can see how a couple of the shaders can be improved, however you really did nail the vinyl carbon fibre and the egg crate foam.
All in all, good work. A well deserved top row feature.
can you disclose the material of the kinda high rough plastic? i’m just a material freak…
did you modeled each resistor on the ram block?
and how did you manage to get the strips of gold on the ram/ PCI lane connector stripes?
i must say love the metals, did you made any special for the ram (chrome?); ekwb water block; and power supply?
sorry, just still a material freak
i build computers in my spare time none of the stuff is that perfect but its close
Just looks great. I like the PCI-e extension wire. Great job!
Thanks, I’ll definitely make sure to do that when it’s finished and all built. I’ll be taking some proper studio photos and the lighitng setup is very similar to the one used here, should give you a good idea about how they stack up to real life.
Haha this is where the design get’s interesting. The reservoir is actually built into the acrylic frame, so all plumbed and internal, rather than an external tube reservoir. As for the GPU, remember that the new EK FC waterblocks have ports on both the top and the bottom. So I have one outlet on the top, with the inlet actually being underneath the card itself which connects directly to the pump through a milled channel. I’ve tried to keep as much of the plumbing internal as I can, should make for an exciting end effect. I can assure you that it’s fully capable of operating and that everything is indeed functional, in theory.
I’m not quite sure what you mean by the rough plastic? Are you talking about these parts?

Or did you mean the really rough finish on the radiator?
For the metals I simply used a noise texture to add the slight grain that those surfaces tend to have, it’s much more pronounced than the default roughness factor allows. Here’s the node setup for it:

Well yeah not all of it does I guess, although saying that, I’m holding a stick of new Dominator Platinum atm and it’s pretty damn flawless. The pump top is pretty close, but does have a machining pattern that I couldn’t adequately put into the renders (much too fine).
Really cool and thanks for sharing your knowledge! I need to better up my material skills and in the project I’m working on now I have a carbon fiber material but I’m not too pleased with the look of it. Now when I see your carbon fiber material I’m like “That’s looking perfect!” but when I have tried before I haven’t succeeded in acquiring that look. Is it okay if I use your node setup or a very similar one for the carbon fiber in my project?
/GB
Sure go ahead, although bear in mind that it may take quite a bit of tweaking to get it to look just right on your model. The lighting is very important in getting the right look. I positioned a large emission plane opposite the camera at an angle so as to provide a nice even highlight. For a more intricate model I would suggest placing several small planes at corners, that should make it seem much more dynamic. You could also combine the bump map I provided with a weak colour map to improve the look further.
Hope that helps!
Thanks! Will try this out! 
Materials and textures look very good and clean! Awesome work!
Not sure if i should be more jealous of the fact that you’re building this or of your insane skills. Also, how did you decide “Oh hey I made like ten 4K renders, let me just make some 1080p renders of the parts”… The render times ;_;
Anyways I just wanted to say that I think you just singlehandedly boosted Blenders credibility for professional work 