How do you make it all one mesh without using the boolean modifier?
Sorry but I don’t really understand what you are trying to do…
As in using a Boolean modifier you mean this : http://wiki.blender.org/index.php/Doc:2.6/Manual/Modifiers/Generate/Booleans
You can use Metaballs, and then convert the Metaball object into a mesh ?
Or ! select the objects that you want to join together and press “Ctrl+J”.
If you are up for it, post that blend that you are working on and I can walk you through some steps.
I work a lot with low-poly models so I can see what you are trying to do.
It would be a lot easier to have a blend file to work with.
OK, great, I will post back in a few hours…
Okay,i will wait patiently.
Leg_SF_Edit.blend (1.45 MB).
A few comments.
Realism is not especially necessary, such as trying to model each piece as if it was part of a real physical structure, for example making the holes for the bolts, it only makes you use more vertices to define your object in 3D.
3D graphics is all about illusion ![]()
Catmull-Clark subsurf modifiers work great with quads but not so well with triangles…
I see that you know how to use the crease seam function with the Catmull-Clark subsurf modifiers so try it out with what I just uploaded…
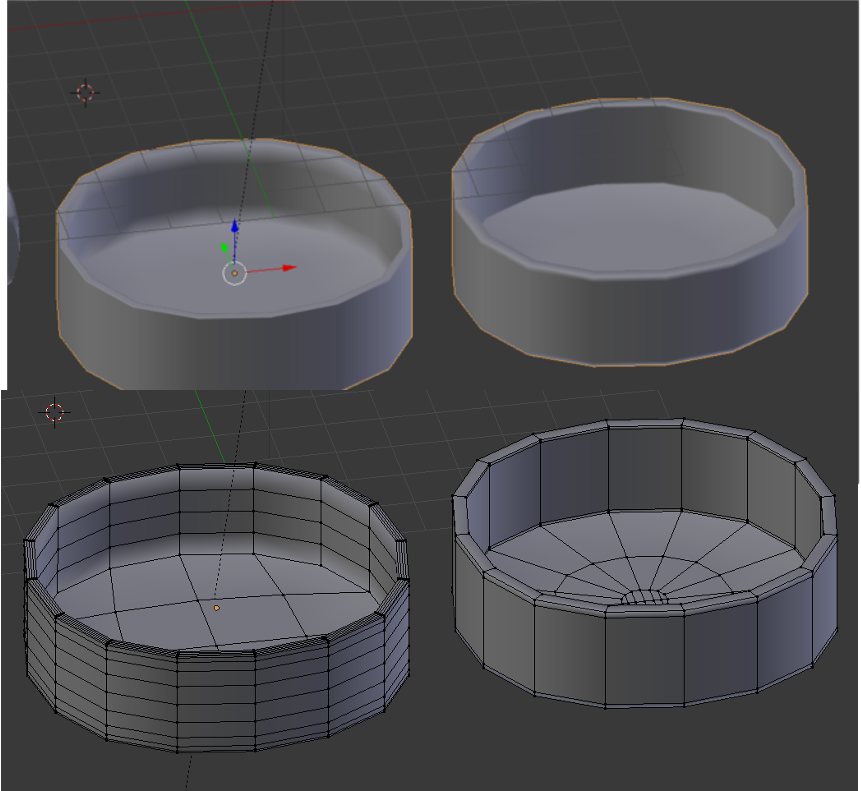
I took a look as well, and I think the biggest issue you might be having is in misunderstanding the way 3d geometry is handled, and this is both slowing down your workflow and making it difficult to revise your models. If a given vertex/line/face doesn’t contribute to the form of your model (in that it lines on a perfect plane with it’s adjacent vertices) then it isn’t doing anything except cluttering up your viewport and raising your polycount. I remade the bucket-like shape to show you; my version is functionally identical but uses substantially less geometry and is easier to remake, control, reshape and eventually unwrap.
I must again really suggest you watch the hard surface tutorial I posed earlier; I know it seems harsh but you clearly lack the basic understanding of modeling techniques even a beginner hard surface tutorial would teach you and you can’t build up on a foundation of sand like this.
Hi TidyPachiderm  I will have to watch your tutorial “Hard Surface Essentials” it seems quite long but I will give it a go ; For some reason I didn’t notice your post about that tutorial on this thread ? anyway, thanks I will check it out…
Oh thanks haha. Quick clarifications but I was speaking mostly to Lostscience, and the tutorial isn’t my work in any sense, I was merely directing Lost to it because I believe it might help him. Hope both of you can help each other though!
No offense, even if I can do my part, I am still learning ; who knows what might come next ?, anyway that’s the way I see it.
But yeah, what I am trying to say is that I will not throw myself flowers 
Thankyou both now I am going to use what both of you typed to make better hard surface robot model parts.I learned to crease seam from blueprintrandom I think.I was having trouble selecting edge loops.The
program was selecting more edges than it should.I am using dissolve edge to make the corrections.I was having trouble with the escape button for render as well.But When I opened blender and not the blend file
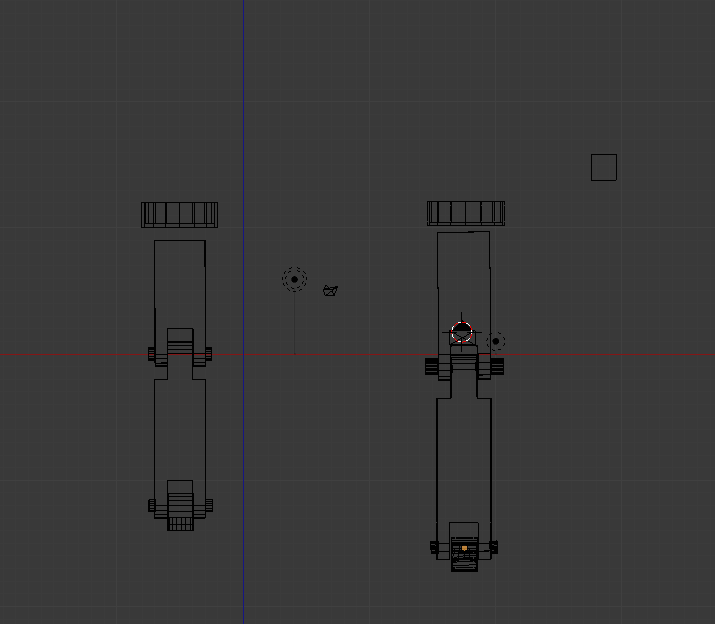
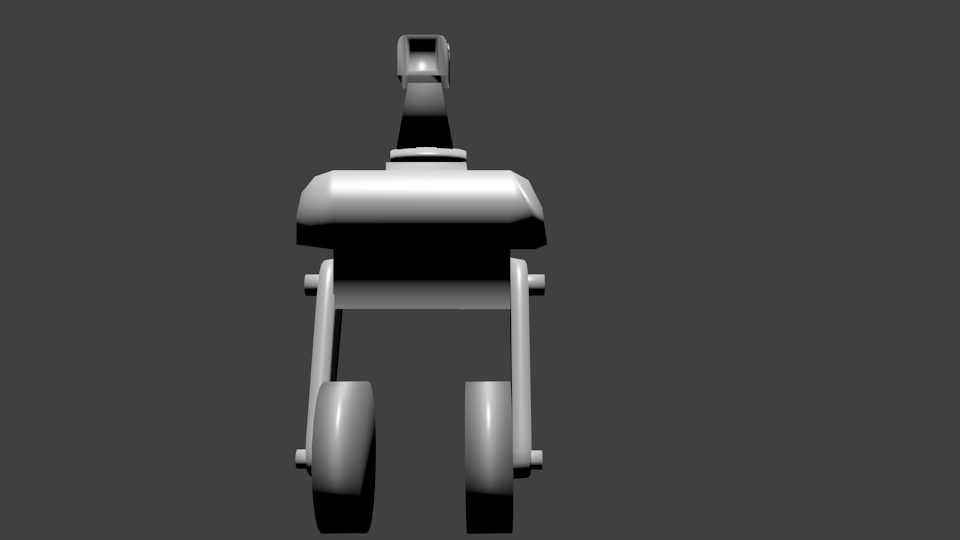
it all worked.Okay, here is the pictures of what i did.

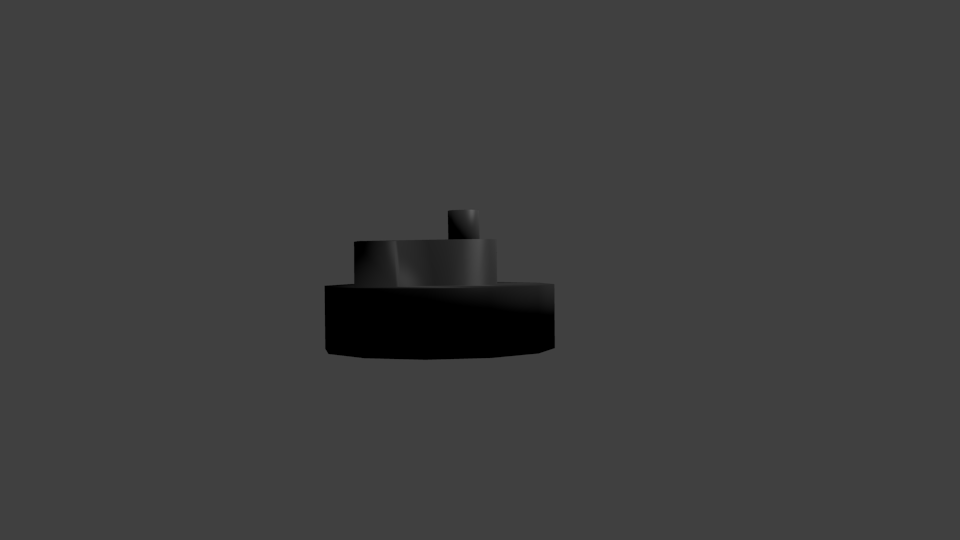
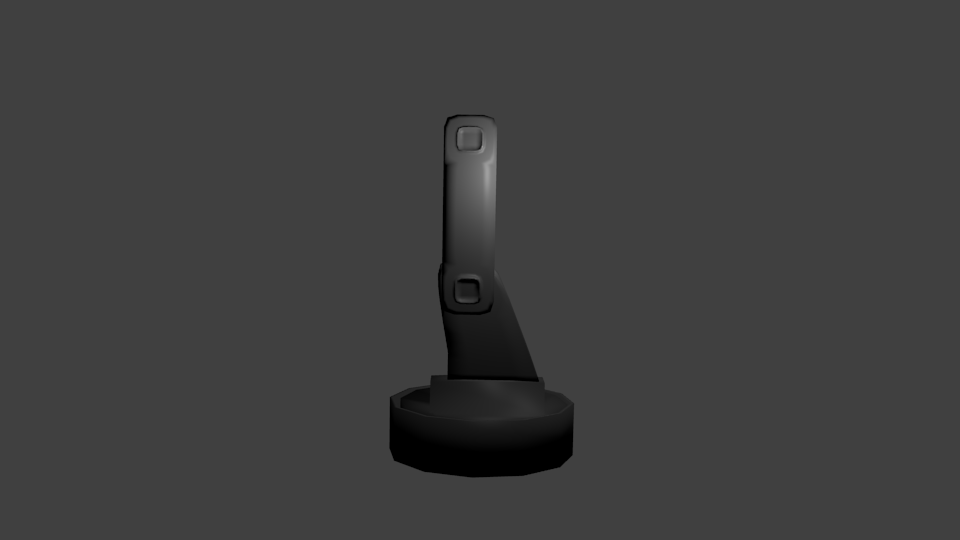

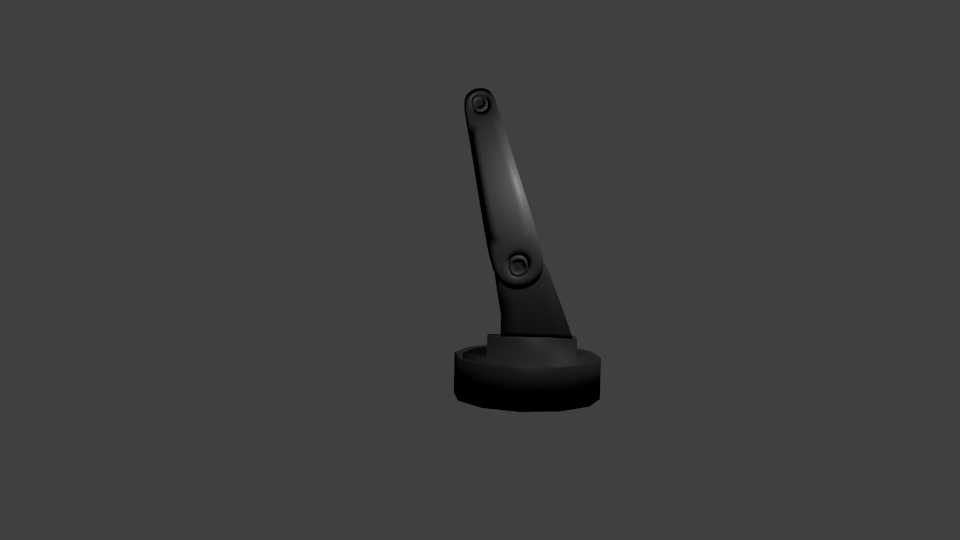
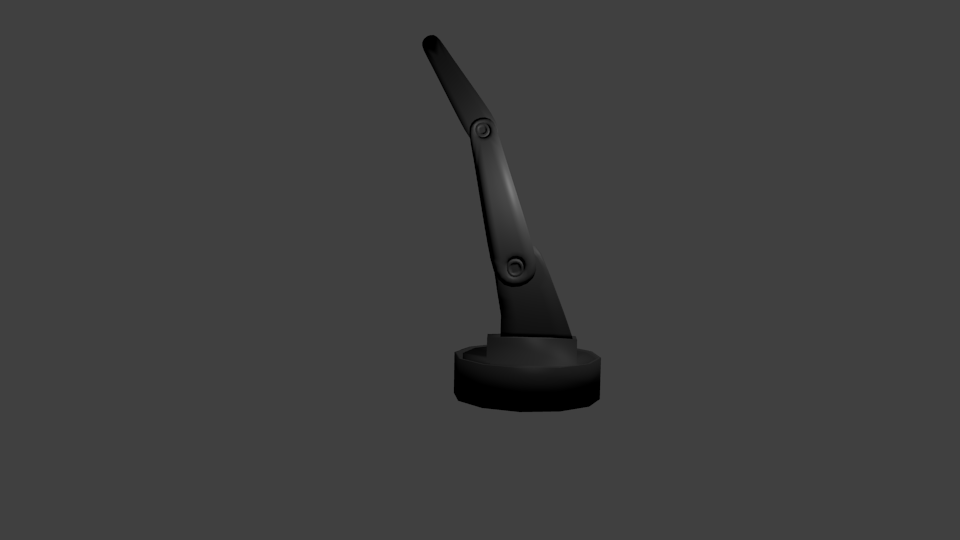
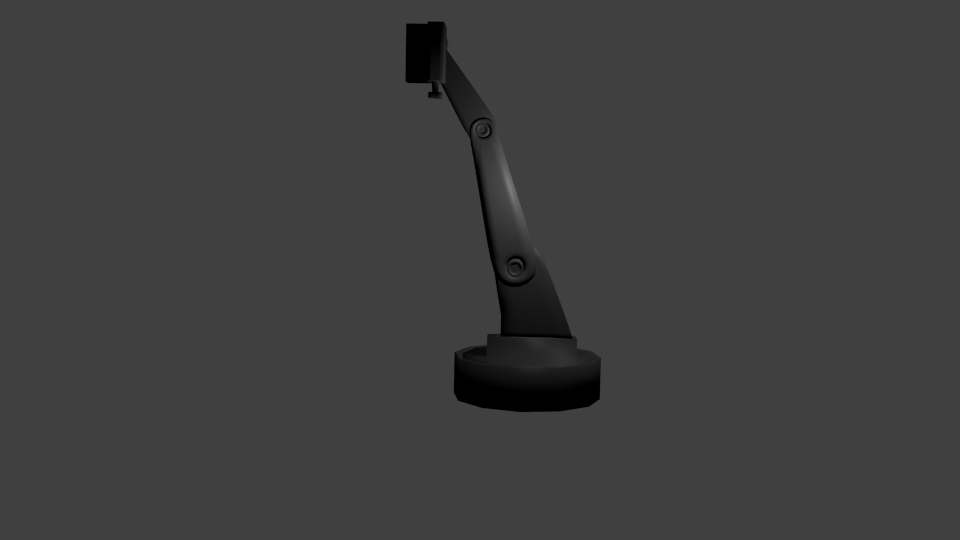

Hey, hey I see you are finding your own style…

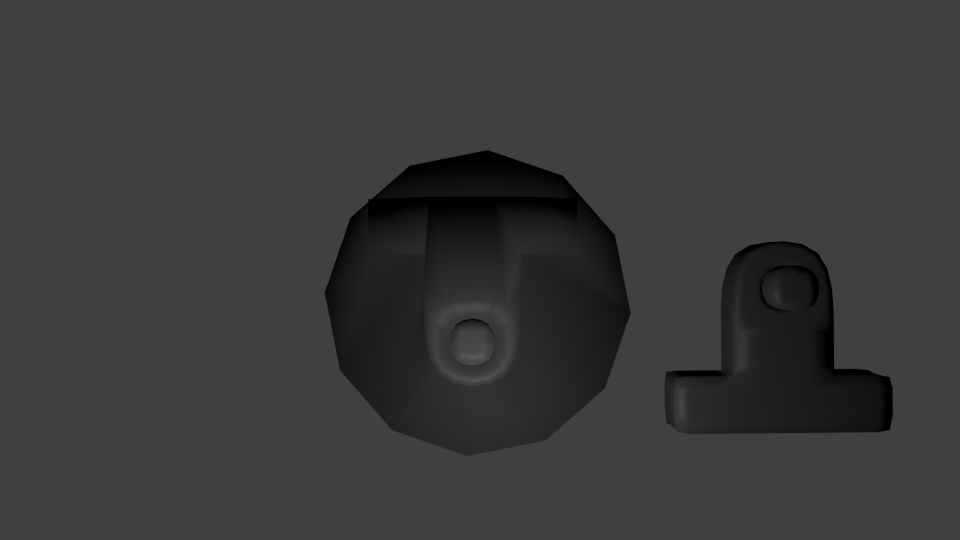
You could use something like this for a knee,it allows a bit more bending.It’s usually a joint used on dolls.


Attachments
Knee Joint.blend (458 KB)
That is a great idea.I think I will make one.
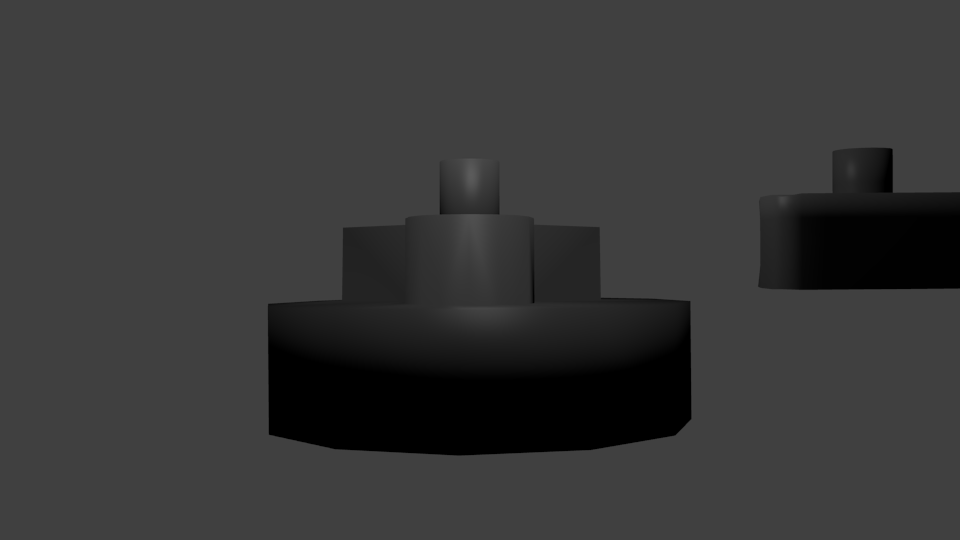
Looking much better! That said you need to be more careful with smooth shading, because right now you have it applied to broadly and it’s making your hard edges look pillowy and indistinct. Look at this picture below; the one on the far right is what you seem to have right now (all smooth shading) and the sharp edge defining the top of the cylinder is barely there. There are a couple ways to control this; in the example on the far left I’ve set the top faces to flat shading, which is the most geometry effective solution but doesn’t necessarily look the best. The middle cylinder uses “control edges” placed tightly around the edge I want to sharpen; this method is also conveniently compatible with subdivision modifiers but isn’t always appropriate for game resolution models, especially in engines with their own smoothing solutions. (There’s also a good way to do this using edge splitting but It’s a little finicky for newbies)
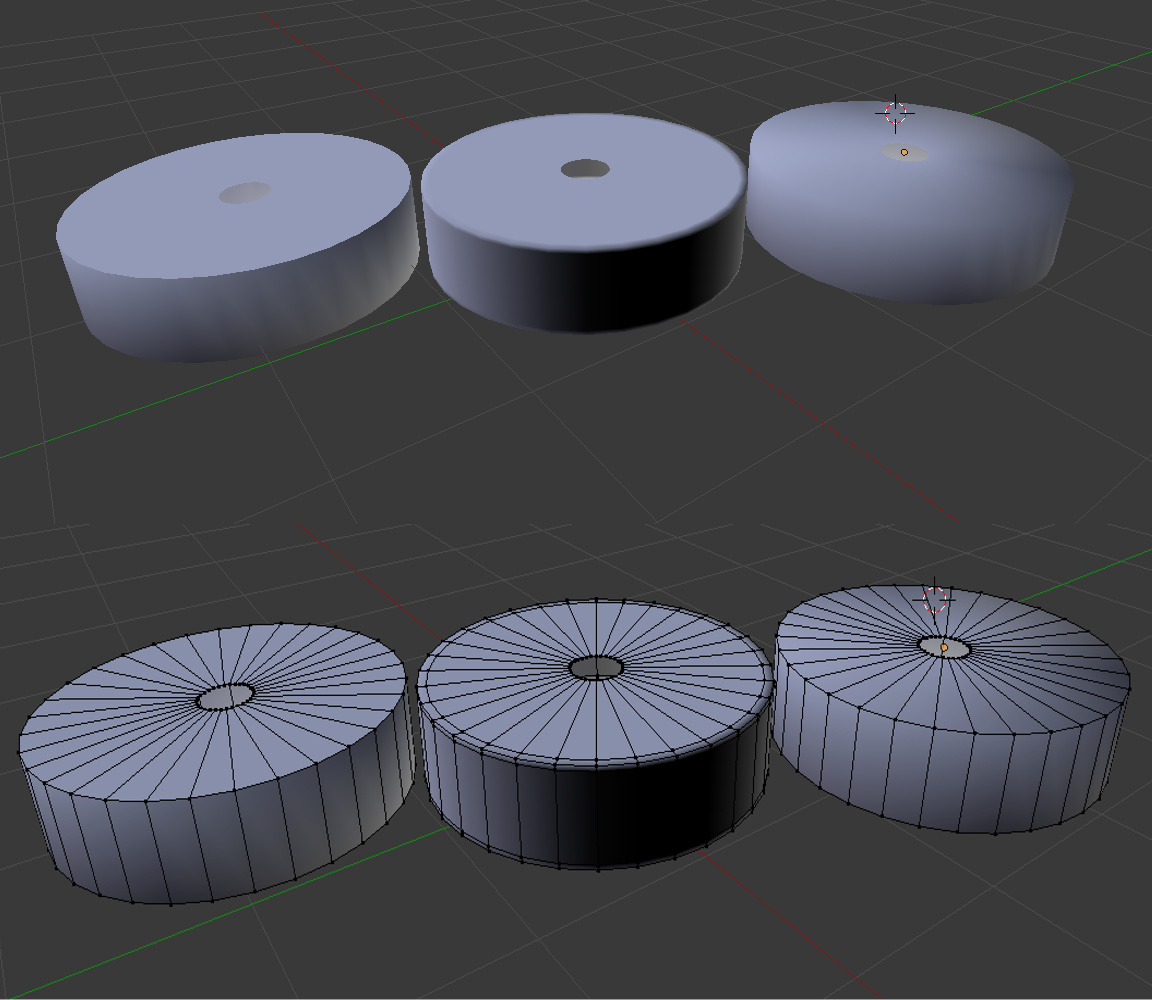
As well, beveling the edge in question has a nearly identical effect to the control edges thing but may use slightly fewer polys.
Anyway hope you find this useful!