thank you very mush
i wait your pirate character

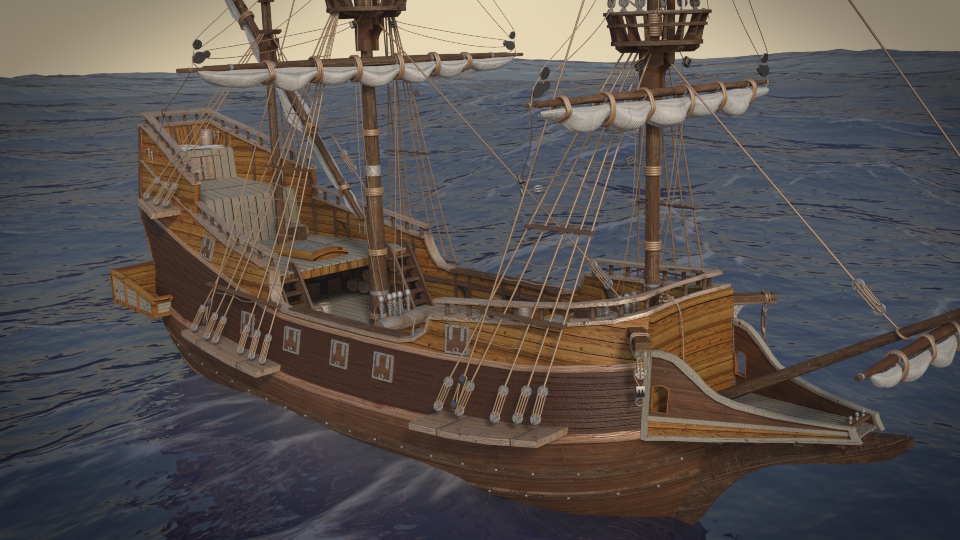
Here are the different materials im using at the moment. As of right now I have 5 wood materials, 1 metal and then 1 for the sails. I do have other materials that are the same as the wood ones but have either less bump, spec or slightly different diffuse color.
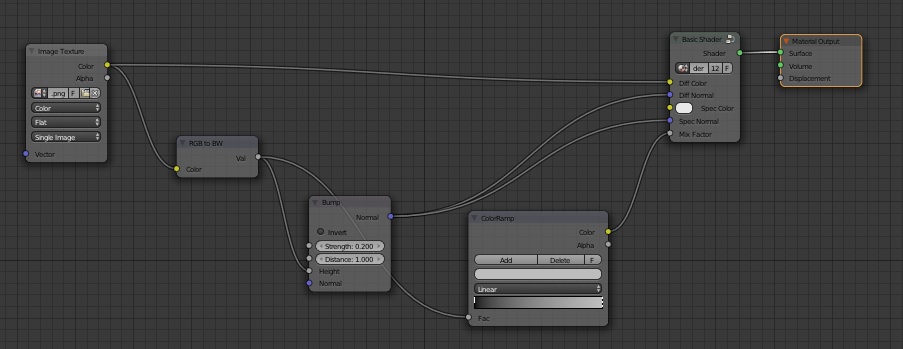
Here is the node setup. its pretty simple: the “basic shader” is just a node group that has the diffuse and glossy shader combined with a mix shader and i have the colors and normal inputs to both nodes available along with the mix factor which i control with the texture and color ramp.
keep up the great work
Thanks josephfarrar 
I forgot to post this earlier but this is where I left off on Sunday. I shifted my focus towards the objects on the ship.
Hopefully I can get more work done this weekend.

I was able to do some more UV Unwrapping this evening
-Wheel
-Some of the ropes (on the masts/sails)
-doors
-railings
-small misc objects
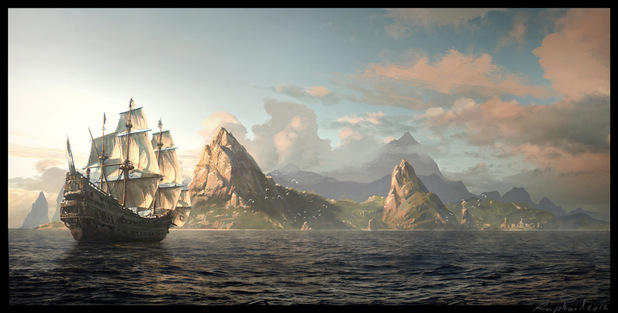
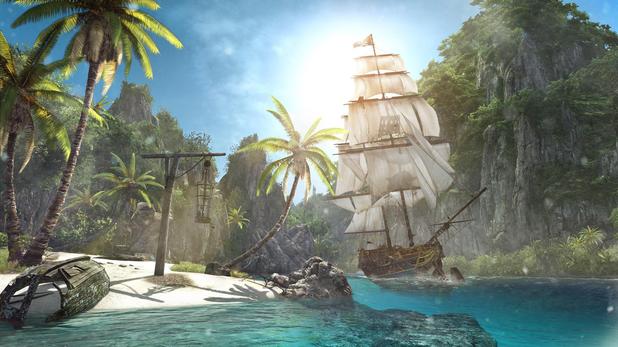
I also spent some time looking at some of the concept art for Assassins Creed Black Flag and I think I found some references that I can use when I start working on the islands/sea again. I’ve already created low poly birds and use a particle simulation to have them flock away from the camera. I think the sky and the lighting are super important (which I didnt really touch previously). I know I should also look at other tropical islands but seeing as Black Flag was my inspiration to start this project, I might use these more than other images.

http://cdn2.sbnation.com/entry_photo_images/9262013/2_verge_super_wide.jpg

Okay so I didnt work on the ship today but I’ve started playing around with the scene again. I want to show the front/side part of the ship so I thought having an island in front of it will make it look like its going towards the island. However, I think it puts more of an emphasis on the island at the moment. If the ship was closer to the camera then it would look like it was shipwrecked.
Im also having trouble getting the water right. The shallower the water, the clearer the water should be (ie along the island) and the deeper the water the darker it should be. Also you should be able to see some of the ship thats submerged but not very much. I think I need to create a sea floor that connects to the island but I dont know how I will handle controlling how clear the water is.
Any suggestions?
After this rendered I realized what the problem was with the water. The water and sea floor are both planes and there is a gap between the two and from some angles(like in the last 2 images) you can see that gap. I’ve fixed this by moving the 4 sides of the plane as close as possible to the ocean above. Since I am using the ocean sim, you might see the sea floor intersect the ocean or another gap can open up. I will just have to close the gap manually.

Woah, that looks awesome. Really cool.
Thanks Nickersf
No render today… I accidentally closed blender after the render finished so I didn’t save it…
Here’s a list of changes that I did today
-I made another metal texture
-tried out the blended box mapping tip that Blender Cookie released today
-played around with the compositor for creating glare from the sun, lens distortion, depth of field
-modified the island a bit, mostly just the sand texture and playing with the rock formations
Tomorrow I should have time to work on it as well as render another image
Hi Dragonrlh,
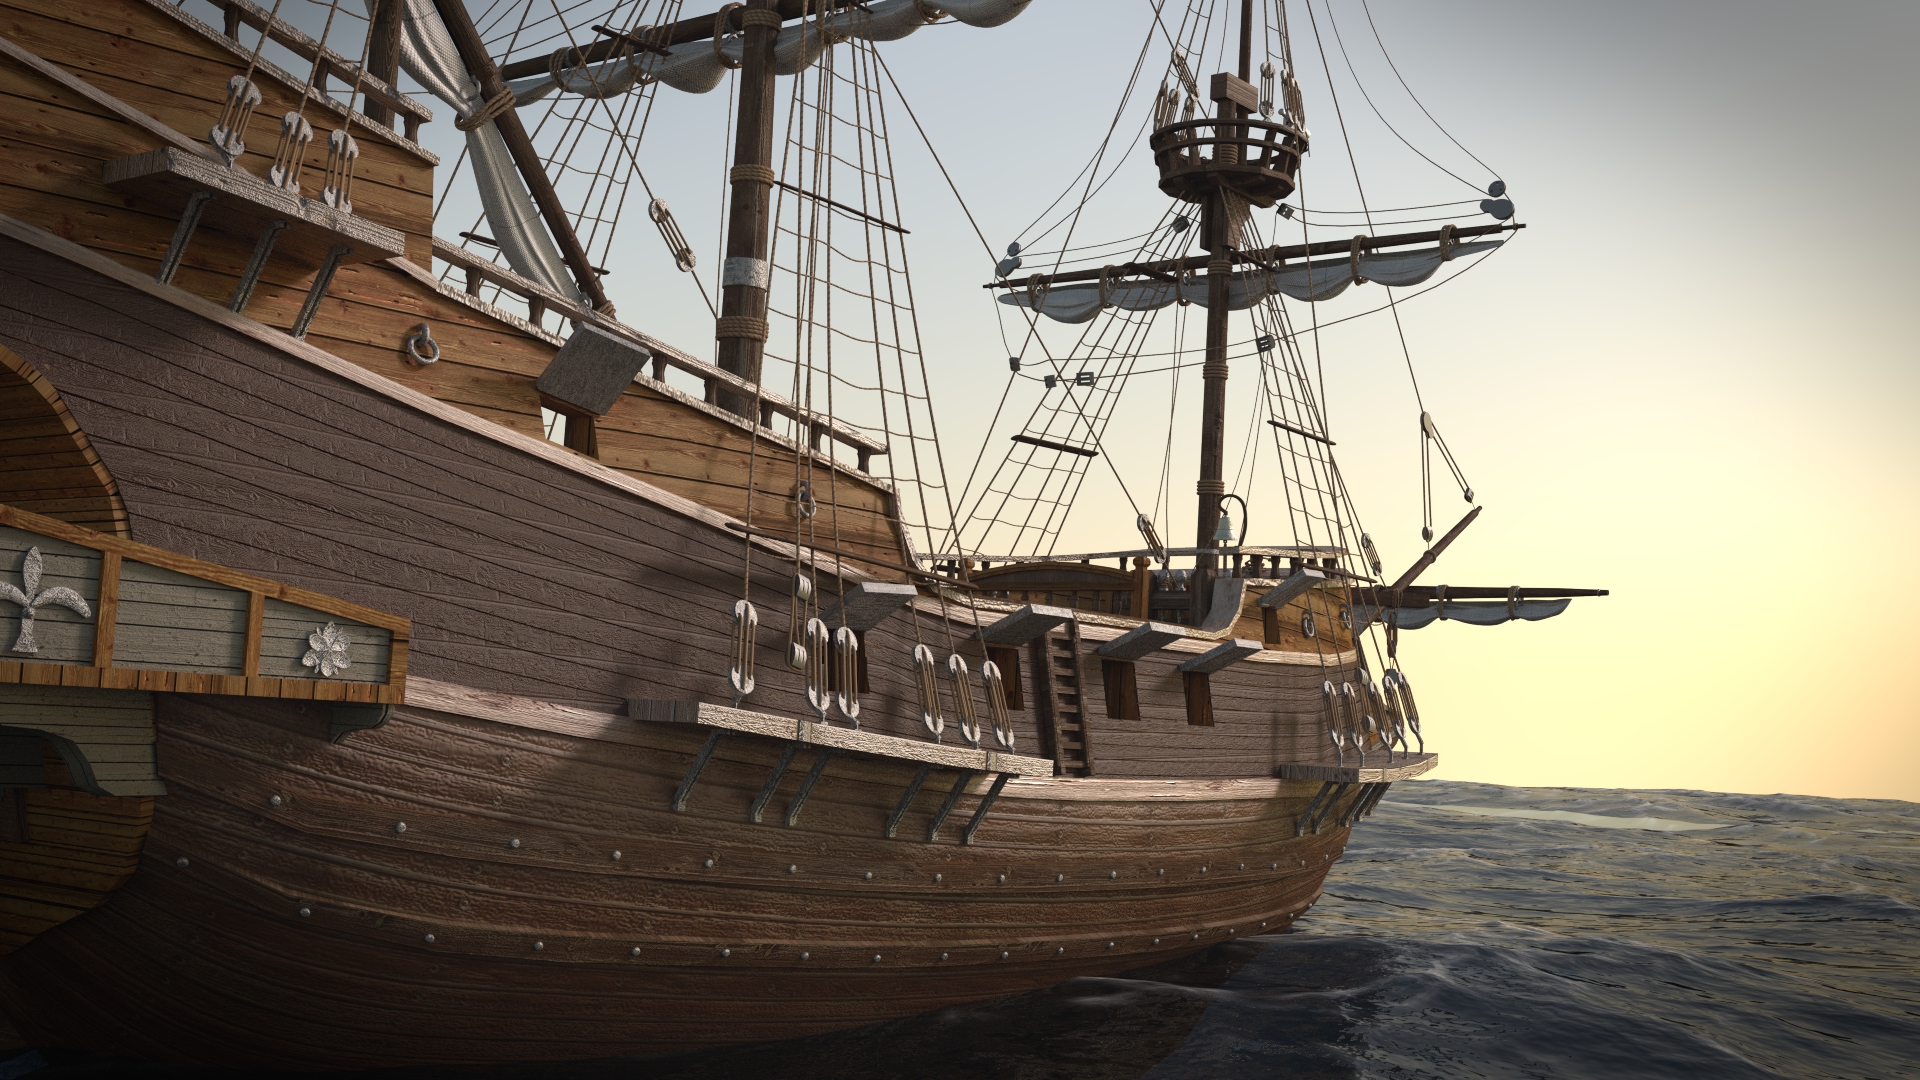
great work!!! I think you should keep an eye on texturing the planks. Anyways… I did some similar work in the past and thats because i write this… The model is realy great and placing in your environment is good too… The key in my opinion is the correct look and difference of the planks. If you can do that it would be perfect. Man… realy lots of respect and don`t get me wrong! Thats realy great work !
[EDIT]
is there a tutorial for texturing planks out there 
Thanks for the advice Piet. Texturing planks are really easy and there are tones of tutorials on youtube (both in blender and other programs).
Blender guru has a nice tutorial, I didn’t use it for this project but i remember watching it when if was released. http://www.blenderguru.com/videos/create-realistic-materials-with-cycles/
Here is the render I promised yesterday, after I got off work I fell asleep so nothing else was done.
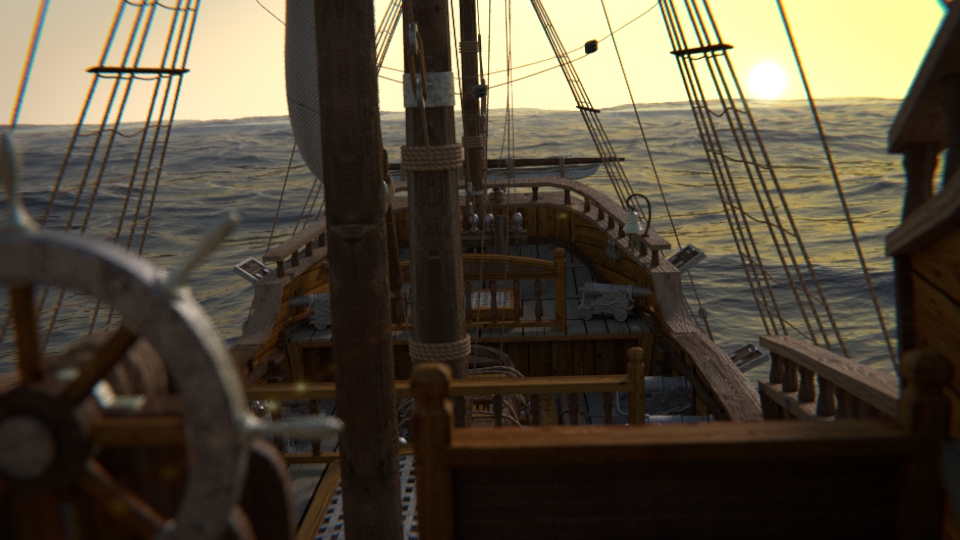
The render is kinda dark because I only have the sun and sky as lights. Also the vignette makes it a bit darker.
first i’ll say: a) amazing work! and b) you have way more patience than i do! 
i’m wondering if there is any way in a Blender scene to do an “infinite” horizon. i’ve noticed in a lot of water and landscape scenes that the world definitely ends before the true optical horizon is reached. is there a way to achieve a true horizon?
in any event, it’ll be fun to see your finished project.
Thanks wolfred
For the infinite horizon, I think you just need to have the ground/water get flatter and flatter.
I’ve just rewatched this tutorial and I like how he blurs the line between the sky and ocean. I think you would want to look at this tutorial. http://cgcookie.com/blender/lessons/creating-an-island-environment-in-blender-2-6-part-03/
Awesome work! Keep it coming. Check out Greg Zaal’s merchant ship on BlendSwap.
Thanks, I’ve seen his work and I’ve used his images as references (mainly for the sails)
EDIT: One thing that I see lacking with my ship that I like about his is the wood that has gotten wet from the waves.
I’ve watched that tutorial before, and the haze is a decent work-around. the higher the camera angle, the more problematic the horizon discrepancy looks, and he chose a pretty high camera angle in that video, so he really had no choice. I’m just wondering if there is a “real” solution, like somehow manipulating the environment settings to color-match the scene. ![]()
that looks realy cool! dont think ist is realy to dark…some compositing could maybe do the work. Thanks a lot for the link dragonrlh… The problem with my ship is that the a lot of planks to texture… to get them right and realy different with procedural textures is realy difficult… using images to texture them needs realy large images… Anyways… Just in case you could need some real 3d clouds you can composite to your pictures there is a nice tutorial…realy fast and good looking rendering. Just in case you want to create everything 3d ![]() http://www.youtube.com/watch?v=uK2l6Yrtqhg great work! Wish you all the best and I`m looking forward to see it sailing…
http://www.youtube.com/watch?v=uK2l6Yrtqhg great work! Wish you all the best and I`m looking forward to see it sailing…
The deck are all made from individual planks and they are just simple planes with a solidify modifier. You wont really see the sides of the planks so the sides are not really an issue. Because they are all planes they unwrap nicely and for the planks on the side of the ship I did project from view then tweaked the parts that had some distortion. All my images are from CG Textures and I download the largest free version of the texture. I make sure they are seamless so I can easily scale my uvs to get a decent result.
Thanks for the cloud video, Im watching it right now and I might try it out later tonight.