From my experience, easily 
BTW: Since I discover it, I’m still on the wave of happiness Easy and fast way to use …
Very nice.
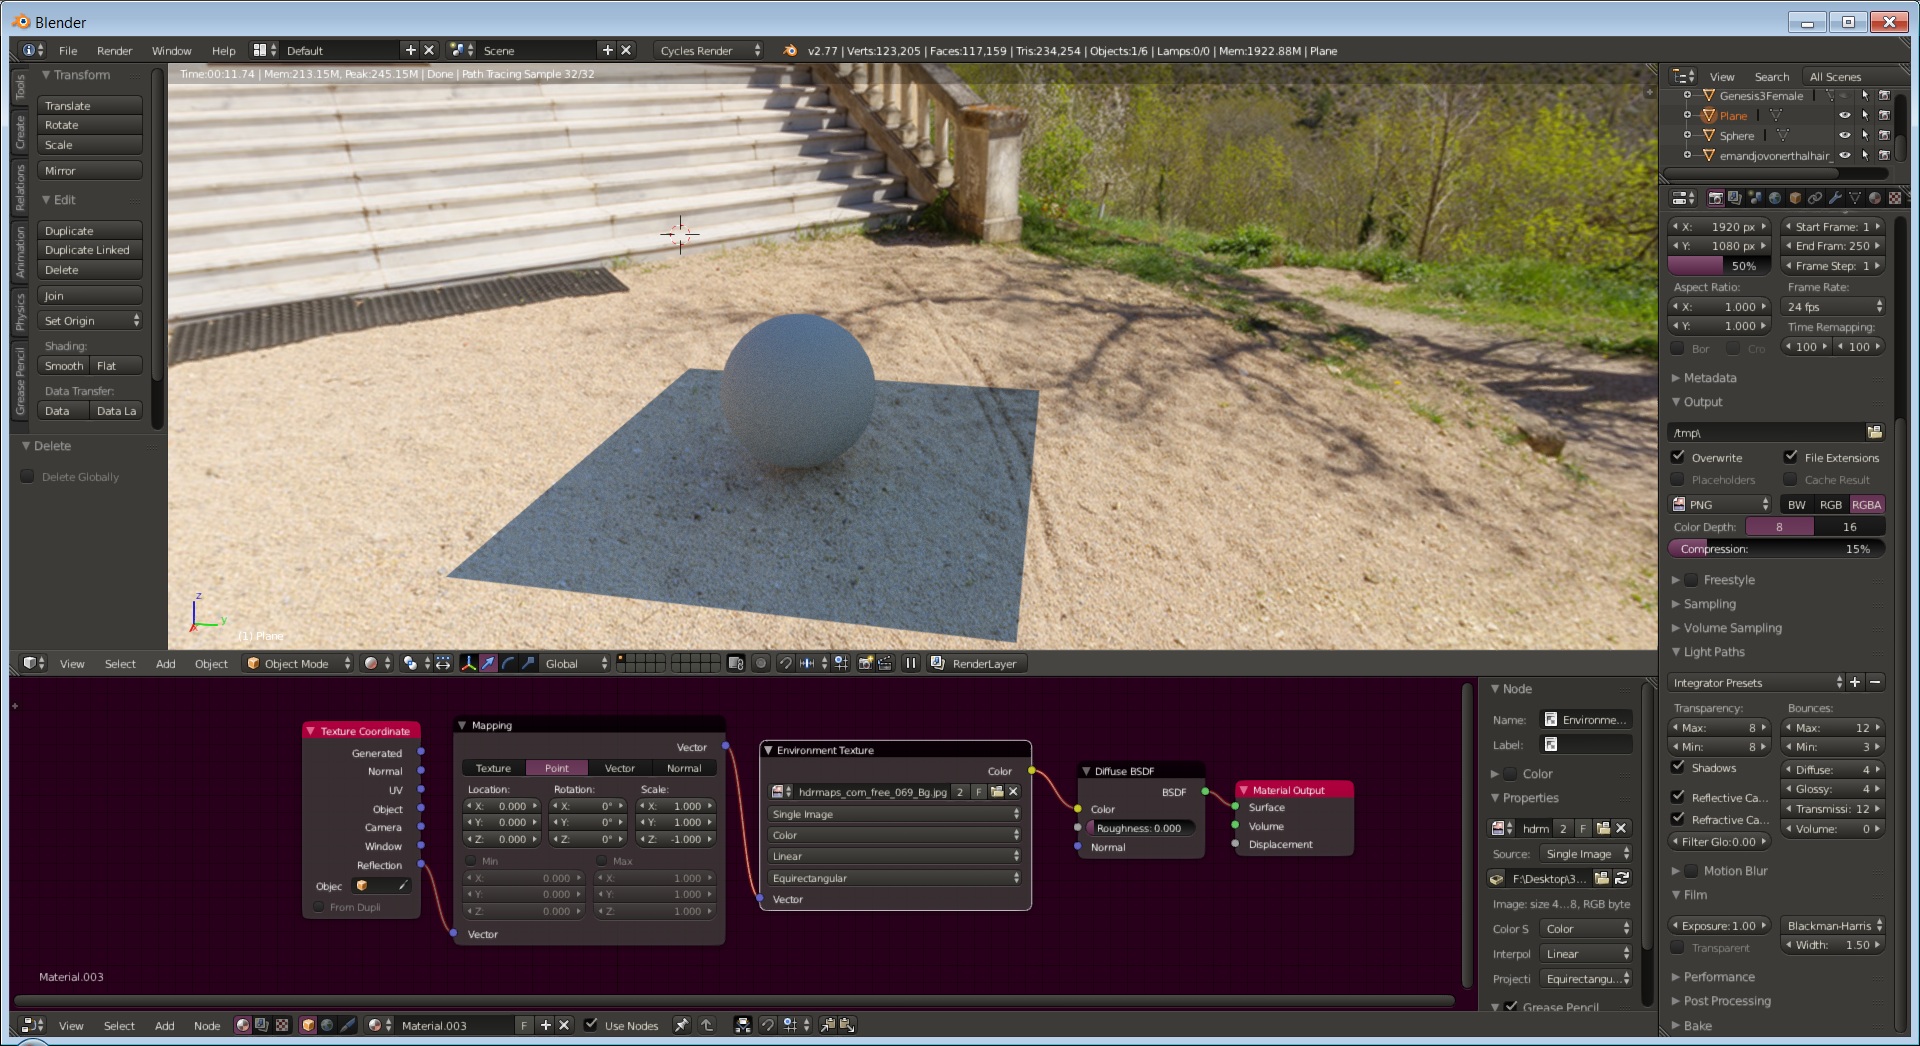
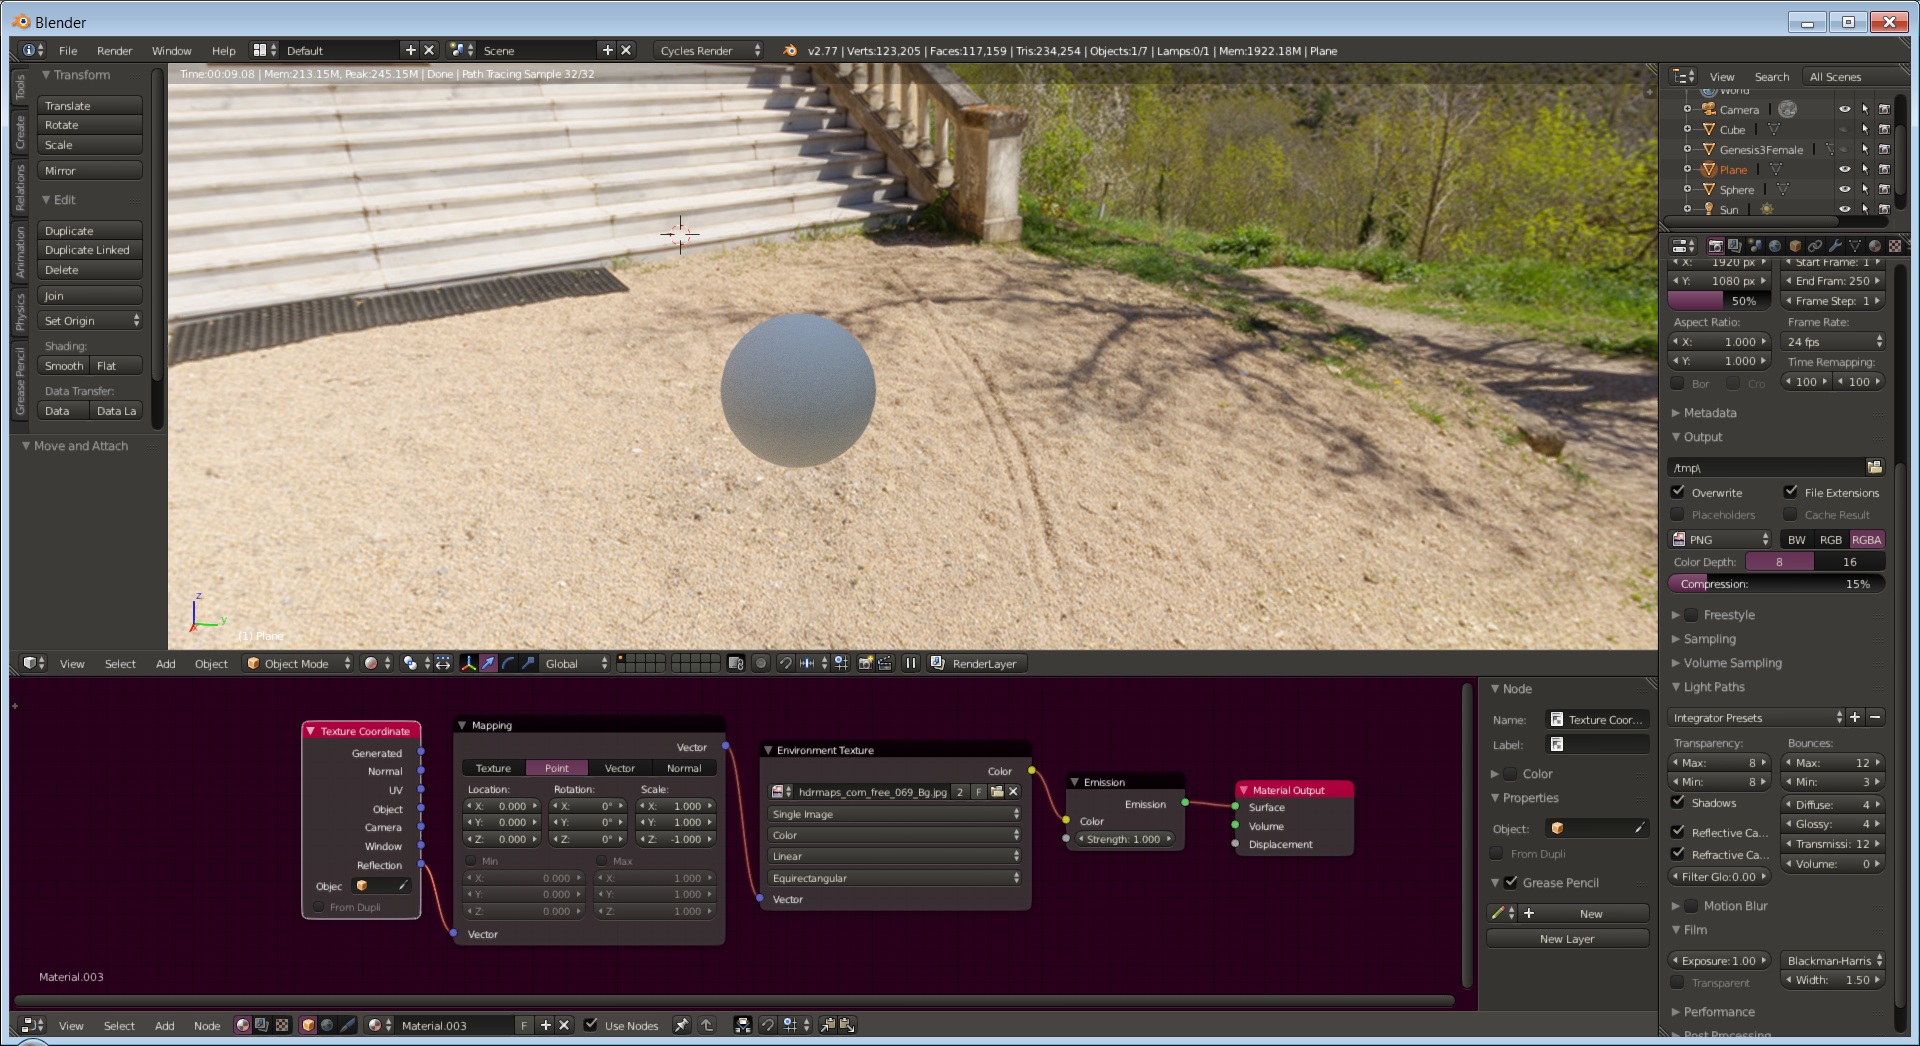
Not getting it. I can add the plane and spear, give the spear a defuse color, give the plane a Environment Texture and pass it through a Defuse Shader (as shoown in the video). The plane is a few shades of blue darker than the HDRI background. If I change out the Defuse with an Emision Shader, The plain blends in perfect. In the video I see he’s using a Defuse Shader on the plane. Am I missing something? Also, no mater wich way I set it up, get no shadow under the spear. If I add a light to the seen, I do get a shadow if the plane is setup with a Defuse but not with an Emission Shader. Any help would be appreciated. Thanks.
Attachments
Anyone?..
Just a thought here, but it might help… or it might not ![]()
When you have the plane set to “Diffuse”, the lighting that is applied to the sphere and the plane match, and the HDRI seems too bright (but more realistic in terms of lighting) in comparison. So are you making any adjustments to the HDRI in the node setup of your “World” tab or node settings? Because I suspect that if you increased the brightness using “Math” nodes (“Multiply” and “Add”) for the HDRI, then it wont match the plane, due to the plane not getting the same increase in brightness.
If this doesn’t help, I’m not too sure what else to suggest. Someone else will probably have a better idea than me.
The world nodes are setup with just an environment texture, emission and world output. nothing fancy and no math. Thanks for trying though!
Hey bruce32466, sorry that didn’t help.
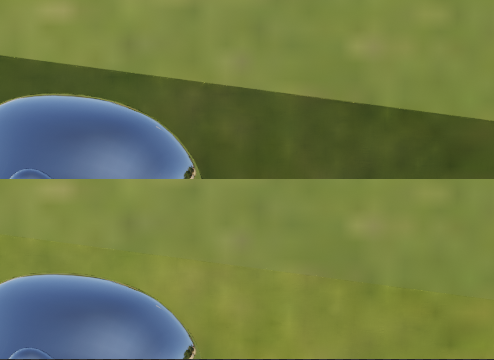
I had a go at this when I got home (I have done it in a few of my renders before, but not for a while), and I noticed that I was getting the same effect, where the ground was a different tint, and darker. I watched the video in the first post, and near the end of the clip, they show the setup for their “World”, so I copied it, but still ended up with the plane not quite fitting in (colour-wise). I then played around with AO, and eventually got it to work (for me at least). See attached images, the only difference between them was turning AO on and off.

AO on. (It needs to be tweaked along with the Multiply value for different HDRI’s)
and…

AO off.
So this worked for me, but took a lot of tweaking to get it just right. If you have a look at vklidu’s post on page 2 of this topic (post #29 in response to aleksi1), they talk about better quality HDRI’s having proper lighting, which would prevent the need to tweak settings as much.
Hopefully this time I manage to help a little ![]()
Phil. Thanks for the help! I’m in the middle of some family drama for a minute or so (son at school) BUT I will get back to this soon and post my results. Thanks again for your help. Much appreciated.
@bruce: hi, from your screen it seems to me like you don’t use HDR image. I see a JPEG file instead. If you use the same image in world node tree this causes your issue. To light a scene you need a high definition range image (HDRi) in .exr or .hdr file format.
Also with HDRi you can get incorrect lightning because of bad HDRi and for that you can use node tree mentioned by Phil.
Visible at the end of my video too, there you can see how to fix it.
Simply increase value in “Multiply” node. Don’t use AO.
Even you fix light strength and shadows are not as supposed to be you will need to fix original HDR image (sun intensity) or throw it to a trash
The best way to start is use Greg Zaal’s HDRi equirectangular images as I wrote few post earlier.
(If you are blender cloud member you have few of them for free, also Greg’s webpage offers one for free I think. His images light scene the best what I saw. Try that first.)
In some cases of bad HDRi you will need also one more node for ground material to correct a color (like Color > RGB Curve).
Probably try download and play with my sample blend file from the first post.
Upload your image there, like that you can prevent from any other unwanted setup.
1 Like
Hi @vklidu lovely tutorial. I recently switched to filmic blender to take advantage of the more accurate lighting, natural saturation and dynamic light range. Mostly I want to take advantage of the large curtoff points. However I cannot figure out how get the coloring of the ground surface to match with the environment map in the world anymore. The HDRi workaround node setup by Greg Zaals doesn’t seem to work for the filmic color space. I think that is because the math nodes really is only designed for the RGB colorspace.
I’ve double checked some of the basics, I’m using non clamp HDRI environment maps, some of them Greg’s! Have you ran into these issues and found a workaround?
Hi,
I just tried it in official Blender 2.82 with default “forest.exr” and I don’t see any issuue with Filmic.
(Just for World I used very subtle Multiply 0.04, but no serious fault in colors.)
Can you share your blend file? Thanks
test_BG.blend (116.4 KB)
EXR is located from inside of Blender app directory …
/Blender.app/Contents/Resources/2.82/datafiles/studiolights/world/forest.exr
I’m not sure how other OS like Win stores these files.
Thanks for taking the time to respond. Before diving in, If I make a plane and just set the visibility property on the plane object to “Shadow Catcher” that seems to work nicely. Is there a reason why I would not want to do that instead?
Here is the setup I’m trying blender file I’m using this HDRI
You need the blender filmic extension from github installed. I am using blender 2.82 so not everything is exactly the same as in your tutorial. Notice I have a the principle shader for the plane but I knocked down all values that would give it light affects (I think).
I did as you suggest and used very tiny values, I came close but not close enough.
I also was reading the blog about the HDRI correction setup and the original author now claims the back ground adjustments are bad. The original post now says this:
Update 2016: This method is pretty much just wrong. See this post instead.
TLDR of it is don’t do anything fancy anymore.
I found a blog post suggesting to change exposure on the plane texture to correct this issue:
[Meshlogic post] https://meshlogic.github.io/posts/blender/rendering/nodes-correct-hdri/
However I don’t know how to make a custom exposure node. Note he does still use the node adjustments as well but that is to improve the quality of lighting and shadow on objects, not the plane.
You can use shadow catcher (also mentioned on StackExchange, but this feature produce only shadow. It does not work with indirect or emission light, reflection ect.
Nicely summarized here on DevTalk.
If you checked this (pour) video you can see it works with all the mentioned …
")
But until than I see it still valuable technique to combine CG into image.
Shadow Catcher

Envi. HDRi Material

It is not the best solution, especially for additional compositing process since it is blended all together in plane material. Shadow catcher fits to this better, since it stores shadow with alpha (without BG).
In some cases you can separate it in Compositor with Matte > Difference Key that take clear BG and compare differences with final CG to calculate alpha channel. But I don’t really see why someone would do that since render already matches. Additional changes only destroy this synergy.

Tolerance zero

With Fall-off

About Greg’s post - that is all correct ![]() The only one reason why I (and previously Greg) used nodes in World is to correct bad HDRi exposure. Practicaly if you just plig EnviTexture into shader and you see difference in colors on Plane material, your HDRi exposure is not done correctly (also seen in your MeshLogic link part 3).
The only one reason why I (and previously Greg) used nodes in World is to correct bad HDRi exposure. Practicaly if you just plig EnviTexture into shader and you see difference in colors on Plane material, your HDRi exposure is not done correctly (also seen in your MeshLogic link part 3).
The whole point of Greg’s note is - rather then compensate this exposure everytime you use this texture it is better fix original once. He is saing just to increase part of image (pixels) with light source (like sun). It can be done in any image editor that works with 32-bit images or inside blenders compositor (separat light source by range, incease and save).
Technically, I’m nnot sure how exactly World node tree compensation affects result, and the same I’m not sure if only increasing a light source pixels (without the rest of environment that is also part of lightning) accuratelly fix it. But I’m sure it works for decent adjustments. I you see a light on plane is totaly wrong - throw it away. As Greeg wrote these HDRis was captured with not enough high dynamic range information. It can be partly fixed by postpro, but it depence what level of pixel base accuracy we are talking about ![]()
I’m going to check your file …
1 Like
In general - just be more precise in value adjustment.
Before you continue I have to notify you. I rendered images only with 12 samples and Denoiser enabled.
I’m mentioning it here, because changing to these low samples affects values needed to fix exposure.
Rendering with your default 128 samples will probably needs to use different values.
(Sorry for that I wanted to speed up testing and noticed this after. But you can get idea how to set it right… )
For plane with Diffuse shader, change Multiply to 0.00014
For plane with your Principled BSDF shader worked Multiply 0.00024
Here is your setup vs corrected exposure
But … even with corrected exposure you can see slightly difference - Plane is tinted a bit to Yellow. It means the light source color (tint) is not correct in texture as well. Clearly visible if you check Blue channel.
Here R, G, B channel s …

The best way is again - fix the HDRi texture, but you can correct it in blender’s world node tree too. Just plug any color adjustment node after texture.
I like to use RGB node, I changed mid point of R 0,505/0,505 and B 0,50/0,48
(probably more accurate would be to change the brightest point instead)


These exposure and tint issues are not problem of this technique, but HDRi texture it self.
Tip: You don’t have to be always such pixel precise. You can hide the colour inaccuracy by blending Plane’s edges into background by adding Transparency shader and mix it with Diffuse by Blend texture type Sphere as factor. Like this you create fall-of transition plane into background so avoid edge contrast.
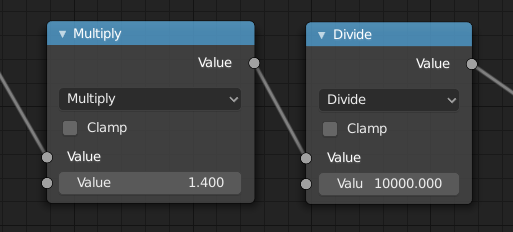
Since the Multiply value is very low, and it is impossible to slide value to see result on the fly, you can add Divide node math with value 10000, so you can slide again ![]() While sliding you can hold Shift key to decrease step even more.
While sliding you can hold Shift key to decrease step even more.
(Like for the value 0.00014 you have to change to 1.4)
DOWNLOAD file
hdriplanetrouble_fix.blend (1.4 MB)
Note: Tutorial was done in 2015 ![]() From previous post you can read I used 2.82 as well, Filmic included. Any reason to download Filmic from Git?
From previous post you can read I used 2.82 as well, Filmic included. Any reason to download Filmic from Git?
BTW color management is aplied after all calculations, so I dont think it matters.
1 Like
I appreciate your detailed response! Your help has made a daunting learning task much simpler and approachable.
The HDRI is a newer one from Greg at 23 EVs so I was surprised it didn’t work. I liked the scene and did not find any others that seemed to work out of the box that were similar. Your help will let me move on though!
The tip about blending texture edges is great.
Thanks for the multiply + divide suggestion, seems obvious in retrospective but it would have taken me much longer than I’d admit to think of it myself.
Why am I using filmic from the github repo instead of in Blender 2.8? It stems from Troy Sobotka response on github. This stackexchange answer expands on it. However it is unclear if 2.8 has the same issue or not. I guess it should not have mattered for the example I sent you.
TLDR: There currently is no means to generate a purely Filmic Log encoded image with blender’s implementation. So you can’t export the scene and grade it and such with another tool using the log encoded format. Currently that isn’t something that concerns me, but it could be in the near future.
The reason I keep mentioning nodes being broken is this section of filmic blender’s page. I think maybe I am misunderstanding and that the adobe specification nodes are fine on textures and such but only broken in other workflows like grading? I don’t want to derail the thread though, if you want to PM me an answer or not respond that is fine.
Thanks again for the amazingly detailed response.
Since this is too “techy” for me I don’t have too much to say here.
So just a notes that don’t take seriously.
If 'm right and I wrote it already - Colour management doesn’t matter for scene rendering. Rendering generates untouched raw data. After that colour management comes to display (represent) these data on screen.
Implementation of Filmic Log encoded image that was missing in 2.79 is included in 2.81 as Filmic Log. So I don’t think there is an issue to continue in other pipelines.
About your last paragraph - I think he is speaking about nodes in compositor that are used on top of rendered data. But as I said it is totally “black hole” for me how these things works especially how blender works with all the incoming image data and their ICC. Image node has Color Space with few options, but as you mentioned its more complex thing 
I never felt into this deeper so I’m just fixing issues visible in final image
But you are right - its a different topic (and I’m not able to help in this color management theme more).
every hdri i use becomes very VERY bright https://gyazo.com/c8adc3bd7f7d6e6c75697d4b089e464b except the one hdri that you linked, how do i fix this?
It depence how your World node setup looks like ![]()
I dont know on what values are your blend based on. There were a quite big changes since this thread started. What I see from last posts here you should use setup from this blend file for blender 2.8x [Cycles] Ground for HDRi Environment (aka Shadow / Light Catcher) - #55 by vklidu

In general you should start with
- reseted (or muted) RGB Curve node (that corrects color tint)
- and for you would be probably the most important Multiply node - start from value 1
(lower =darker, higher=brighter)
If your issue persists, post a simplified blend or link to it.
