sIBL is for me like space saver because HDRi 15000 x 7500 px takes 350 MB of space on disk.
With sIBL’s system it is like 35 MB (bg in jpeg + small hdr just few kb + some more files).
Or sorry if I’m wrong I don’t have to much experiences with sIBL, it was for me too much files and setups so prefer one big file for all that job.
But result will be the same.
Even your HDRi you used is taken on edge of light and shade, result is not so bad.
But strength of sun is more for shadow part where shadows appear more like AO. With GregZaal’s setup it can looks quite OK on sun too, but shadows are too soft.
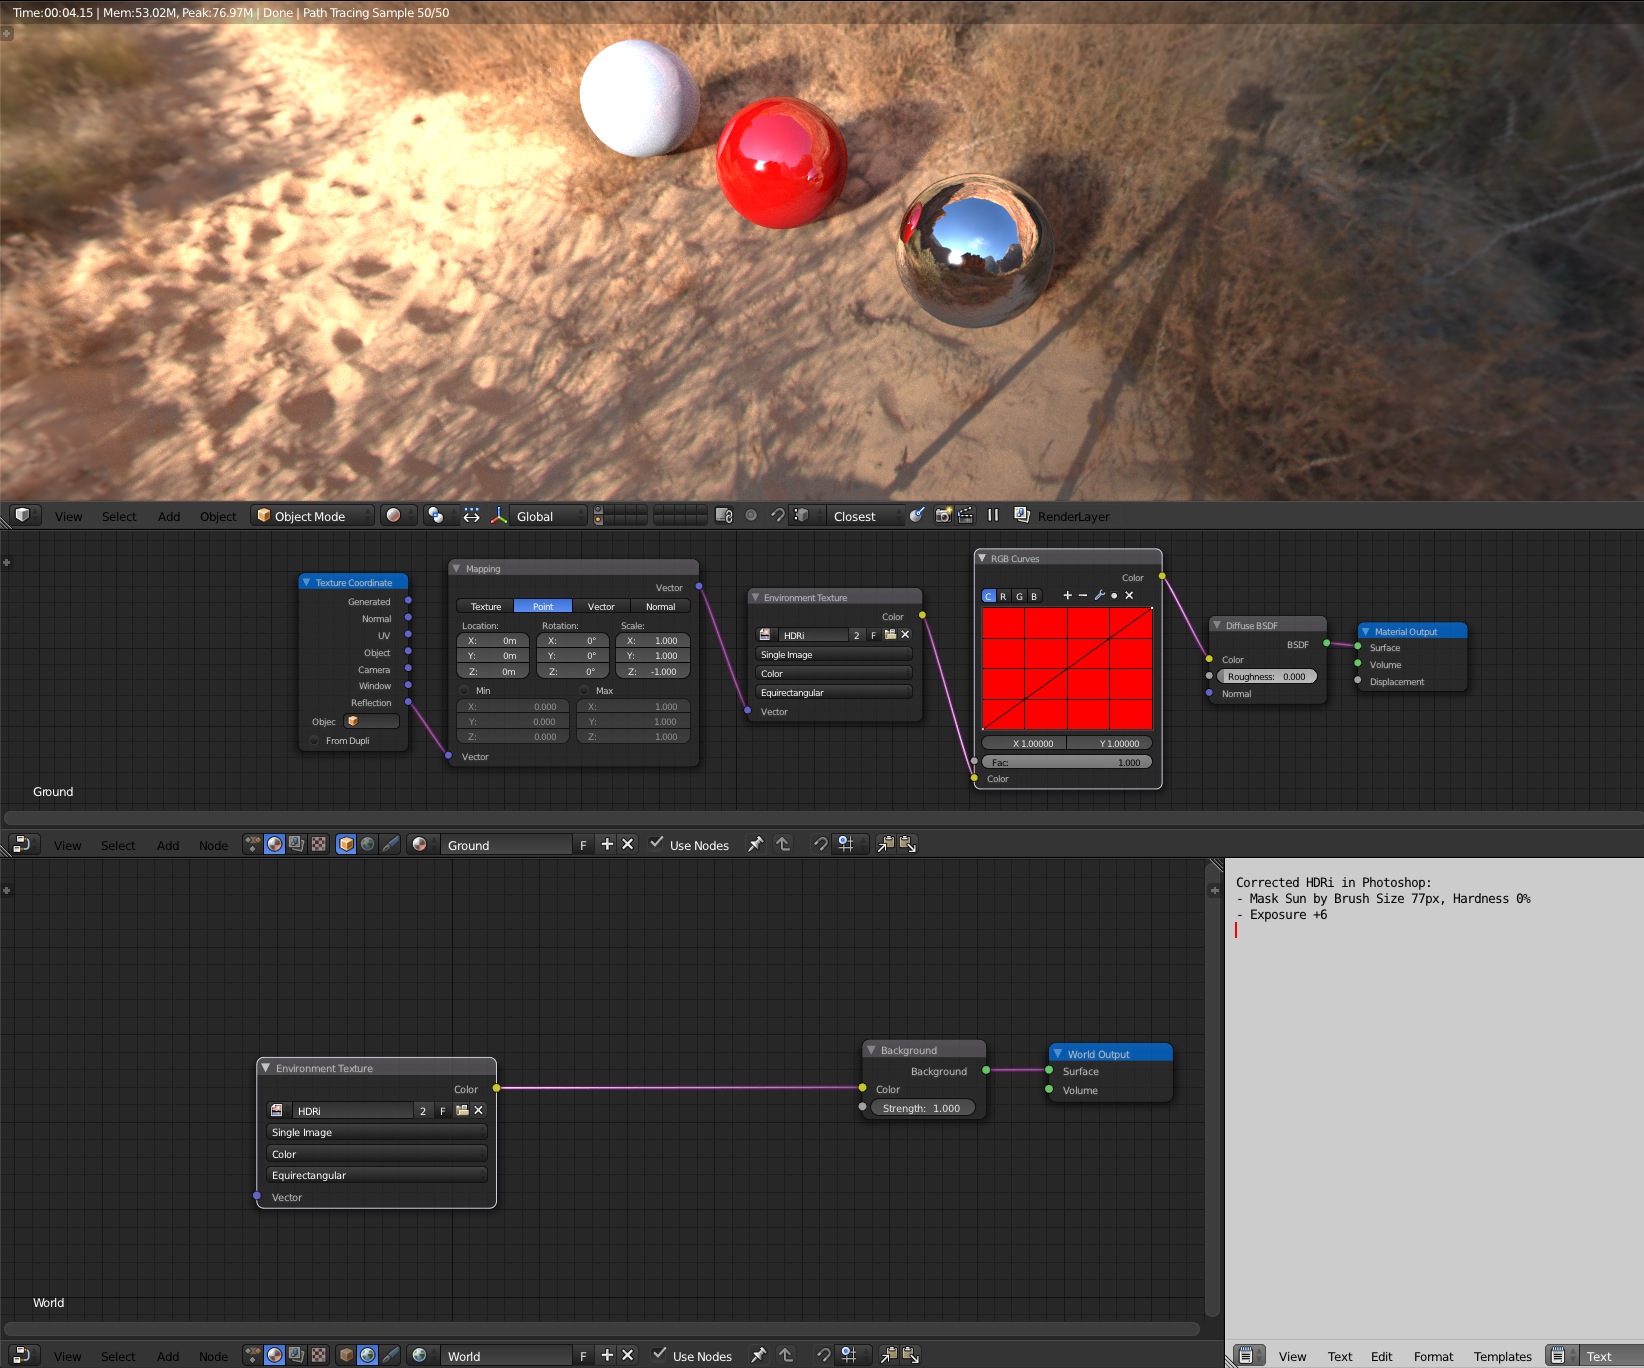
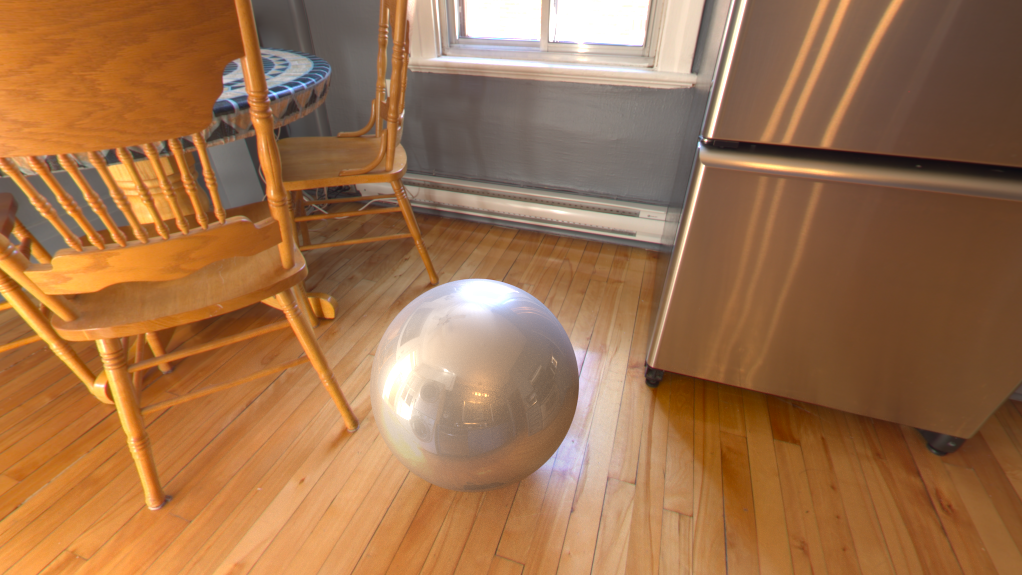
Next screen is with HDRi edited exposure in place of sun (+6) with Photoshop.
Ussually I select only small circle in a center of sun, to generate sharp shadows, but in this case I needed opposite. Shadows were too sharp, so I used smooth brush like 77 px. Result seems to me OK and you dont’t need GregZaal’s nodes. Plane needed only simple correction in B chanel.
To see details, open image in new window with right click.
Edit: now I see I could increase exposure of sun with smaller brush, soft shadows of environment are there only because of lowres image … bigger brush size ugly effected place around sun … doesn’t matter, next time
sIbl Gui does take a bit of setup, but then is very useful once it’s running. That said, it looks like it no longer works properly with 2.74RC1 anyway. (Still fine on 2.73)
Thanks for this info, will go back to my scene and see where it differs and why so I can hopefully get a better grip on the subject.
I don’t have Photoshop CS so cannot adjust the exposure of my example files, I use Serif Photoplus X4 and that has no equivalent function. (It’s affordable though ).
If I output an HDR render from Blender of the image, can such an ajdustment be done is hdrshop or SiblEdit do you know?
@ jotero: thanks for post, looks great
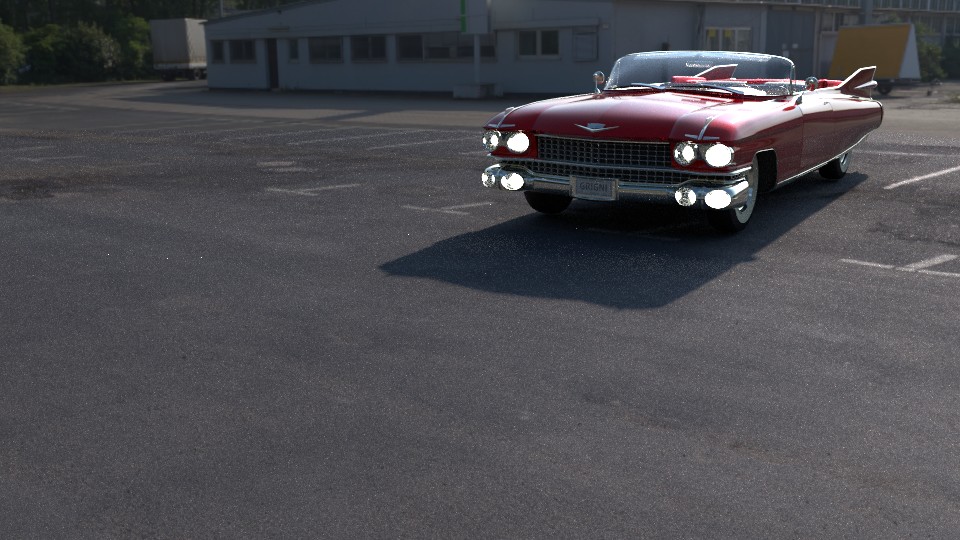
(First I wanted to say - rabit’s shadow seems to me a bit darker, compare to photographer shadow, but under the car it’s totally black, so hard to say.)
@ colkai: I saw note from January - GIMP should support editing of 32-bits images, but I never tried this app, I can’t say what tools are supported. Also Photoshop is quite limited in editing of this 32-bit images.
Ad to sIBL_Edit - I never used it.
Thanks for the great tip, vklidu! I tried it out while testing materials on a new model tonight. So cool to have a quick shadow catcher/ground reflection solution in Cycles now!
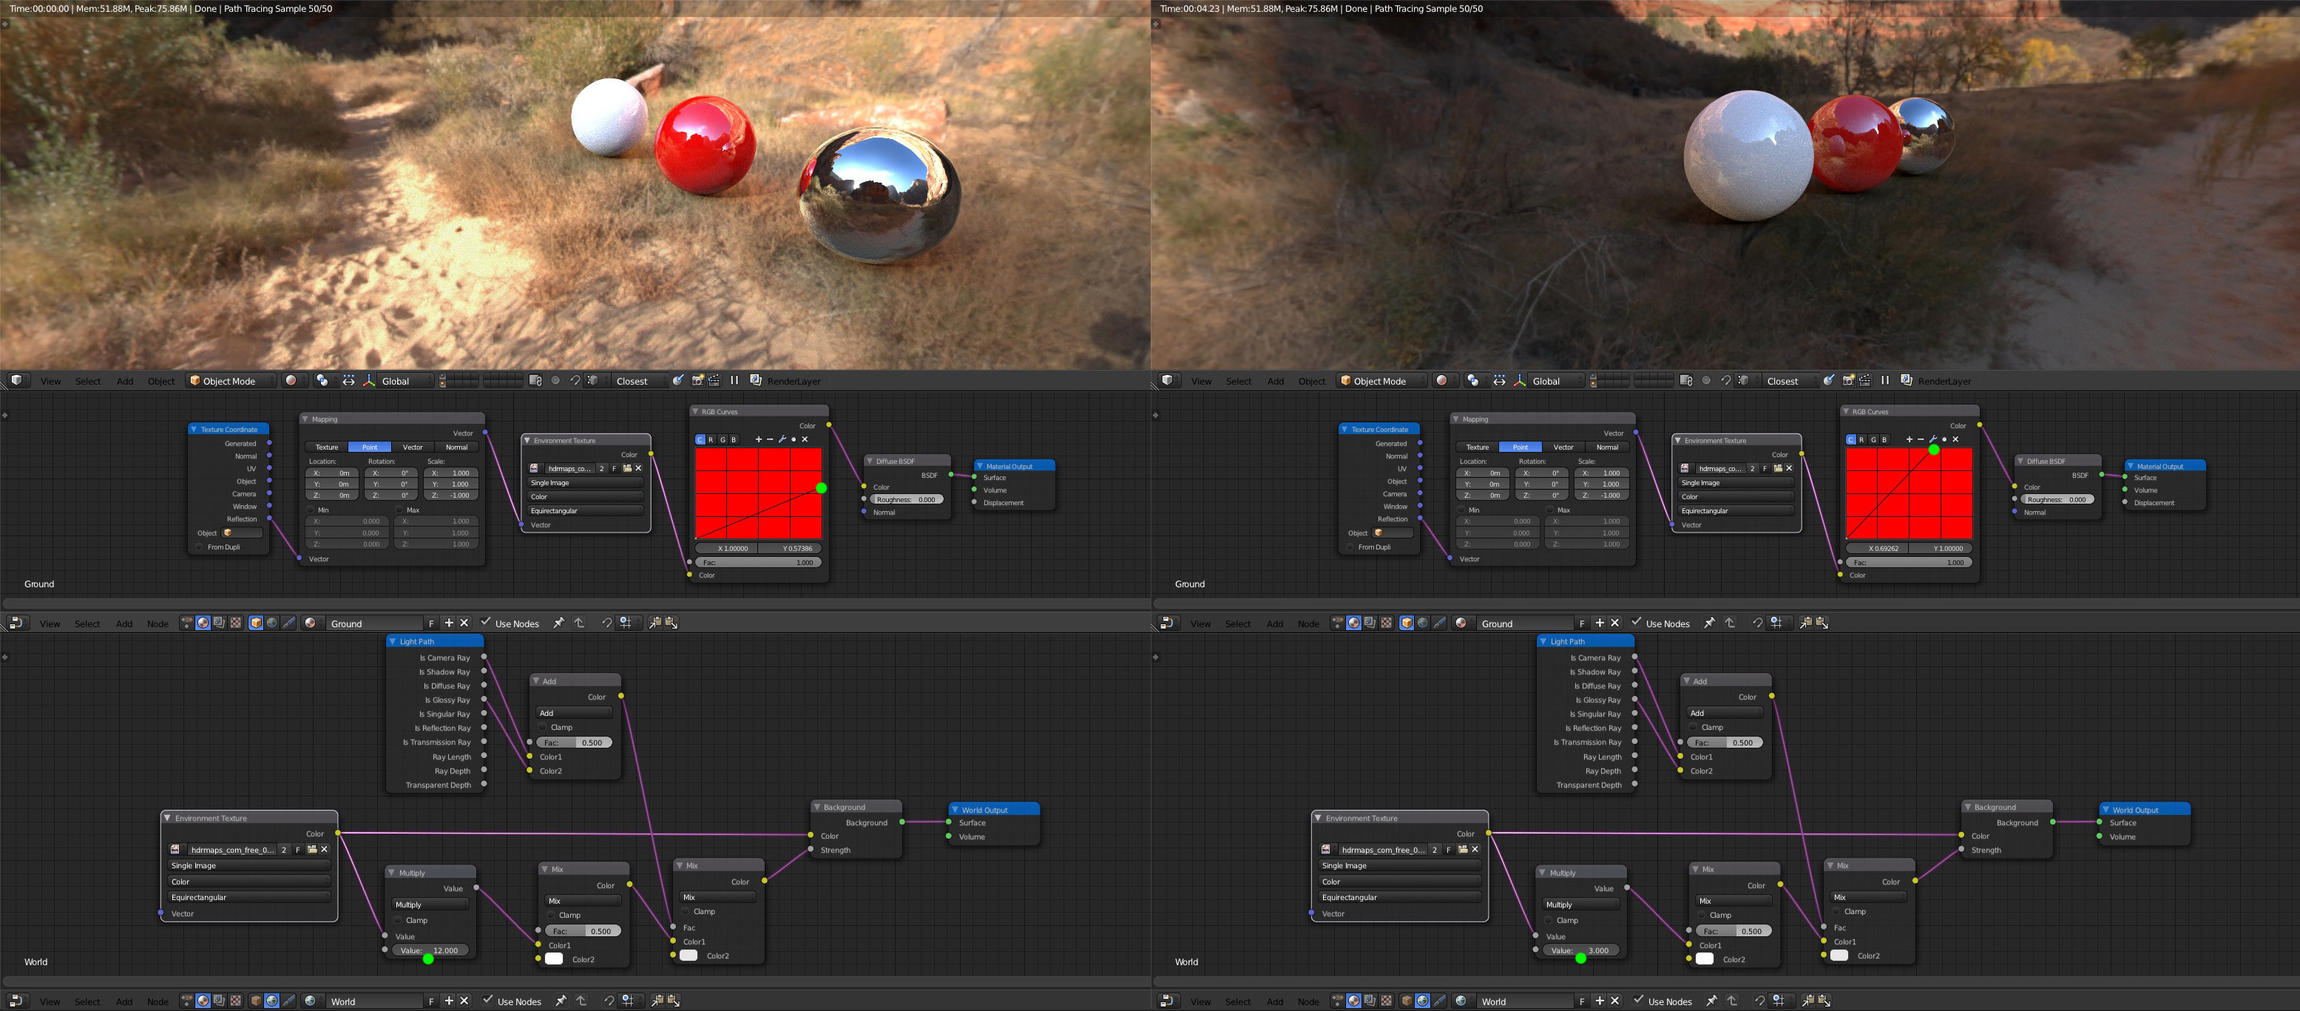
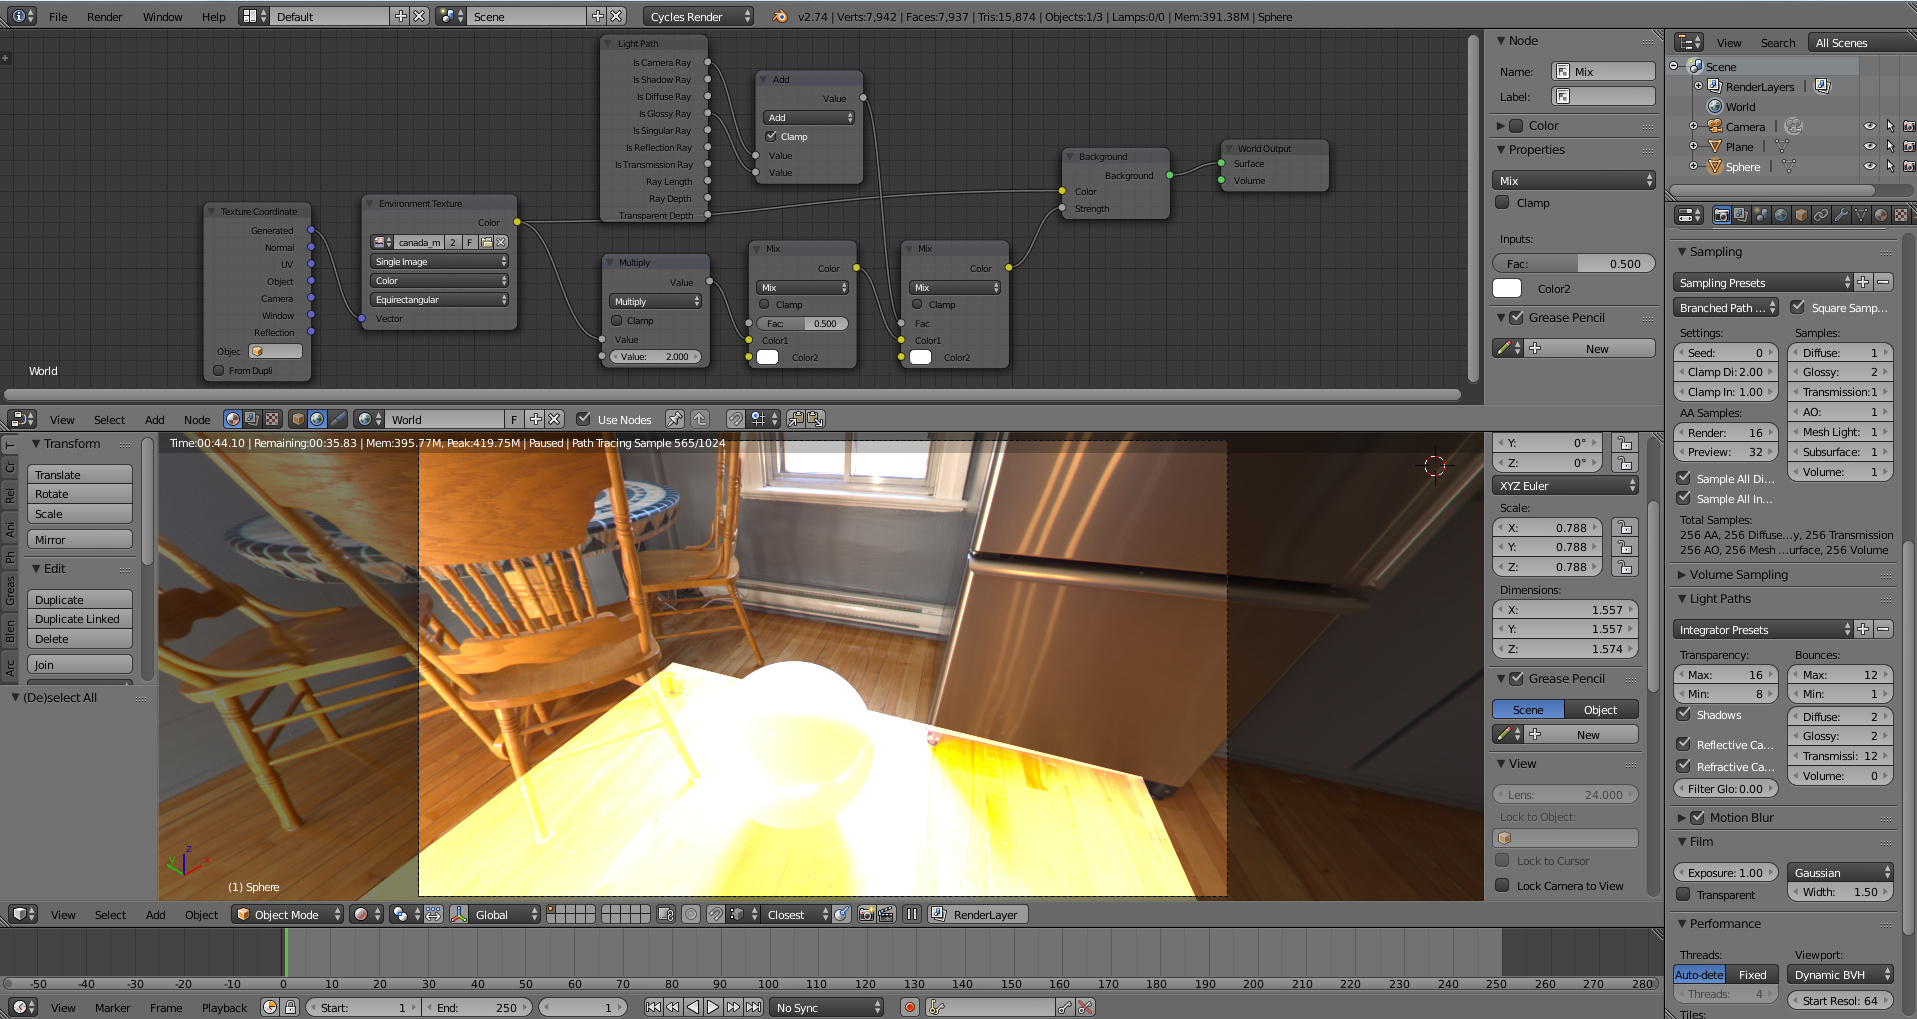
But when I try the method for controlling the hdr lighting, it goes crazy. The multiply node seems to completely destroy the lighting. With a value of 2 everything goes overexposed, and even with a value of 1.0 its way too bright. Can anybody say what I got wrong here?
Okay, forget my quesetion… After a long time of fiddling around I figured it out. Turns out that at least with the hdri maps I was using I actually had to divide, not multiply when using the hdr as “strength” in the background node (to get the lighting to a reasonable level). I don’t know if it should work like that, but it did for me When I tested with some jpeg panoramas, multiplying worked as in the tutorials linked here.
@James: Comgratulations @aleksi1: sometimes Multiply can be zero too I also had few HDRi maps with proper lights so I had no needs to use this world adjustment.
It always depends on HDR image. Also softness or sharpness of shadows can be achieve by HDR image by increasing or decreasing values of pixels that represents light source in image, but in more cases (when light is not correct) it’s faster use nodes to fix it.
(Next time if you need help with setup - post blend file.)
Even I set Subscription to this thread I didn’t get any notification about your posts guys
@brothermechanic: yes it doesn’t how do you expect behaviour of equirectangular texture in this kind of world? Equirectangular texture represent view of world from one position of camera. That is why camera motion never can match a background.
To give a bit of a camera motion freedom try OSL shader called Quip
Im quite surprised how low attention was given to this shader from community.
The only one disadvantage is render time. OSL shaders works only under CPU.
i recently tried this light catcher node setup, and it is very helpfull! Unfortunately i had an issue with using glass Objects placed on the light catcher Ground:
Try Greg Zaal’s HDRi textures
The great thing about them - they light soooo good. To adjust world lightning isn’t needed for his textures via nodes.
(Lucky Blender Cloud members )
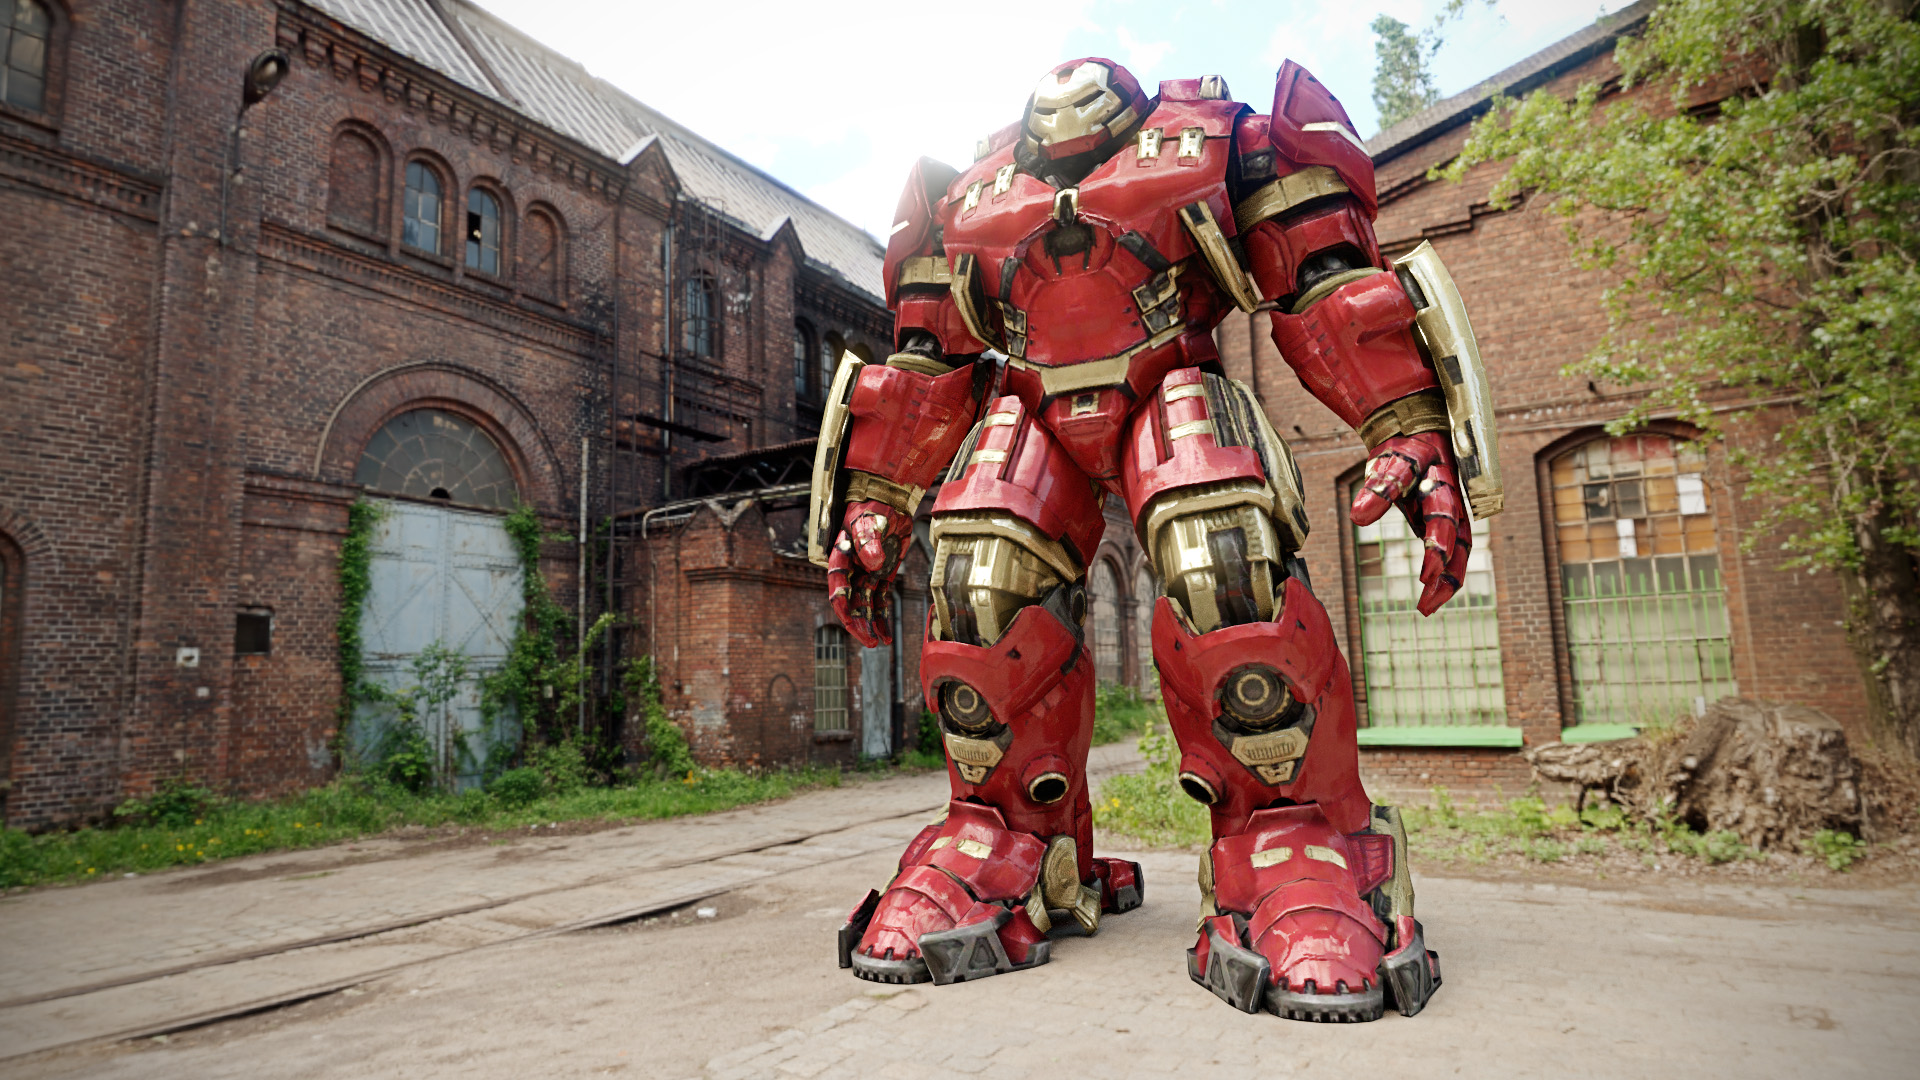
This example is switching between already explained technique + test of “Real Camera” addon.
The Lensflare and Bokeh node group result looks really good for what I saw until now.
(the grain is gif artifact, in video only 50 samples for quick result, sorry)


 ).
).

 When I tested with some jpeg panoramas, multiplying worked as in the tutorials linked here.