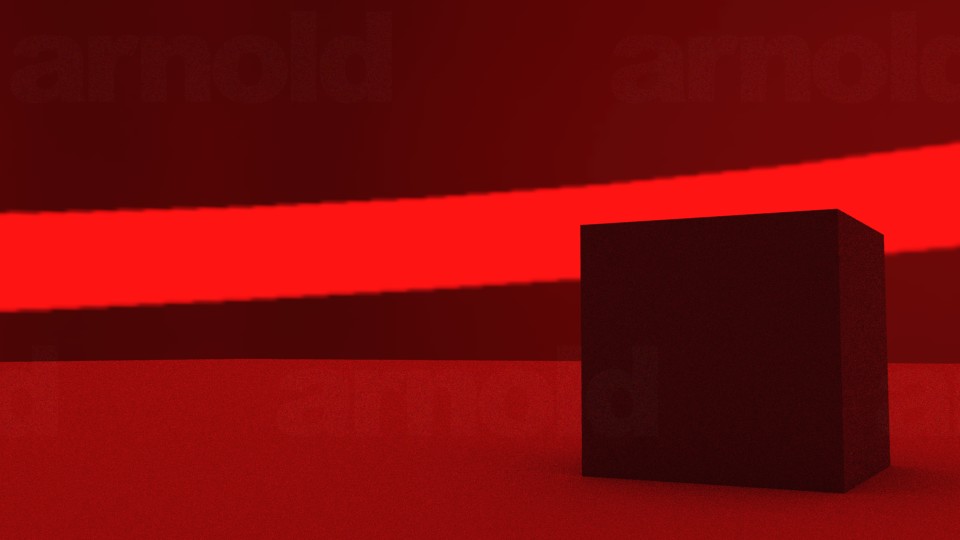
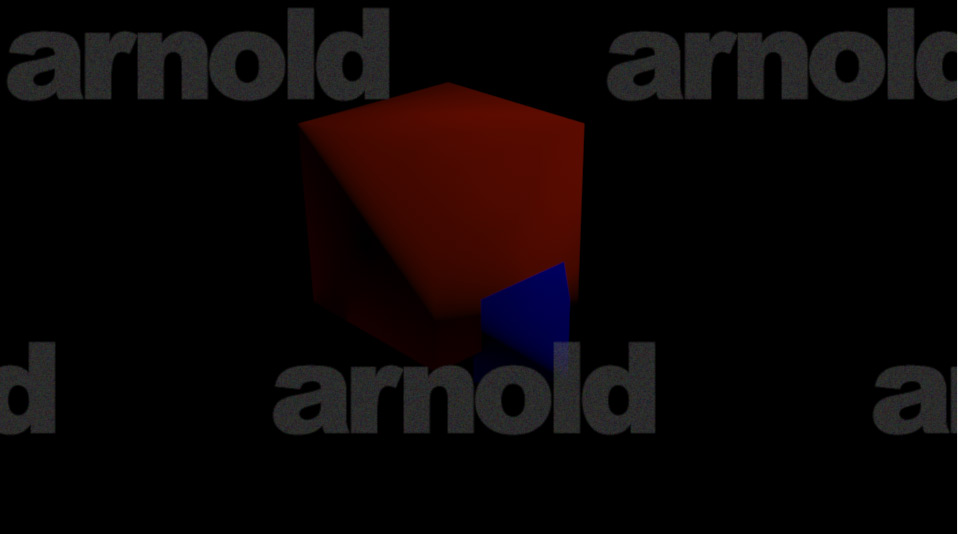
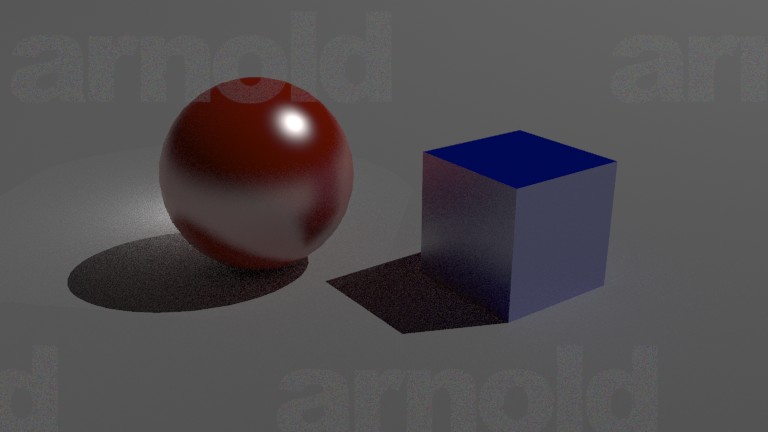
At one point I had shader transparency working, but after refactoring for instances, I have broken something. This scene contains two cubes. A large orange cube and a small blue cube that is half-inside the large orange cube.
I wonder if anyone with experience in Arnold shaders could take a look at my .ass file and explain why my orange cube is still solid when I have specified an opacity of 0.15?
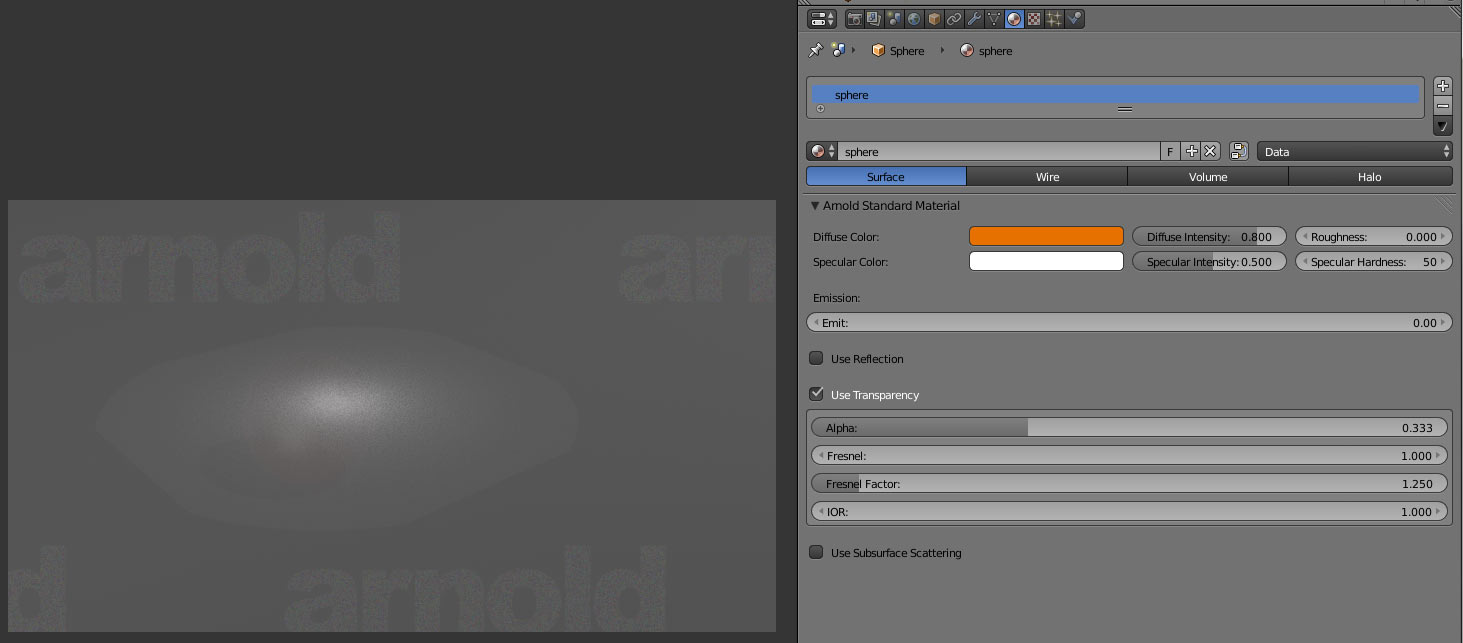
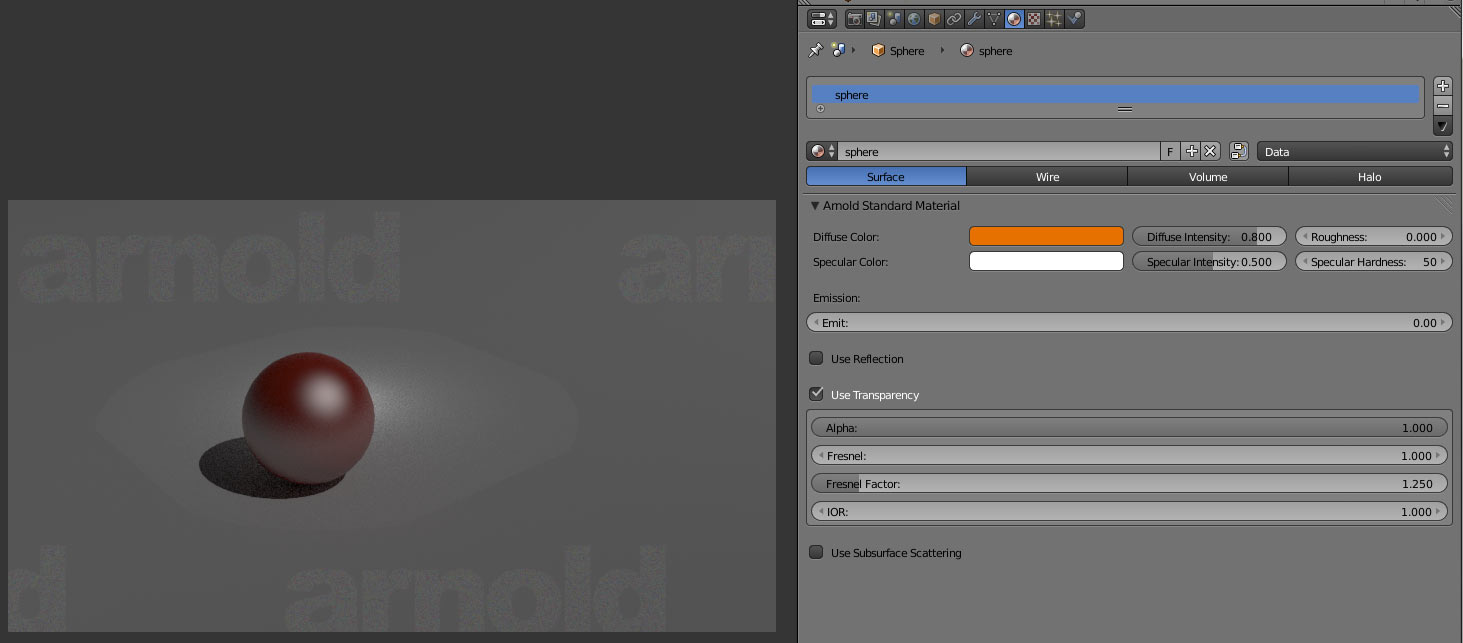
After hours and hours of reading and test renders I think I finally have a working transparency model that is fairly Blendercentric while still leveraging the Arnold capabilities.
In Blender Internal we only have Alpha to control transparency but in Arnold there are a few more considerations for transparency because it is a physically based render system.Opacity is a color between 0-1 while the Koefficient transparency, or Kt, is a float between 1-0. So I am using the Blender Alpha value to derive both of these values.
Arnold Example when Blender Alpha is 0.3. Kt = 1.0-Alpha
But there is another part of the puzzle. When using ginstances, all instances are considered opaque (for speed reasons) unless this is overridden. So the new code examines the materials applied to each ginstance and exports the appropriate flag when transparent materials are encountered.
I have implemented a recognition of flat and smooth faces in the Arnold exporter. While the Blender API supports smoothing at the per-face level, it seems like Arnold polymesh does not. And while it would be possible to detect a mix of flat and smooth faces within a single mesh and export two polymeshes, one flat and one smooth, I am going to leave that for the ToDo list. This simple implementation counts up all the flat and smooth faces within a single mesh. Whichever amount is larger wins. This should be sufficient for most Blender users, however, scripts that creates a single mesh with a mix of flat and smooth faces may render with unintended results.
Nice work, @Atom. I wish I would have seen this thread earlier, I could have saved you some headache by answering some questions. (I’m one of the Arnold core devs.) Keep playing, it should be fun to see how far you go with it!
Do you have a TODO’s list? Something that it shows what is working, what is in progress, what is not working and so on? Looks like you are having a great progress in a very short period of time, it would be cool to see how this project gets completed as in a track list or something.
@Sam:To make the ToDo list might take time away from making the exporter.
Here are some goals I am trying to reach…
UV Mapping
Image Texture (2D Texture)
Noise Texture (3D Texture)
Particle Support (Groups only-random, sequential and whole group support)
Light Textures (Gobos)
Make sure UI sliders map to the ranges that make sense for any given parameter (For example Blender Fresnel maps from 0-5.0 but Arnold has a sensible 0-1)
Polymesh subd and displace support
Some behind the scenes work I have been doing but I have not mentioned yet here in the thread are listed here:
Animated output works, files are named with the frame number.
A basic UI is in place to route most supported features.
Blender Color Management gama is routed to Arnold options.
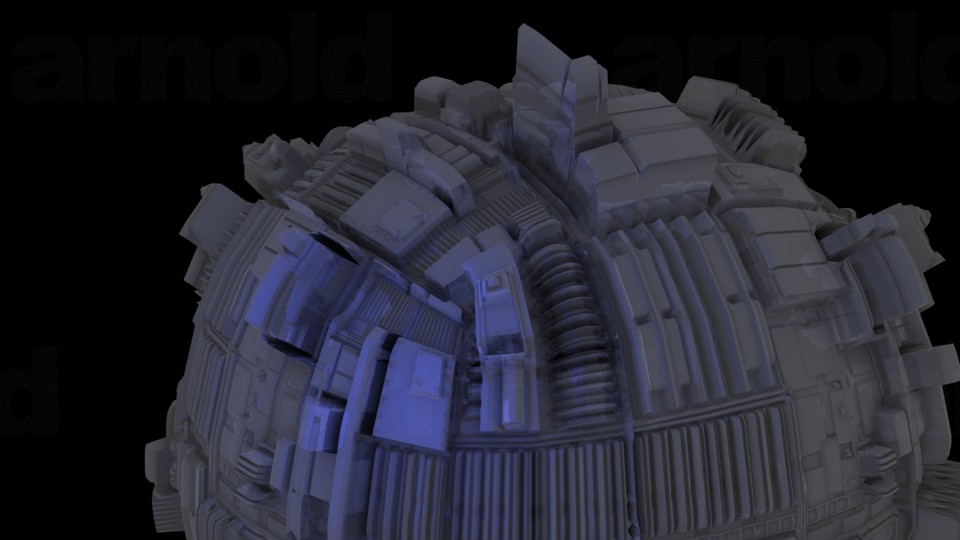
Here is a more complex test of UVs. This subdivided cube is using Micalis’s baked AO map from the Sculpting With UVs thread.
Here is the Low Poly Compass from Blendswap.
4 AA samples, 3 diffuse/specular samples, bucket size 128 with the Environment skydome enabled @ 3 samples = 6:12 on an AMD 6 core @2.7Ghz with a size of 1024x1024.
You should sell this script in the blender market to help you with the development, if it’s a reasonable price you can count with my support for sure and I think many other would do the same.
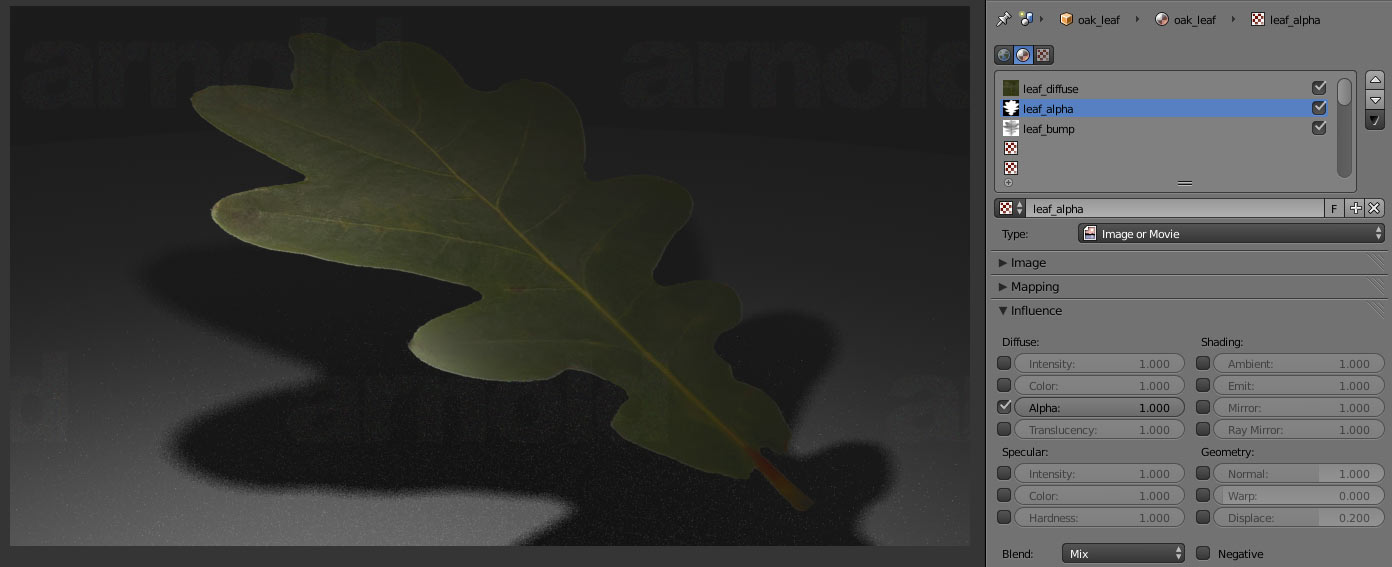
I have a basic routing system in place for image based texture maps. Supported channels are diffuse_intensity, diffuse_color, specular_intensity, specular_color, alpha and emit. Still not sure how to implement normal maps yet? These maps are activated by the standard check box for the channel under the texture slot Influence panel.
Here is an example of a set of the 3 most commonly used image maps. Diffuse, Specular and Alpha.
Shown in the image are a couple of yellow hightlight fields. These are additional features I would like to implement but I am not sure how.
My understanding of Arnold is still evolving so if I have this wrong feel free to offer correct information.
Here is how I am defining the color of a standard material.
standard
{
    name red
    Kd 0.8
    Kd_color 1 0 0
}
Here is how I am routing the Blender Image Texture to the material.
standard
{
    name mat_image-1
    Kd 0.8
    Kd_color my_texture_image
}
image
{
    name my_texture_image
    filename "C:\Users\Admin\Documents\Maps\possible_palette-4.png"
}
This works, however, it is an either or kind of operation. What would be nice is a way to incorporate the diffuse_color_factor into the mix so I could blend between a color and an image.
I tried this. but Arnold does not seem to allow multiplication of node output. This code fails.
standard
{
    name mat_image-1
    Kd 0.8
    Kd_color my_texture_image * image_blend amount
}
Is there a way to achieve a mix in Arnold? A mix node would be ideal but I have not found one listed…
Using the same image routing setup for materials I migrated that code to the simple sky shader color field. Now you can specify a single image in the texture slot of the world context. Currently supported coordinate types are AngMap=angular, Sphere=mirrored_ball, World=longlat.
The sky also lights the scene now, like Cycles background does!
DOF blurs sky background which helps angular map resolution problems.
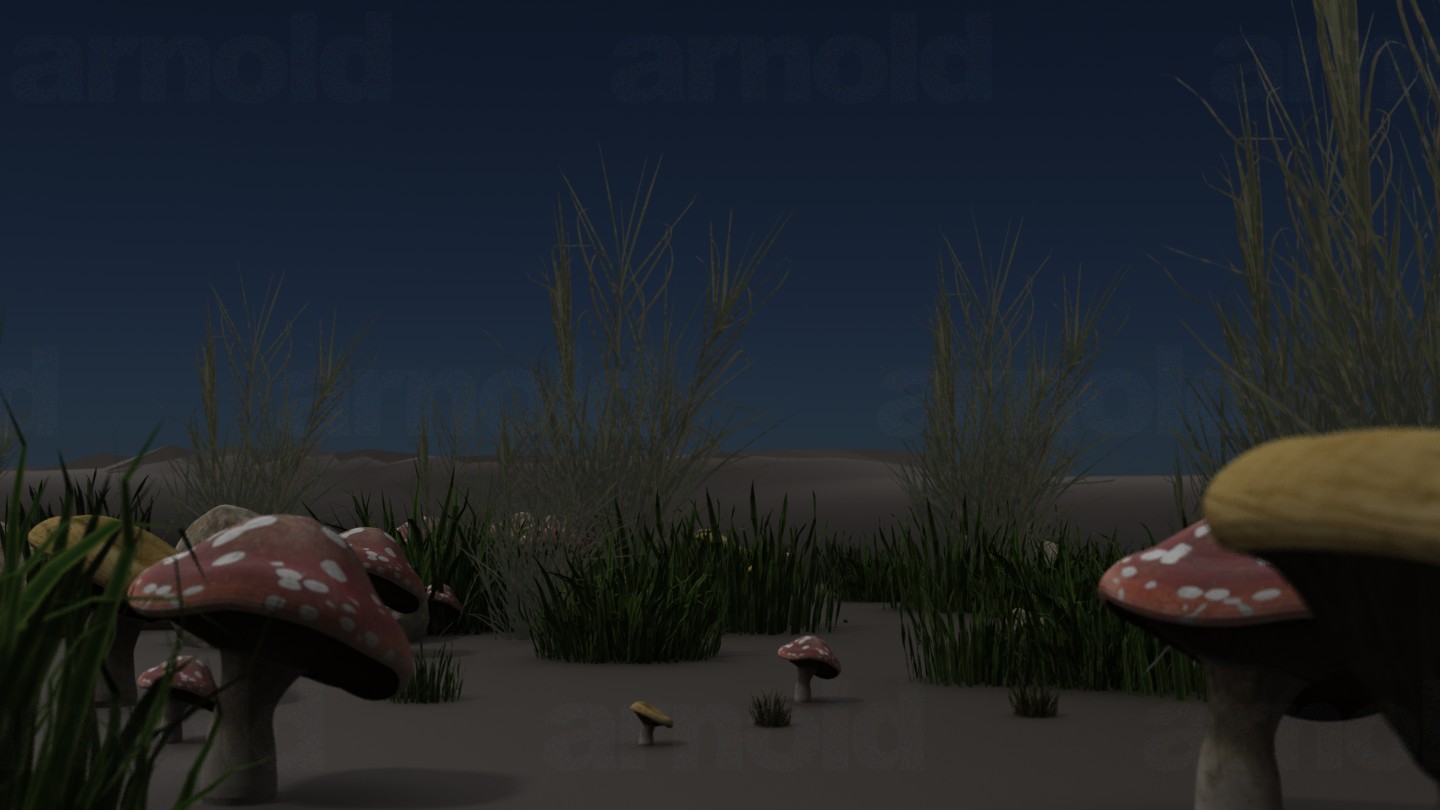
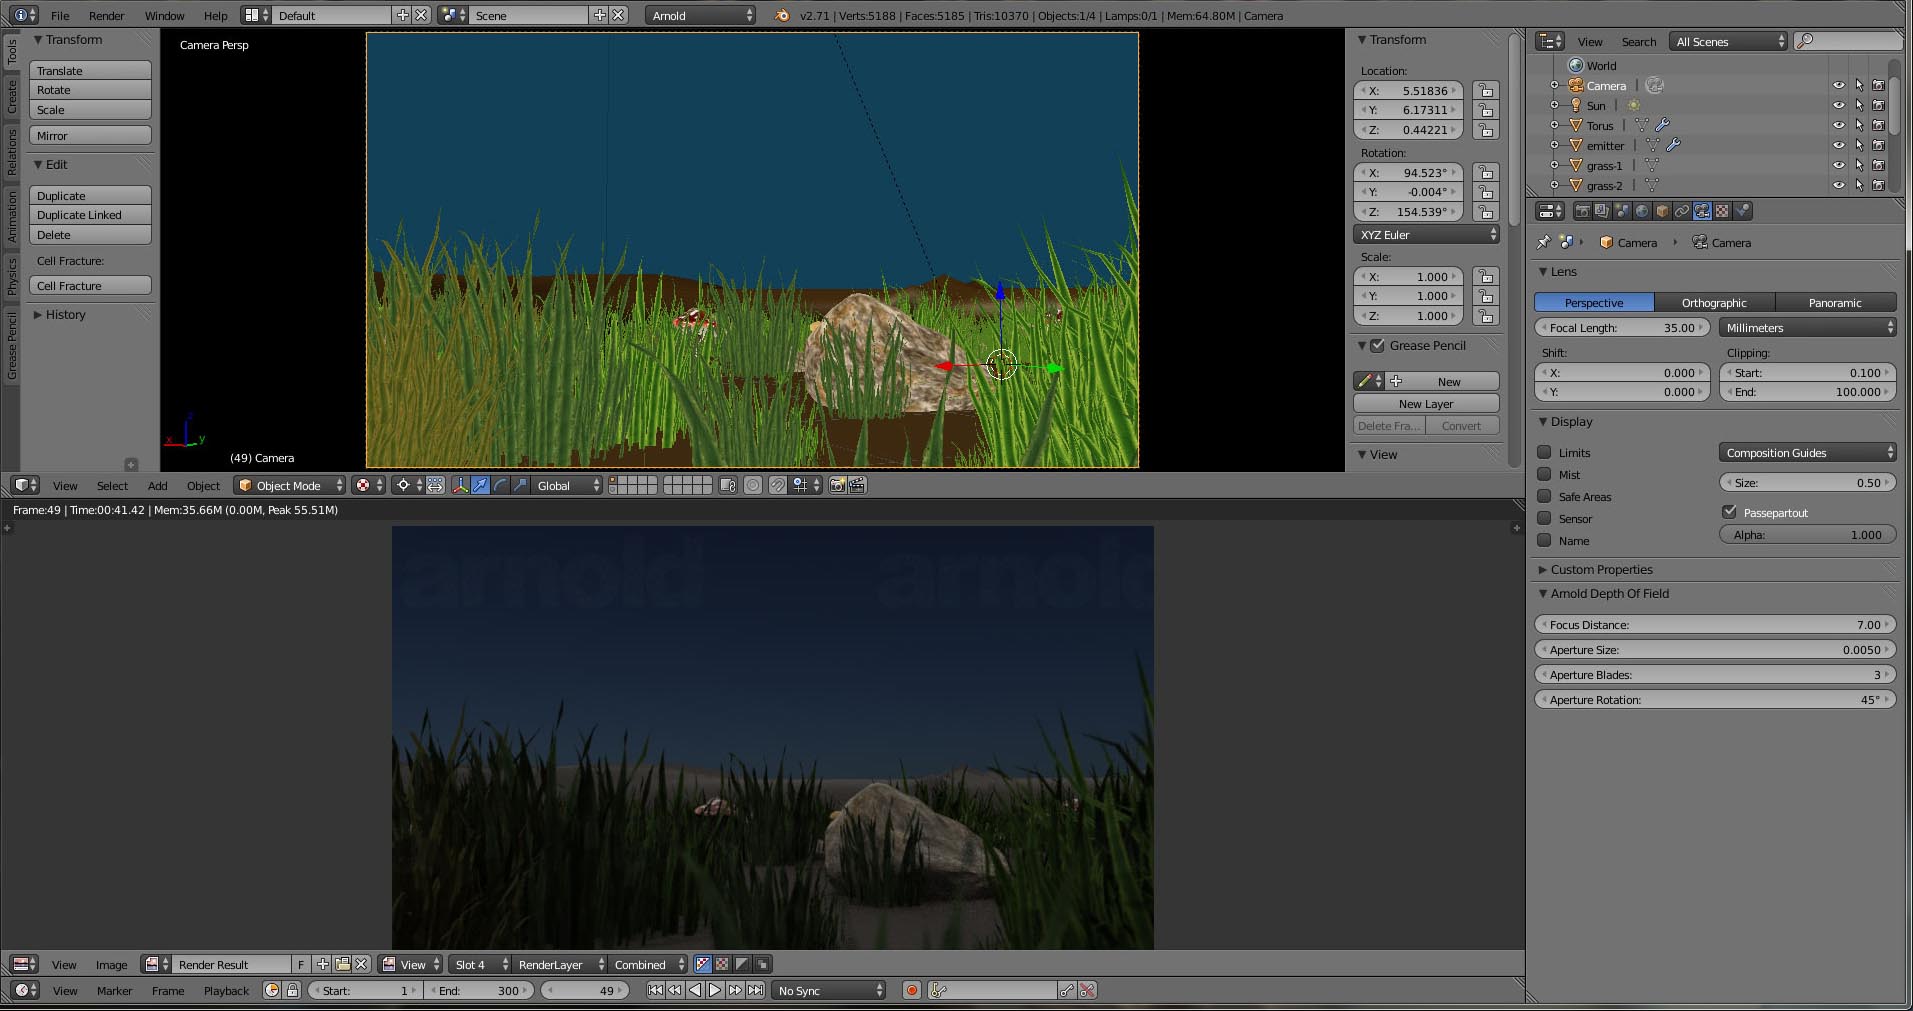
I have implemented a first draft for particles support. The only render types supported are Object and Group. The system supports Whole Group, Pick Random and Sequential. The generation is linked to the random seed of the particle system, however, I am not sure how to get the exact same distribution of objects that you see in the viewport. So this 1st draft has limited usefulness as far as planning specific camera moves and relying on particles to be in the same location as you see in the viewport. I ran into this same problem in the Pixie exporter as well and was not able to solve it. I am not sure how the other exporters are handling this case?
This scene uses a mix of mesh objects fetched randomly from a group. The tall grass is an image mapped plane with an alpha, the others are UV mapped models.
I have also implemented a limited compression algorithm into the generated output it takes the form of replacing floats which are integers with actual integer values. Example: instead of exporting 1.00000000 the exporter will now export 1. I have installed this code in most places where floats and colors are exported. This resulted in about a 12% reduction in .ass file size.
Here is the code for this compression implementation.
def returnStringForFloat (float_value):
    # Because a float can take up a lot of ASCII space let's try to make some basic optimizations.
    # For instance detect 1.0000000 or 0.0000000 and convert to 1 or 0. An ASCII savings of 8 character per detect.
    # Arnold's ASCII implmentation of floats only preserves 8 characters after the mantissa.
    # Direct programming via the Arnold API provides more precision.
    #if float_value < 0.000000009: fv = 0.00000001
    f = "%i" % float_value if float_value.is_integer() else "%1.8f" % float_value
    return "%s" % f

def returnStringForColor (color):
    r = returnStringForFloat(color[0])
    g = returnStringForFloat(color[1])
    b = returnStringForFloat(color[2])
    return '%s %s %s' % (r,g,b)
nice project Atom, for the instances there’s a simple way to get the data…
import bpy
emitter = bpy.context.object
emitter.dupli_list_create(bpy.context.scene)
for i in emitter.dupli_list: print (i.object, i.matrix)
emitter.dupli_list_clear()
@liero: Thanks for the feedback and the code. I was just trying something similar but that code does not seem to work for particle systems, only mesh based objects with some form of dupli_ active?
I have a torus in the scene with a single particle system and when I run the code, Blender 2.71, the console display Object does not have duplis. This makes sense because the Object duplication is set to None. If I activate any of the buttons the error does go away but the list is blank because the torus has no child object associated with it.
When I examine thedupli object type I do see that a dupli can be associated with a particle system. I am still not sure how to fetch that info?
@liero: Got it, the code will always fail unless the particle system actually generates duplis. I had my particle system set to Halo, which will caused the code to error (because that render mode produces no duplis). Once I setup the particle system with groups and objects I was able to make a successful call to dupli_list_create.
Now my rendered particles match the viewport particles.
It does come with the Maya 2015 install. On my Windows box it made a folder called “solidangle” in the root of the C: drive. Kick.EXE resides here:C:\solidangle\mtoadeploy\2015\bin
NOTE: The XSI download is packaged in some kind of proprietary XSI file format that must be installed from within XSI so it is not the one to choose for download if you just want to play around with the standalone.
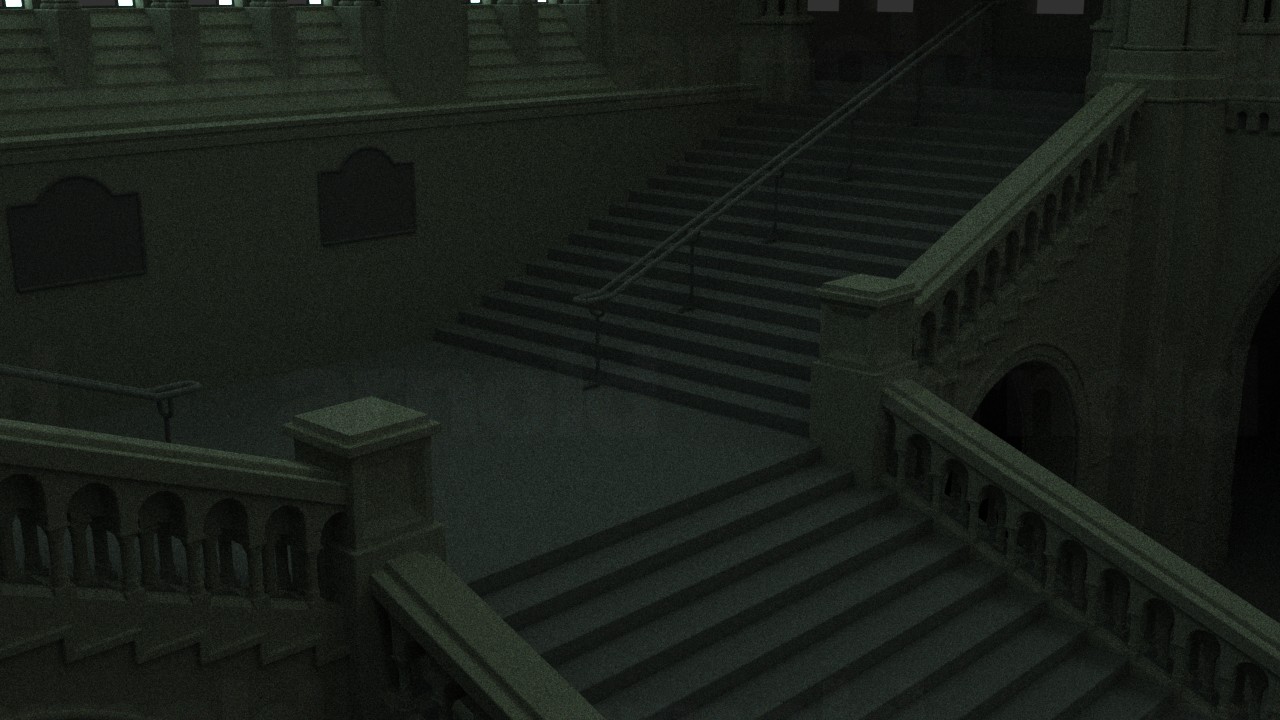
Here is the first high object count test I have pulled out of Arnold. This is the Natural History Museum file posted on the Render Challenge site. There are 3,095 object in this scene. There are 747,114 faces. The generated .ass file is just over 100Mb ascii text. There were no lights in this scene at all. For lighting I simply selected all the window glass and turned up the emission which converted them all into an Arnold Mesh Light node. The world background light can bee seen through the windows.
With 4 AA Samples and all others set to 3 = 12:07 for 1280x720 on an AMD 6 core @2.7Ghz.
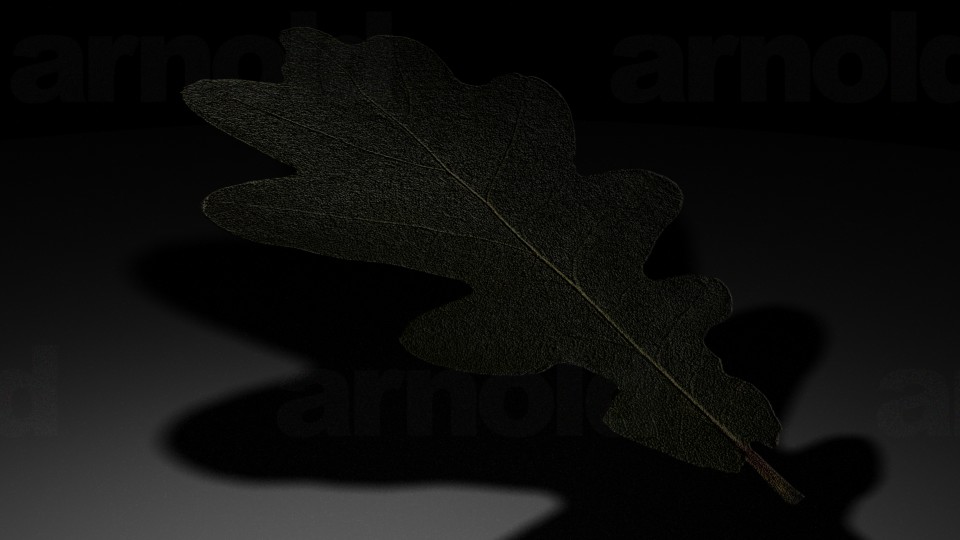
Here is a 1st draft image for bump mapping using the bump2d node. Currently only images are supported for bump mapping. No procedural textures yet. You can tile the bump map by scaling your UVs.
In Arnold, only the spot light can use an image as a gobo. I have implemented a first draft of this feature. You simply add a single image to the spot light texture slot.


 (I’m one of the Arnold core devs.) Keep playing, it should be fun to see how far you go with it!