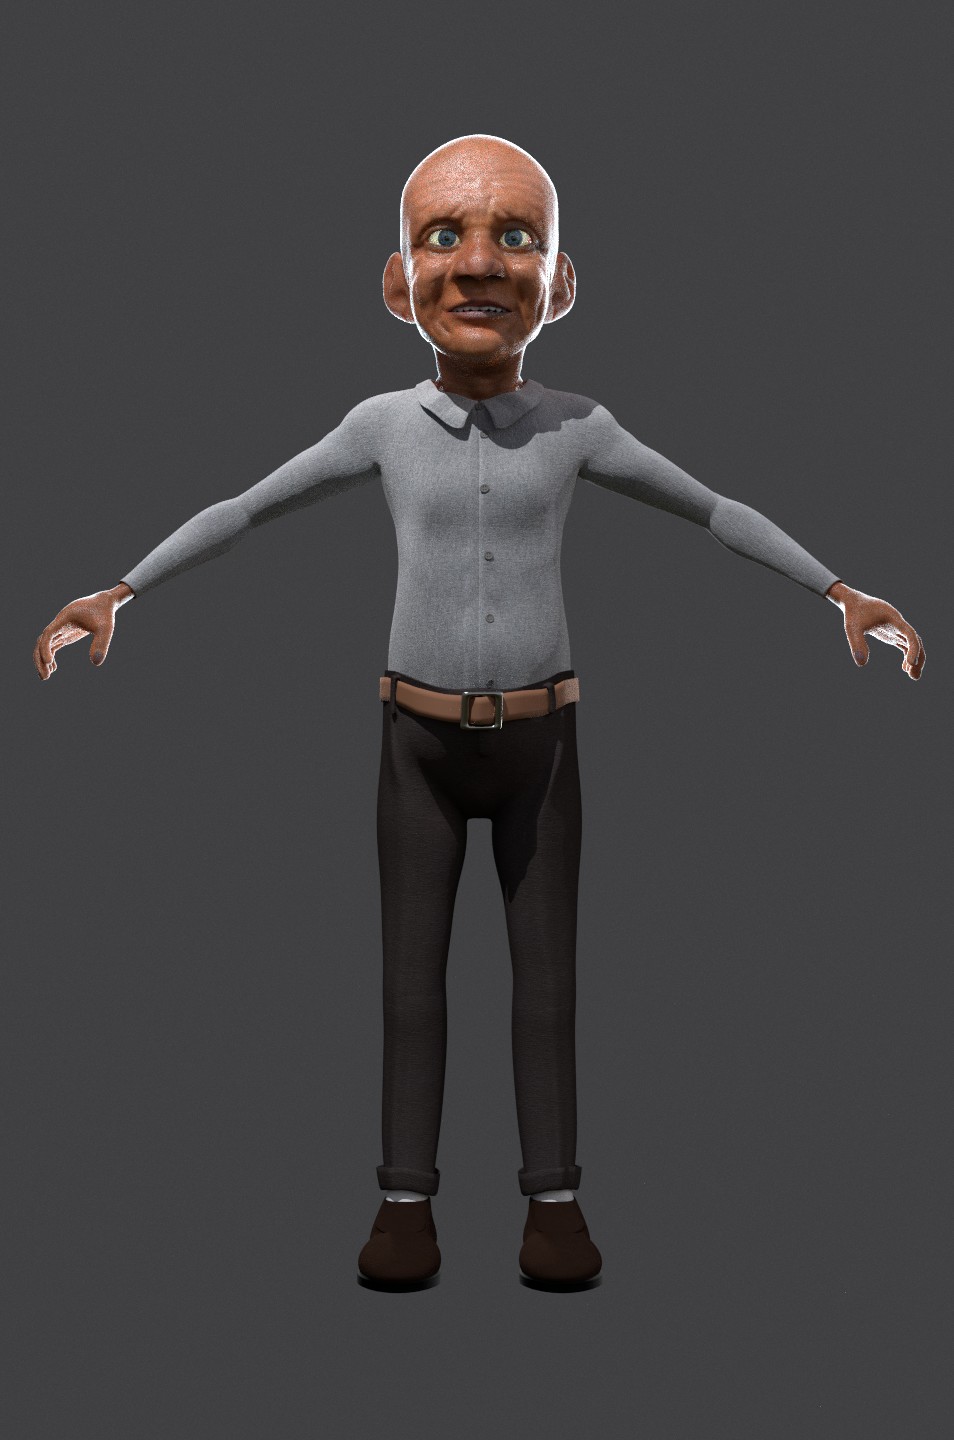
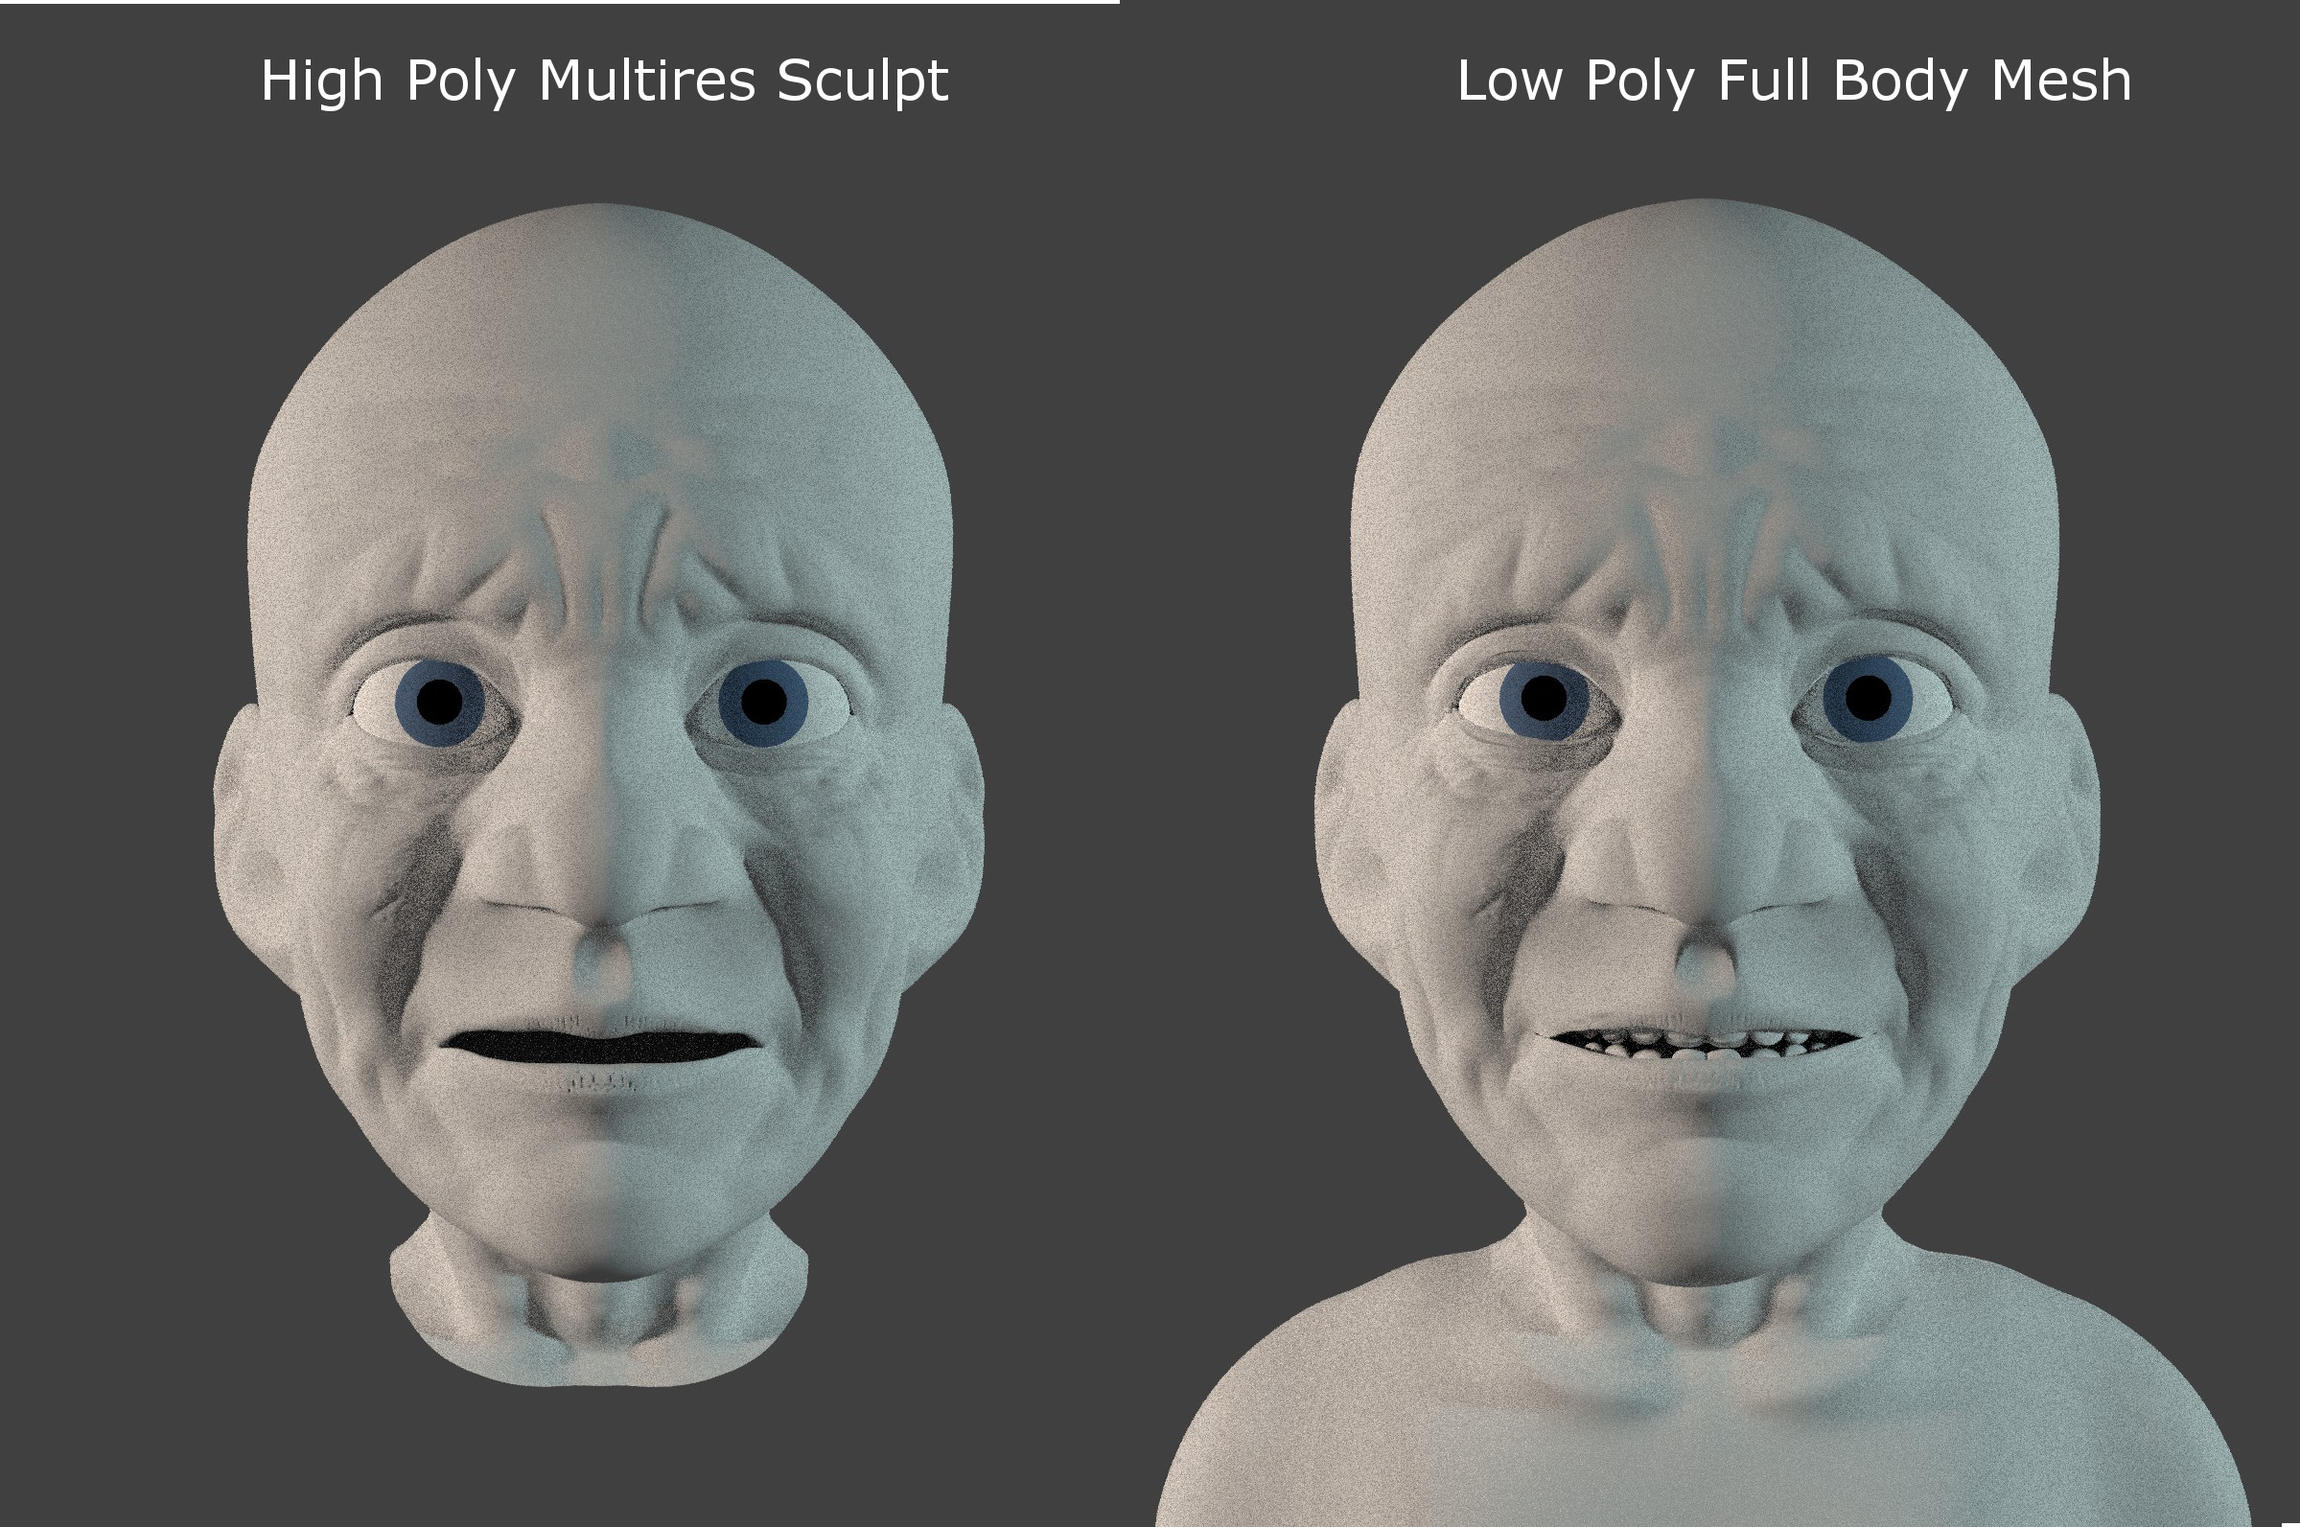
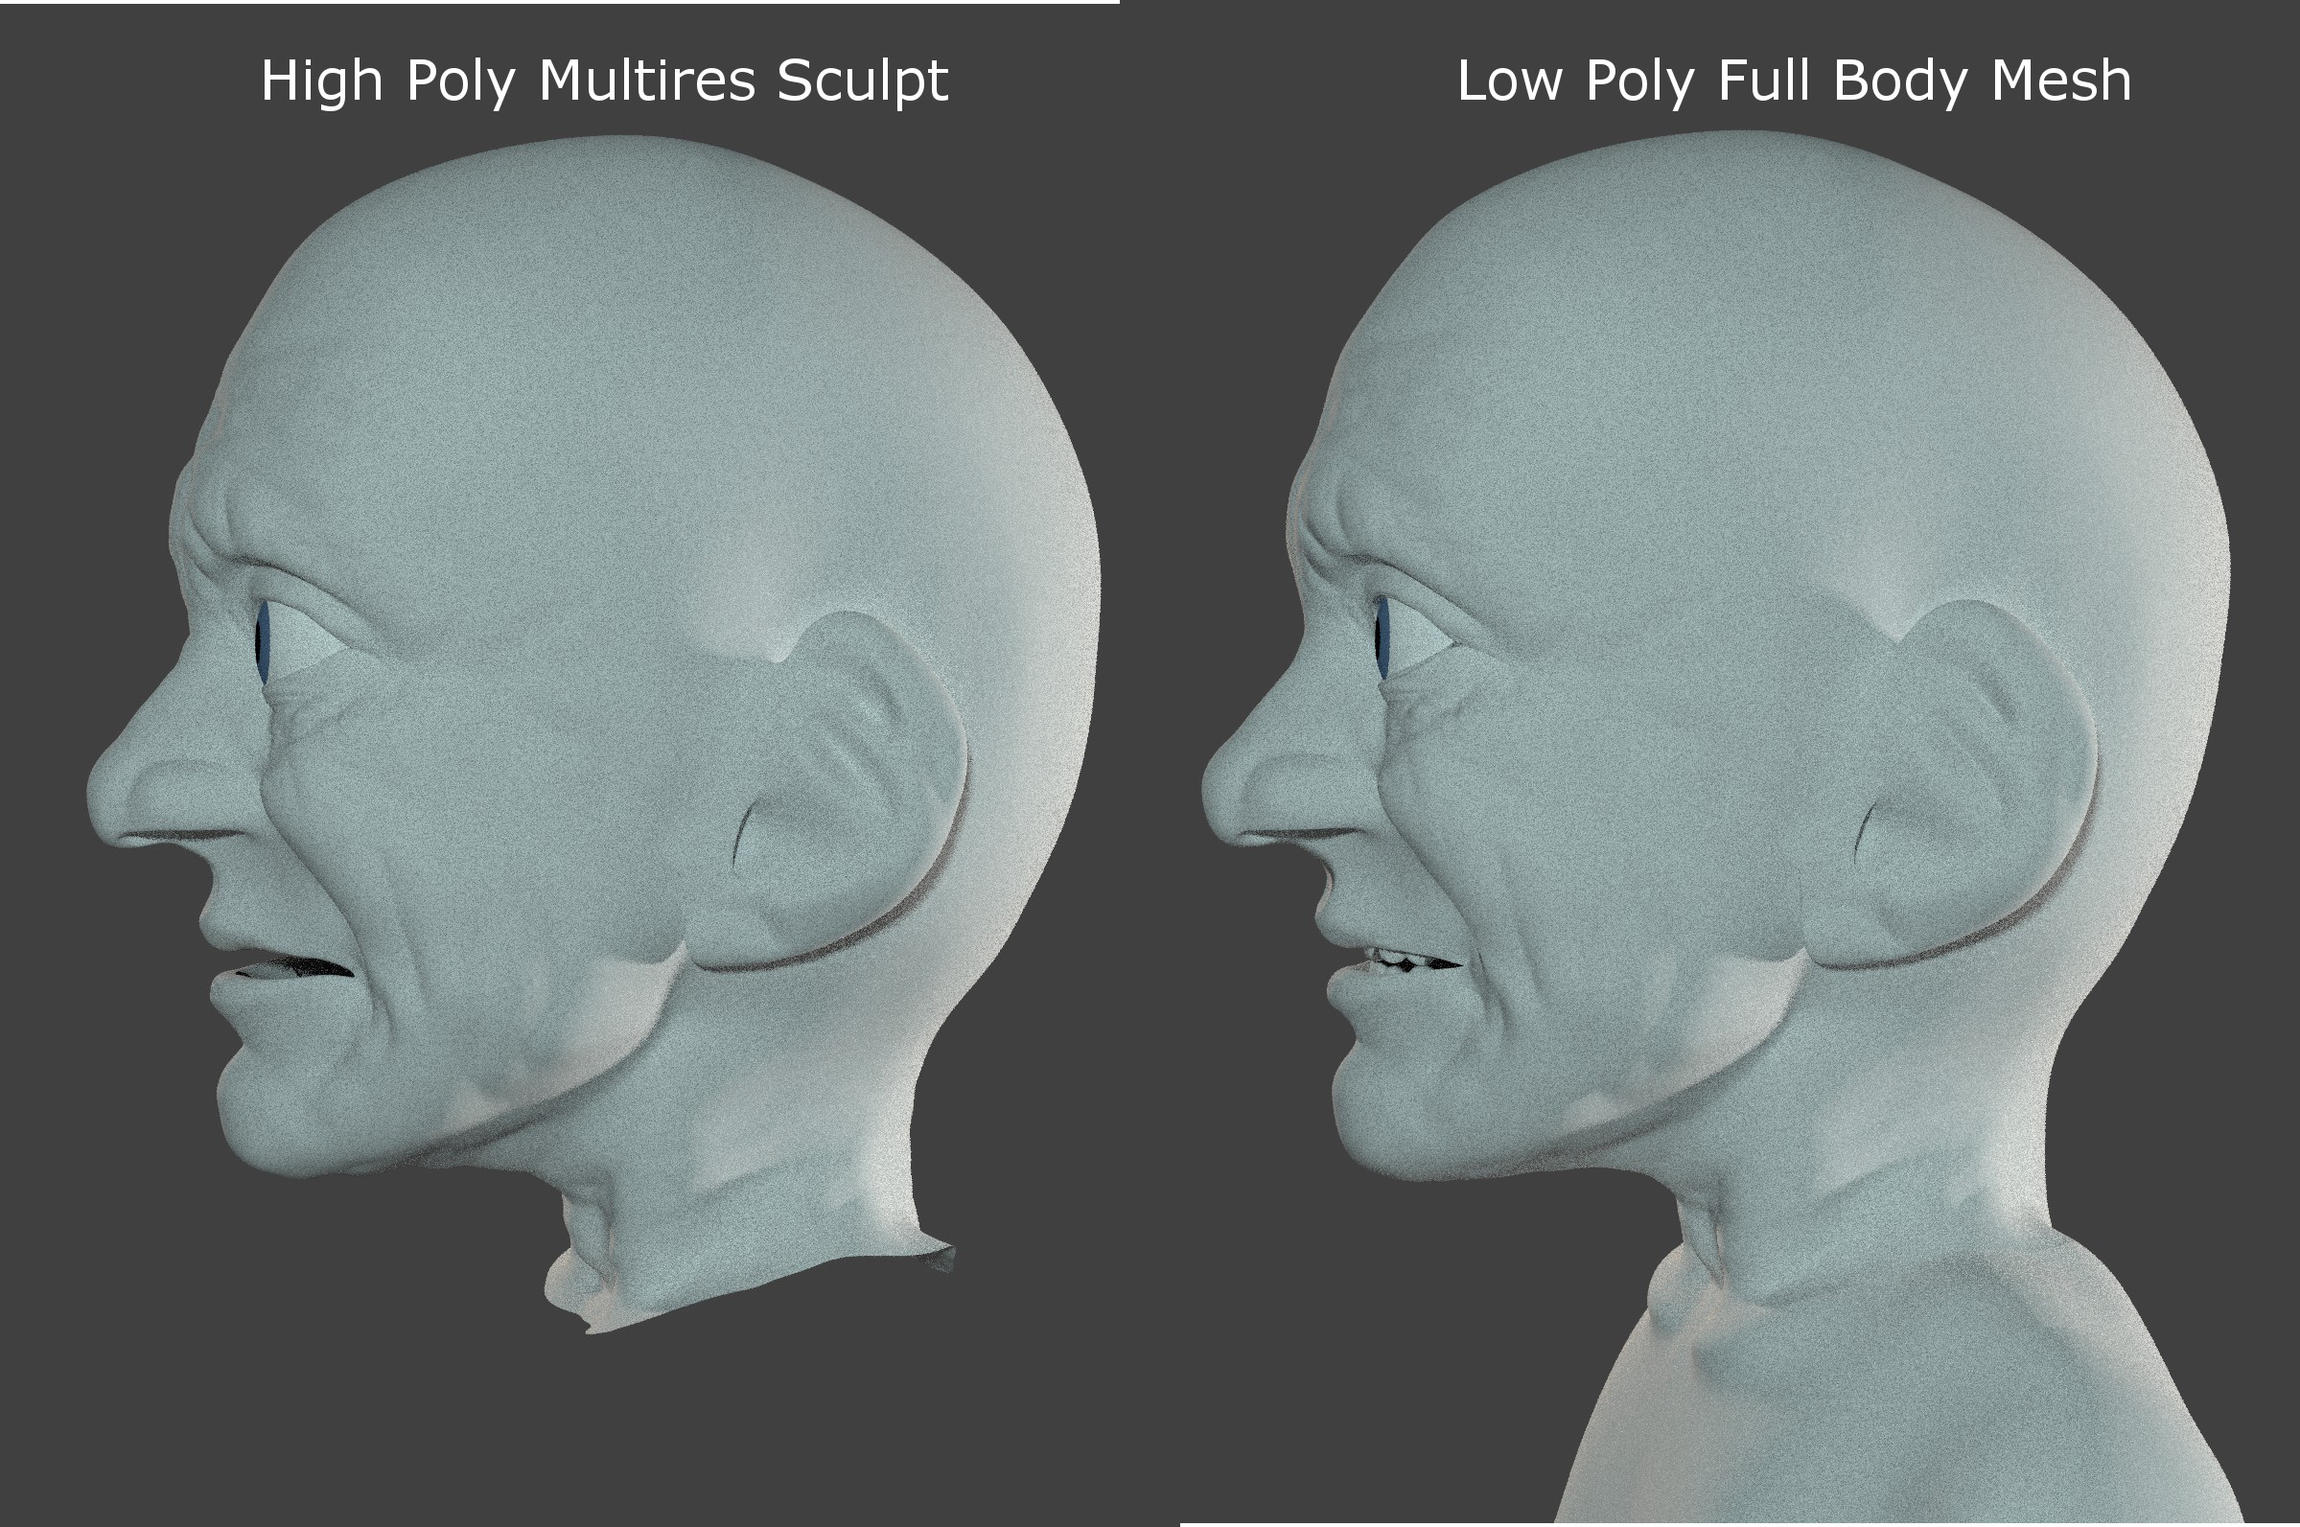
This looks much better than I’d thought it would be. The normal map is reflecting the deep wrinkles and pores well. The silhouette still remains that of a younger man and doesn’t show the waviness of the skin (more clear under the chin). But for a lowish poly model I think this has come out good.
I used Cycles normal baking. This doesn’t support baking from multires, so I had to transpose the low poly mesh over the high-poly sculpt. I then selected the low-poly mesh, went into sculpt mode and used the inflate brush to ensure the highpoly mesh wasn’t sticking out past the low-poly mesh. I then selected both meshes and then normal baked it. I did try BI normal baking with the ‘Bake from multires’ but it gave me weak looking results. The bumping didn’t really come through and the pores weren’t clear enough. Cycles normal baking gave much crisper results!
At 44808 vertices, I think I’ll call it good on the old man’s body modelling. I may quickly sculpt some veins in his hands if I have time, or I can do it later on. Now, I’ll move onto texturing his body…
I think that this is a really, really good result. From my own bakings I’d agree that Cycles does normal maps more crispy than BI when it comes to baking from multires.
The silhouette is also good in my opinion. What I sometimes do is using a shrinkwrap modifier which wraps the low poly mesh around the high poly one. After applying the shrinkwrap modifier to the low poly mesh the silhoutte could be a little closer to the high poly mesh.
@minoribus,
Oh I didn’t think about using the shrinkwrap modifier. This would have been much quicker than sculpting and inflating the mesh. I’ll remember to do this for the daughter (if she needs sculpting). Thanks for the tip!
@orux,
Thanks! I’ve spent a bit more on this than usual (~ 2 weeks) since this is my first time creating a character and still have a fair bit to learn.
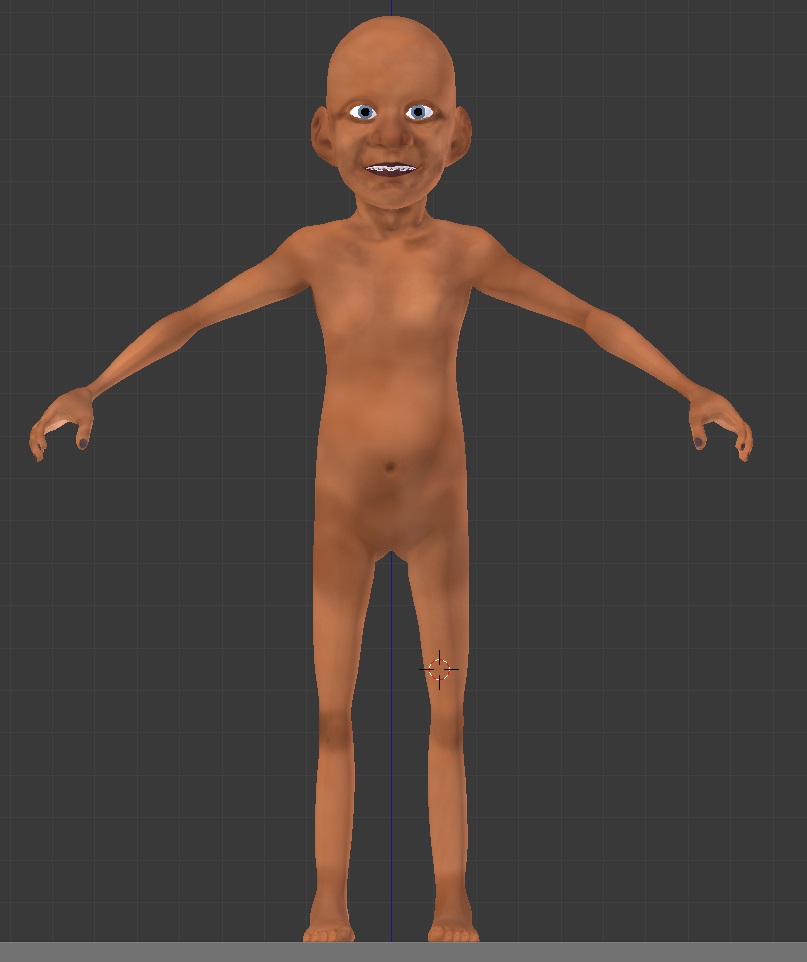
I’ve now spent time texturing him. Here are the results of my texturing:
I haven’t textured his body and legs properly since these won’t be shown in the film and will likely be deleted after I give him clothes anyway. The main focus was the face and hands.
This process has been the most painful one so far. Finding the right texture for him was difficult. I couldn’t find a perfect photo reference of an old man. Ideally I was looking for a front and side view of one and ended up using 2 different ‘younger’ male images as references. The hand was easier to find though. The next issue was projection painting him. I used the BProjection paint method but found it frustrating as it kept crashing on me and I ended losing my initial texturing. I should have saved often here I then read somewhere that BProjection is no longer supported in Blender and used the new Stenciling method. This process was FAR better than the Projection painting method. I could paint the reference image directly over the 3D model and scale, rotate and move the reference image to suit the painting of the model. This made it easier to paint the hands since painting the hands requires a lot of rotation. This is a big improvement in Blender that I wasn’t aware of. Hopefully, future texturing will be a lot more smoother and won’t look as messy as this!
Now I’m confused whether I should rig him first, then cloth him or the other way around. I might rig him first, so that I can make use of the weight paint when I cloth him…
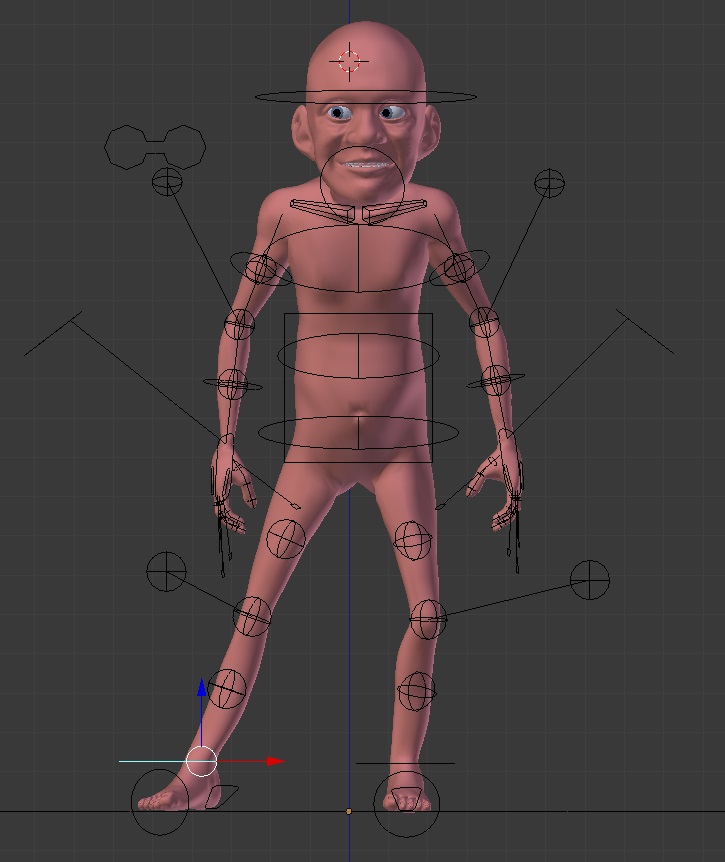
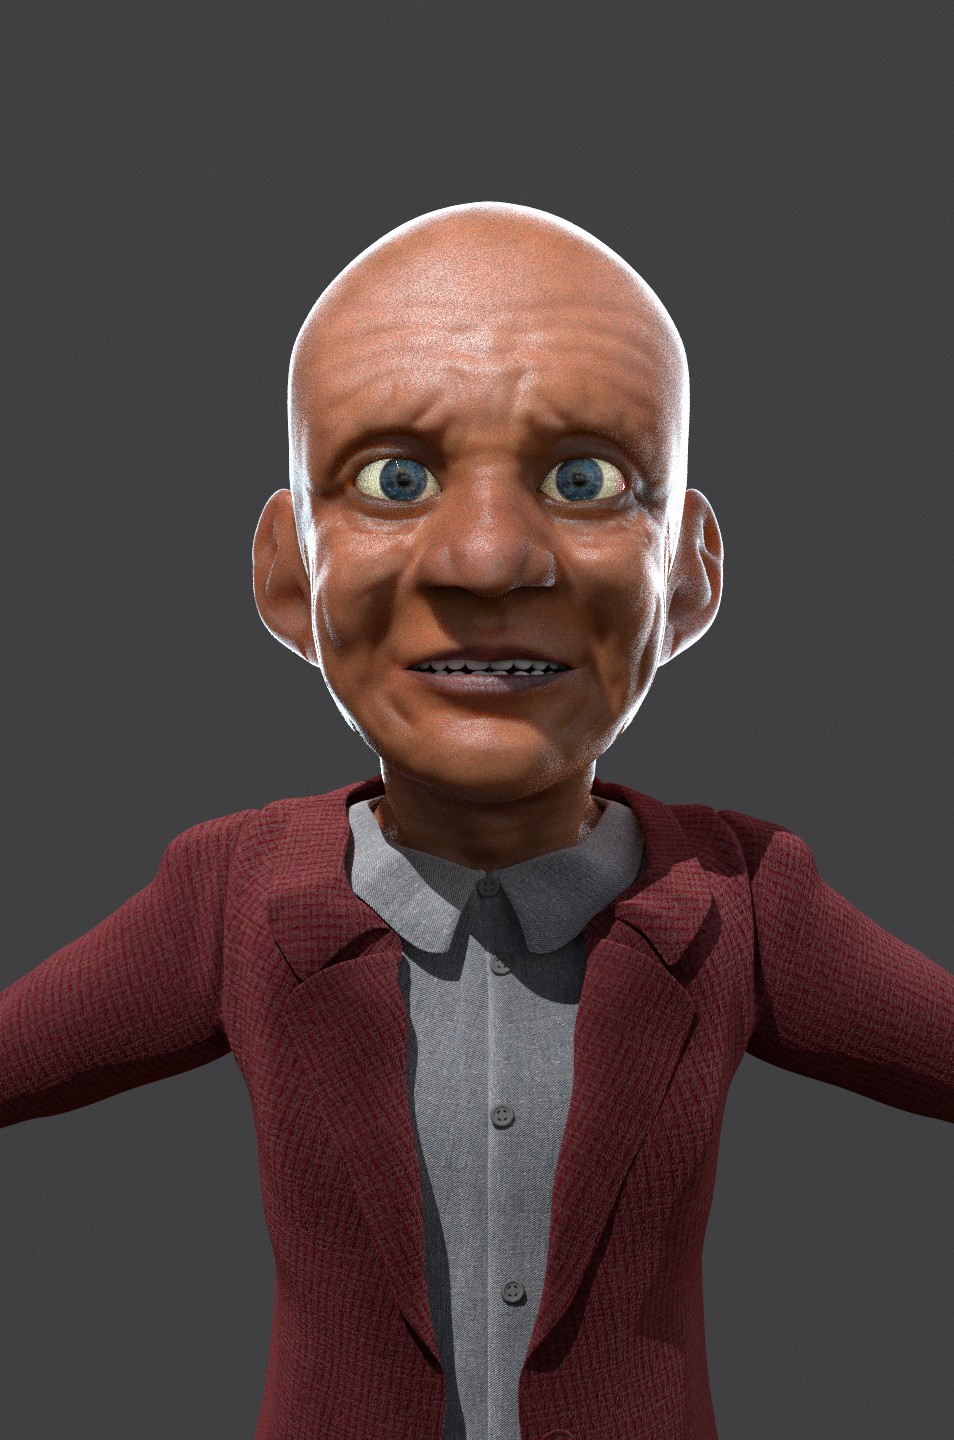
I’ve now rigged the old man using the new Rigify. The initial pose wasn’t good since it required a lot of bone roll fixes, so I had to quickly re-model the mesh to suit Rigify. I’ve given him bigger arms and adjusted the proportions a bit. This makes him look a bit more realistic than stylistic.
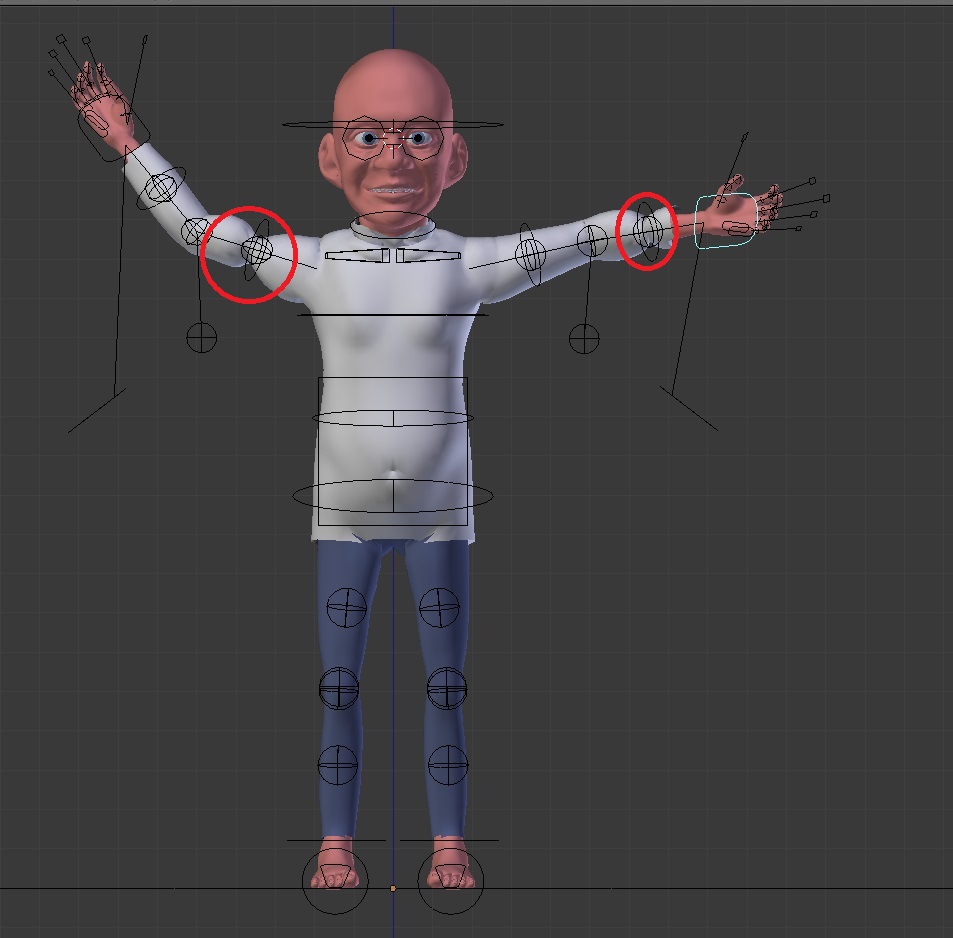
I added in the eye follow control bone. I spent a lot of time fixing up the weight painting issues. I then came across an error when rotating the hands. For some reason I get strange twisting… I’m not sure why, I’ve never had this issue with rigify before. The image below shows the twisting (highlighted in red)
(The clothing was quickly generated by duplicating his mesh twice and deleting out vertices to shape his shirt and pants. It was then inflated.)
I’ll have to look into a solution for the twisting problem. I just parented the rig with automatic weights as usual and somehow stumbled across this error. I’m not sure if others have had this before. If anyone knows how to fix this, that will be a big help!
Spent time updating the weight painting on the arms to fix the twisting issue. After searching for hours on the net, it turns out that this is a new feature of Rigify and helps to build a more believable deformation of the wrist and upper arm. So I tweaked the weight painting to distribute the twisting throughout the arm. One thing that helped greatly, was ensuring the ‘Preserve Volume’ checkbox is ticked in the rig modifier of the mesh.
It still looks a bit funky but that was about as much as I could nudge to get it looking the way it is. I wonder how it would react when I add proper clothes…
To test the deformation across the whole body, I imported a run cycle from “Vetri” and applied it as is. Some bones twisted very strangely and I had to reposition and rotate them to make it look right.
The rigging seems to work well, if you could transfer the run cycle action to the new rig. Bone roll is always a problem, because different orientations lead to very strange results - like you experienced with the twisting. But I’m glad that you could fix it.
It is a good approach to rig the body first and then doing the weight paint, like you did. This way it allows to make clothes by duplicating parts of the weight painted body mesh. Some time ago I discovered a Blender function which is called “transfer weights”. And since then I use this often to transfer the weight painting from a body to a piece of clothing that was modelled freely and not derived from the original body. This transferring of the weights from the character body to the clothes worked well so far.
Things are coming together pretty well in your project.
I saw the transfer weights function but was not sure what it meant till now. Thanks for that! This seems to make the process of rigging a lot easier. Does it work for a clothing mesh with a different topology from the body? I might try this workflow for his jumper.
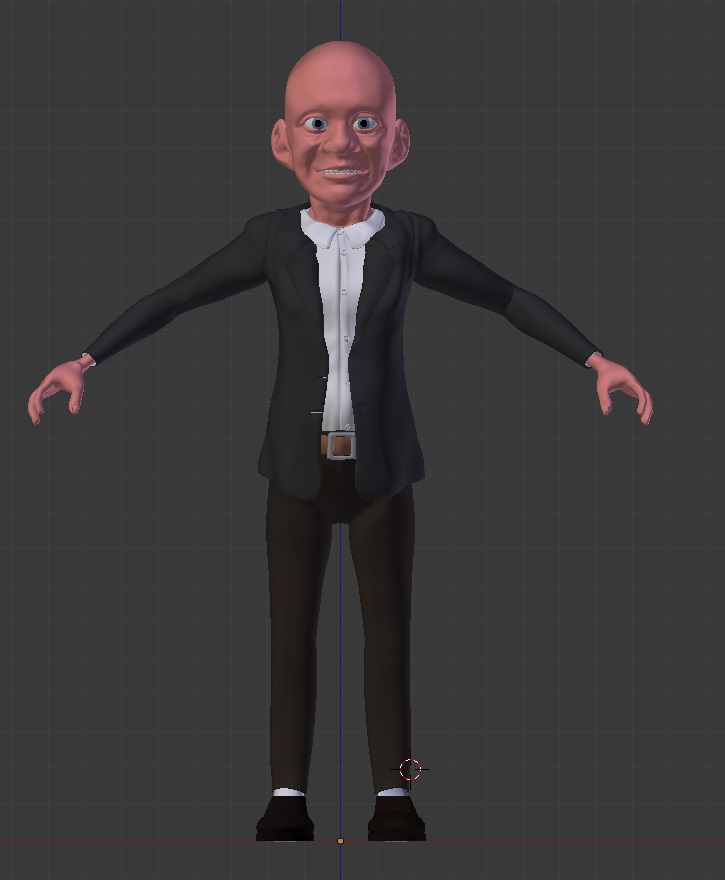
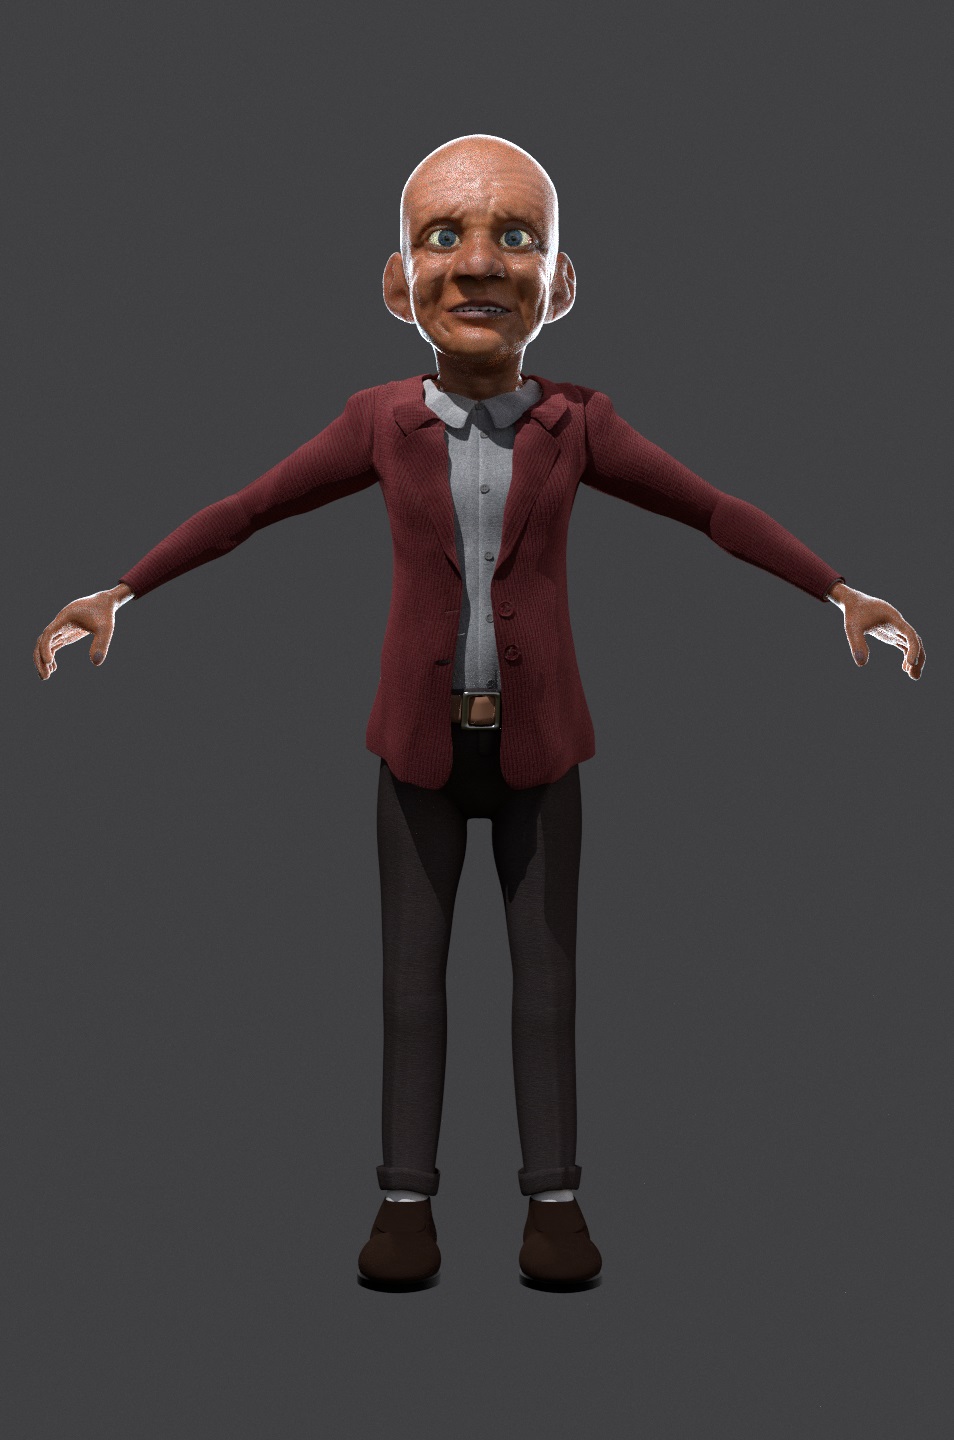
I’ve now completed the modelling of all his clothes. I did it exactly the way you described. I duplicated parts of his mesh and moulded out each of his clothing. I also added a solidify modifier to each piece of clothing to give it thickness. I added small accessories like a belt, buttons. I tried adding a pocket but decided not to since it didn’t look that good.
Enough of seeing him naked, here is the main man now clothed:
And here is a deformation test with a walk cycle from Vetri:
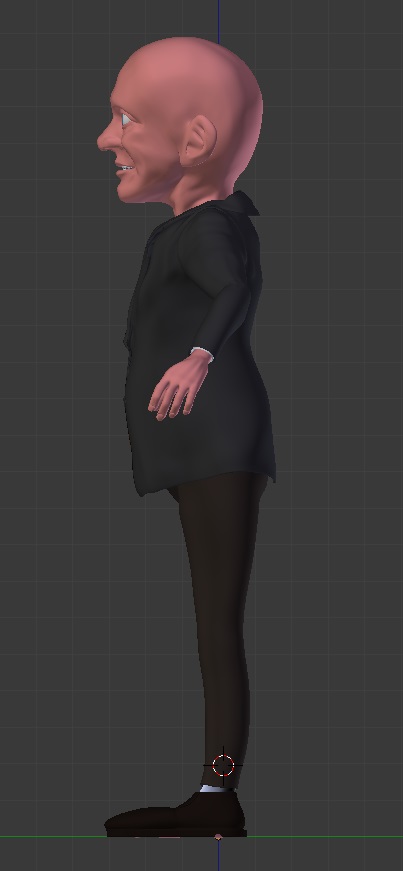
There is skin showing through his clothes (especially near the feet) but I’m not too concerned about this as I will delete his body mesh when it’s time to animate. This also has the added benefit of drastically reducing poly count.
My main concern is the back of his jacket near the arms, the socks and the bit of shirt showing through the jacket. Once I fix these, I’ll go straight onto creating the shaders for him.
The building of this character seems to be taking a lot more effort than I initially expected!
Still need to:
Create shaders for him and his clothes
Need to sculpt wrinkles in his clothes and apply a normal map to each piece of cloth
Need to give him a walking stick
Need to build facial expressions and create drivers for them
Need to give him hair and a beard
Finish him off with some accessories like a chain, a watch and reading glasses (as seen in the concept)
Wow i really underestimated your work at first when i saw your first post, i been peeping in and out but it seems u really knew what u were doing from the beginning. Very impressive , great stuff
There is skin showing through his clothes (especially near the feet) but I’m not too concerned about this as I will delete his body mesh when it’s time to animate. This also has the added benefit of drastically reducing poly count.
Yes, this can help a lot and it speeds up the rendering.
My main concern is the back of his jacket near the arms, the socks and the bit of shirt showing through the jacket. Once I fix these, I’ll go straight onto creating the shaders for him.
If you don’t want to delete this parts of the shirt’s mesh also, you could use a mask modifier to hide appropriate vertex groups.
I think the texturing is too detailed, and trying to be more realistic than it should be. It makes the character look REALLY creepy. The same goes for this sculpt detail for his wrinkles. I think just a few well placed wrinkles, and a simpler skin material will look a lot better. Here are some examples that come to mind
@bluexray,
haha thanks! Although, I feel like I’m overestimating myself and starting to realise just how much work is involved in building a film from scratch, hopefully it turns out well…
@minoribus,
I haven’t used the Mask modifier, I’ll look into it. Thanks for the tip! Alternatively, I might just delete the shirt mesh also since he’s never going to take off his jacket.
@Scotchtapeworm,
Fair point about the texturing. Thanks for the feedback! Come to think of it, the first image of the man from “Up” looks a lot like the first concept image.
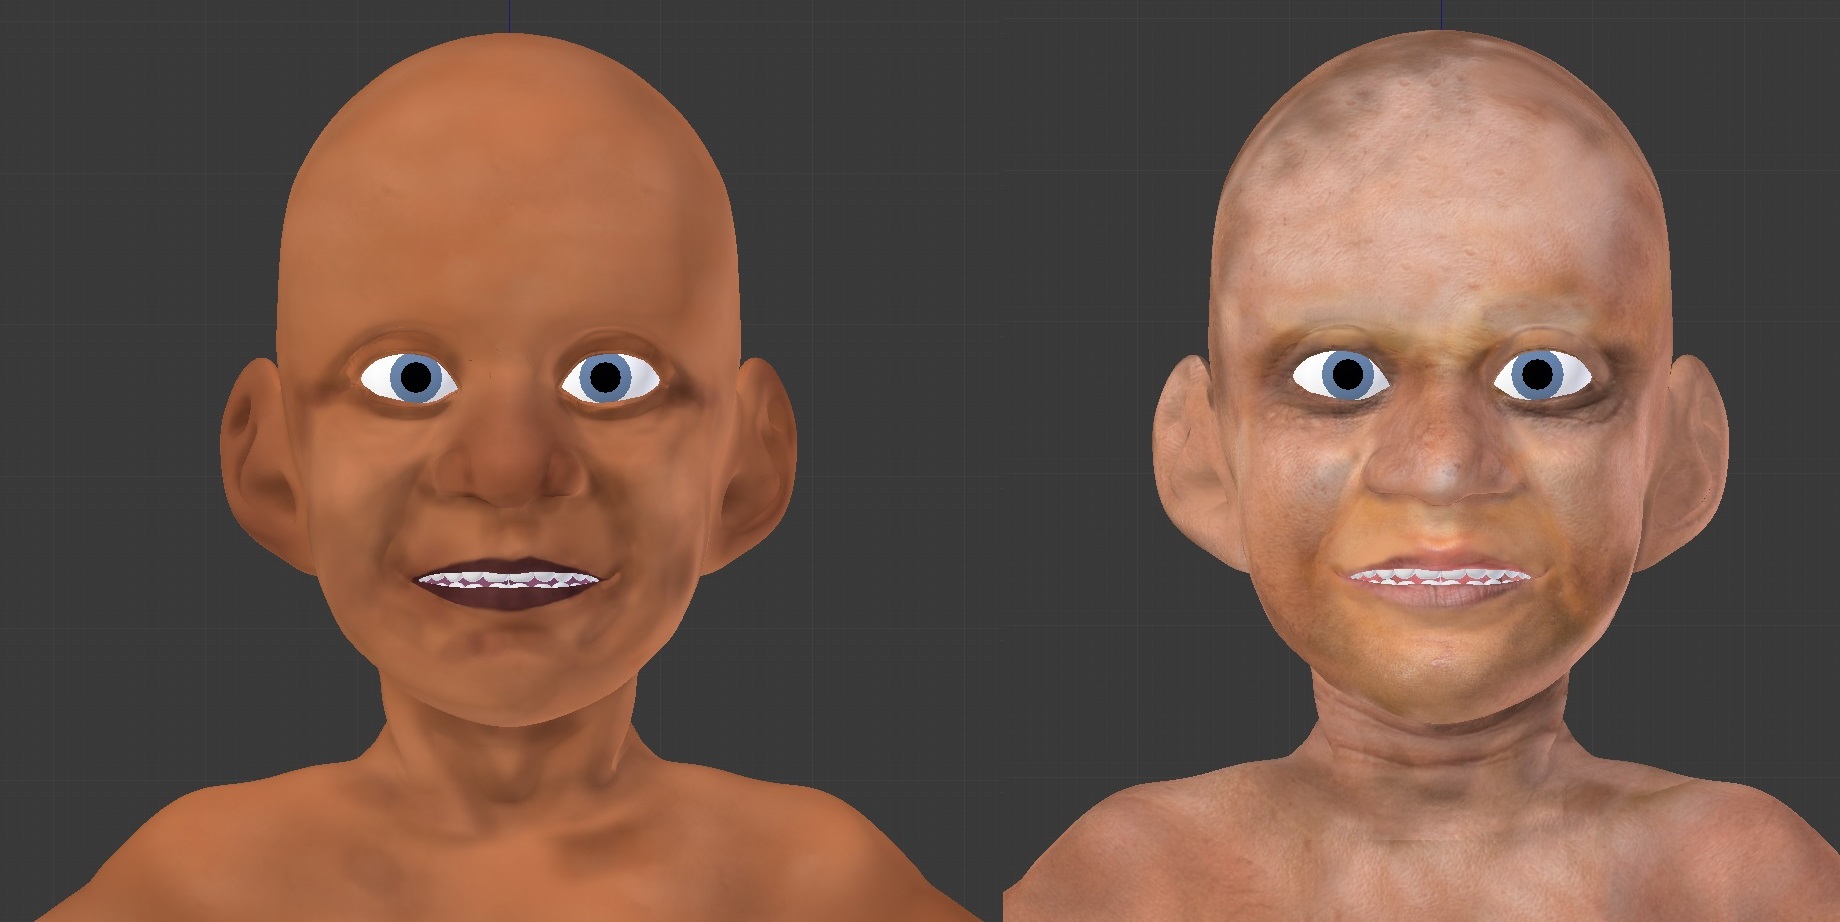
I’ve re-textured the old man using simpler textures. Here are the results of the latest texturing:
I started with a base color, then incorporated seamless skin textures to add variation and a bit of texture to his skin. Finally, I painted dark areas around his crevices (using a draw brush with multiply) and light areas to show highlights (using a draw brush with add). The result is a more painting sort of look.
Here is a side-by-side comparison of the my simpler painted texture vs. the realistic texture:
Well, Scotchtapeworm has a really considerable point. On the other hand there are also this animation characters, which have more detailed textures and more bump on the skin.
I think you have to find a texture version which is to your liking. If you try different textures you could also try to bake an AO or dirty vertex color map and take this together with your textures to gimp or photoshop. Then you could experiment with different blending modes and opacity settings until you get a version you like.
The geometry of your mesh is more like the second type of characters. The type of characters that Scotchtapeworm presented is more blocky. Perhaps that should be taken into account also, when choosing the texture type.
@harleynut97,
Awesome, thanks for following! I’m getting about 6 minutes render time on a 950*1440 resolution @ 250 samples. There’s still some noise, but I might use compositing to blur it out.
I haven’t done much in the last few days as I’ve had to catch up with uni work. I’ve now added shaders to his clothing. I’m getting that weird blocky shadow on his jacket for some reason even though its subsurf level is 2. I’ll need to look into it…
What do you guys think of his color combination? I might keep changing his clothes throughout the film to keep it interesting so I’ll probably have to build up a wardrobe for him…
I wouldn’t change his clothes unless there is a reason to. (like if he’s going swimming for example) You just don’t want to confuse the viewer when he already expects a character to look a certain way. (It also means less work for you!)
6 minutes a frame? Once he’s in a fully modeled environment I can see maybe 10 minutes a frame. Which comes out to 5 hours a second, or 300 hours a minute. You might have to experiment with (forgot what its called) telling cycles to render certain things with more passes than others, this way only the noisier parts get rendered more, resulting in faster and less noisy renders


 I then read somewhere that BProjection is no longer supported in Blender and used the new Stenciling method. This process was FAR better than the Projection painting method. I could paint the reference image directly over the 3D model and scale, rotate and move the reference image to suit the painting of the model. This made it easier to paint the hands since painting the hands requires a lot of rotation. This is a big improvement in Blender that I wasn’t aware of. Hopefully, future texturing will be a lot more smoother and won’t look as messy as this!