The whole car is somethink like 4-6 milions however the you know pattern comb on the Vents etc… those grids… take so much geometry however i have done them on instances so :> the whole car while rendering is just 800 megabytes.
And this is how i manage some bigger sceens then ferrari.
I watched your video, Kramon, and using the remesh modifier as a sort of “per object simplify” is nice. I guess that with group instances you don’t create new real geometry but references to the first instance. Nice trick too. This will save memory because only the geometry for the first instance is held in RAM (I’m guessing once again) and only transformation data (LocRotScale etc.) for the other instances. But the use cases for this group instances are limited to scenes where you have plenty of equal objects, right? Great for landscapes!
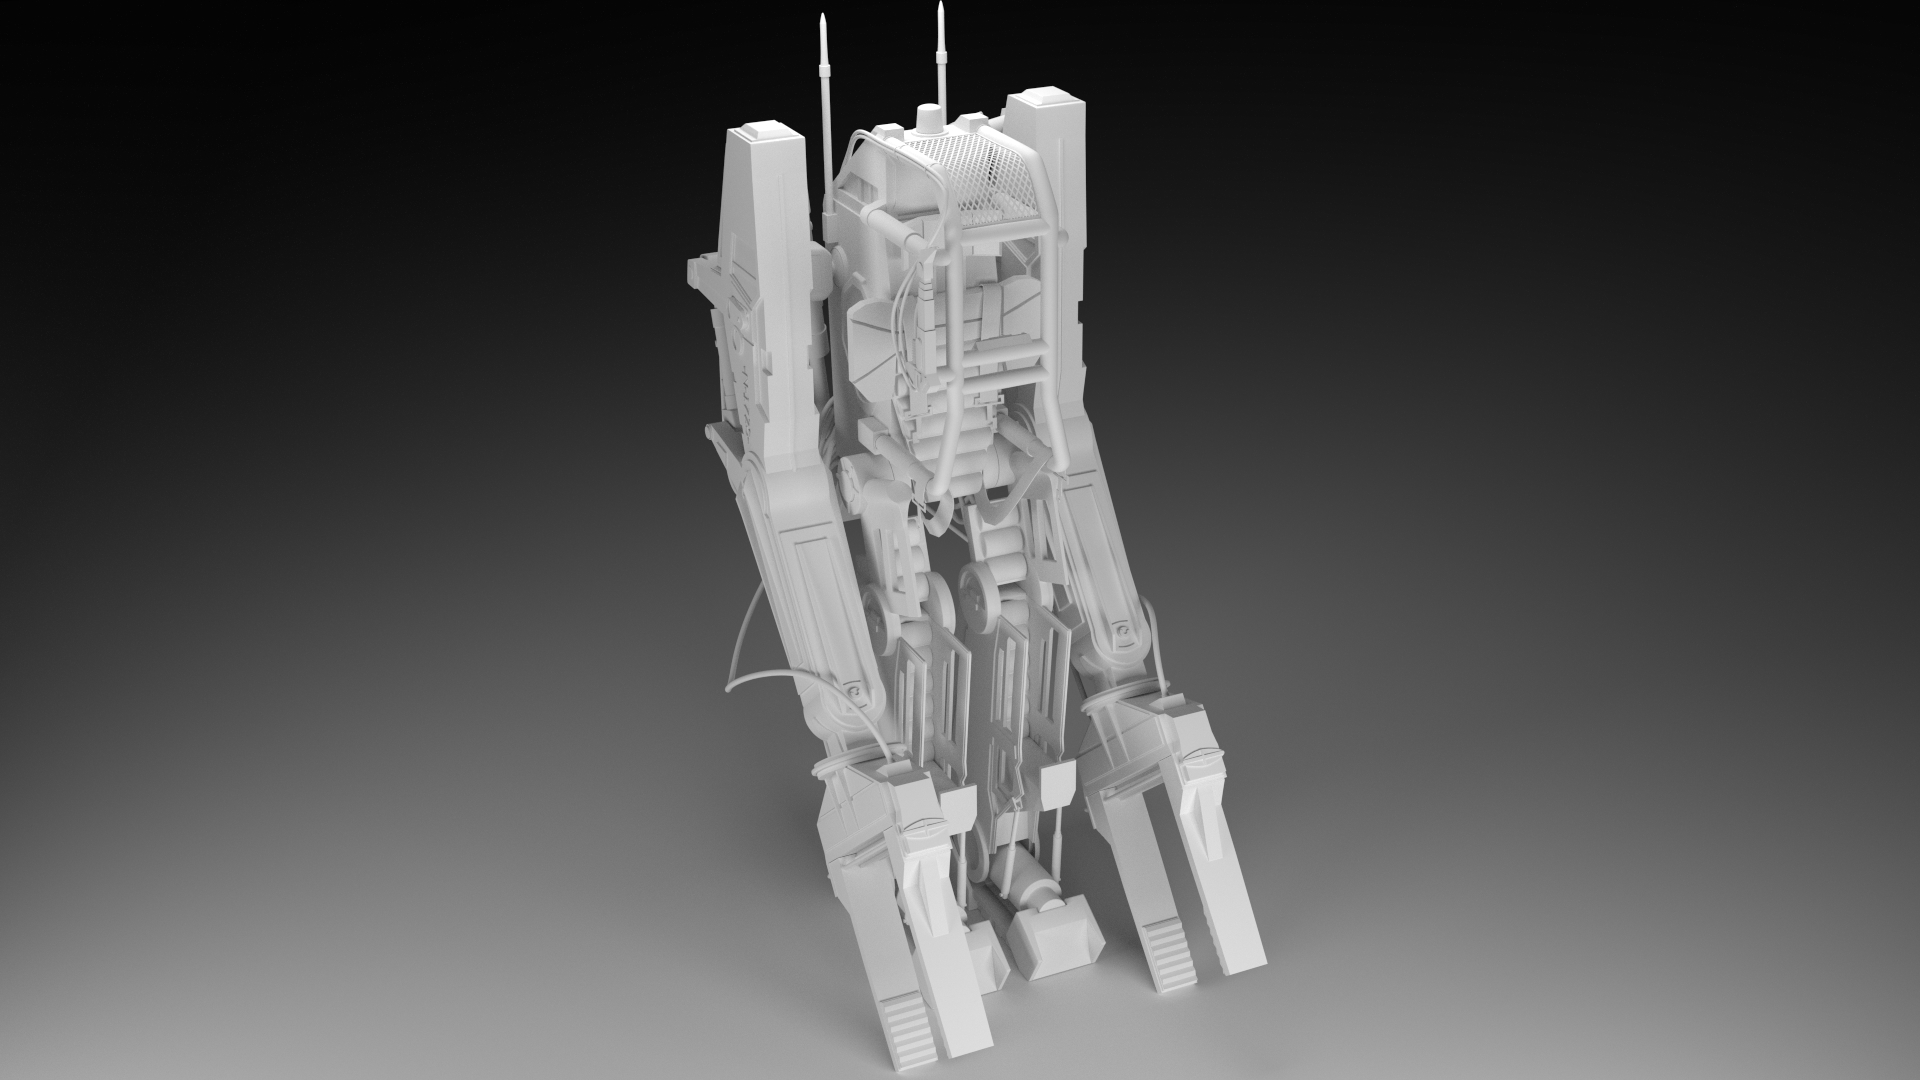
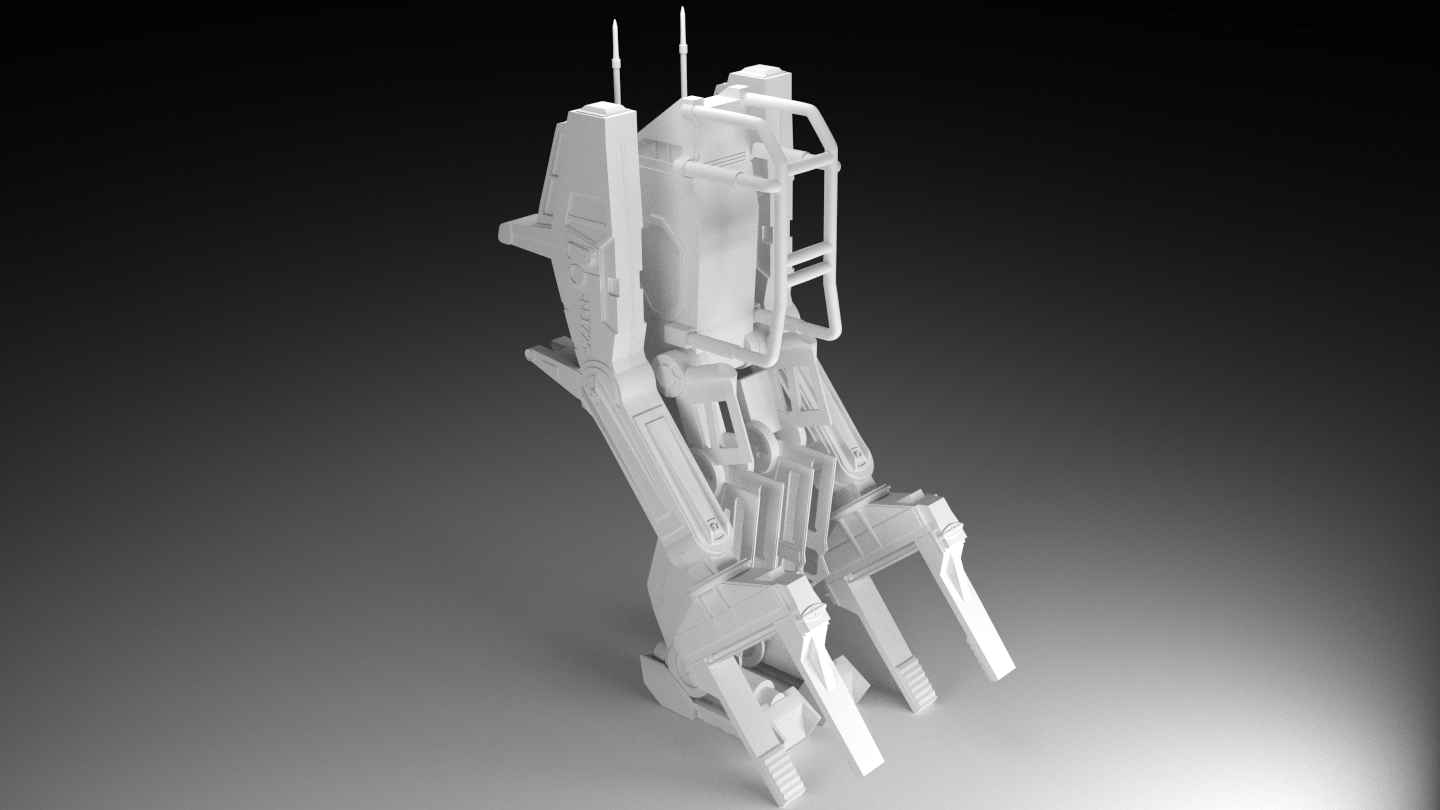
Made some good progress now. Added the forks, cage and some details on the body. Also changed the pose a bit.
I hit 1.4 million faces and apparently thats too much for my GTX 480 1.5GB to render, even though there is no materials added yet. So I have to use the CPU for rendering now
I think this pose is what I’m going to use for the render where the Loader is shut down. Any comments to that?
Looks good in my opinion also, but I’m curious how it will look once you start texturing it. It must be a very dense mesh if you have this amount of faces. Perhaps you can do some retopology? A wire render would by nice
How do you do the make a good wire render? Just press Z in object mode and screen shot it?
I checked all my objects and noticed that I have sub-surf 2 as almost standard on all objects :eek: So after adjusting a lot of those to 1 or even 0, my face count is a LOT lower. I guess that really shows how new i still am to Blender lol
Well, that wouldn’t be a render but it would give an impression. If you plan to do so, you’d better screen shot the mesh in edit mode because with z you also see the backside faces.
For a real wireframe render there are several options. The most common one is to duplicate the mesh and to scale one of them a little bit and use a wire material in Blender Internal.
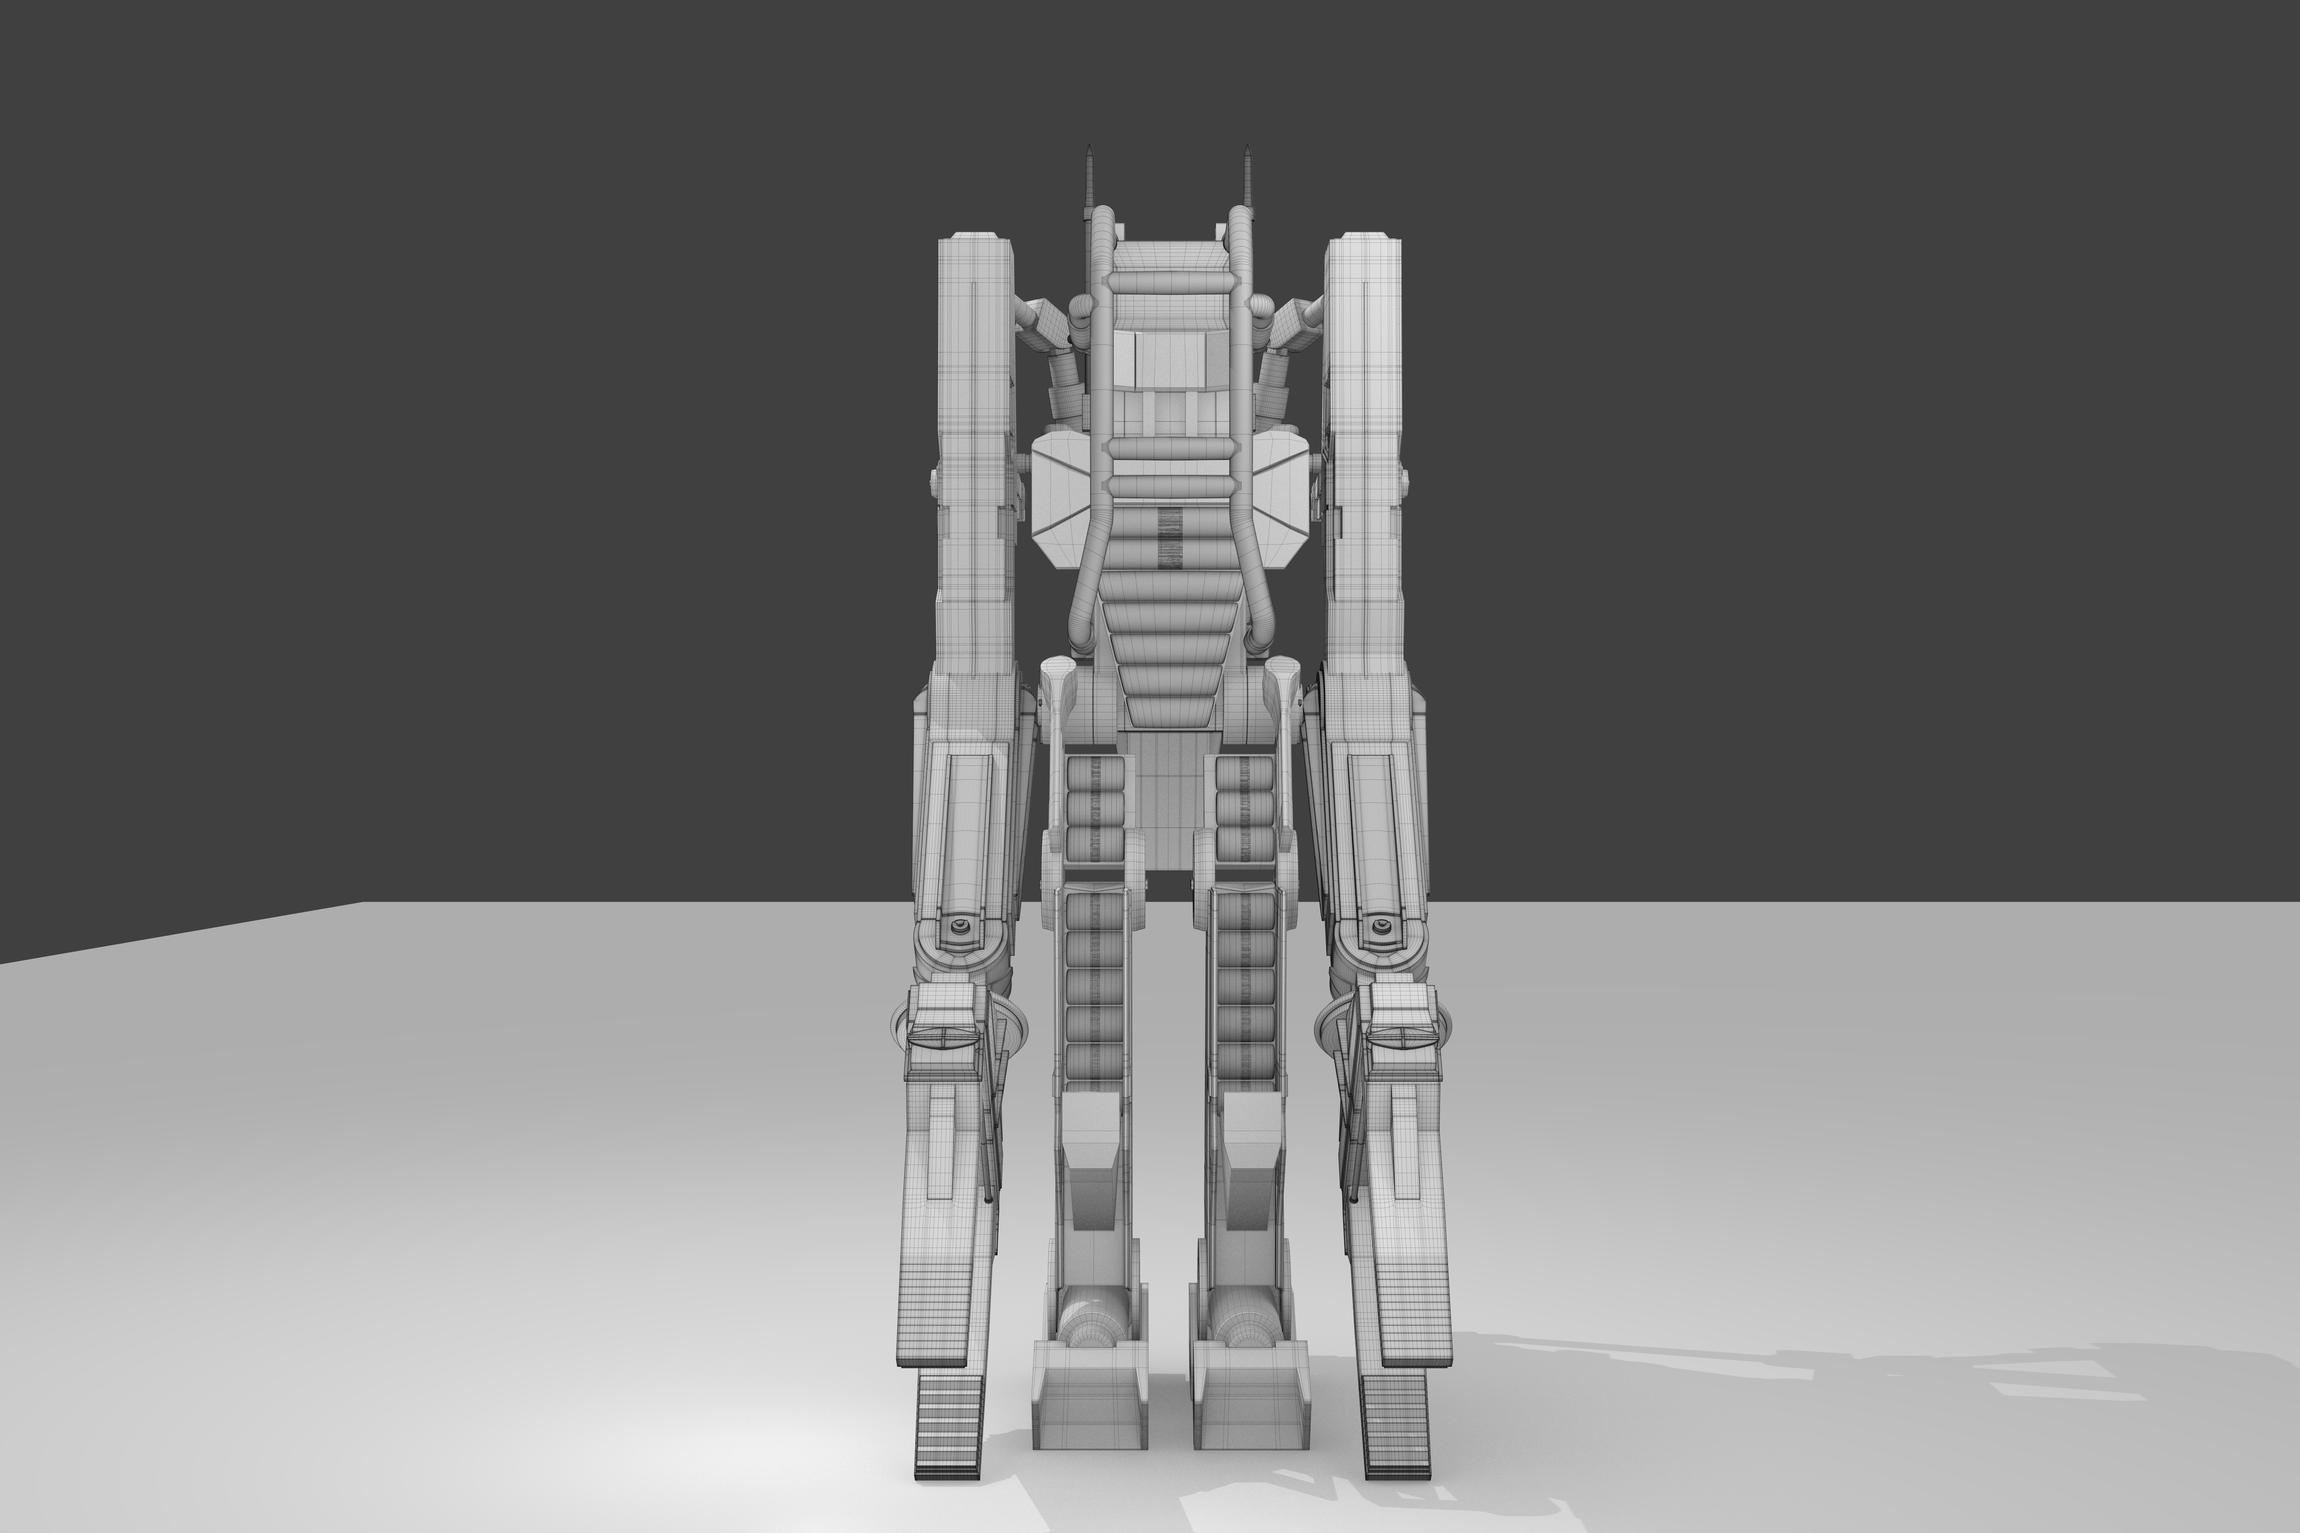
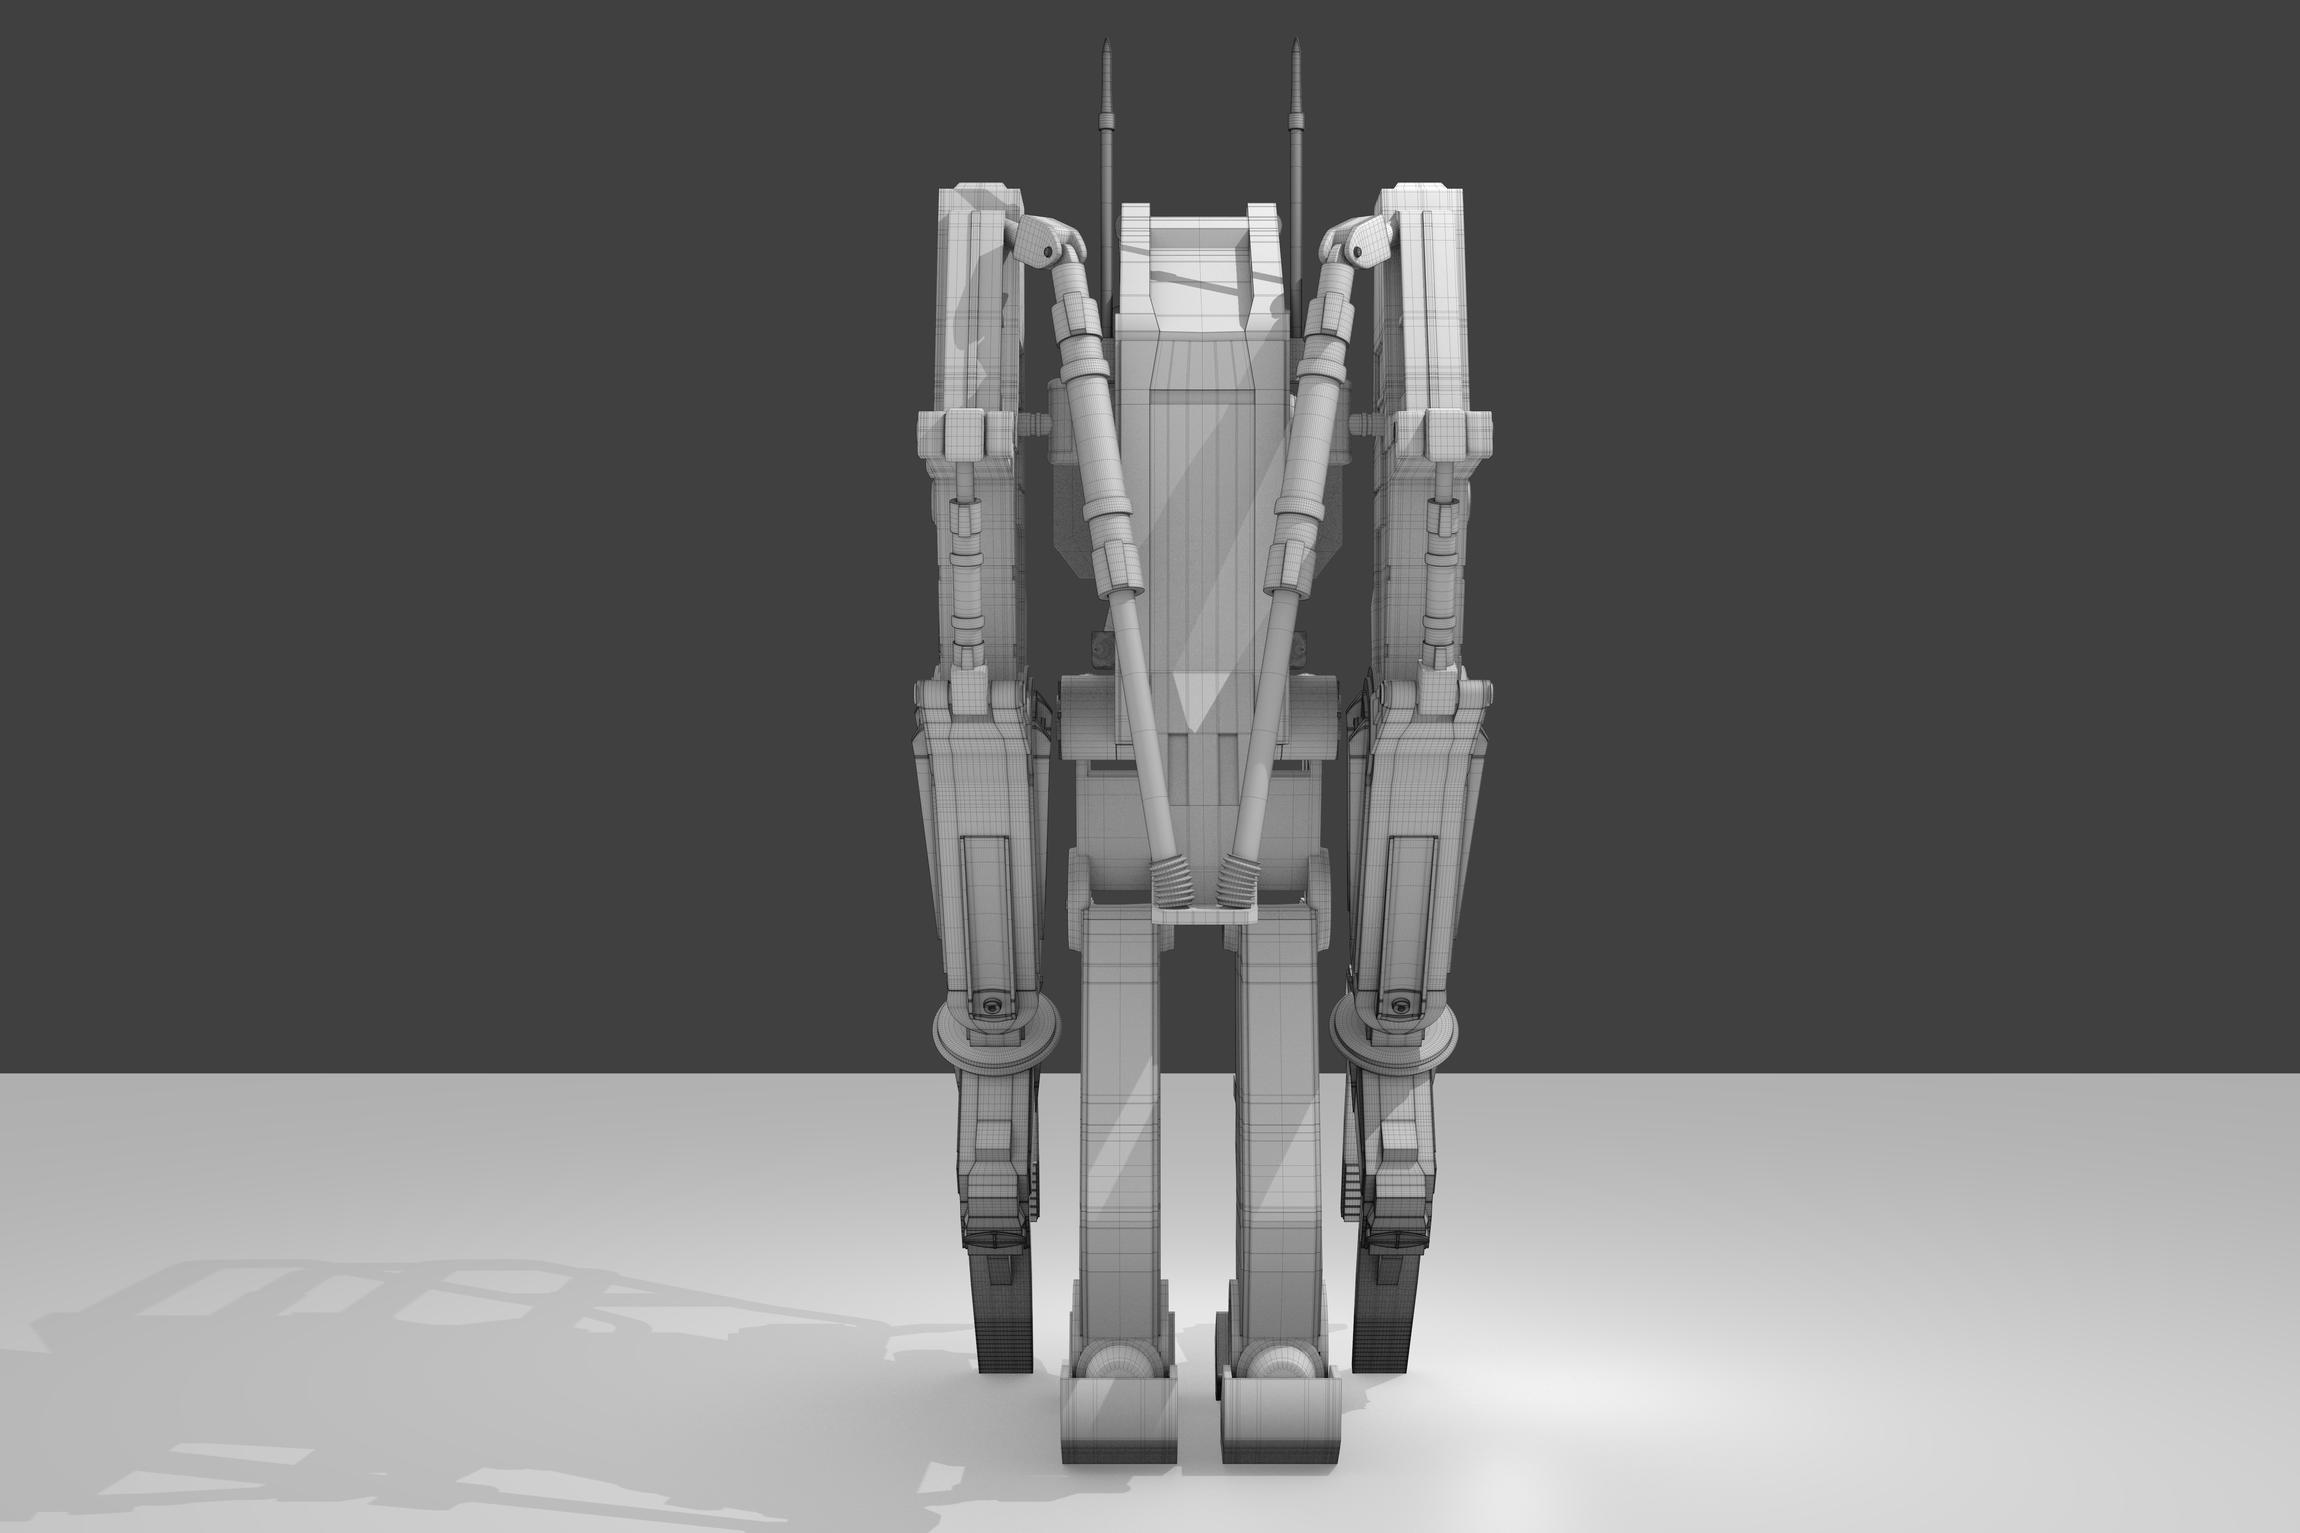
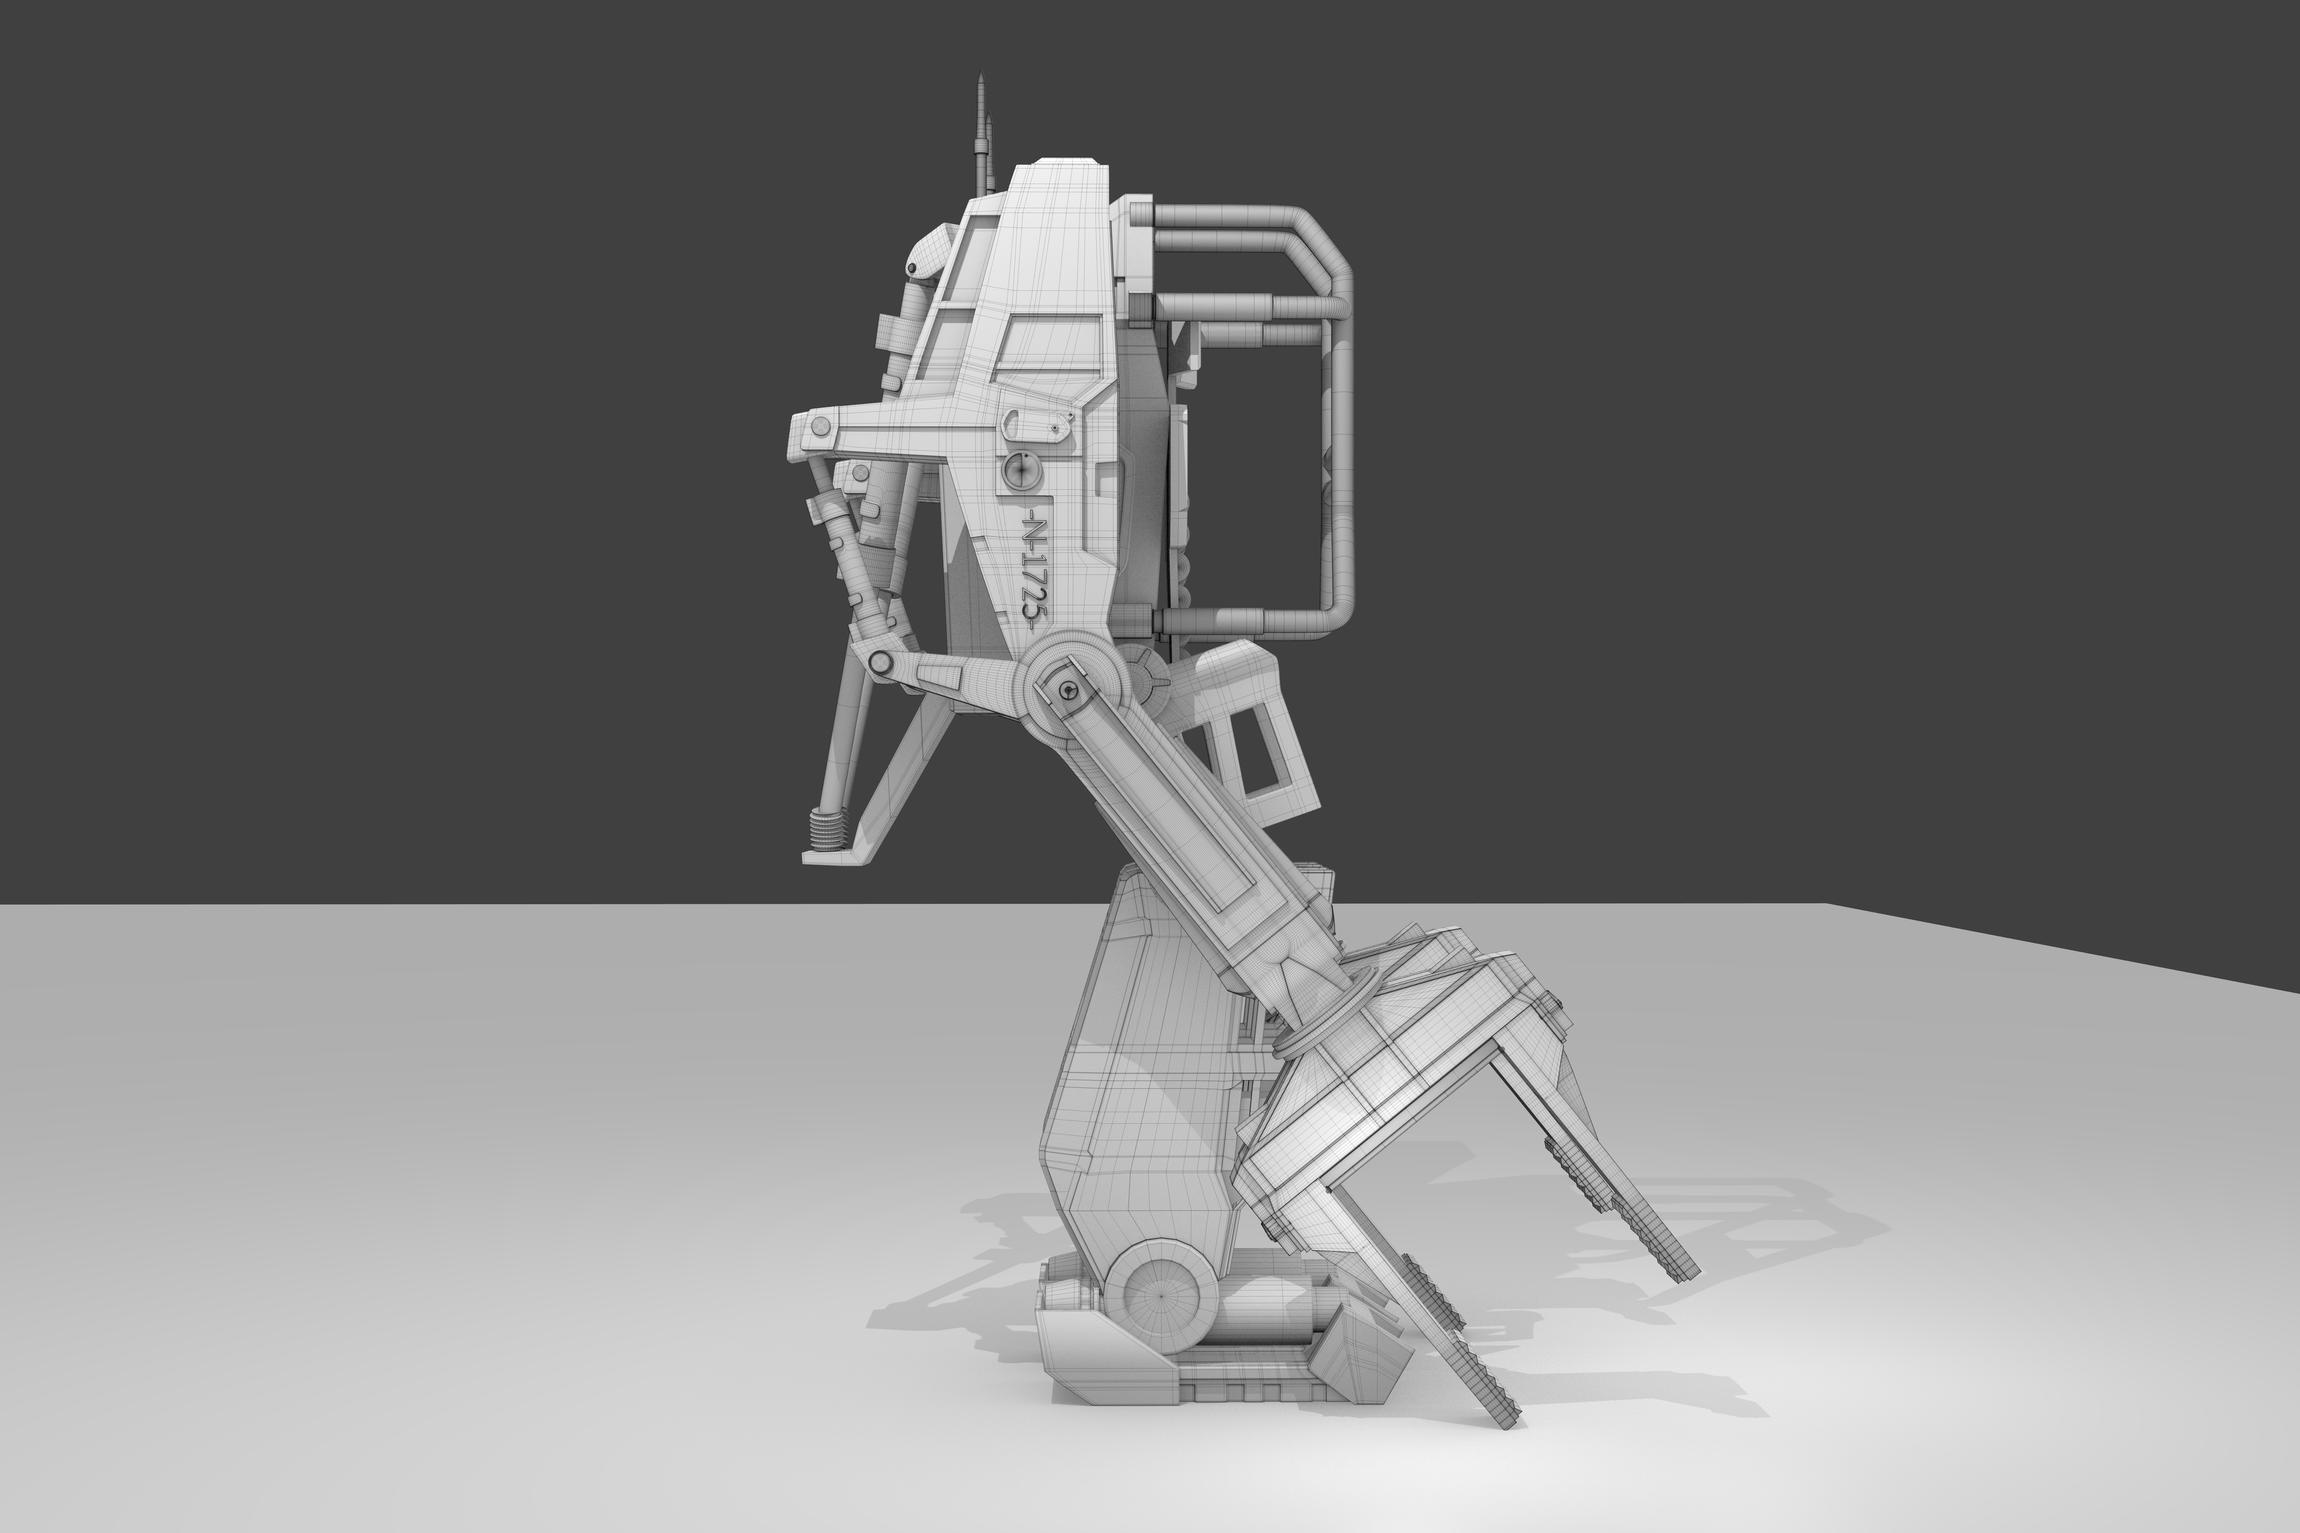
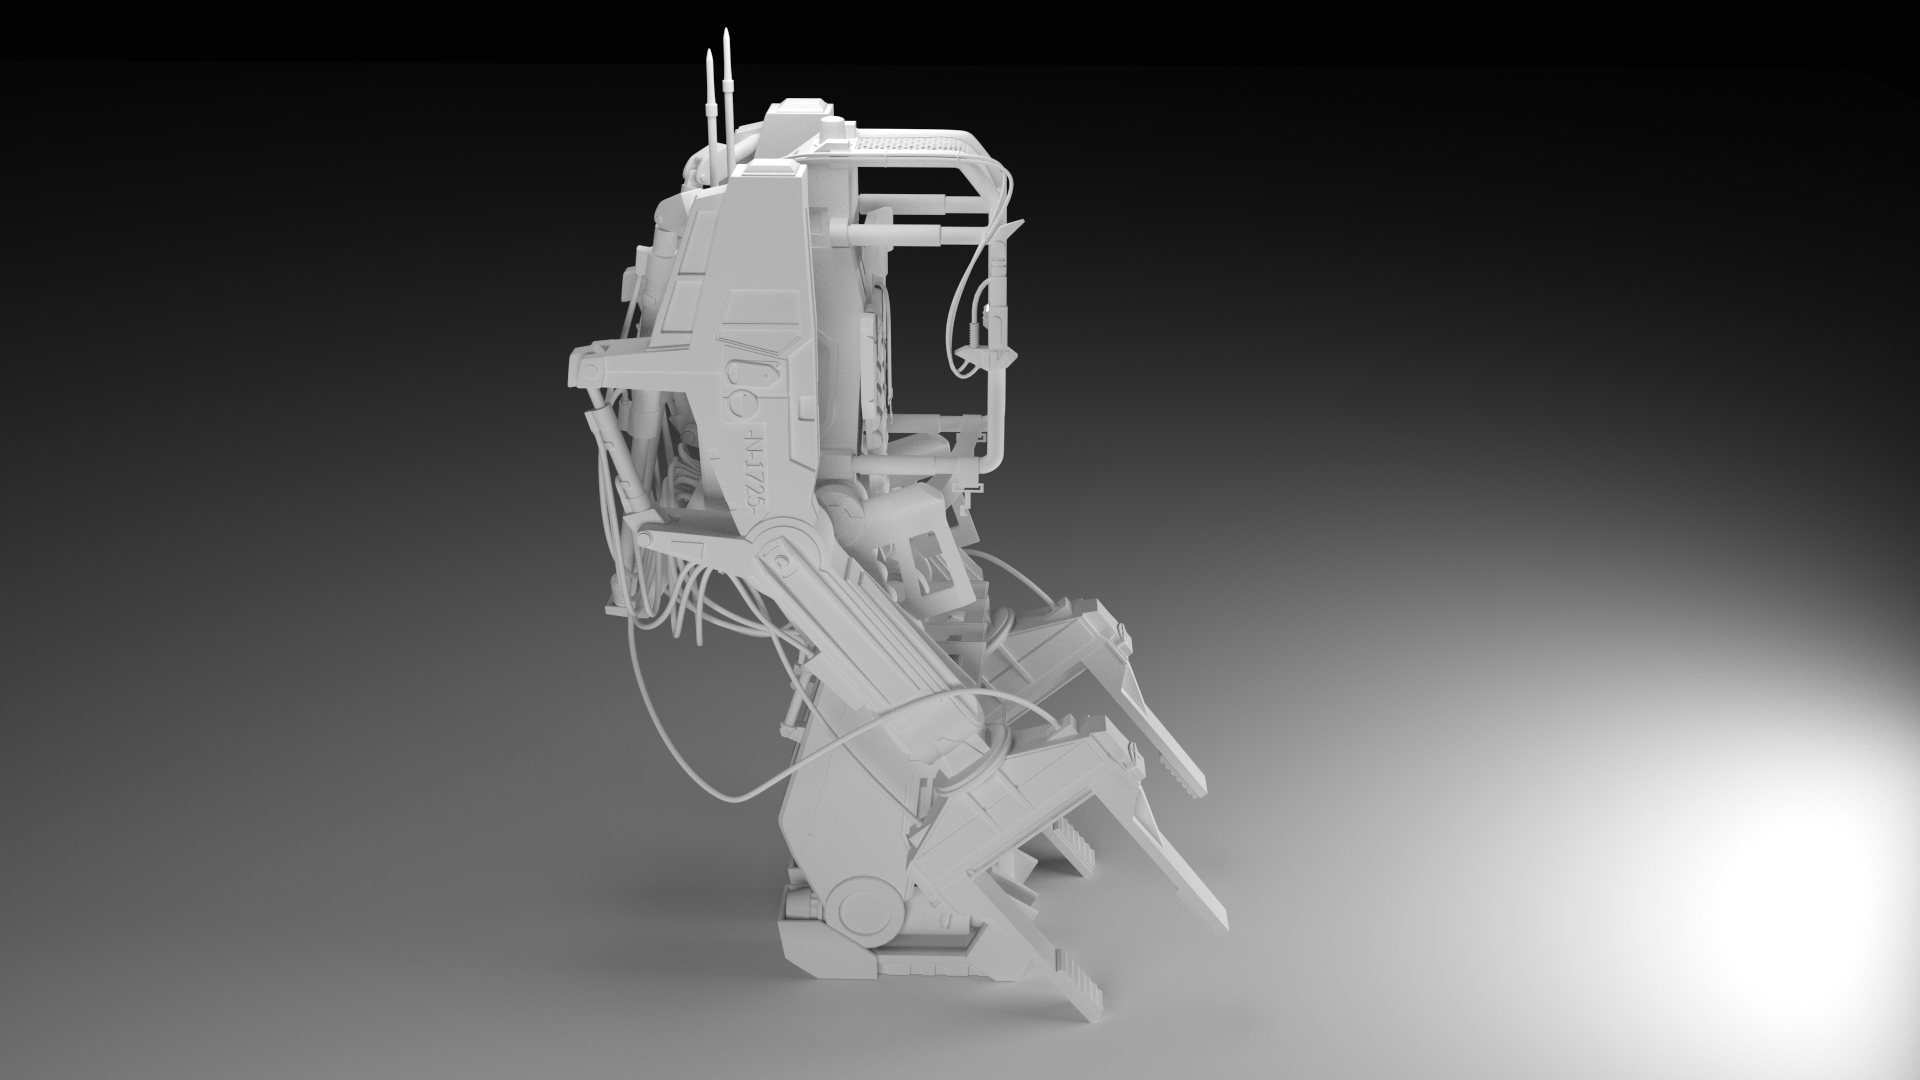
Finally got around to try the wireshot mat in BI. Also added some more details and hydraulic cylinders for movement of the arms.
If you guys have any comments on the wires, please dont hold back The renders are really big, so you guys can see whats going on (And all the mistakes I’v made :eek: ) :
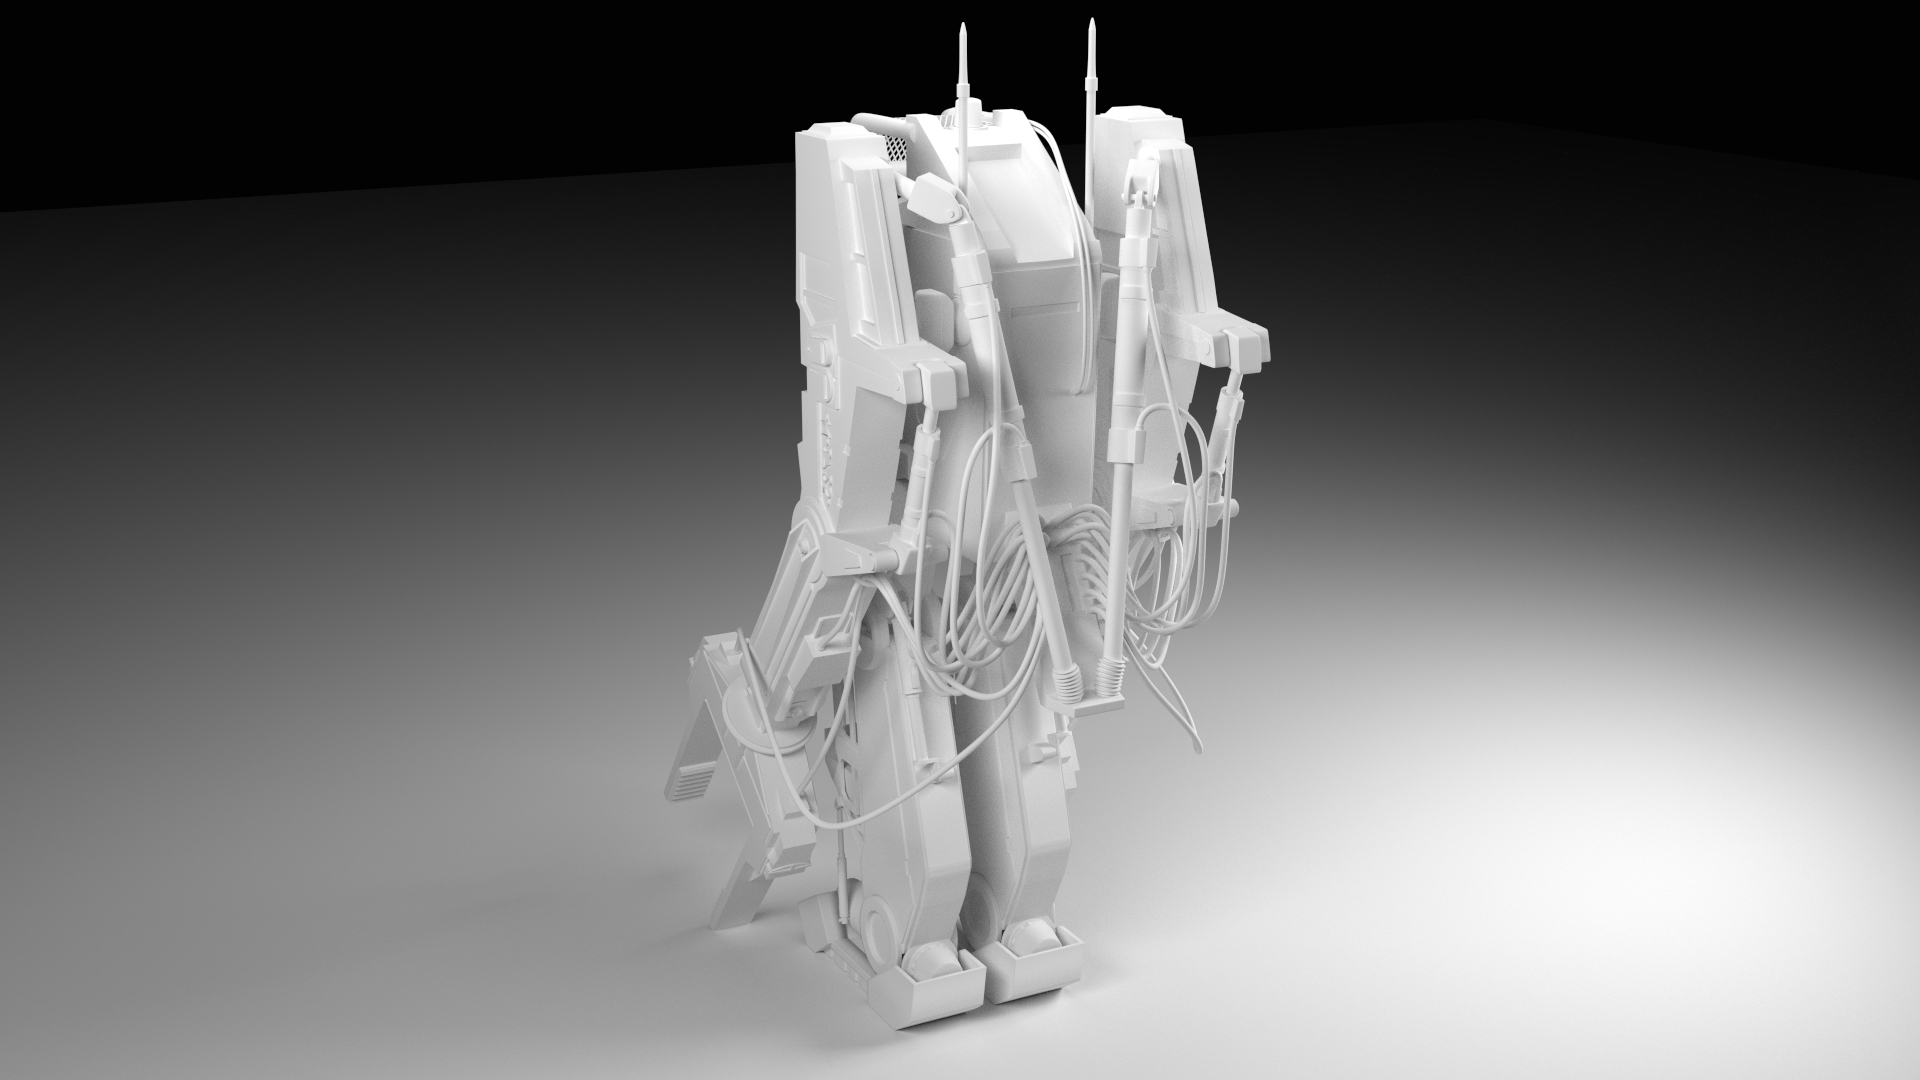
Next up is all the hoses for the hydraulics. Any tips on making realistic looking hoses without blowing my vert count into the skies again? Is Bezier curves the easiest way?
Yes, you have a good model, but the weakness come sin all the edge loops that you can live without. case in point would be the grips on the pincers - you could model the grip piece separate from the pincer and not have all those edge loops there at the end. Like the text you made from a separate object converted to mesh and added, so too with certain parts that can eliminate the need for extra loops in places. That said, this is a nice model and it is good to see that you are going for the detail with it. Keep going!
Craig Jones: Good points you bring out, the example with the grips is excellent and I’m sure I’l be better to notice things like that in the future. I’m learning so much on this project, I can even see a difference from the first parts I modeled up to the most recent parts. And thats all thanks to you guys helping me out
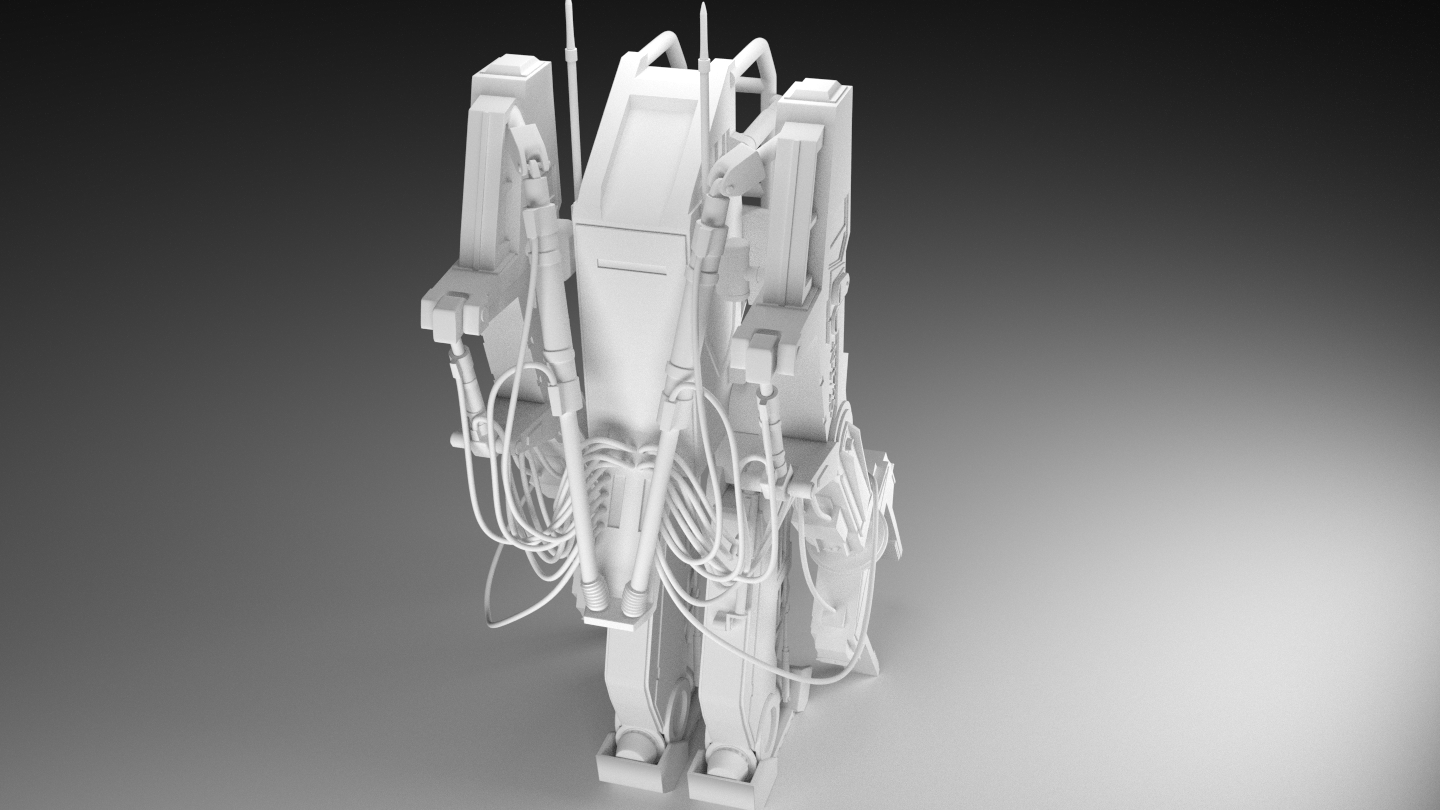
I added all the hydraulics and can actually start seeing an end to modeling on this project! A few more details and I’m very close to the level I wanted… I will add couplings for all the hoses later, and might adjust they way that the hoses hang later on.
This last images with the hydraulics are really looking good. A very nice level of details!
And thanks for the wires also. And as Craig Jones mentioned, they also show a lot of deletable edge loops. Especially the picker arms and the hinges have very dense edge loops. From what I see I guess that the wire renders were made with subsurf on?
But the wires also show a very accurate hard surface modelling. I really like the overall edge flow.
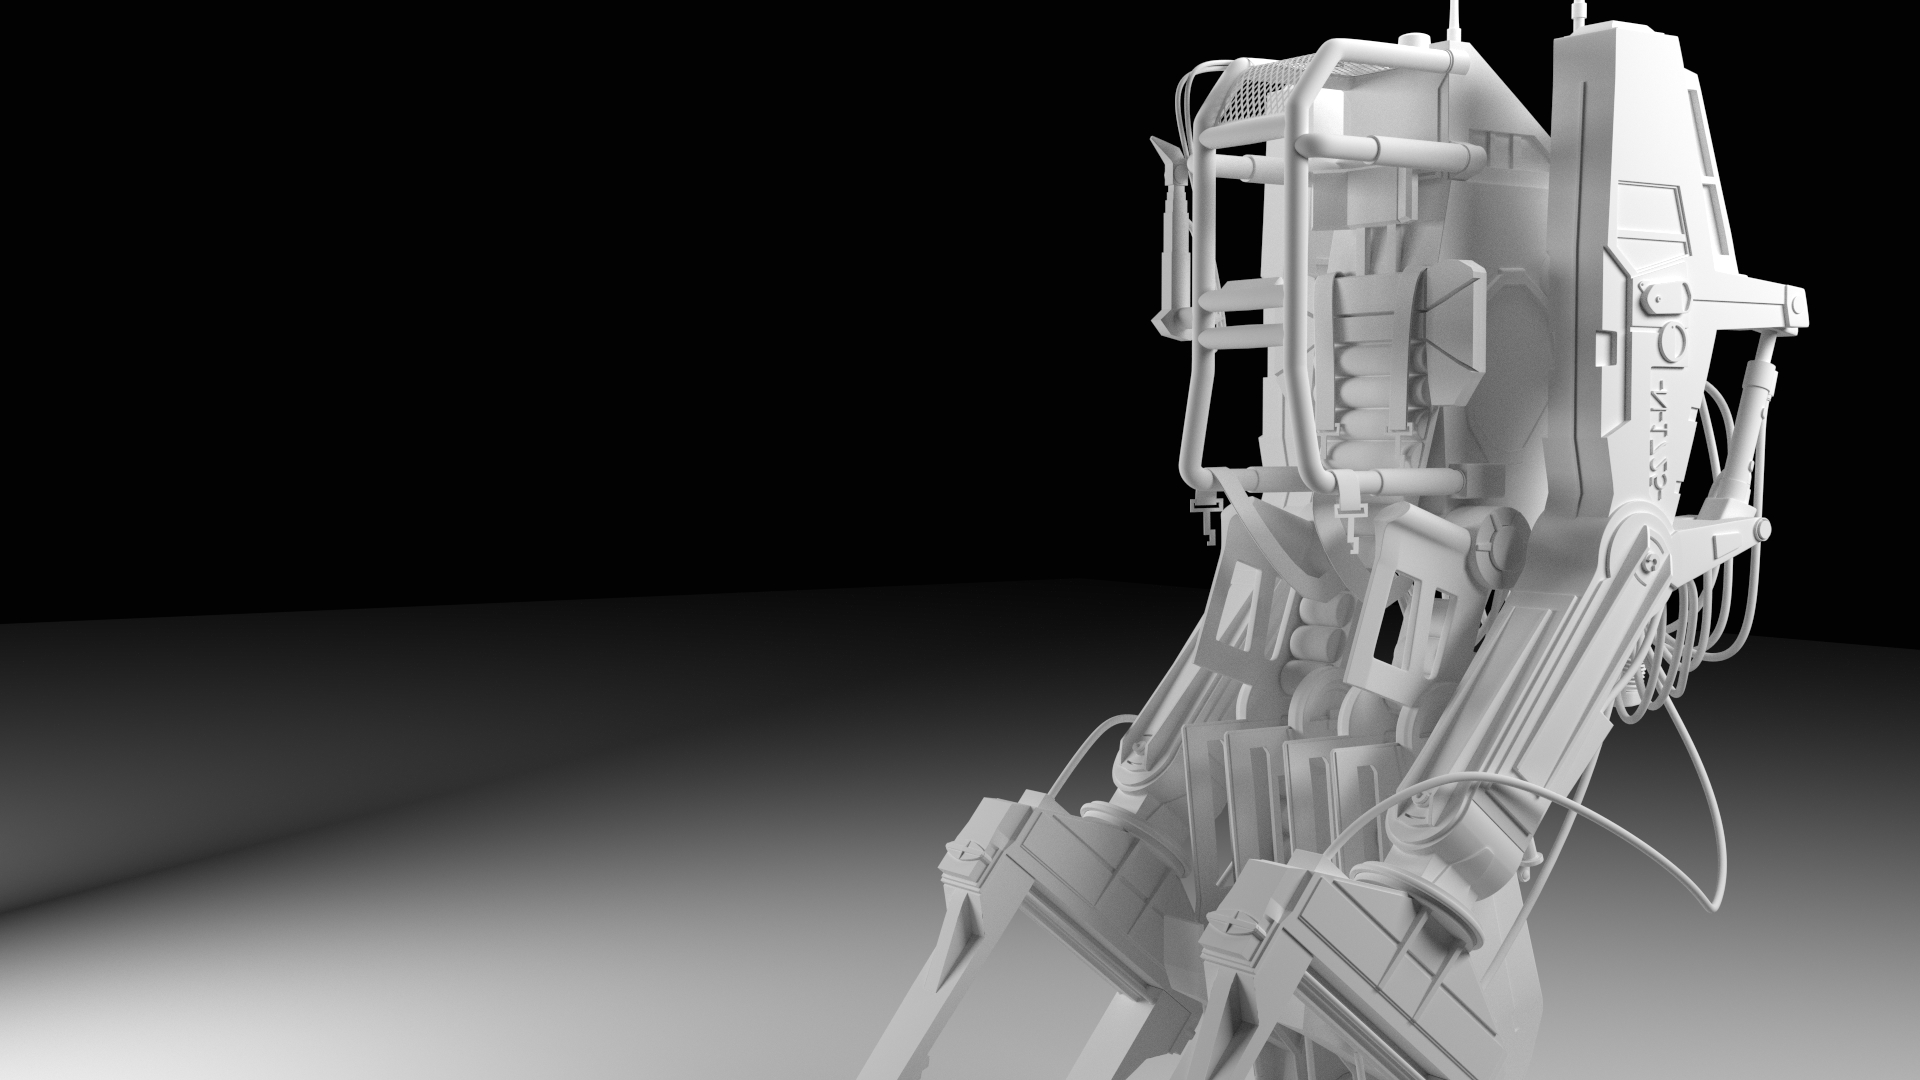
Modeling is finally done
Except for all the errors you guys are gonna find that I’ll have to change
I might work a bit more on the belt buckles though, they are a tad thin…
Let me know what you guys think, and prepare to be overrun with questions for help when I start texturing and adding mats


 The renders are really big, so you guys can see whats going on (And all the mistakes I’v made :eek: ) :