Thanks so much BgDM I really appreciate the sticky post!
The thread title has been expanded a little, especially since it appears we will now be able to attach images here!
We’re off to a great start thanks to all the posters! We will have much to discuss.
As a reminder:
Anyone, please feel free to drop right in at any time, share your techniques and experiences, post your questions or suggestions, show your images, either as examples of post-processed renders (maybe as “before” and “after” shots) or just as pictures you’d like to see if they can be bettered through post-processing techniques.
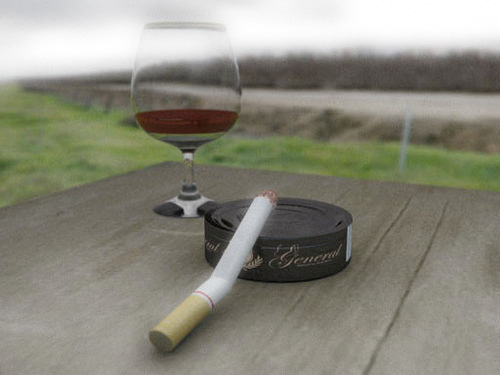
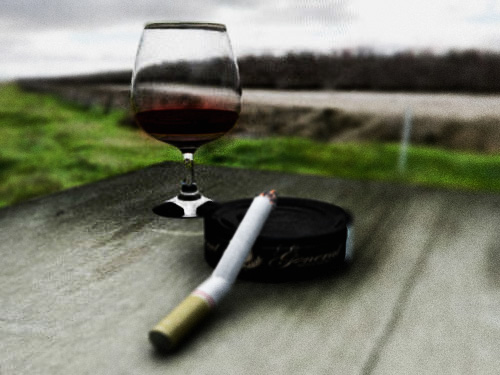
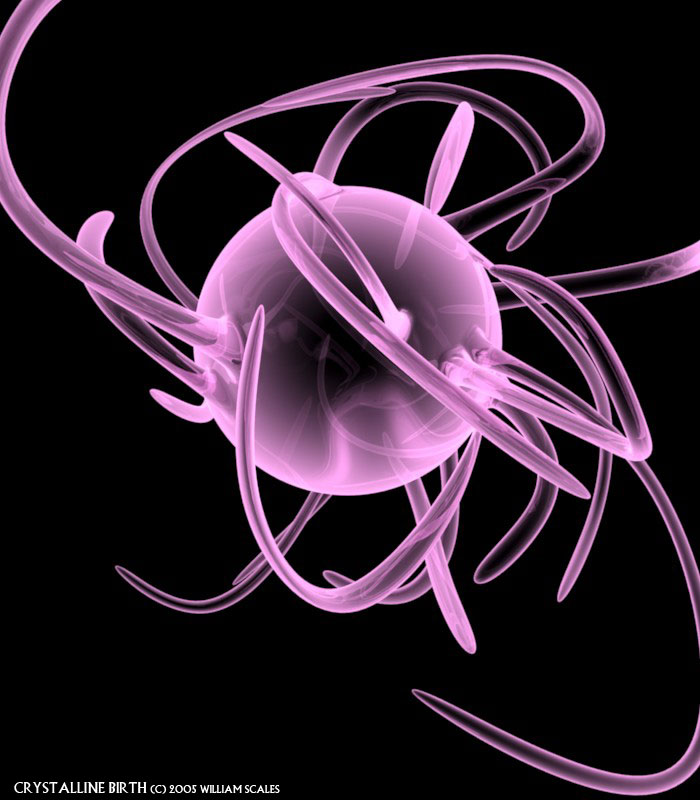
gimp layer ops - don’t have fireworks on this box. hope it’s true enough to original, yet looks a bit more painted. maybe you should consider getting into povray, because making such cg candy pictures are it’s second nature
this was really a 5-min doodle so some details are overblurred and sphere could really get a proper surgery
i adjusted the brightness contrast, made the saturation a little higher, added black borders. for the motion blur i rendered out only the propellors with RGBA and premul, i used the smudge tool on the proppelors and blurred it a bit and adjusted the opacity.
And i used the burn and dodge tool for places that looked a bit ‘boring’.
OK, this is what I am working on for the Montreal Blender Conference in October:
Model is by mr_bomb.
I am doing a UV unwrapping, texturing, lighting and post-processing workshop with his model for the conference.
Image on the left side is Blender original render. Image on the right is after post work. This is what was done on this one:
a) Image brightened and added some contrast.
b) Adjusted levels and then curves.
c) Image duplicated 3 times. each blurred with a Gaussian Blur effect, set to 0.5.
d) Opacity then set to 7%, 14% and 21% respectively on each of the 3 blurred layers.
e) first corrected layer duplicated and Gaussian Blurred as well. Set to Overlay and then opacity lowered to 35%
f) Finally, a colour adjustment layer was added and the colour corrected to add more red in the shadow areas, a bit of green in the mids and some blue on the highlights.
Bump, specular and reflection maps, (possible a translucency map), still need to be painted for this one.
Did you get that idea out of 3D world?
They had an article on getting really good skin in there, it may be on their website for free. I’m not sure since some of the tuts on there cost 99p. But I get them for free anyway cause I’m a subscriber!
Anyway, what BgDM did works really well fo most skin in general.
can HDRI lighting be used on post-processing as well, so that when adding rendered images unto a photographed scene you’ll be able to apply the same lighting and shadows on the photograph unto the model…
or use the photograph as HDRI image before rendering the model?
Indeed This is an important topic, and your images offer a fine example of how a render can be improved through post-processing.
Some posts in FP might have benefitted by stopping here first, but it’s never too late to make a good image great with a little extra work
I may consider adding another tutorial in the near future if I can find the time. Until then, I hope more people will post examples or ask questions or for tips for their current renders.
digital_me: I hope you don’t mind, but I took your original render into PS and played with it some. THis is my results:
What I did for this one:
a) Added dodge and burn layers and played with the opacity on them.
b) Added 3 layers of noise, all with varying levels of noise and opacity, set to OVERLAY.
c) Added Hue & Sat, Levels and Curves adjustment layers
d) Flattened the image
e) Painted a new layer to accentuate the highlights and then blurred it to about 10. Adjusted opacity of that layer.
f) Flatten again and then add an overall blur of 0.25.
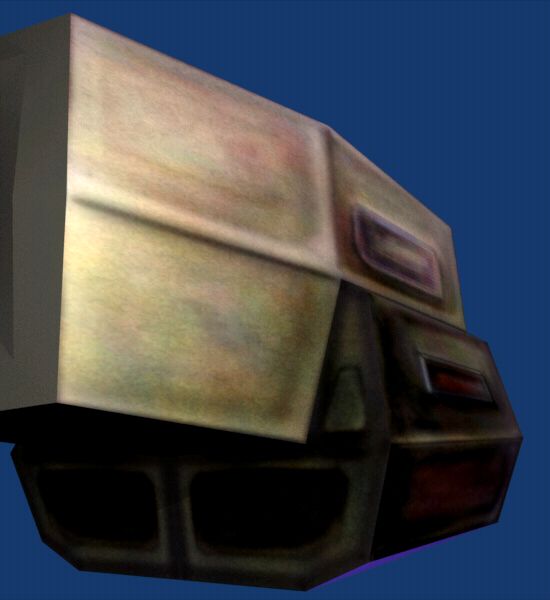
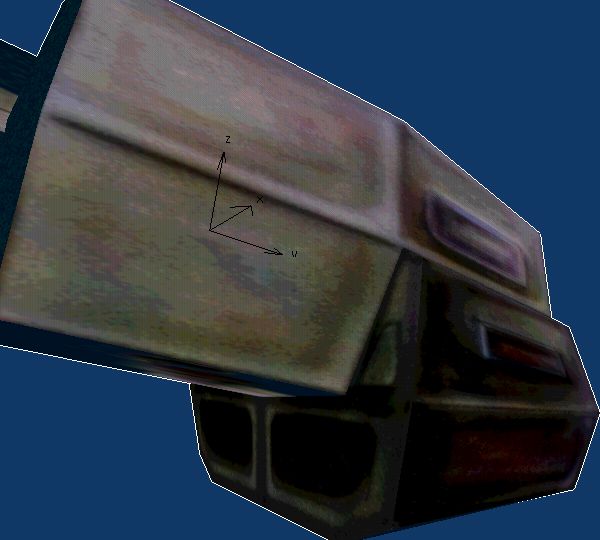
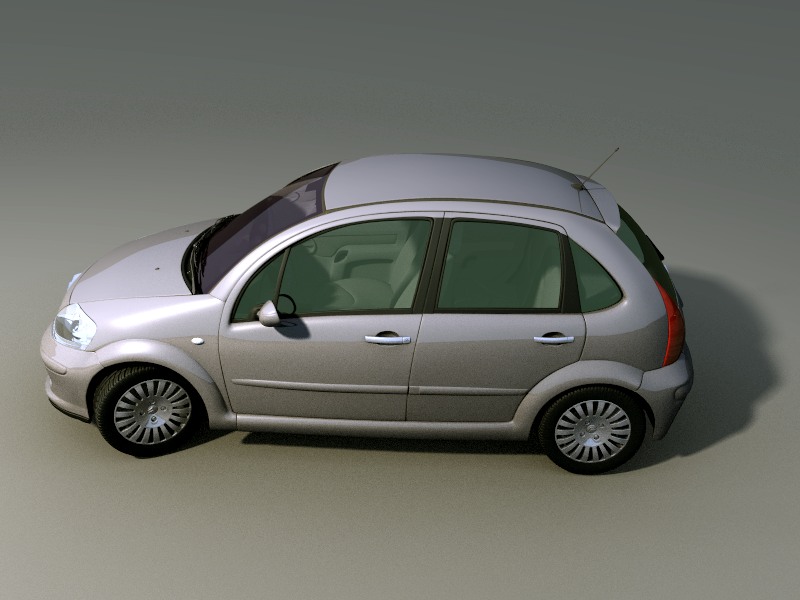
Like many others here I have big troubles to get renders that looks great. As you can see I have no problems with the modelling but with lighting, composition and postprocessing.
Here is an example. Any sugestions how to make this to look better ?
cipix: Looks like you have one lamp, possibly and Area Light, and AO only in the scene?
If so, add a couple more lights, low power for back/fill lighting.
Also, change the Distance of the AO to around 1.2 and the MinDist to 0.2 or so. Then crank up the Bias.
As for post work, I really don’t have any suggestions for this one. Cause it looks decent as is. Just some better lighting should really bring it into it’s own.
 I really appreciate the sticky post!