First of all, I’d like to remind you that I’m not an expert in car modeling.
Basically, more focus should have been put on getting the topology right. The car should have been modeled as separate objects so that there wouldn’t be any unnecessary edge loops that where needed for another part of the car.
That’s basically all I can think of, but it’s two fairly big things.
Take a look at some of the cars by people with more experience to see how they do it. For example, IconW. There’s a community of car modelers here and basically all of them have more experience than I do. I bet if you look at their WIP threads, you’ll learn a lot.
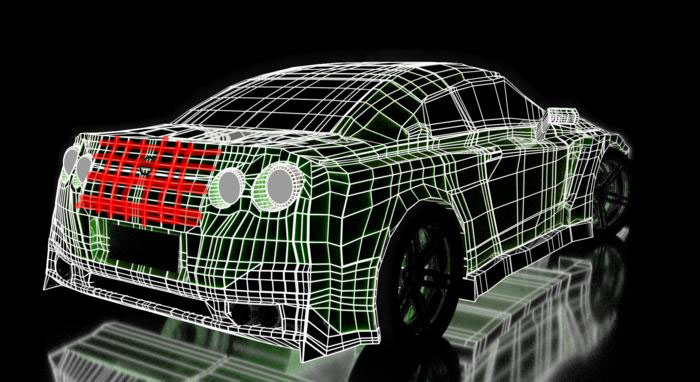
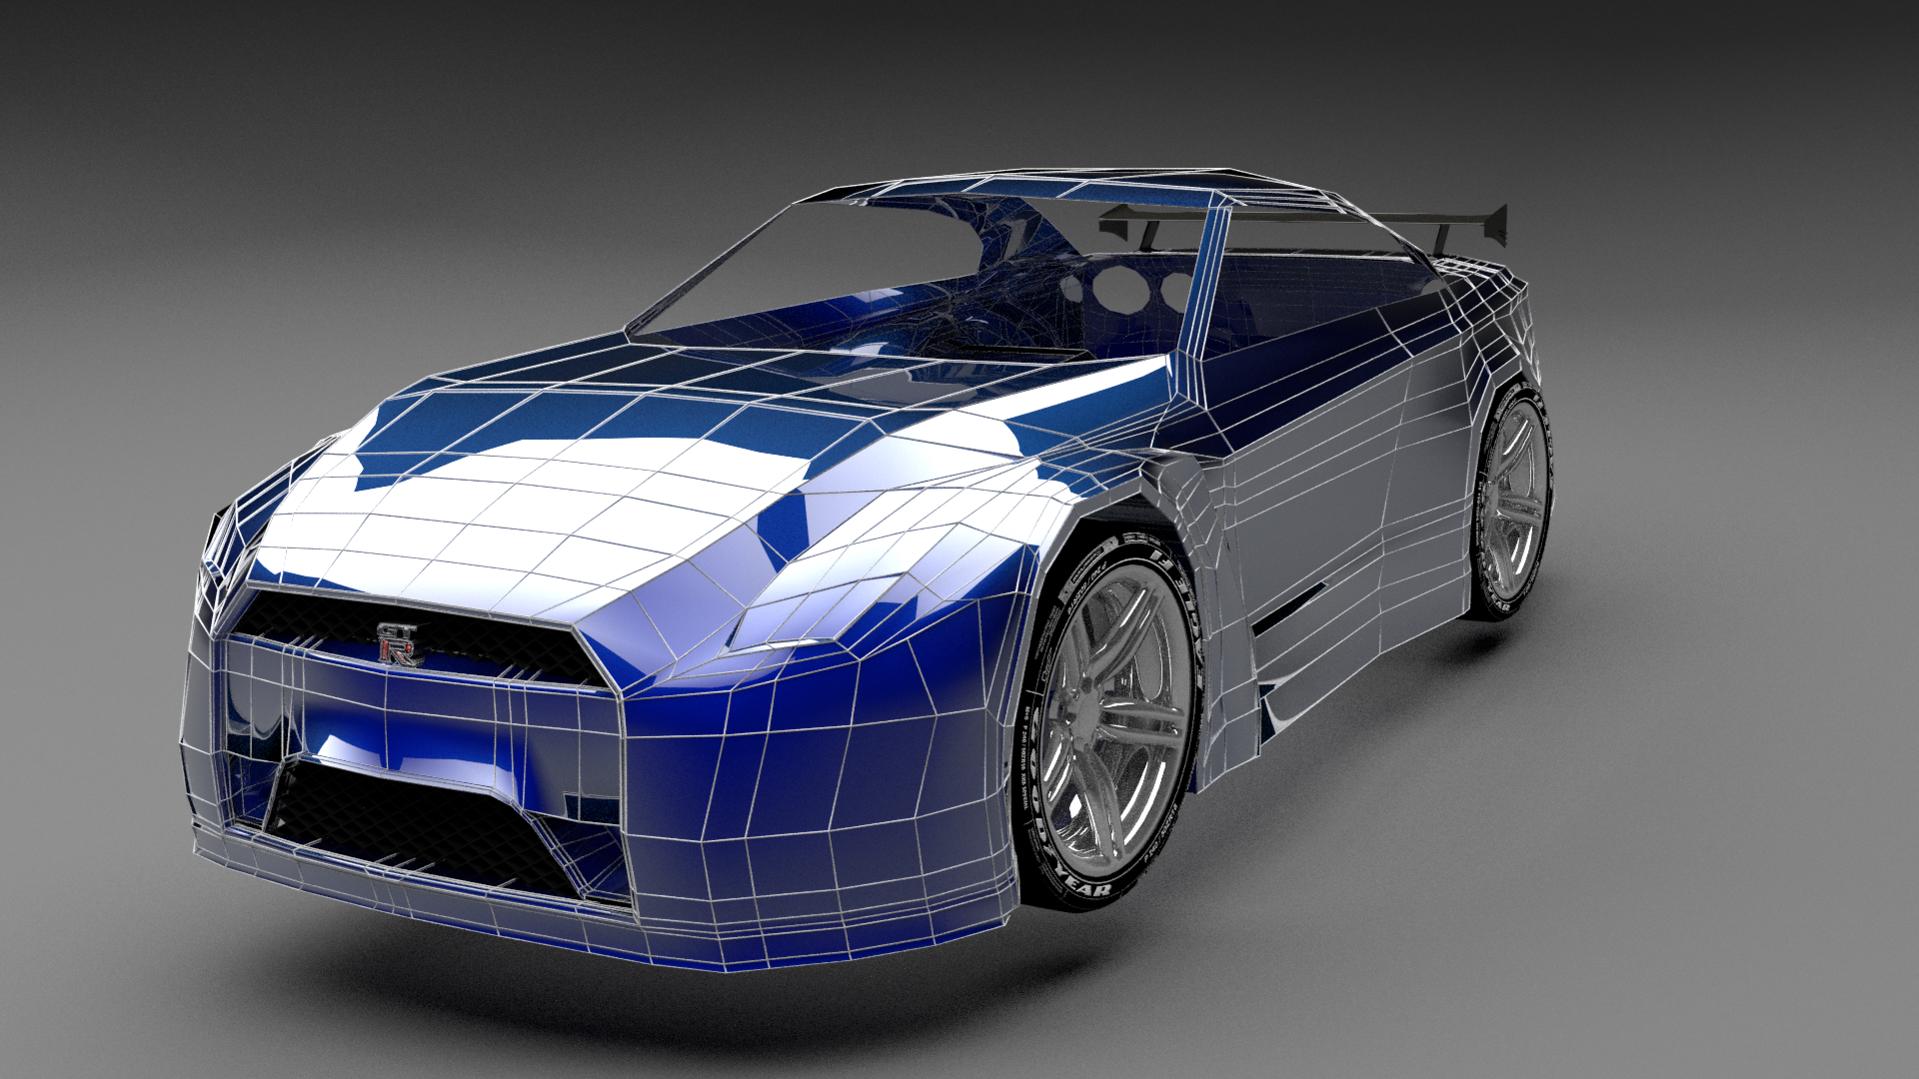
and here is the wireframe.
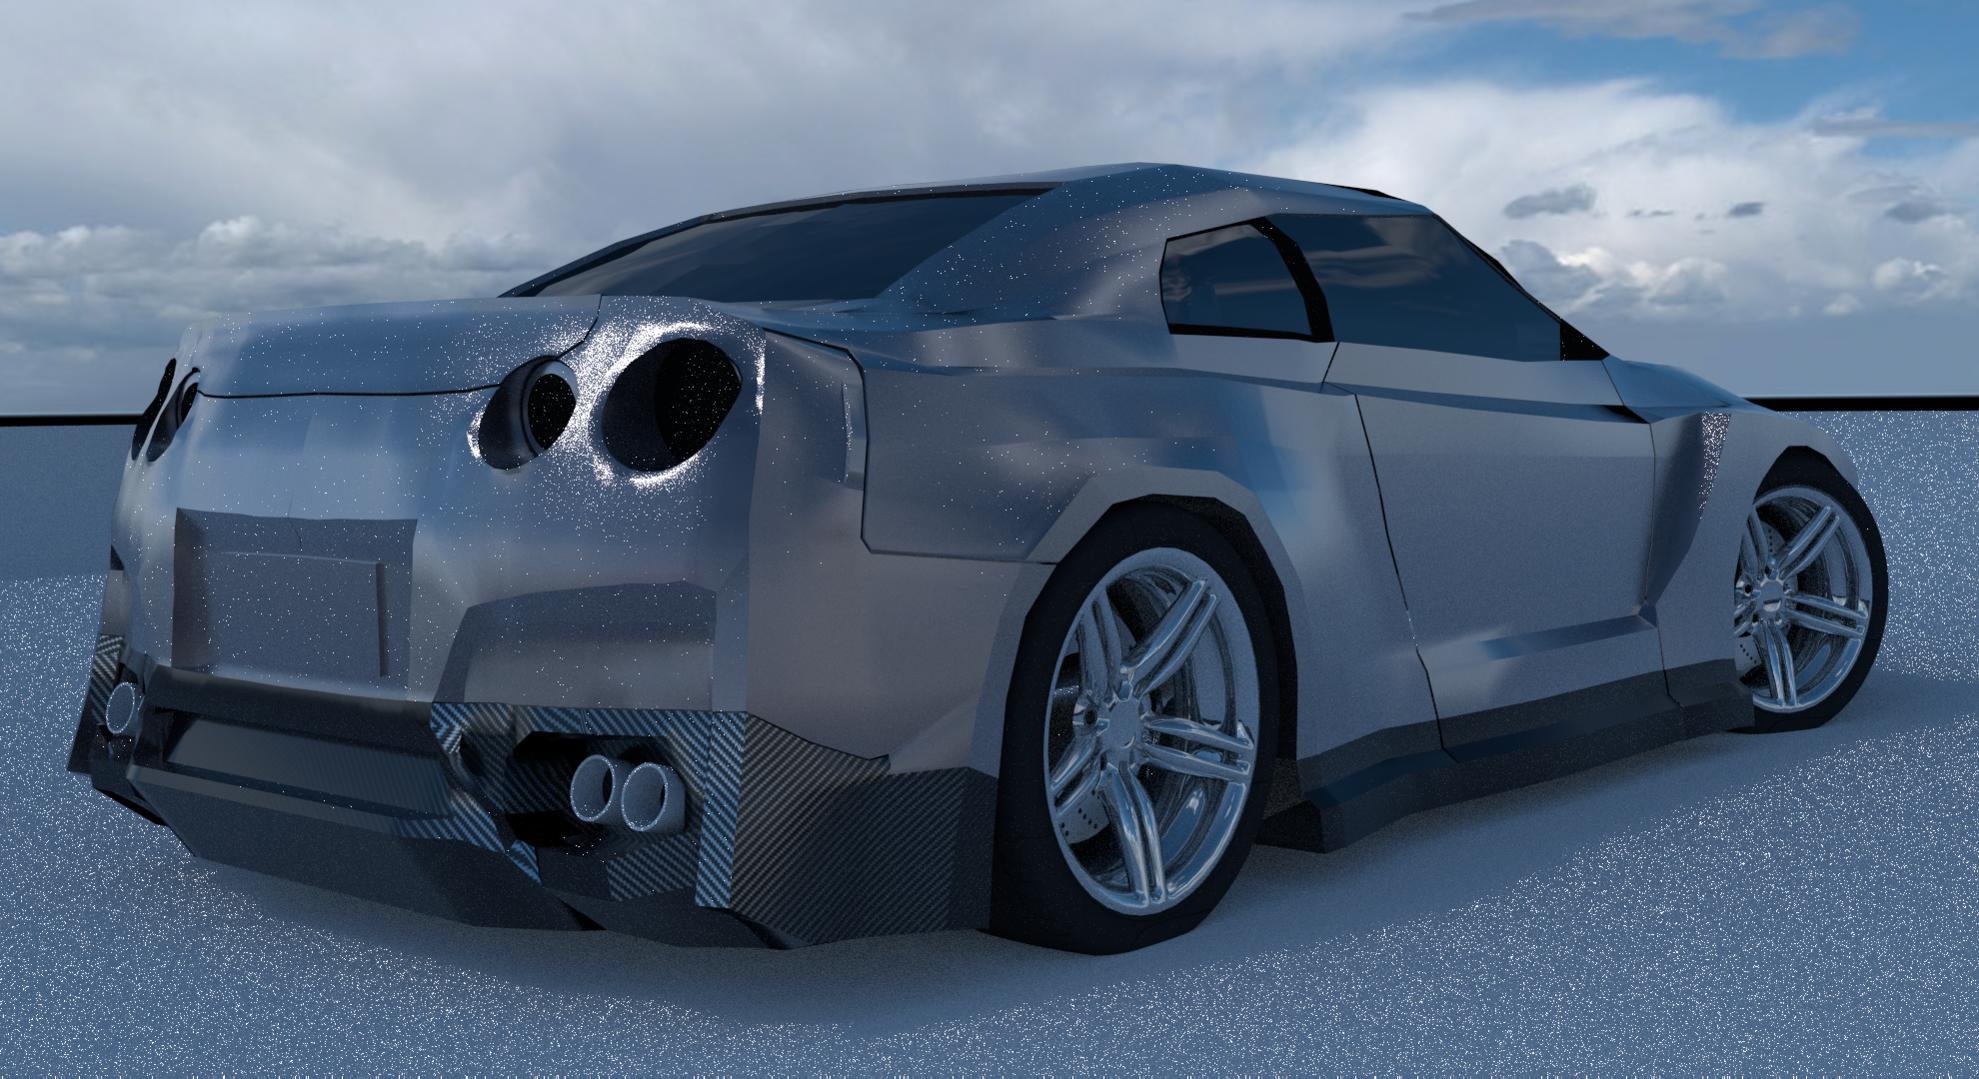
even though it looks worst than the other one, its better incase with all the reflections and details and stuff
i tried to seperate the different pieces of the car but it just felt much messier then before (personal thing)
Planning
The easiest way to get a good looking car model is to carefully anaylize the shape before opening blender. Try to minimize the number of faces used (but not excessively, use as many as you need, but no more). Rerember that you are trying to make the simplest possible approximation of the shape. Few extra points
With every edge loop, ask youself: “How is this helping to define the shape of my car in a way that the surrounding edge loops could not”
Understand the shape exactly: If I were to ask you for example, if the bottom of the headlights are above or below the top of the grill, or by how much, you should be able to answer me without missing a beat. DO this with every curve
Some aspects of a mesh are not desirable, these include: Triangles, Poles (vertices with 5+ edges atached) and N-Gons (5+ sided faces) Try to use as few as possible.
Follow the shape. Each row of faces should bend to the contours of the car.
Here as an example, I have highlighted some of the edges that were unessary in the back of the car. I estimate about one 1/3 of the ones in the picture were nessary, if even.
thanks for your long reply, i realy can learn something from it, i will use you tips at my next car model. :))
i just got one question: where do you guys get GOOD blueprints for the cars you want to model? because when you search in google images for blueprints there are only like very low res images.
Hey guys
i retopologized my model a second time.
this time i got the chance to make my own reference Pictures of a real car which realy helps.
this retopo is way more detailed than the others in my opinion
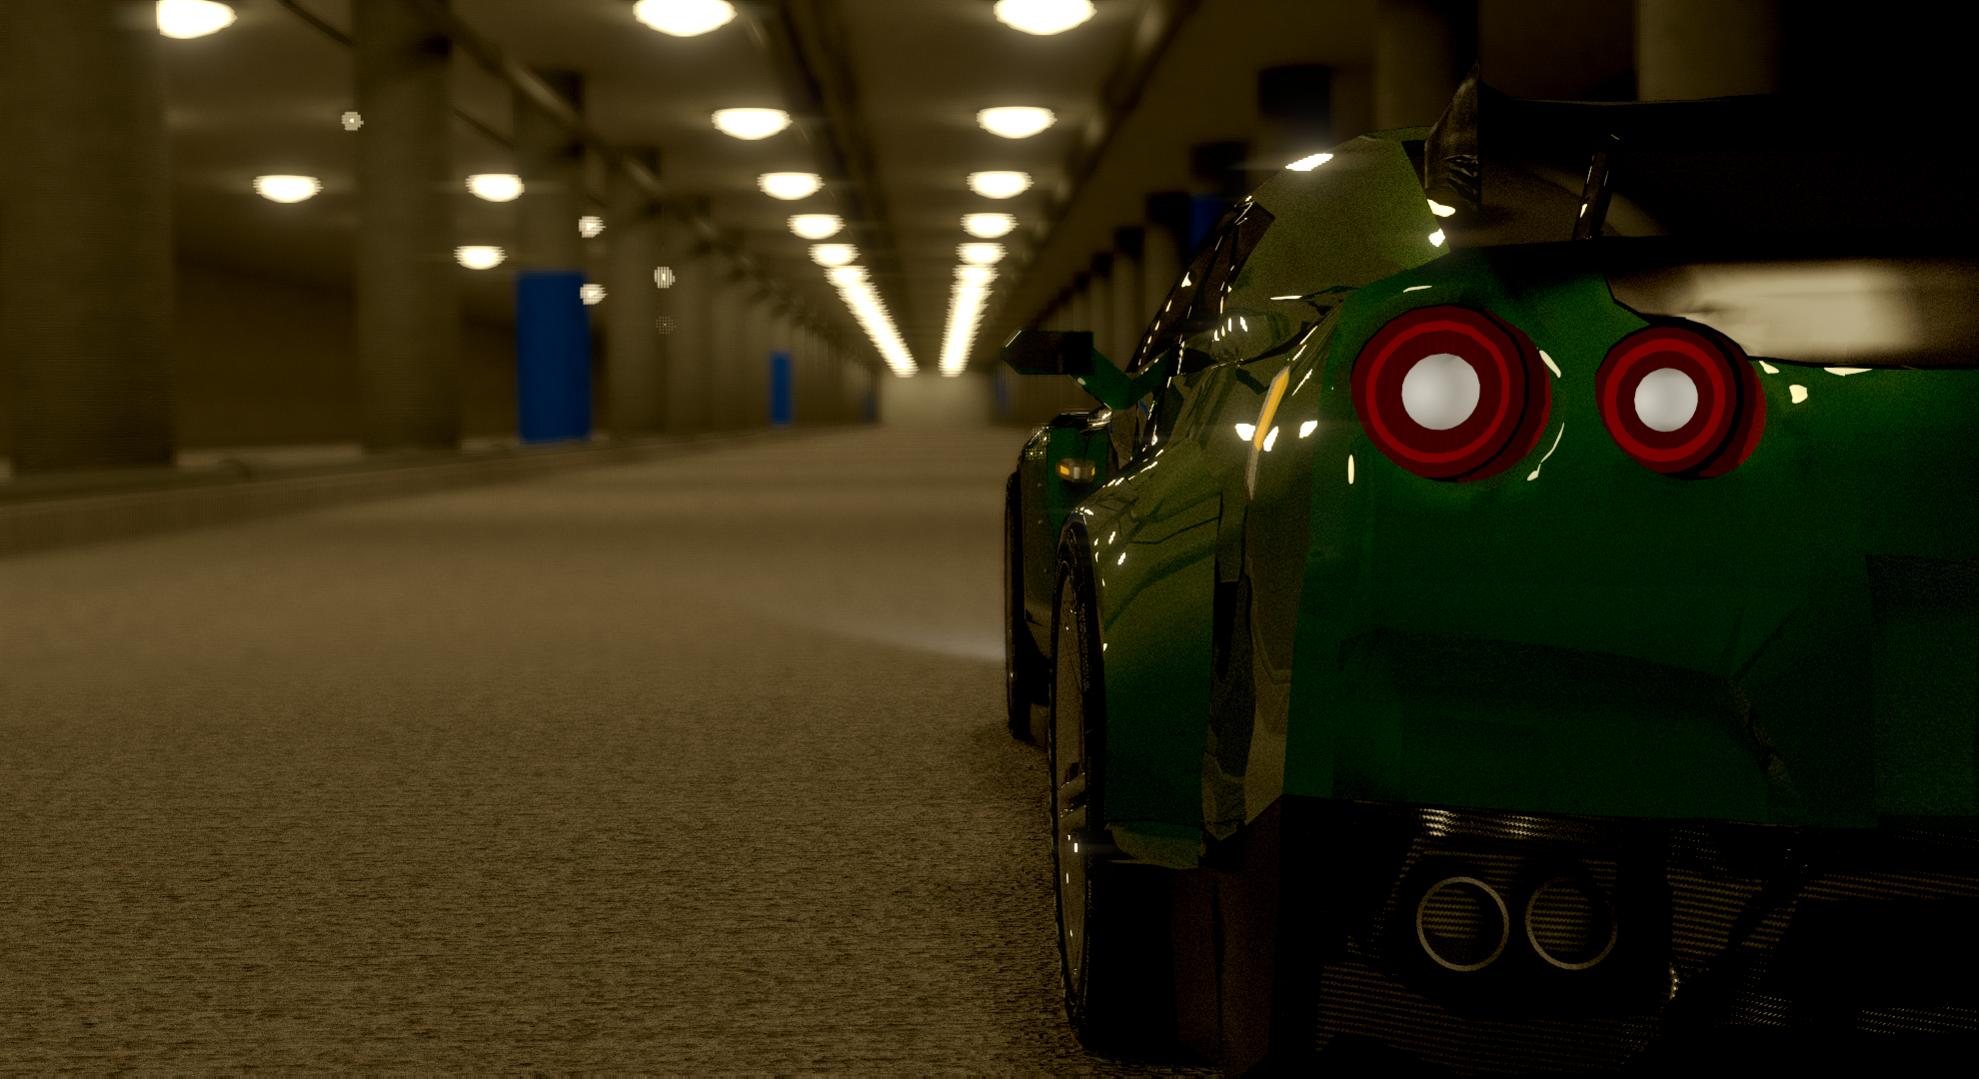
Hi, this is looking really good, and the retopology is much cleaner
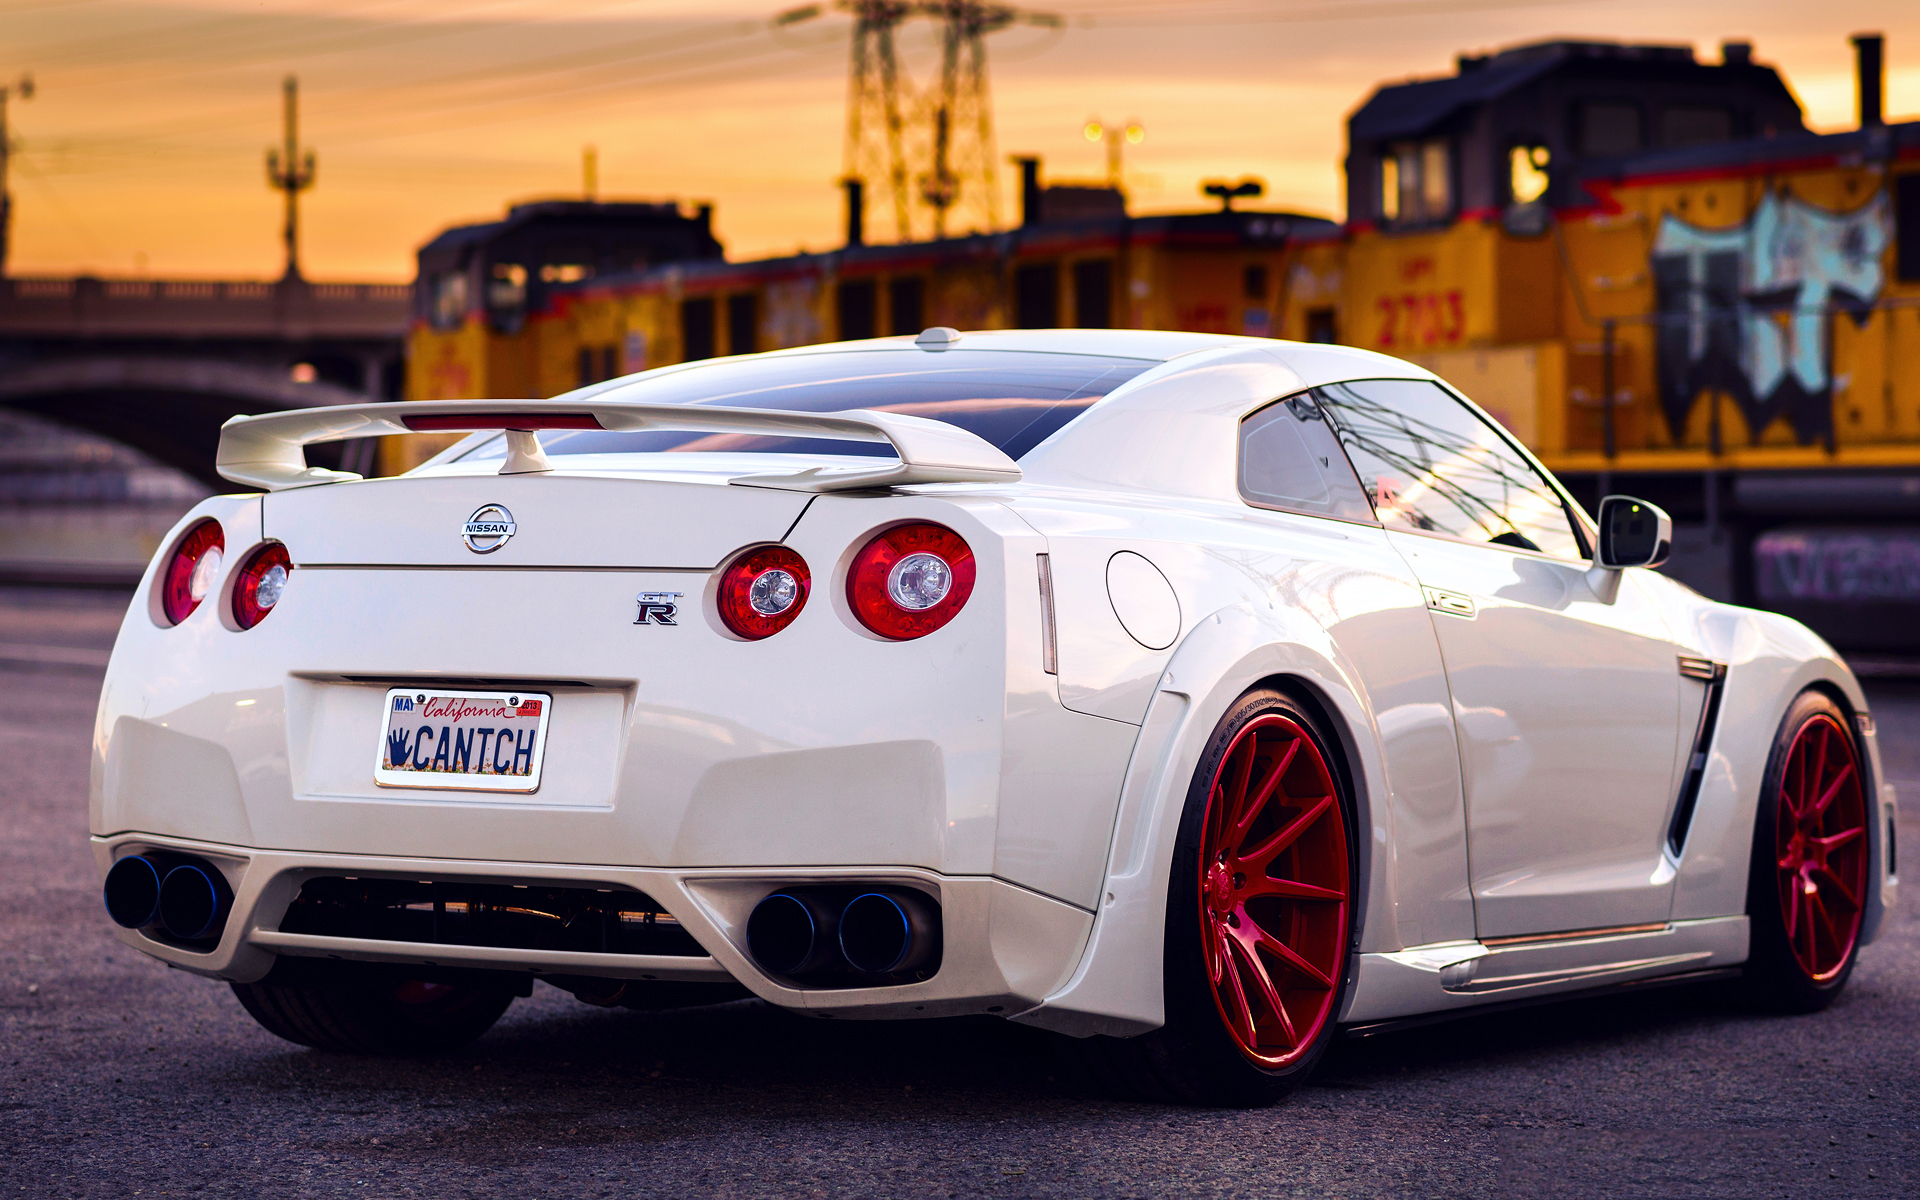
One thing I would mention when comparing the render with a real image is that the rear lights don’t look like the ones on the real thing. One the real image you can see the bulbs behind the glass cover, this can be seen here on this image from Google:
thanks.
thats a realy good idea with the comparing, i will try this later
i just got some Problems with the car material, if you know any good tutorials how to make a real car material please tell me
thanks again
I will go out on a limb here and say that you are basically rendering this car without sub-surfacing because every time you try and use said modifier it collapses and you loose all you hard edges.
Learn to use the bevel modifier, edge creasing or edge tightening using edge loops and really learn how to get clean shapes when using sub division surfaces. Sub division surfaces are really the key to high poly car modeling.
Take everything that Tardis, IconW and GiantCowFilms has said read it through and really think it over. I hope you have already done this but google this car and gather as many photos of it as you can and look and analyse the shapes. Look for the hard edges, where shapes are concave, where they are convex etc.
My other bit of advice is to do a google image search of “3d topology Nissian GTR”. This is a very popular car with car modelers so I think you will get a lot of images. You need to see and look at how other more experienced modelers tackled each shape of the car. When you are new to car modeling I think it really helps looking at lots of topology of cars. When you see experienced car modeler post their wires download them and take a look and try and figure out how and why the modeled things the way the did.
I once gave someone some help on modeling this car and I did a small Blend file for them. I have added it to this post. That little file shows all the advice that everyone is giving here put into action. This is just part of the rear wheel well and the door. The car model might be older then yours but it is a Nissan GT.
Well…thanks for taking your time for this reply.
I never thoughed about using other modifiers than edgesplit to harden the edges.
I didnt saw the blendfile yet but it looks like it took some time, thank you.
I will try to get some wireframes together to model the Nissan, its a very good tip indeed.
I’m realy thankfully for your post and I hope it will help me
–edit–
i saw your blend. file and i realy have to say you make me look like a fool. xD
your model is so much cleaner and looks waaay better than mine.
i think i have to retopologize my mesh for a third time
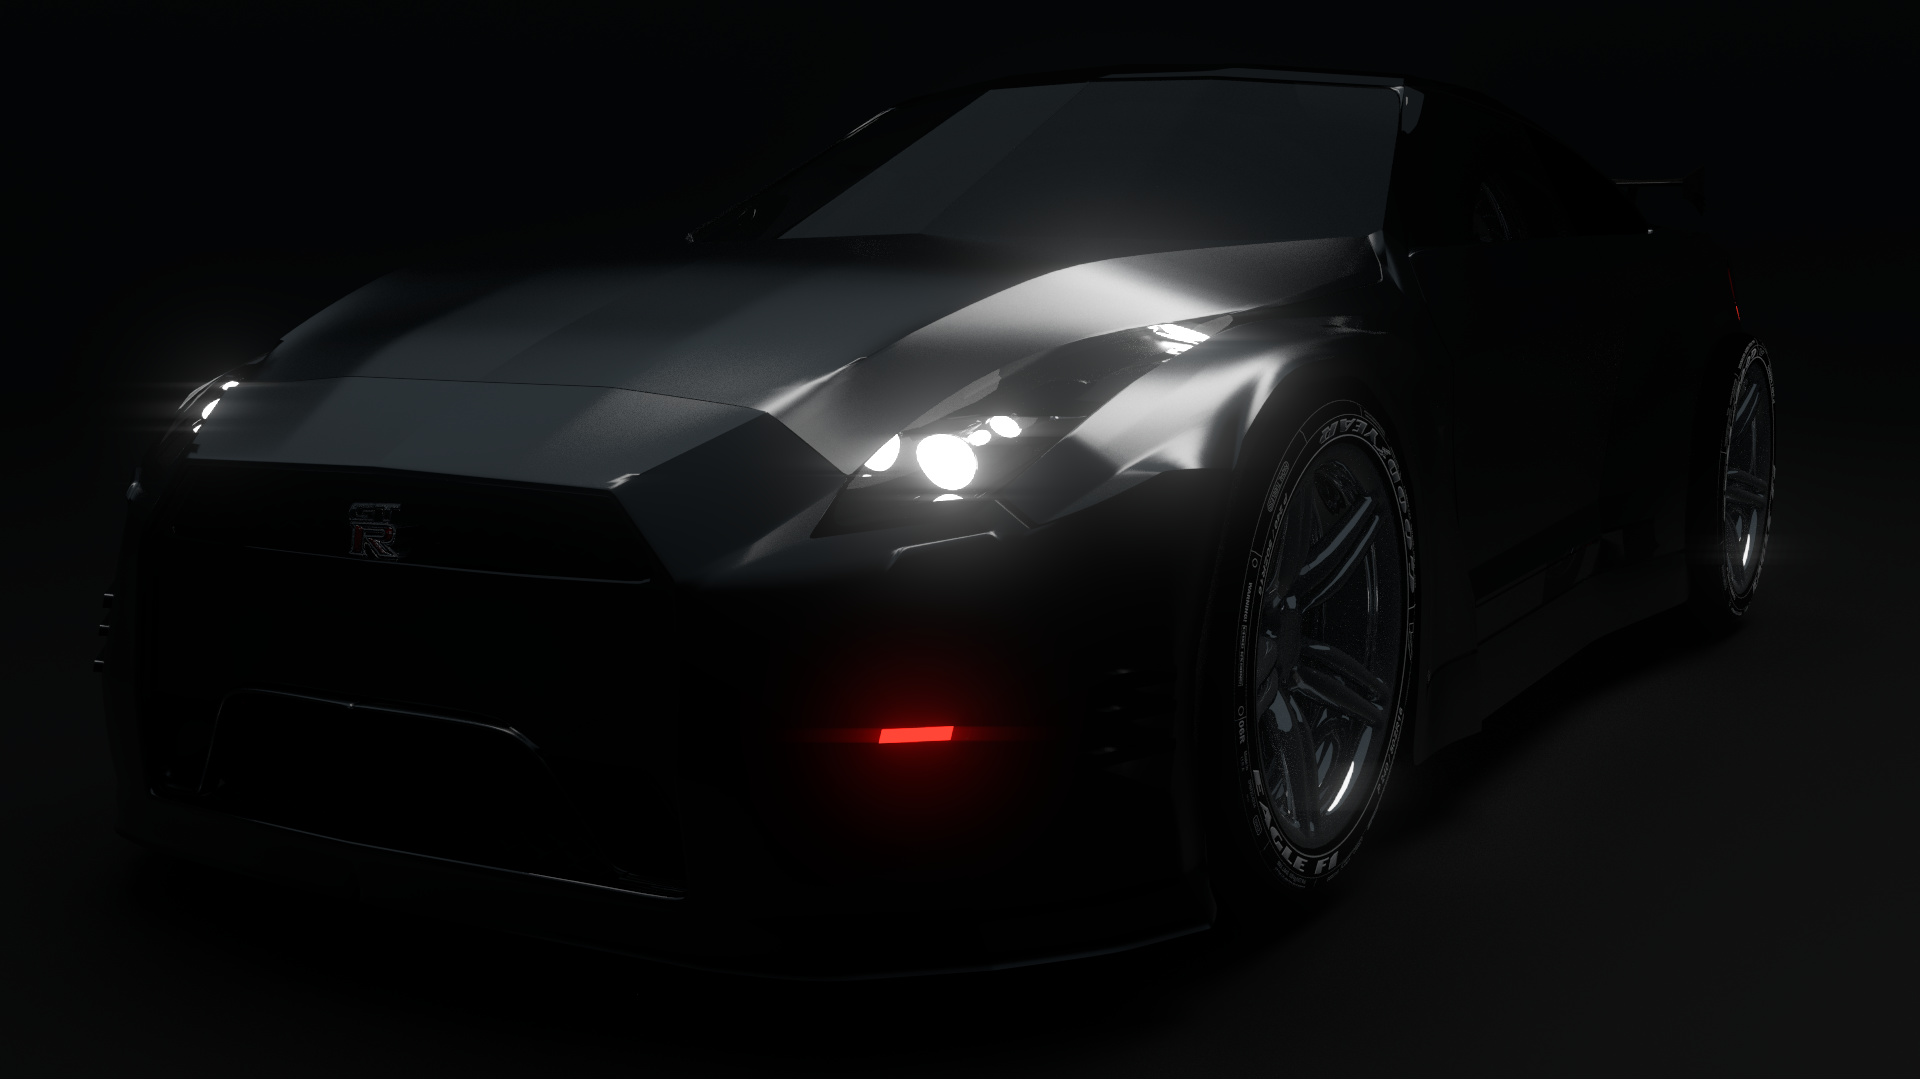
This carmaterial is quite good but still not perfect.
When you go on the w.I.p category of blender artist you should see another car project ongoing, zonda I guess.
When you see the carmaterial there, you can see that there are realy smal little bumps on the carsurface witch increases the reality factor in a huge level.
If you know how to do this bumps tell me