Blender, out of the box, will render red as the brightest red your display can handle, while exporting the same red and loading it into Photoshop will give you red in sRGB, accounting for your screen profile. Depending on the screen, this might be a small change or it might be huge. To confirm this, load the image in Photoshop and select View > Proof Setup > Monitor RGB. This will likely give you the same (but still incorrect) colours as Blender.
1 Like
Ok, let me try to get that straight. I think I have a quite good comprehension of color management.
I have a profiled monitor. The blender render does not use the monitor profile, so it is off (well it looks good to me because I tweaked blender so that it looks good). But when PS loads the file created by blender it uses the monitor profile so that it shows the sRGB file like it would be seen by anybody else with calibrated monitors in Color management aware software. So I really need to tweak the image again, so that it is ok in the real color managed world? (Btw your tip with color proofing using the monitor profile shows the image exactly like blender)
PS: and if I had a Hardware color calibrated Monitor everything would be ok.
This is already likely fighting an impossible battle given that the characterization of your display is relative, so any “tweaks” you make are equally relative.
This reads correct. The issue is that it’s not the whole picture as it would be dependent upon how different your display characterization is relative to a given standard, and how the display has been characterized. There’s no single “correct” for a given characterization, as everything stands in reference to something else. Change one of those ground truths, and the entire output is random.
More ideally is to use the hardware of your display to take it to a known state. Specifically, use hardware to guide the display hardware to be as close to the sRGB primaries with a 2.2 power function as a transfer characteristic. This would be considered a component of calibration towards a specific goal.
In doing this, the theoretical output of something like Filmic would then match the hardware in question.
The other option is to characterize your display against a known and specific set of colorimetry, and harness that characterization via software to have Blender output directly to the characterization properties of your display.
OK, understood. Thanks for pointing this out.
Thanks for confirming.
OK now you lost me partly. But don’t mind ![]()
Seems like doing the calibration in hardware in the monitors LUT would also help if the monitor supports 100% sRGB
Hi, Did any one figure this out? what is the solution to this? I am attaching something that I rendered out just now.You’d notice I have tried various version of the same nothing is coming out as it is being displayed in the render result window. This has been the result with everything that I have rednered out lately. Please help?

What computer are you on there?
If you are on a MacBook Pro from 2016 onward, or any Apple product with a Display P3 display, Blender is broken out of box for you. You would need to use the configuration located here, and change your display type to the Display P3 option for working.
Because Blender is a complete clown car for pixel management, when saving to display referred encodings, you’ll have to switch back to sRGB then save.
Why?
Because Blender is a clown car.
1 Like
Hey, Thank you for the quick revert!! I am on a MBP 19.
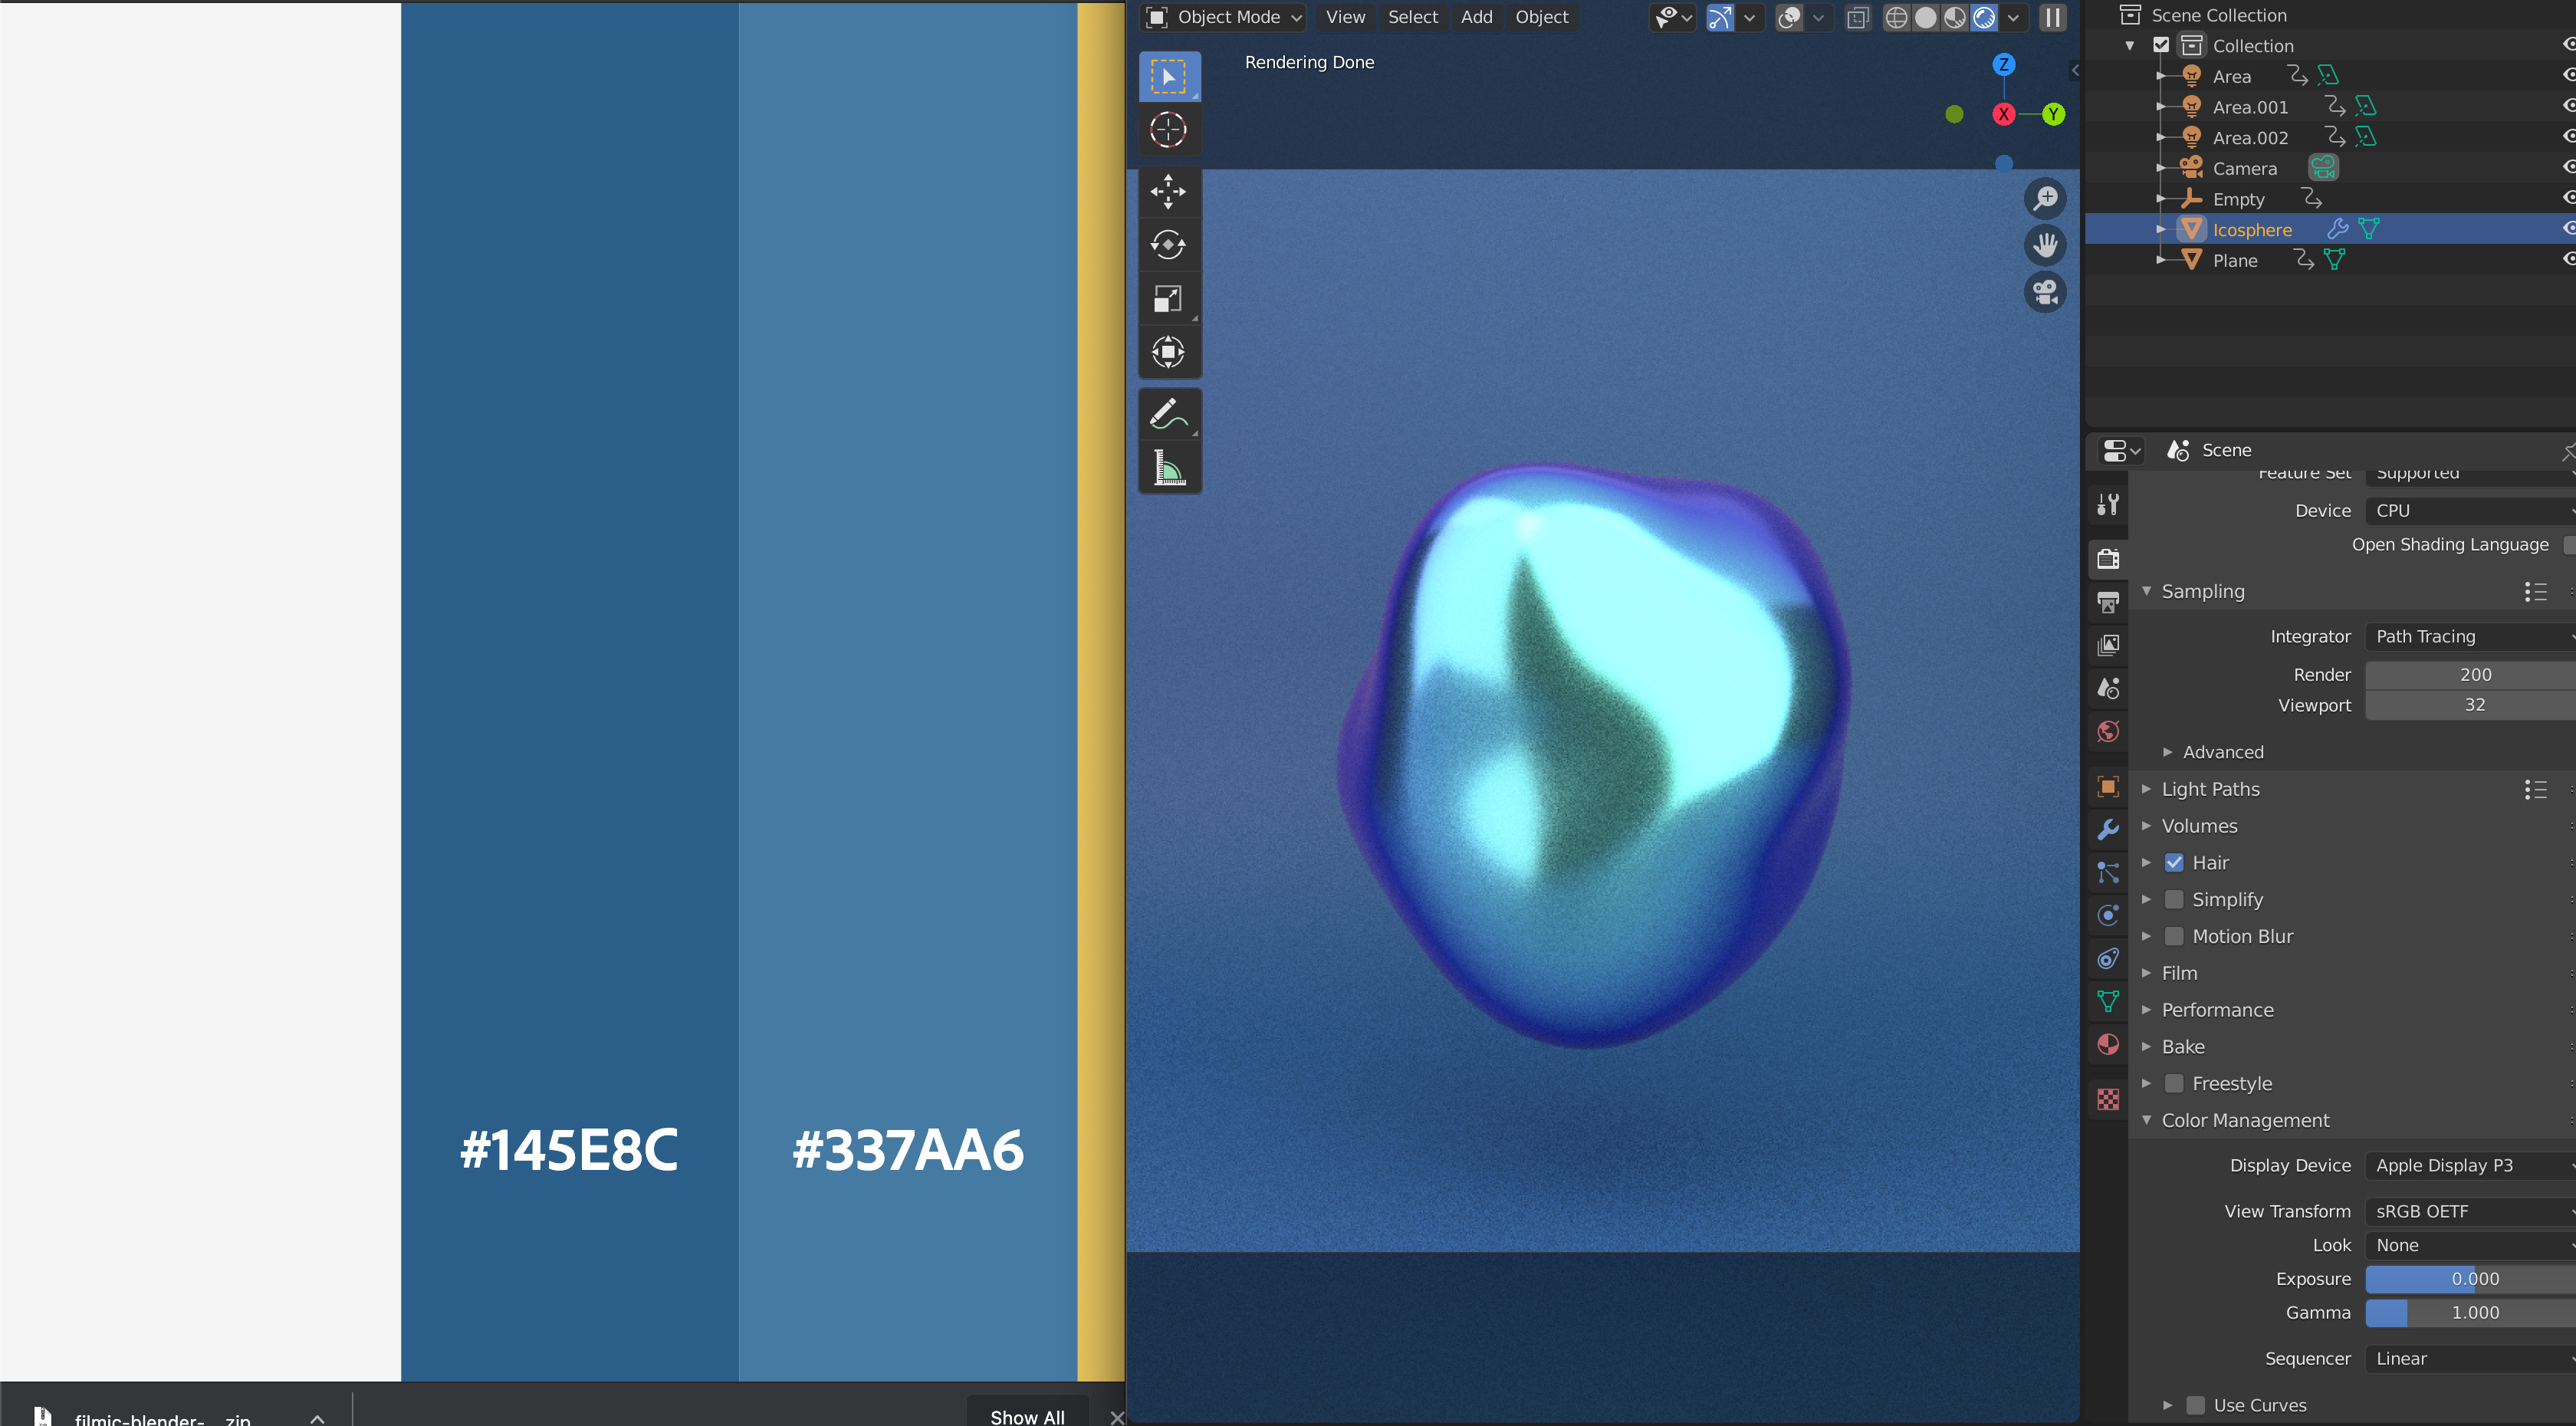
I installed the above mentioned plugin and moved the color space to display P3, now I have another question what happens when I want a specific shade of blue or red or when I am working on making a brand video? because the same hex code results in a different color inside blender…#145E8C appears a lot different? How do I get it to match the same color? ![]()
That’s a more complex question.
For starters, those hex codes are more or less useless; they are simply ratios of light. Given that they are relative to a specific colour space, it’s silly using them without truly understanding how and what they represent.
With that said, a specific mixture of light ratios in a hex code is typically designed for a display. There is no “simple” way to take a photograph of your display and have the values match 100%. There will be a range where the chromaticities will be similar, and a range where they are entirely different.
When thinking about a path tracing system, it is very much like taking a photograph of a colour, which is ultimately impossible to match, as that simply is not how things work. Try taking a photo of a brand identity colour and then having someone say that the colour mixtures, after the camera transform, don’t match perfectly. This is just “how things are” with the way that cameras and rendering transforms work, especially aesthetic transforms.
Hopefully that is clear enough. If you need more information, I can explain further.
It did the trick for me - thanks for the tip!
In my experience (I have a color calibrated wide-gamut screen) the best way to make my renders look the same in other programs is to embed my monitor profile in them.
You can do this with Photoshop, ImageMagick, or in Blender with Python and PIL.
To attach profile:
from PIL import Image, ImageCms
img = Image.open(image_filepath)
display_profile = ImageCms.getOpenProfile(display_profile_path)
img.save(filepath, icc_profile=display_profile.tobytes())
To convert:
img = Image.open(image_filepath)
display_profile = ImageCms.getOpenProfile(display_profile_path)
srgb_profile = ImageCms.getOpenProfile(rgb_profile_path)
ImageCms.profileToProfile(img, display_profile, srgb_profile, inPlace=True)
img.save(filepath, icc_profile=display_profile.tobytes())
For convenience sake, you can use Styriam ICC Image Compressor addon to handle it.
Going to start a new thread on this, pulling the above discussion together with another one I just found…