nice progress and interesting workflow. As Witold said, cross sections could be a little bit more regular. And I would do rivets with bumps maps too
Keep it up
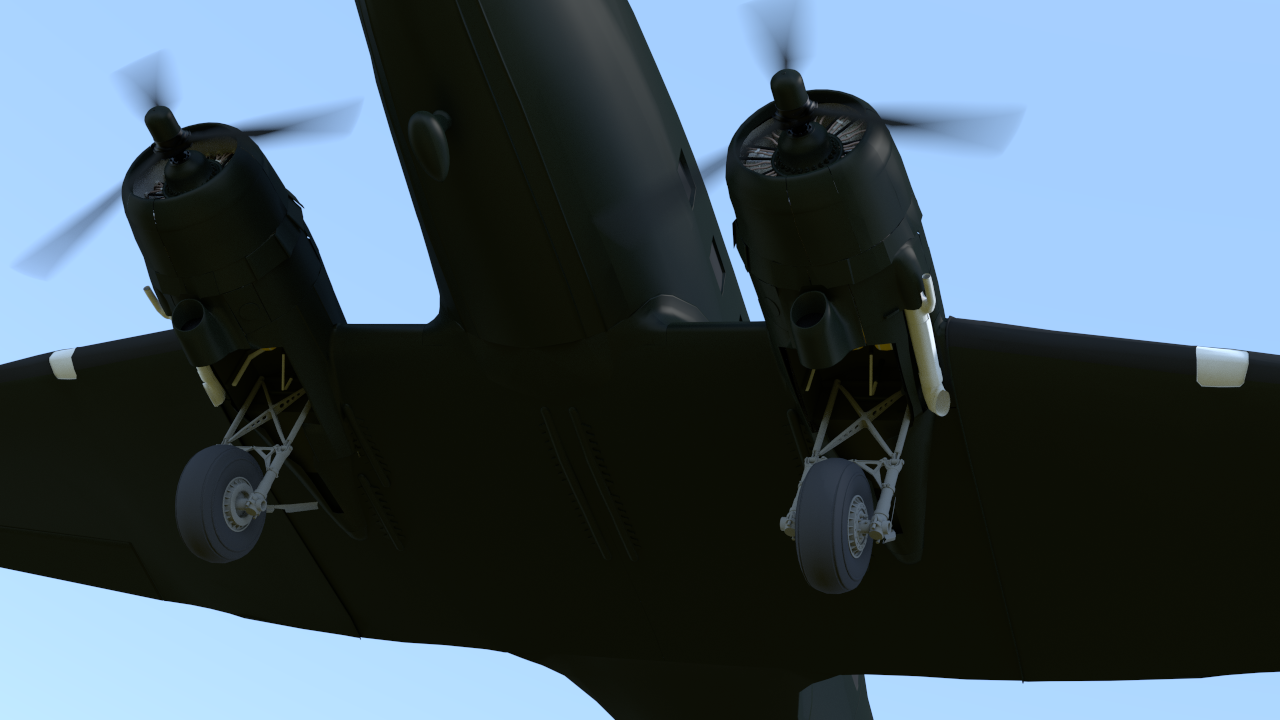
You are both right about the cross section. The 3D scan was bumpy in areas, so I’m working on straightening it out. As a proof of concept here’s my progress on the landing gear and underside of engine superimposed on the actual photograph of the aircraft.
If you look carefully there is a mis-registration with the right landing gear and fuselage(photo left). That is the problem I am having finding the center of the aircraft. Also the vertical portion of the landing gear struts are a little outside of mine. The 3d scan was bad in that area so you can see where I’m off and need to fix. Also you can see the handle on the cowling door is too high and I need to lower it.
OMG How accurate your model is! The gear has much more detail than any other aircraft model i have ever seen!The same is true for the engine hoods and the cooling turnnel! Did you use any cross section figure or 3-views to align the objects or just 3D scan? I could never find any 3-view pics with such high resolution that can just perfectly match the real photograph.Do you have any resource of it?
I didn’t use any 3 views, everything is made from the photographs fed into the photoscan software and exported to blender. I then use these images as references to model detail in where the scans didn’t do so well. One of the drawbacks is it is often difficult to know where you don’t have enough photos to do a decent scan. I wish I could go back and take a few more photos of the wing tips and wing top surfaces. I took all the photos at a museum that’s a few hours drive from my house, so taking more is difficult.
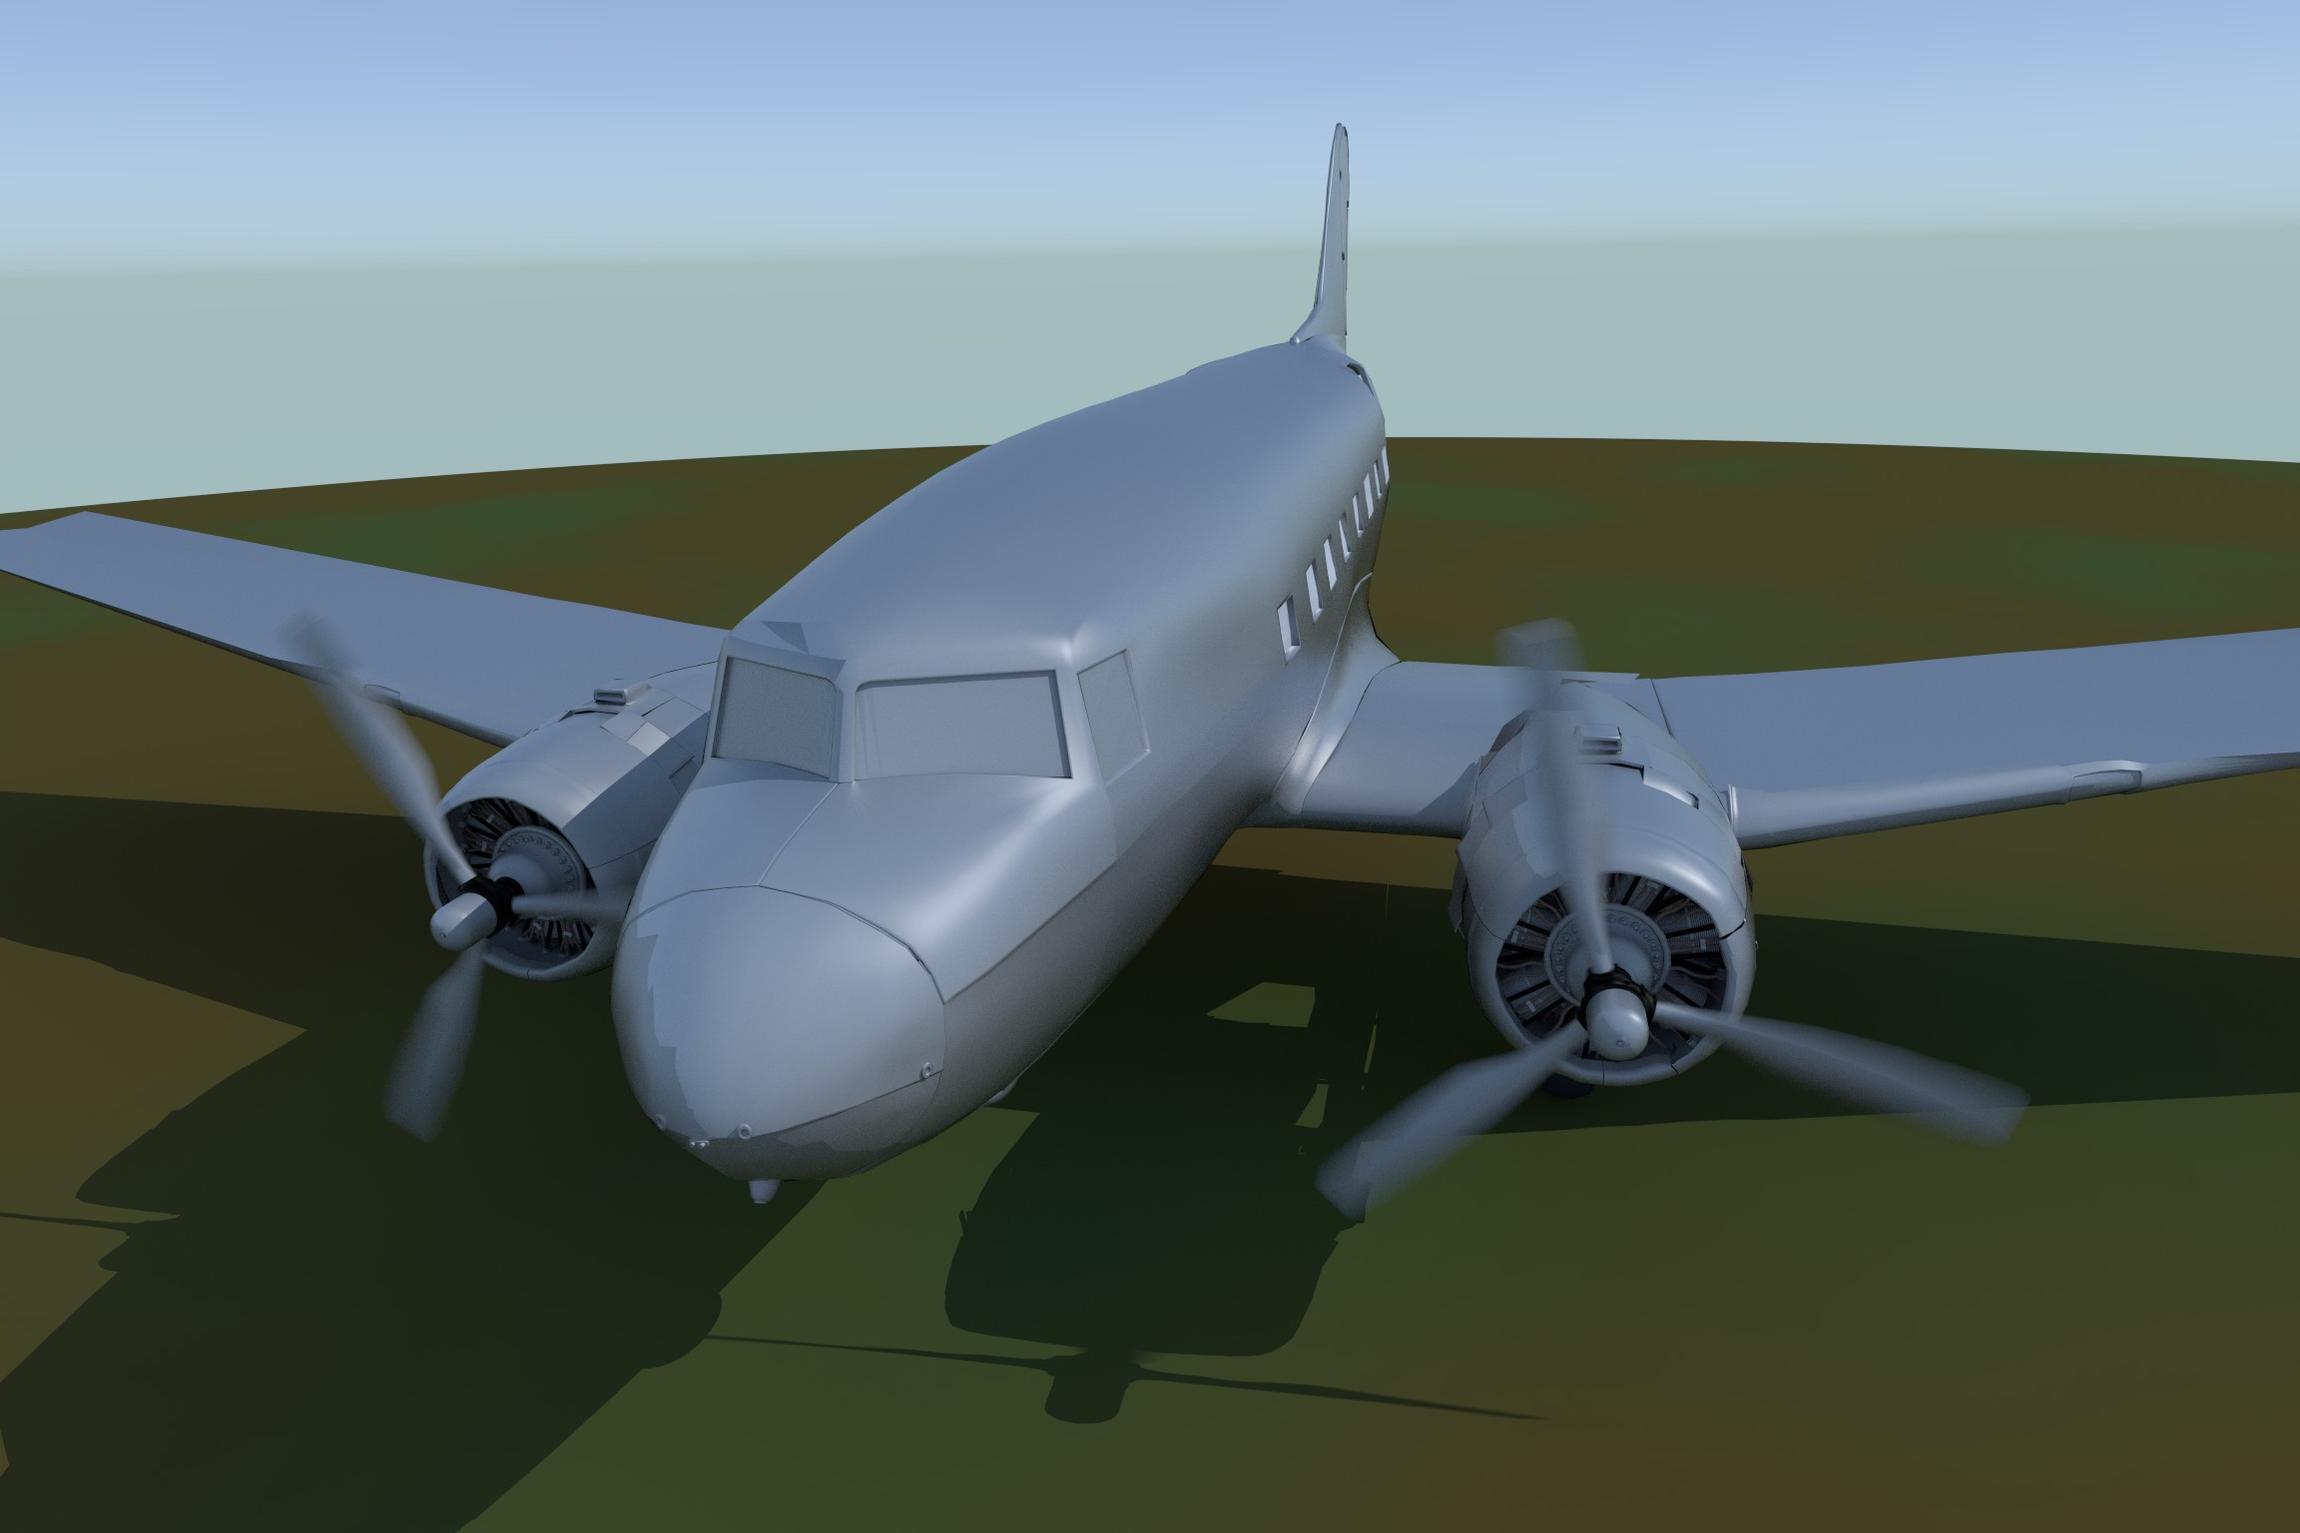
Here’s another quick render. Put some rough cylinders on the wasp. I’m noticing I have too large a delta in the seams for the panels so they stick out too much. Window needs to be more square…
The fuselage and engine nacelles look good in this perspective
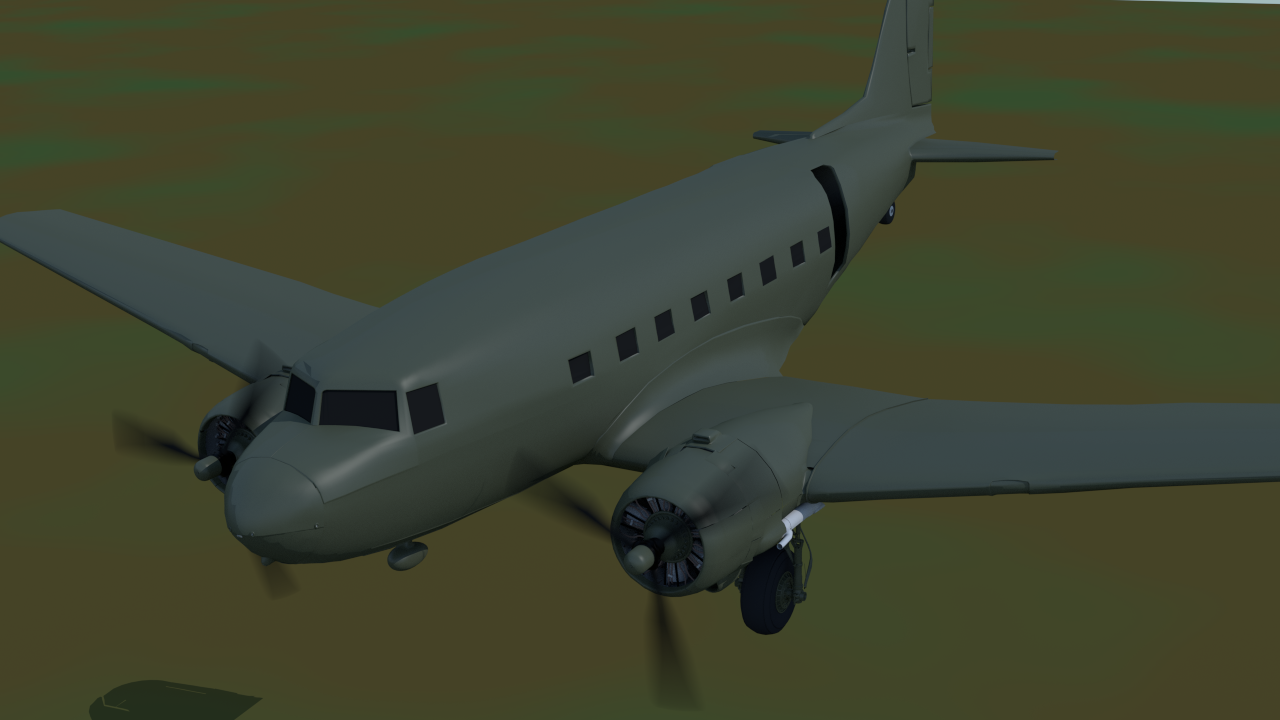
[SUB]The engine cowling cross-section still requires some minor corrections, to achieve the original shape of a perfect circle. (If you are using subdivision surface modifiers, you can obtain a nearly ideal circle from a regular, closed polygon: an octagon, 10-gon, 12-gon… These polygons do not need many vertices to form a subdivision curve of circular shape)[/SUB]
There is something wrong in the shape of the wing leading edge (it looks that some mesh vertices have been accidentally moved from their proper locations?).
I worked the Nacelles over for you using the To Sphere operator on all the loops just for you:) I spent some time on the leading edge… I work different from you in that I work rough to refined (if your using noisy 3d scans you are pretty much forced to) …
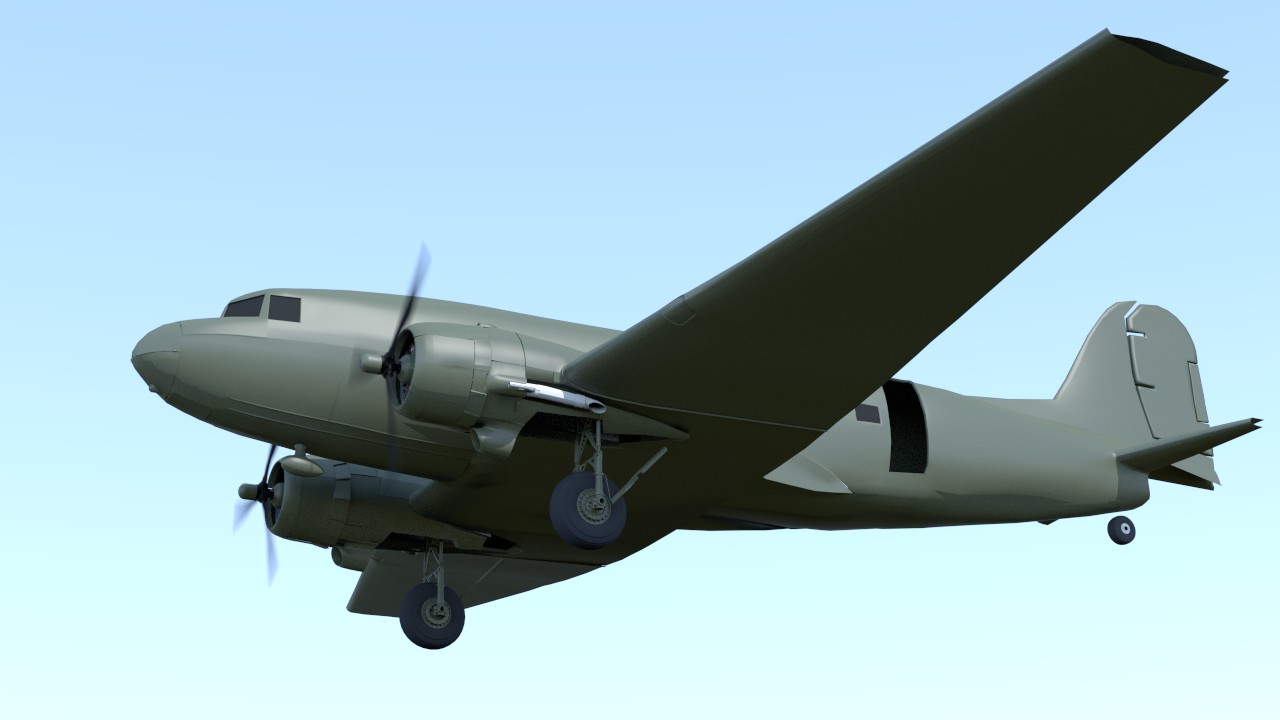
any way decided to throw REALLY rough materials on to inspire me to continue… Started work on the tail…
Here ya go:) I know what you’re thinking the tail looks out of scale at that angle, but the size of the tail is from the 3d scan and is quite accurate. That being the said the tail looks TERRIBLE because I roughed it in. I also haven’t finished the wingtips. I also need ailerons and to finish the landing gear, the #29 render kind of hid all of this, but for you I’m exposing all my incomplete sections:)
I never properly thanked you for posting those paintings on the first page, they’ve been very inspirational to me… so here goes… thanks!
Now that’s what I’m talking about NRK and this is indeed looking very nice. You no doubt saw the restored C-47, Whiskey 7, doing the recent D-Day celebrations. They let a old veteran pilot of that fateful day over France take the controls. Only this time he didn’t have that horrendous flack coming up with planes going down right and left. (Link below for some great pictures)
A little thought of fact just occurred to me. The Airborne Troops, paratroopers, received extra pay every month. The troops in those damn wood and canvas gliders did not. But, it was a day of killing and there was no better place to be really. Whether on the beaches or in the air. One of my uncles hit a beach in that first wave and somehow survived. A fact he contributed to simply luck and it not being his time.
You know this project when finished should be shared on some sites where those old veterans might see it. (2nd link is just one of those sites) However, it seems I read 400 hundred of them are checking out every day but don’t quote me on that one. But, this could take on a life of it’s own with some really nice researched stills and just maybe an animation. And, with that thought in mind let me just say; ‘Good luck with this worthy endeavor’ Now the links:
Thanks for the links I had heard about the flight, but hadn’t seen any pics. I absolutely Love WWII aircraft. When we were young we built a life size fuselage of a B-17 out of plywood and 2x4s using a copy of the B-17 operators manual as a reference. My brother and I also built several scale models including one with an 8 foot wingspan and several smaller ones all with working motors in the engines (we used them to make short films etc). Anyway I’ve been making small progress on the model here and there, post some more soon.
Totally missed the correct location for the tail wheel and hole in fuselage for it. I don’t have good scans of certain areas and I’m struggling with them. Using a python script to load camera settings and put correct stuff in background since I switch from camera to camera and setting them up takes time.
Believe it or Not I have made a TON of progress, but it doesn’t really show in any one render. I might spend an evening fixing the tail, another modifying the landing gear… still not finished on that, but closer. I’m slowly adding panelling etc.
[SUP]About working with details: when there is so many of them (like in pilot’s cockpit, for example), I divide such an assembly into smaller, more “manageable” subareas. Then I start to create all the details from the first subarea (from the beginning to the end - including materials and textures). When it is completed, I start to work with another one. The key rule is that I have to focus on the current subarea and will not start the another one until the current one is finished. Maybe such an approach will help you?[/SUP]
It actually does… thanks, I’m working the other way which is model everything, then texture everything etc and it’s not working out so well because the modelling is months long and you never know when to quit. Also you lose the camera setups and reference image setups from one area to another and you have to recreate them at each phase. I need to save more screen layouts of these setups, but somehow I’m not too organized that way.