Wow, that’s impressive.

I will have to follow this thread if u continue.Some day i will be interested in all your ideas, im trying to represent a realistic female model.I like your facial animation, i mean hers
Thank you, sesinho!
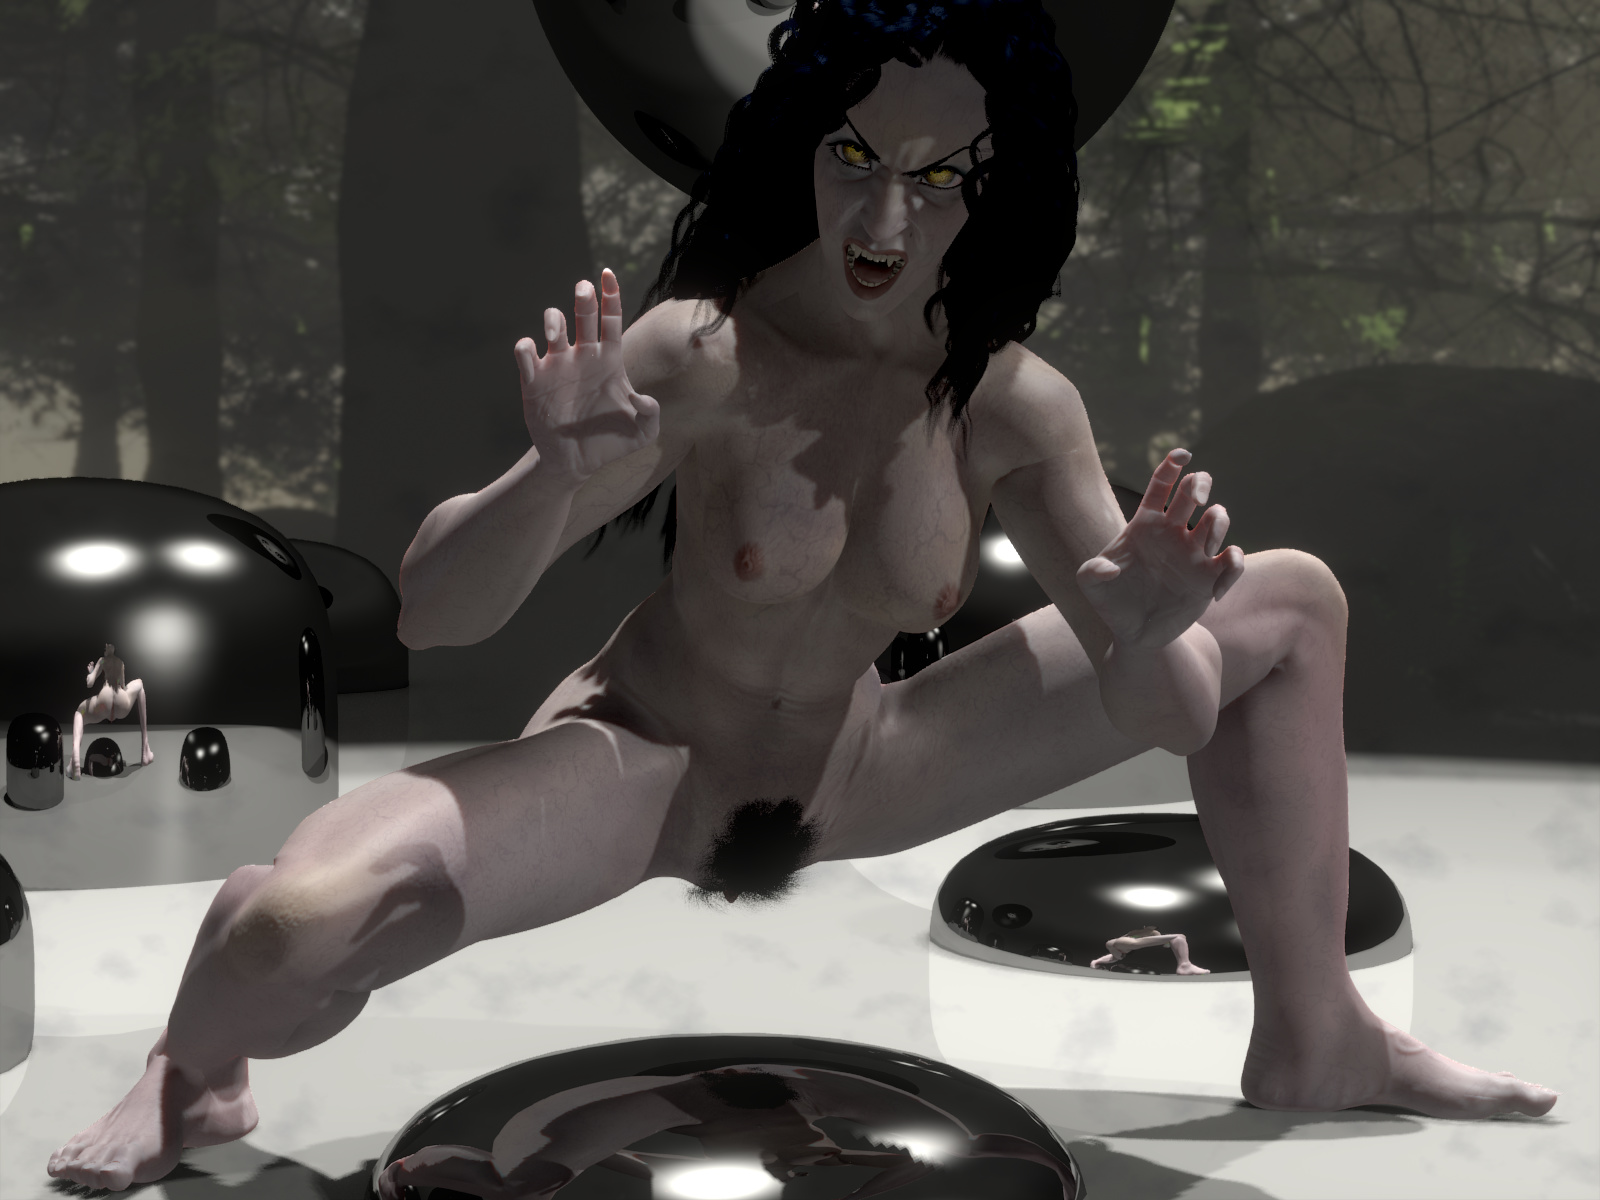
More texturing (added procedural veigns and more bump/creases), more finetuning (fixed some deformations in the forearm area). Some creases are now “hard wired” in the bump maps, while others, in certain body areas, are created via driven displacement.
I hope no one feels offended by this whole-body-with-no-clothes-on pic …
Comments on deformation quality (and hints concerning weak areas, of course) are welcome.
Attachments
What in the world
I tried to do the armature thing the hard and complex way, it never worked, actually at first i thought that it was the only way to do it, using the mocap tools.
So how many bones you use, cause the standar mocap armature sometimes doesnt work.If i try to pose my model like that she would turn into a horrible monster lol 
awe some work hear witing for renders with cloathes
@sesinho:
don’t want to discourage you, but I used lots of bones for her armature - however, most of them are related to the muscle system I developed for this model, and are responsible to control muscle objects. You don’t need them to create good, basic mesh deformation in a model with good topology (see here for an example of what can be achieved with minimal effort, if topology is well-thought).
@Kramon:
thx!
However, cloth still has to wait a bit - there are several ToDos left for her anatomy. 
I successfully finished another experiment, and added jiggle to breasts and leg musculature:
http://www.thalion-graphics.de/portfolio/anim/Female1_C05_WalkToRun_jiggle.avi
Currently, the jiggle effect is implemented via softbodies - one per leg, one per breast. The vertex positions are transferred to armature bones via vertex-parented empties and Copy-Location-Constraints - this avoids the hazzle with per-muscle-softbody simulation caches. In fact, currently the jiggle is implemented completely outside the model’s own blend. It’s all done within the test case blend, via proxy armature (this avoids hazzle with softbody caches and library linking …).
Well, now, hair collision would be nice …
Honestly I liked it better without textures. NPR suits this character design in my opinion. But I have to say your rigging work is blowing my mind, I had no idea until I read this thread that muscle simulation of this kind was even possible in Blender.
Update: hair collisions enabled now: http://www.thalion-graphics.de/portfolio/anim/Female01_C05_WalkToRun_postpro.avi
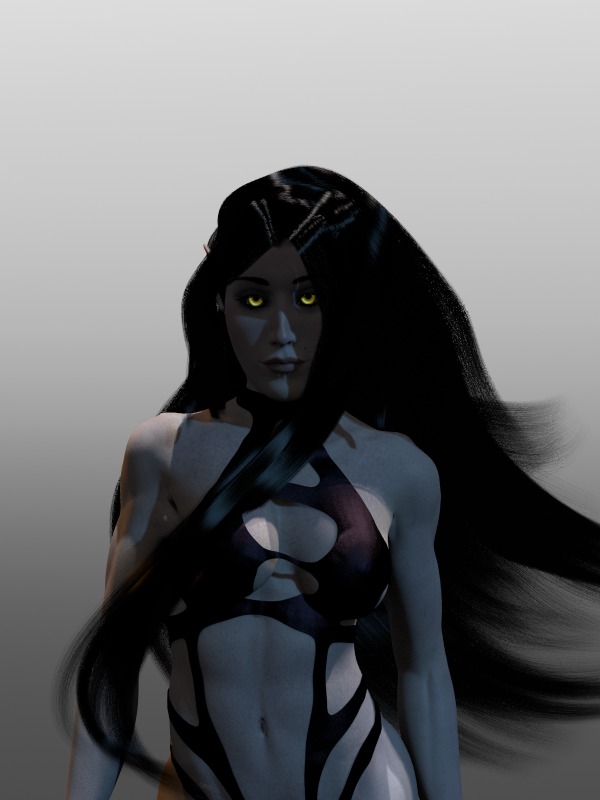
Slowly approximating the target:
shoulder musculature fixes, hair, textures, eyes, a bit of cloth …
<deleted>
Lot’s of work remaining, still: syncing the animation proxy with the real model, create colliders for various body parts, try out cloth or softbody modifier to avoid cloth/body intersections, improve cloth, improve skin material, avoid hair/body intersections around her ears, more mocap testing …
Then, I’ll have to rework the Draakh model …
Re-opened at OP request
Thank you, @Fweeb. 
This now has been on hold for quite a while, and well, for the better, probably. The first thing I wanted to do when I had a look into this thread again is to delete all those creepy old renders. My, how can one get carried away so badly, from an aesthetic point of view?
Really, it’s a bit frightening to see how I completely lost any ability to perceive the artistic results of all that fancy & finicky muscle rigging stuff …
It makes me grin in the same turn, to read the polite hints posted here and there, towards that direction.
I drew a lot of comic stuff since that iteration of the project, and hope to be better armed against such kind of failure now.
Due to very limited ressources, time wise, this will remain a low priority effort with lengthy stall times probably, but anyway, I decided to revive it a bit, starting by getting that female character model right, at least from the mentioned artistic point of view.
Reference paintings (approximation sufficient):
http://telayaanddioman.files.wordpress.com/2014/01/wp-poster2-960x540.jpg
http://telayaanddioman.files.wordpress.com/2014/01/poster3-1024x551.jpg
There’s a huge list of things yet to do to actually “finish” this model, some of them related to weaknesses of the rig, the model … and Blender itself. A short excerpt:
- find better solution for the shoulder muscle rig (and mesh?), it does not work well for extreme poses
- same thing goes for front split poses
- understand why bone roll of some bones flips at some point, and fix the problem
- make a real good face rig
… - Booleans, one of the core mechanisms used for her anatomy simulation, don’t work as expected, in that the result of a boolean operation can be invalid as input parameter for another boolean (it seems to be possible that boolean ops produce non-manifold result meshes occasionally); this either has to be fixed, or I have to find another way to achieve similar results (for example by developing a method to mask out inner vertices within intersecting meshes)
- the modifier stack is really huuuge and slooow now, node-based modifiers would allow grouping and much higher efficiency …
… - switch over everything to Cycles
- explore the new hair dynamics stuff
…
For now, it’s all Blender internal.
I’d like to get the shape right.
… should be better now …?
Here’s a short flyaround animation, showing the motion range test (splits) pose (warning, might be NSFW due to some small details):
standing splits
I’d really appreciate some honest C&C here - I don’t want to screw it up again (watching the old stuff makes me blush out of shame :o … I kept my finger away off the delete trigger however, at least for now, just to give you (and me) the chance of comparing).
It seems I’ve stumbled across a trick to simplify the muscle simulation a lot, decrease it’s ressource hunger & increase it’s reliability dramatically in the same turn. Instead of using booleans to join all the separate shrinkwrap targets into larger meshes, I just joined them into multi-mesh objects representing forearm, upperarm, torso, thigh and shin anatomy. Until a few days ago I had believed this - desirable - approach would not become viable unless one (me?) coded a new modifier to mask out inner vertices, but there actually is another way, probably totally out of spec for the usage of booleans … but it seems to work nicely so far: each of these objects gets ONE boolean modifier at stack top, mode “intersect”, target object a plain cube resized in a way to be larger than the object’s bounding box under any circumstance, parented to apropriate parts of the rig.
Well, that’s it. This intersect op eliminates all inner vertices and provides a derived mesh exactly shaped as the source mesh.
There seem to be - rare occasions - where parts of the inner vertices survive the operation, but they’re rare enough to still make this one huge step forward towards usability of the approach.
Test, using free mocap data (source: http://www.centralsource.com/blender/bvh/files.htm) of a ballet dance: http://www.thalion-graphics.de/images/t3-demo/deformtest-ballet.m4v
(did not fiddle around much here with manual animation, the hands for instance are as stiff and twisted as the mocap provides … it is the overall body deformation which counts here)