Alt+mouse wheel over the Look presets dropdown let you cycle between them really quickly, for those not aware. First times i used i was always opening menu->choose->observe->open->choose->observe… those tiny UI things that make life easier.
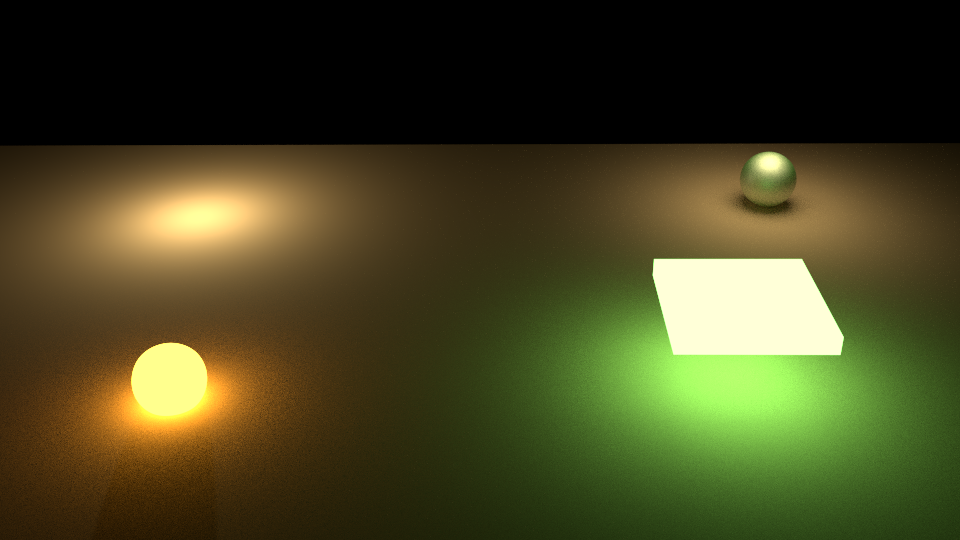
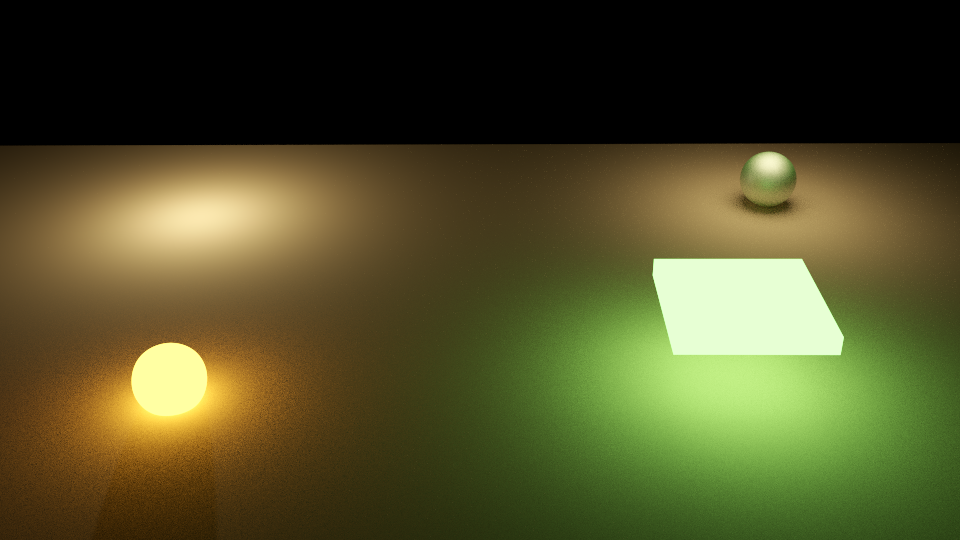
My favourites are: Canon Optura 981113 - Agfacolor Optima II 200 (rather bluish) - Kodak DSCS3155 (strong contrast) - Agfacolor Vista 400 (warm tones), depends heavily on the scene
Sorry, I’m not sure I’m getting this…Isn’t this self-evident? Can it even be anyother way? What is burnout? Values brighter than 1…It seems you would be very limited in your lighting if ‘burnout’, as you put it, wasn’t possible in a render engine.
@Kramon,
Whatever some like to call it,
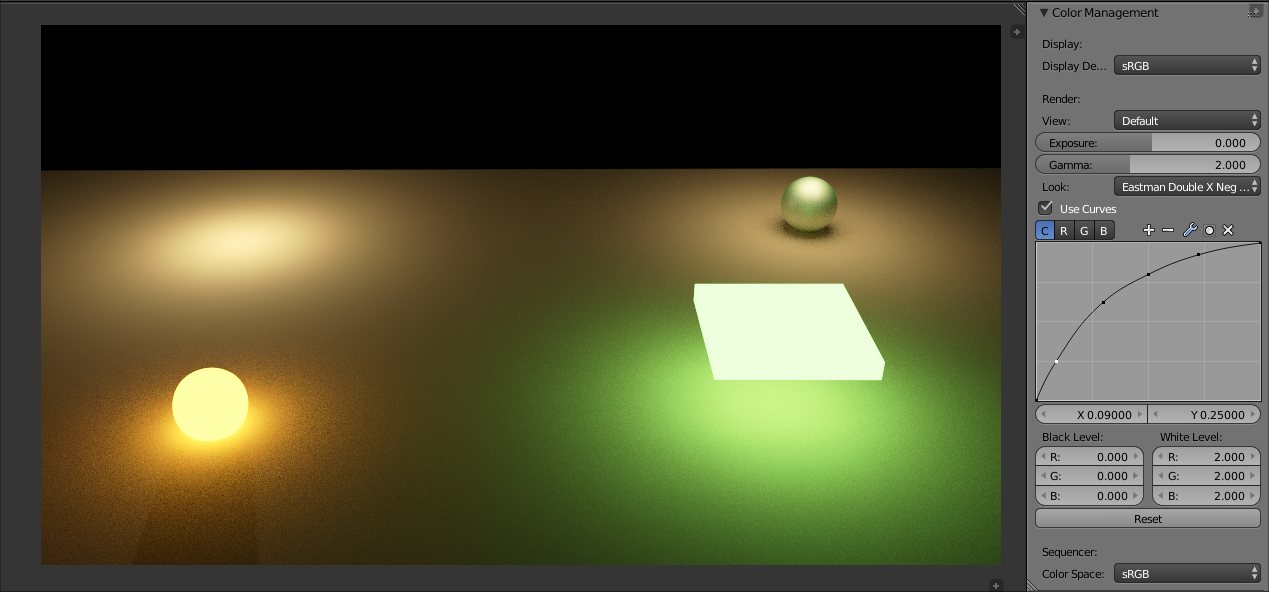
we find it under “color management”. This is the fact.
It is a 32 bit post-processing.
Films are fine (thank you marco for the alt+wheel tip)
Curve behavior is as horrible as always in blender. (PShop curves please)
It is great to have it in cycles viewport though.
Pick your favorite film preset, tweak the lights then. Not bad at all.
Yep, two threads about tonemapping now, mostly people telling other people what tonemapping isn’t.
So, if you would kindly share your expertise with us, maybe throw in a little definition, I am sure many would be grateful, including me. Thanks!
@swene
and all friends,
Let’s talk and test on the color management tool. Please.
It is called color management.
The title should be like:
“A better color management for Cycles, death to easy burnout”.
Sorry for bumping the thread, but I’ve still been playing with tonemaps every now and then trying to look for a better solution, and I think I’ve got it.
In a sense, the difference between the default tone and the custom tone is even more marked now than it has ever been.
By far the most advanced settings that I have ever discovered, allowing for what appears to be excellent balance between vibrancy, brightness, and contrast while having a lower than ever tendency to see burnt out colors.
@Ace
It is a matter of color management. In blender, it belongs to the color management properties panel.
It is a matter of converting a 32 bit color space into an 8 bit color profile like your monitorRGB profile, the generic sRGB, AdobeRGB or anything else.
The good news: Use a preset and fix the lighting by previewing this particular preset in 3d preview. Very useful. Or, just edit these presets or use your favorite curves.
Why do you still calling it tone-mapping? In blender terminology it doesn’t sound right (it isn’t a tone-mapping anyway)
Why do you still calling it tone-mapping? In blender terminology it doesn’t sound right (it isn’t a tone-mapping anyway)
Aplying curve correction to hdr image could be considered as a form of global tonemapping.
You can also define global tone mapping curve with math nodes in compositing nodes editor.
@sadaj72
Agreed, however in blender terminology is called “color management” and this exactly is.
My point is: to select a camera curve preset or any custom curve you like and only then start tuning your lights in 3dviewport cycles. A nice and easy workaround IMO.
 those tiny UI things that make life easier.