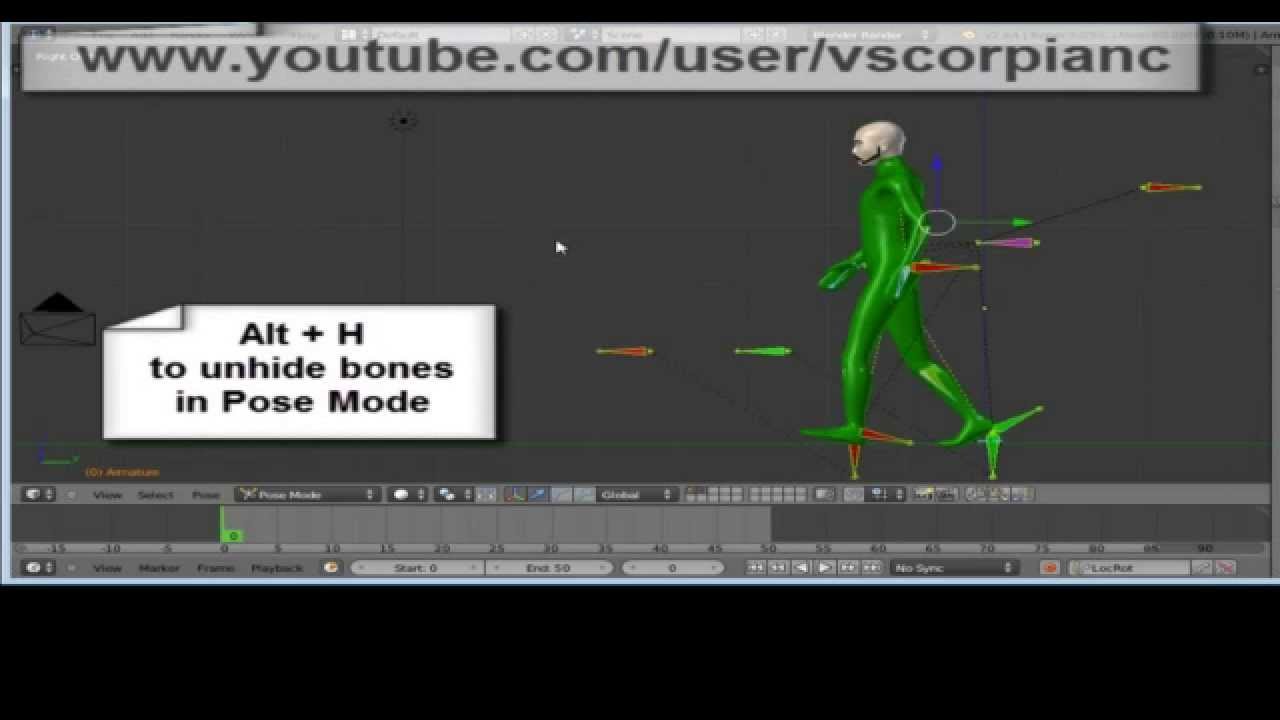
How do I prevent feet sliding in walk-cycle along path?

If I make a walk cycle, and set it along a path, the feet are sliding. I found a script called “NoSlide”
https://github.com/grgr/no_slide but it does not turn up in Blender Addons when installed. I suppose the script is broken.

So is there any way to have this script to work (I am using Blender 2.76), and if not, what is the easiest way to have my character walk or run without sliding?

just unzip the folder and install the .py instead of install the zip file directly. I tried it with 2.76 and it shows Noslide in the n panel of the nla editor.

good luck.

Thanks. That “worked”. Meaning, I got the script working technically, but the script is awful full with errors. For example, my feet still slide. ALOT! I followed the manual 100 %, and the object moves, yes, but the feet are sliding both left and forward - and downwards (even though my character is not supposed to walk down).

What am I doing wrong?

How come there are so many “Walk-Cycle” tutorials, and so little “Walk-forward” tutorials? All tutorials involving walk is about a walk cycle as if the character was in a spinning wheel, but I have yet to see a decent tutorial about making a character move forward. Why?

I always do my walk cycles as walk forwards (probably because I am not an expert). I find it much simpler and then just move the root the required amount every cycle. This way there is no slipping and the character moves correctly.

Hi Philosopher

The most basic method I know and that I’m pretty sure from experience is used everywhere the most is this…
Basically you get the walk cycle to work on the path as closely as you possibly can. Then you simply select all of the rig controls/ handles used in the cycle and bake the animation into the rig.

In Blender you would use these settings :

Frame Step 1

Only Selected

Visual Keying

Overwrite current action

Object

Don’t forget to switch all of your curves from cycling to constant once it’s done…

Baking walks on paths is normally the most common way used for this because most of the time they will be part of longer animation sequences. So ideally you want it all of your animation on keys only and not be working with loads of complex constraints everywhere.
Also if you need to adjust anything during a walk cycle such as a head turn for example or a hand holding something you would constrain those to an empty and just bake that in too.
Not to mention that all animation is ideally baked before render or before or during export to a game engine.

With the walk on a path. Once you have baked everything then you can get in and clone and delete keys on the grounded feet to get everything fixed. How much you need to do this depends on how much it shows in the camera.

You would be surprised how much foot slide can sometimes be gotten away with on on many professional productions. Particularly if it’s a character running. If the cycle is well enough animated it really will go a long way to sell the illusion. With fast moves like running a slight foot slide can sometimes enhance the animation and helps it get away from sticky foot syndrome, the terrible twin of foot sliding syndrome.

All the best…

All tutorials involving walk is about a walk cycle as if the character was in a spinning wheel, but I have yet to see a decent tutorial about making a character move forward

I totally agree… I cannot find a good tutorial on having a character start from a stop than move into a walk cycle, or the opposite walk cycle to a slowdown and stop.

It is very easy to do, once you’ve done it a few times. Here is one such elusive tutorial that you seek:

(Part 1)

(Part 2)

The basic idea is to start with both feet planted flat on the ground. You can start with a standing position or in mid-stride like in the video, but to be useful you want it to start in a standing position. I’ll explain it starting with a standing position…

0 - Set your view to Ortho side view.

1 - Keyframe the standing position at the location you want to start the walk. Move forward +10 frames.

2 - Slide the first foot forward (I’ll refer to the first as the left) , keeping it locked on the z axis, for about the distance of a half-stride. Set another keyframe. Move forward +10 frames.

3 - Slide the right foot forward, locked on the z axis, for a full-stride distance past the first foot. Adjust the position of the main body to keep it from stretching. Slide the arms forward, with the left arm kept back slightly and the right one forward slightly. Set another keyframe. Move forward +10 frames.

4 - Repeat this process for each foot for as many steps as you want. Set a keyframe for each one.

5 - Go back and start adjusting the feet. On the initial step forward, the toe of the forward foot should be pivoted slightly up off the ground, so set the pivot point so it’s at the heal right on the axis line and rotate the foot up slightly. Go through each step (left and right) and do the same to them. Reset each keyframe.

6 - Go back to the first full step and adjust the back-most foot, pivoting the heal slightly off the ground, opposite to the forward foot. Do the same for all the rest. Reset each keyframe.

7 - Go back to the first full step. Move forward +5 frames so you’re between first and second full steps. Lift the first foot off the ground slightly, as though in mid-step. Adjust anything else that looks wrong. Do NOT move the planted feet! Set a keyframe. Do the same with each full step.

8 - Render and review. Make adjustments where you think you need them.

9 - Most important rule!!! Have fun!
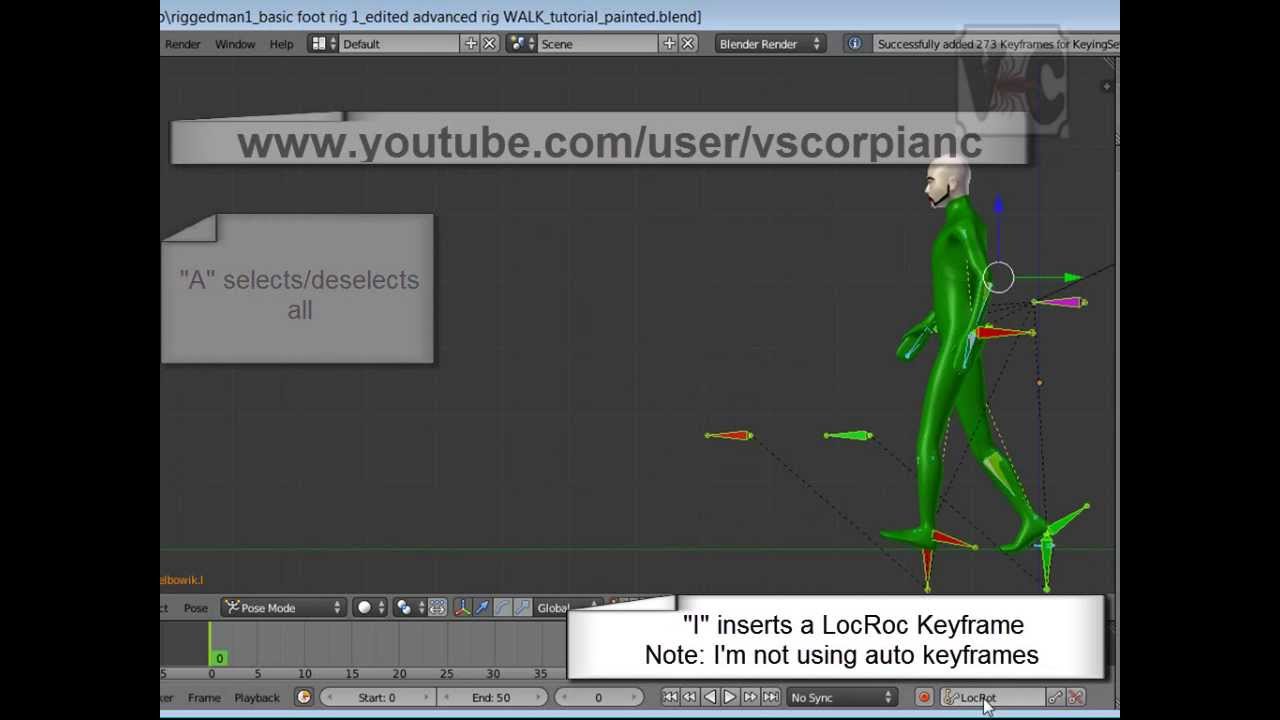
@anthony forwood Thanks for the video links, and the steps you posted. I’ll be sure to give it a try. Thanks again.

Check out my short animation to see the results…