I am not sure if the comment was aimed at the fact of lack of lighting. Still life [well quality still life] doesn’t have too many, too intense light. As in real still life doesn’t remove shadow, etc.
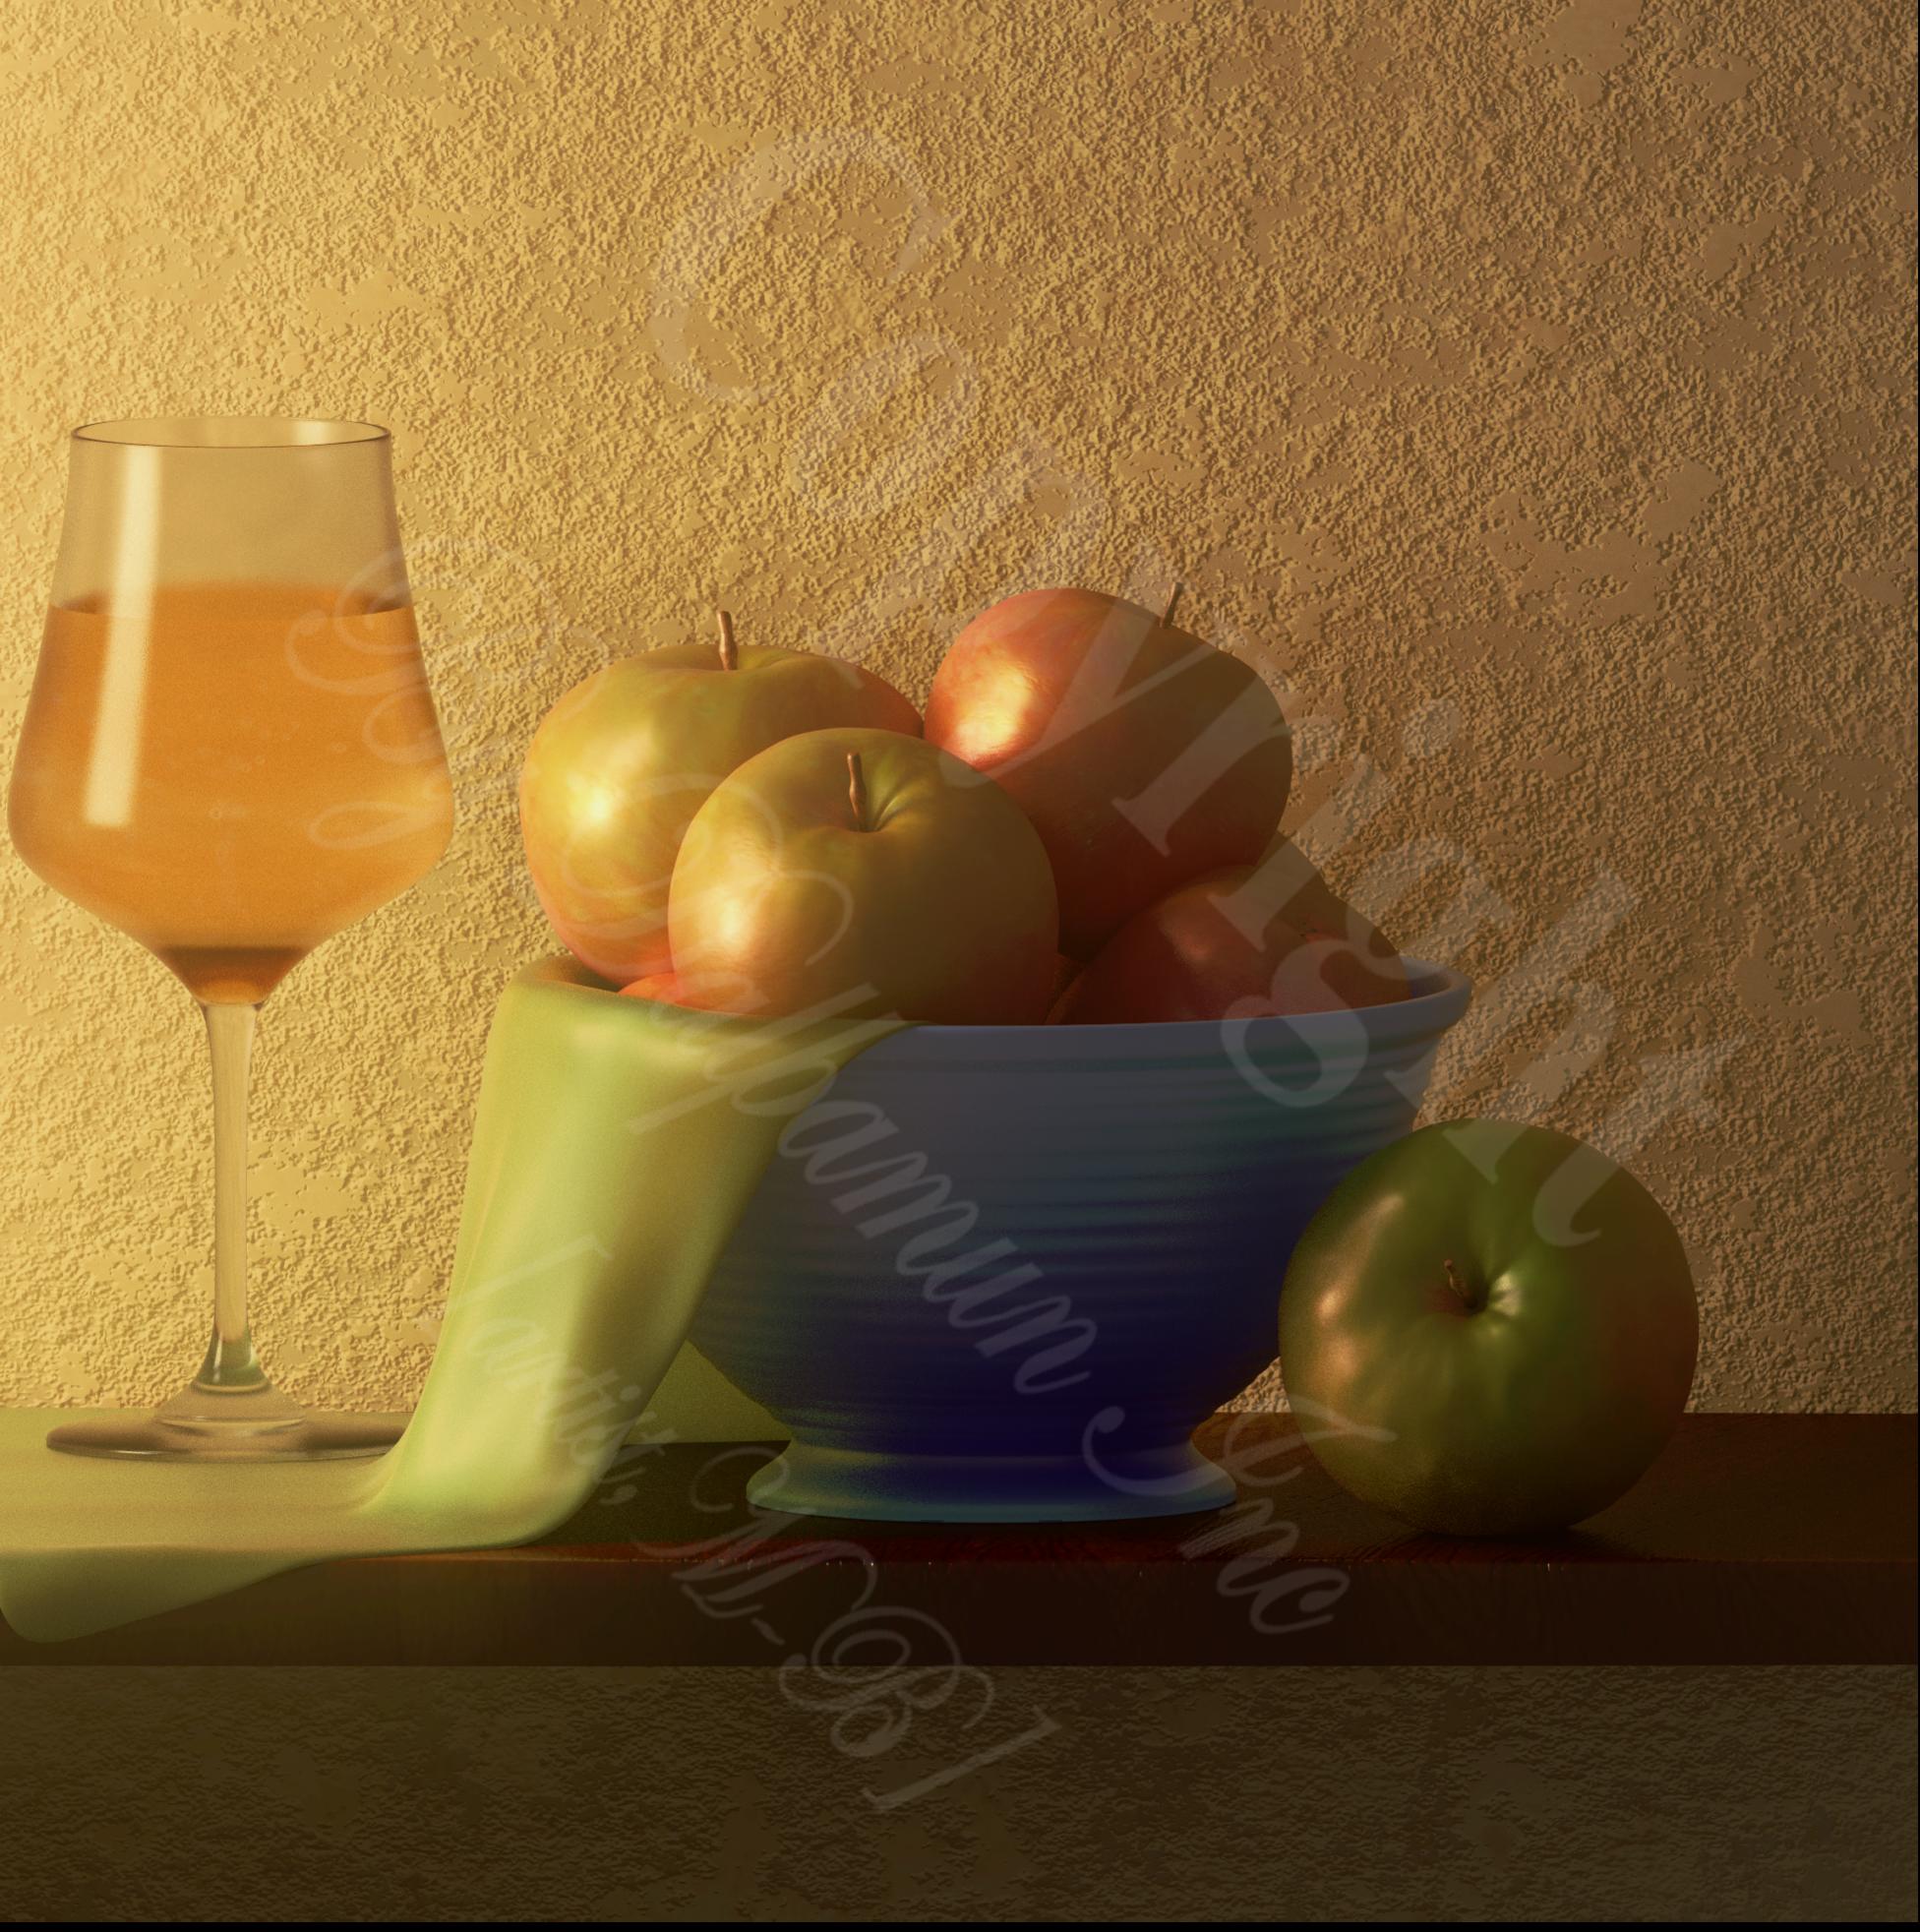
The color of the wine, the cloth, and the backdrop are all very much the same.
Several of the apples also appear to be golden, although one apple is green.
The cloth seems to be of a strange, textureless material. It almost looks like oozing plastic.
The glass lacks any sharp, specular highlights. It actually appears to be oily … dirty.
The texture of the bowl appears to vanish in several large sections. The apple seems to be casting "a blue-paint(!) ‘shadow’ " upon it.
There’s no three-point lighting, and no variation in the color of the light. (Inject some of the complementary color … from the opposite side of the color wheel … into your fill-light temperatures. Or, more cheaply, extract your shadows and tint some of them.)
Without the presence of rim lighting, the right edge of the top apple appears to vanish into the wall: the “3D illusion” is lost! There’s a noticeable lack of separation throughout the scene.
There just doesn’t seem to be “crisp, tack-sharp detail” … anywhere.
Lighting impossibilities: the position of the reflection on the wine glass indicates what the key lighting is supposed to be, but if that were the case, the bowl would be similarly illuminated. The position and direction of the shadows, e.g. beneath the rightmost apple or the bowl, is inconsistent with this, or simply incorrect. The apples do not cast proper shadows upon each other. The edge of the shelf is not defined along its entire length, nor along the bottom. (It blurs into the bottom wall, which is inexplicably much darker than the upper one, once again losing the 3D illusion.)
In other words, “visually speaking, ‘meh…’ .” The effect is “boring,” whether it be a render or a still-life photograph.
Grab some books on still-life photography. Grab a digital camera and shoot some. Grab some apples and a bowl and a glass of wine (“hic …!”) and try to set-up that same shot in real life. Now, try to make it interesting.
When you’re trying to replicate “the real world” in CG, I always suggest: “get out there, in the real world,” and take your physical camera with you. (A good one, if possible, not just your phone, although your phone will do.) Buy a professional lightmeter that can measure both reflected and ambient light, and quantify the light levels within that “real world” scene. Measure the light levels, and measure the color, as you can do on a shoestring budget by holding RGB colored filters over the meter. All of this data can translate directly to CG terms, and, "it will probably not be what you ‘think.’ "
I’d also add that ‘flat’ might refer to the overall composition of the objects. They’re all more-or-less on the same x-z plane, so could use some more depth within their actual arrangement. Lifting the camera slightly above the tabletop and tilting down, and adding a foreground apple or something could lift the composition. This is beyond the realms of compositing of course Keep at it.
The thing that we are actually looking at … a picture on a flat screen, or a printed image on a flat piece of paper … is, obviously, “flat.” There are exactly two things that our eye uses to perceive that the image portrays three-dimensional space:
Shadows, their apparent direction, density, and size.
Edge-defining highlights, provided by 3-point lighting, which separate items one from another.
If you take a couple of cropping-boards and isolate the apple at the top of the pile, after a few seconds a very unsettling visual effet will occur: is that an apple in front of the wall, or is that an apple-shaped hole in the wall? Without a believable rim-shadow, this is a very unsettling effect. (Similar to the familiar optical illusion that comes from staring at a side-lit pattern of “stacked cubes.”)
When you are putting a render together, take full advantage of Blender’s very powerful, OpenGL-based preview capabilities … both in the 3D View window and in the “Preview Render” capability. Both of these can illustrate lighting. (In the case of Cycles renders, you may need to add some conventional spotlights, which are a type of light that can cast a shadow in BI. Cycles will ignore them.) Switch the lights to distinctly-different colors so that you can see exactly where each one falls. Do previews with different combinations of lights turned off and on. OpenGL can hand you a result in a matter of a couple seconds, if not less … and it just so happens to be a good one.
And then, similarly-armed with this “very fast rendering capability,” move the camera around freely, looking for the best shot. (I actually duplicate the camera, switch to it, and move it around to the new position, leaving a trail of “other-possibility cameras” in its wake.) The principles that apply here are exactly the same as with shooting a still-life in real life.
Another good thing is to go to “real life,” armed with two “cropping squares.” Simply take a large picture-frame mat, and slice it in half diagonally to create two L-shaped pieces that can be used to enclose a square or rectangular area. Go to real-life, hold the squares in front of you, and look for “the best crop” in the scene in front of you. The cropping squares will help you see the image as “flat,” especially if you close one eye. You can use your two hands in a pinch …
 Keep at it.