In this tutorial, we model a sphericon pendant in Blender 2.76. This is a companion video to my latest 3dsmax tutorial of the same. I will attempt to translate the modeling strategy in Blender, to create an object which could be used in 3d printing, or as a unique design element, like a jewelry prop or sculpture, to be rendered in a scene. Unfortunately, the video cut short on me, and I wasn’t able to create the hole for the necklace in this video. However, if there is interest in seeing that part, please let me know in the comments, and if there’s enough interest, I’ll make a part 2, which shows how to quickly create a hole for the necklace.
Hope you find it useful. Please let me know if you experience any issues. Thanks.
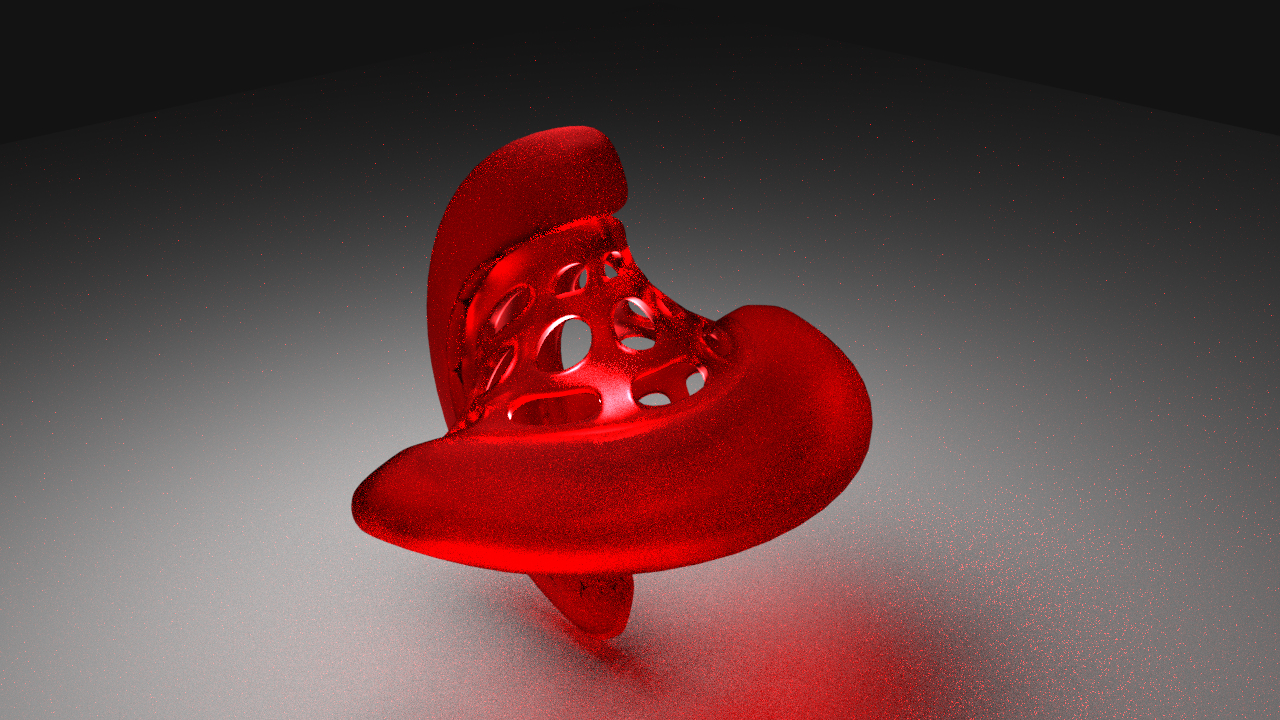
Very nice work. I like the shader you’re working with there. Glad you were able to follow along. I’ll be uploading the “part 2”, which consists of how to drill the hole for a necklace sometime this evening, or within the next 12 hrs.
I just posted the final step to this tutorial, creating the hole at the top for a chain or necklace. It’s just a simple, quick way to create a hole through the mesh, and finish the project. The last step got cut off from the original video, so I had to remake it.
Instead of seperating the object and recombining you can use “y”, that does the same thing in one step.
at min 25 the scaling does not work properly because your cursor is to close to the origin. The bigger the distance to your scaling pivot the finer the scaling is.
at min 46 I think you forgot to close the inner loop to make it manifold. But its hard to see so im not entirely sure about that
Thanks for the feedback. That tip about using the “Y” hotkey was very useful. The distance of the mouse magnet/rubber band effect on certain operations can sometimes be tricky, especially when you’re modeling in close to that point, but you’re right about that. The object was actually manifold, and the loop was closed, but there was one set of polygons that weren’t selected. These were closed manually first, in order to create the proper bridge. Sometimes the bridge tool needs to be guided by an initial junction, so the algorithm doesn’t get confused about edge direction.
On second thought, I think I see the part you’re referring to there. Yep, you might be right. I think I missed the “inside” edge loop on that second round of bridging. Thanks for pointing that out!
