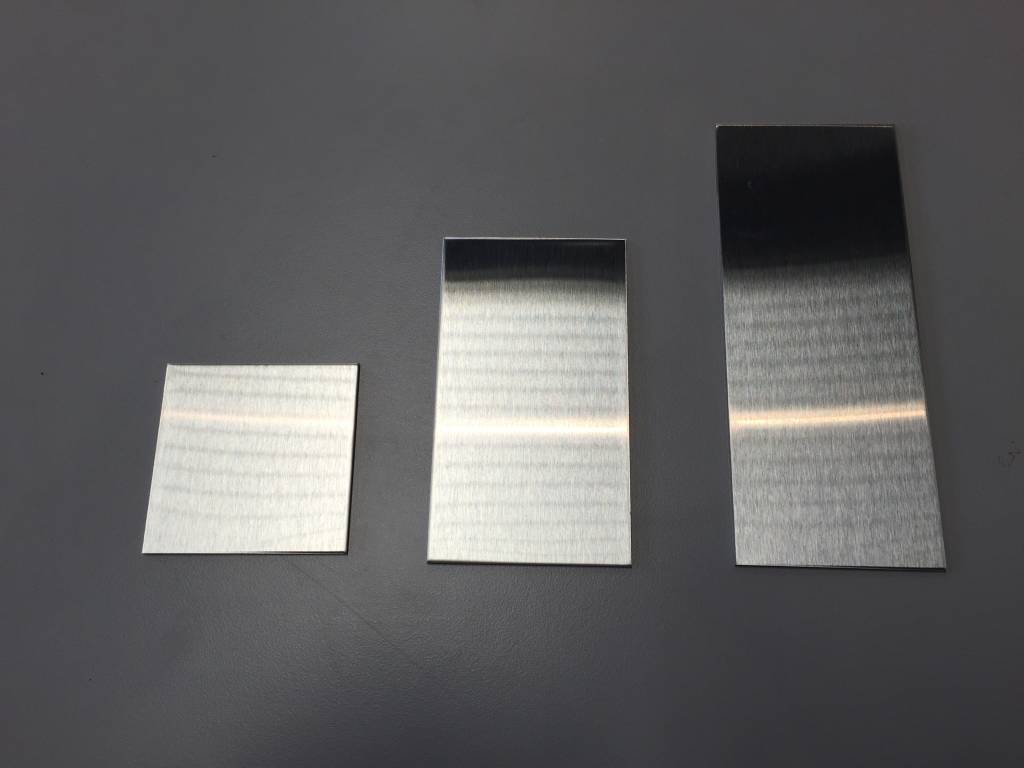
Yeah, search the forums, should be plenty of tips. I’ve made some myself, including one of the pictures above. What do you mean by “ultra realistic” anyway? Without a context it could mean anything. Radial brushing as a repeating procedural pattern is kinda messy due no switch to make it repeating and no 4th dimensional input to help an invisible seamless modulation. It’s semi possible for noise pattern in X or Y directions, but not both, and not for other generators (the busyness modulation will be visible).
Linear without seam (like on a door, should be no problem at all), but radially Blender suffers a shading “bug” across the seam if driving tangents with a UV map. So even if you manage to get the pattern repeating seamlessly over U=1, you’re still faced with this horrible shading artifact.
Linear and radial brushing (including fixed direction changes like for carbonfiber) is very easy to setup in principle, but creating “flowmaps” for a machine tooling path? Let’s just say I’ve given up.
For shading model, I often end up with, after a lot of trial and error, with Beckman based anisotropic shading using >1 (say 2-5?) roughness values. It’s the only one that allows me to have not extremely blurry reflections while still having light being significantly stretched. Alternatively you could try mixing several shaders with increased rendering cost. Unless you’re going for severely unpure metals/alloys, don’t even bother with diffuse shading.
You also have to ask yourself if visual artifacts needs to be visible. A common mistake is to always show bumpmap or visible darkening patterns as shown above, when prop use actually dictates that this is not needed - making a material extremely advanced just for the sake of it makes nobody happy.
Finally, there is the color. Put all color into reflection level and let it fade (generally) to white at the edge. If you can obtain n/k values for the alloy you’re making, then by all means do it, but I personally think this is overkill since it’s not supported by default. A general fade to white is good enough in most cases.
Keep in mind, brushing is a generic term wrt rendering, which also includes many types of machining operations (drilling, milling, lathing, cutting/sawing etc). The only time I would consider a secondary shader would be if it has other operations performed on its surface after brushing/machining, like buffing and polishing.
Again, no such thing as ultra realistic - “enough” is what you want to go for, and “enough” on a macroscopic scale can be hugely different than what you would need on a microscopic scale, and either one wouldn’t work at all at the other end of the scale. I mean, no renderer adheres to the laws of quantum mechanics, right? 

