After following all the steps mentioned in its documentation page, is no where to be found in my Toolbar 
Was this unofficially replaced by a better solution maybe?
Thanks guys,
JDL
After following all the steps mentioned in its documentation page, is no where to be found in my Toolbar
Was this unofficially replaced by a better solution maybe?
Thanks guys,
JDL
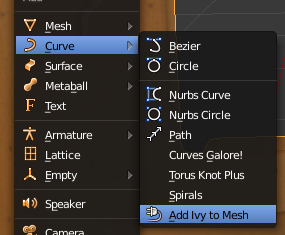
it seems to be working for me…: enable add-on >> select a vertex from the default cube >> exit edit mode >> add curve > ivy >> change settings in toolbar >> hit the ‘update ivy’ key in toolbar
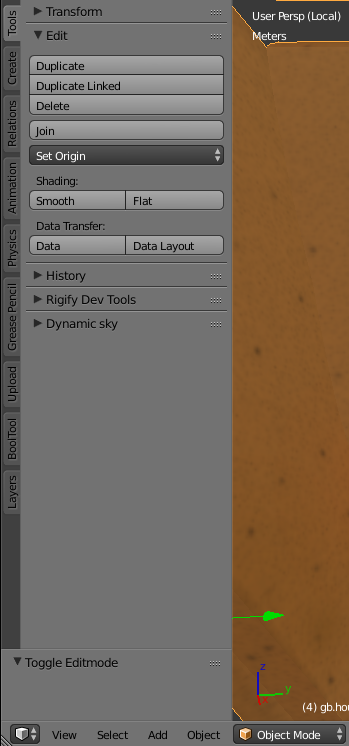
I did see the “Curve/Ad Ivy to mesh” choice. But as you can see in this screenshot, there’s no tools for it 
looks like you’re in edit mode.
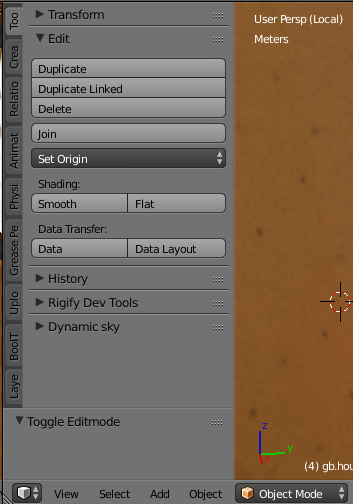
ok, apparently the ivy appears at the cursor, not the selected vertex, just to correct my previous post.
I was in Edit mode only to select the vertex (where I placed the cursor too).
But if you look on the lower right corner of the screenshot, you’ll see I was in Obj mode.
I dunno, man. it should be right down there where it says ‘toggle edit mode’. you might try asking in the thread for it, in the ‘released scripts and themes’ section
I can confirm it works fine here on Windows 8.1 with Blender 2.76b
Go into edit mode, select a point you want it to grow from, set the cursor there, go back into object mode.
Add an ivy curve and ajdust / update the ivy panel as required.
Colkai, that’s exactly what I did.
I just tried it again. Still nothing related to this in the Toolbox.
The key thing here is, once you have clicked ‘Add Ivy To Mesh’ do NOT press anything else, doing so will remove any “build” options for the ivy. Might I advise this…
Set a blank scene up, set viewport to wireframe, (I found one Ivy iteration went UNDER my geometry not over it so didn’t appear in solid mode).
Add a UV Sphere, go into edit mode, select a point, move cursor to selected.
Exit edit mode, (into object mode). Shift+A to add ivy to mesh.
As soon as you have done that, you should see something in your viewport in wireframe mode to indicate the existence of the ivy.
Press the F6 key, the panel for the ivy should pop up. Also, the options will not be in the upper part of the toolbox, instead, they will be below all the tabs, they may also be collapsed as indicated in my first image.
If you go into edit mode, (maybe any other mode), you lose the ability to update the ivy.
Hope this is of use.
If this doesn’t work, I wonder if you have another addon active which is interfering with the IvyGen addon? I found if I had BSurfaces active, it messed up some other curve actions so it may be worth turning off other addons and retrying, jsut a thought.
Colkai,
Thanks a million for such a complete reply 
Well, now I can see the tools in the Toolbar. Now I’m trying from a Windows box, instead of Ubuntu. I don’t know that’s what made the difference.
Unfortunately as you can see in the screenshot, the ivy is yet not appearing for me 
I did make the Bsurfaces addon inactive as you suggested. And reloaded the file, readded the Ivy curve.
What are you trying to grow the ivy up? Try doing like I did, just an empty scene with a sphere, see if that works.
I’ve attached a blend file as a Zip. Ball01 already has Ivy applied to it, you should be able to see that. Ball02 is the basic sphere, I’ve selected a vertex as active and snapped the cursor to that.
If you activate the ivy addon and add an Ivy Curve to mesh, it should generate a visible ivy structure. I then played with the size, making it 2m as opposed to 1, set leaves probability to .40 (40%) and slightly increased sizes for branch and ivy and hit the “update ivy” button for Ball01, then just played about a bit. As I say, try it also in wireframe if need be but you should see something if you do this.
I’m running Blender on Both Windows 7 64-bit and windows 8.1 64-bit on both a laptop and a desktop PC and get some sort of result.
Hope this gets you somewhere. 
Thank you so much for persisting colkai
I found all the ivyies I had not been seeing inside a different object. I have no idea how they got there.
Now I have it in the object meant to have it from the 1st place.
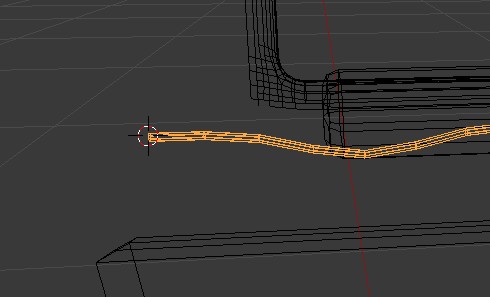
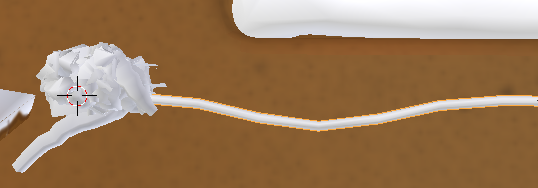
I want the ivy to follow the shape of this rope-like shape, but is not. As you can see it’s just stock where it is.
I have tried just about all the settings but it’s not moving from that end.
Any ideas?
Hi
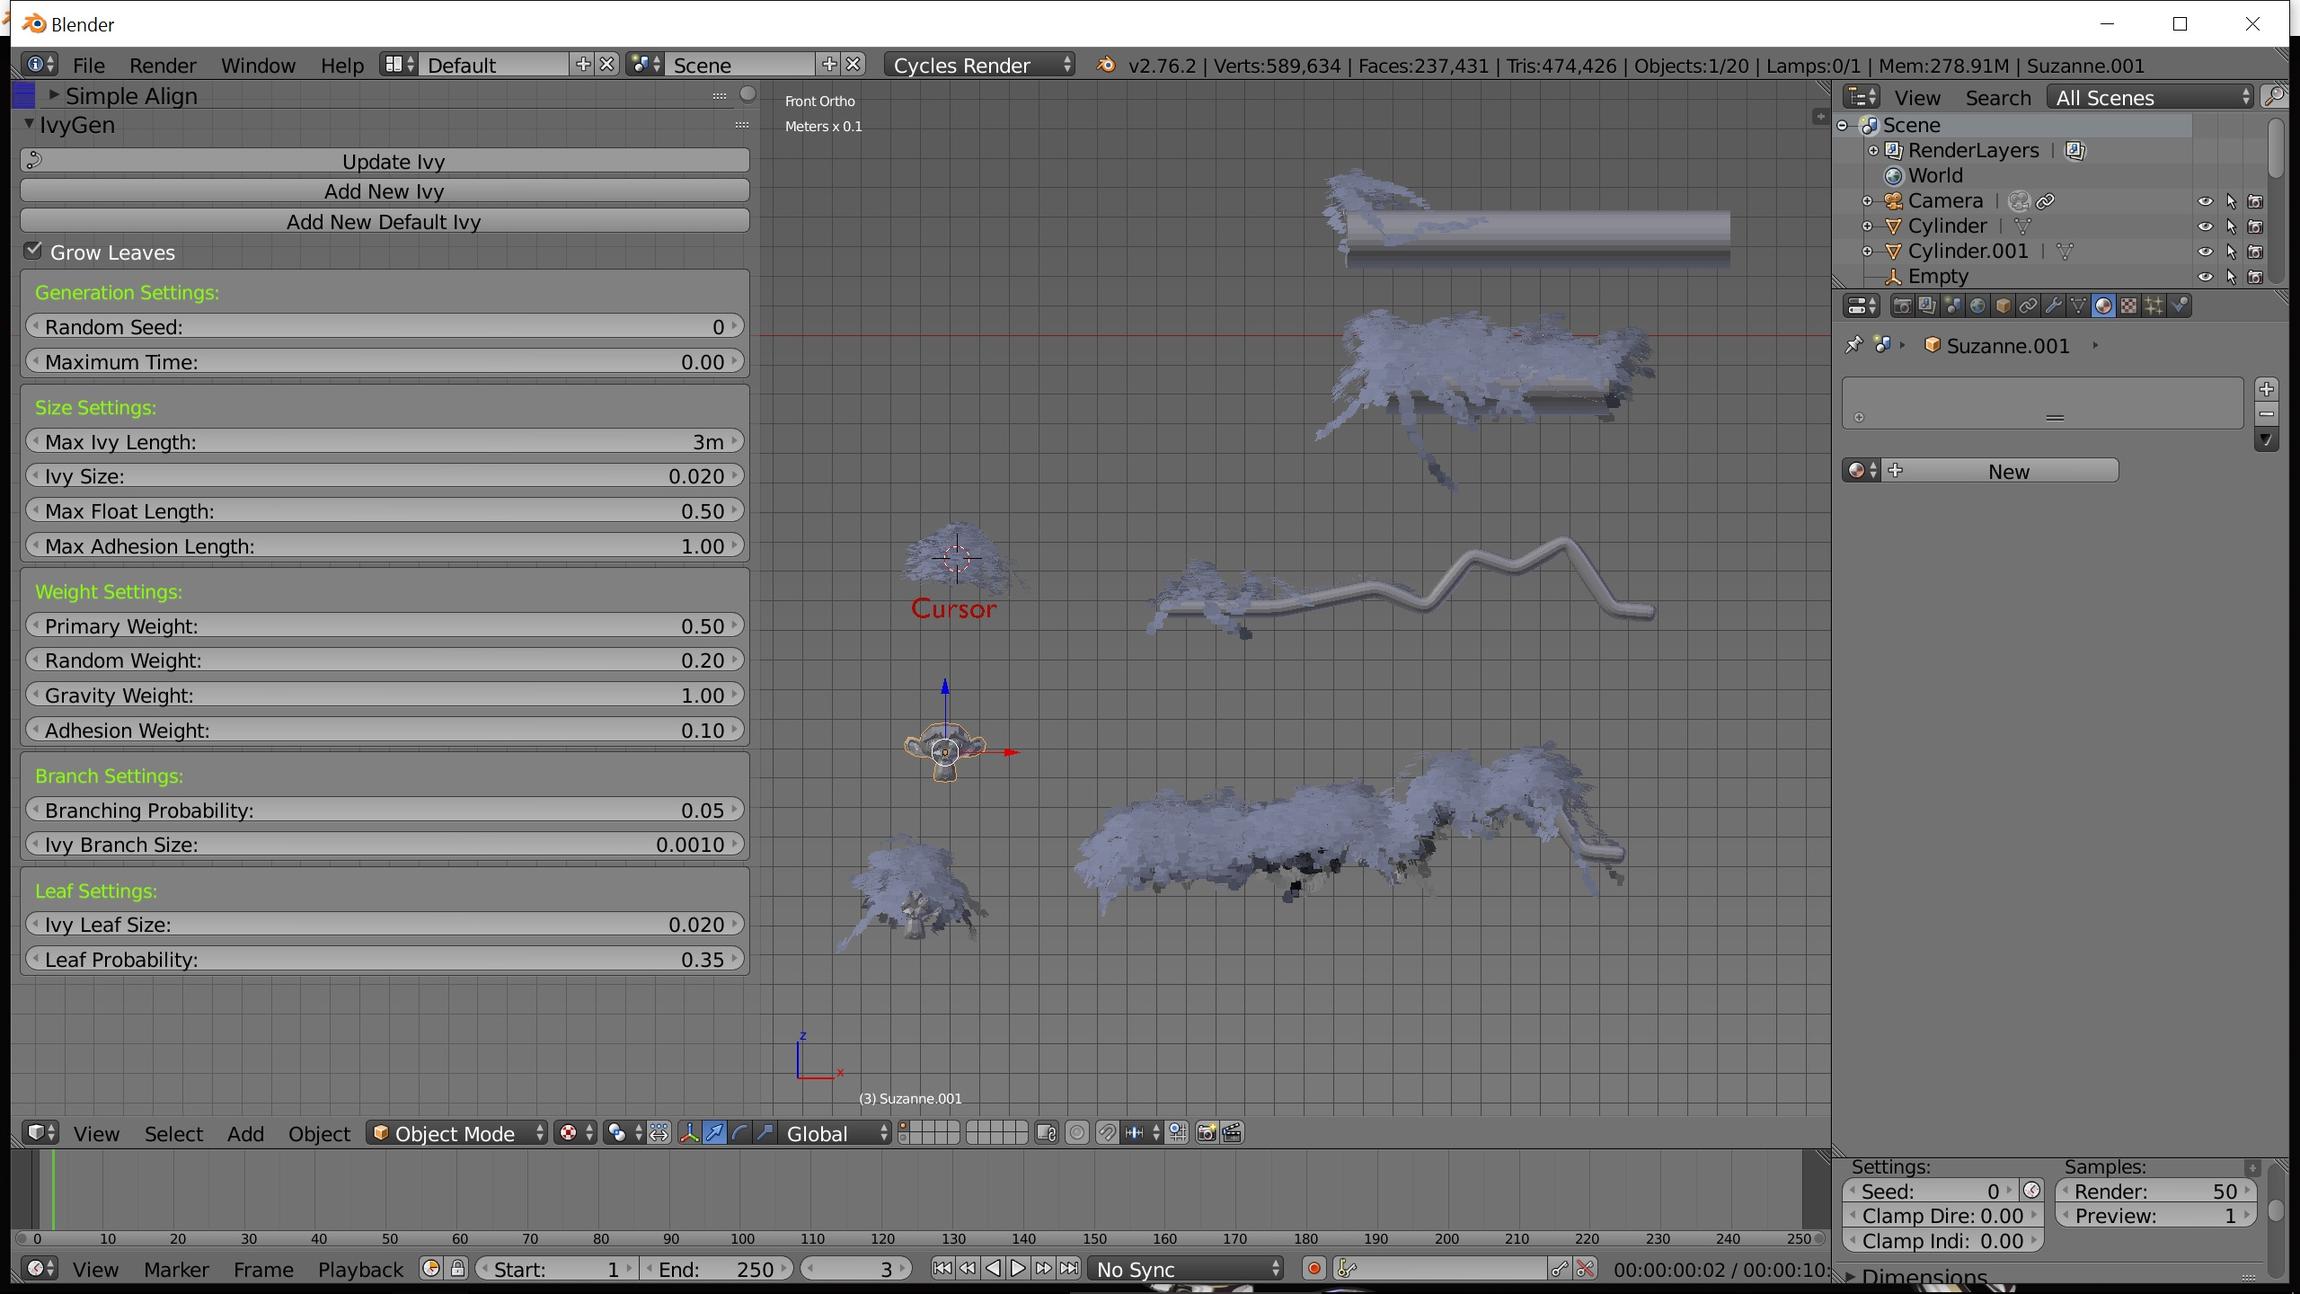
Colkai has given a very good explanation…So this is just to show what I get with default settings.
1 + 3 Cylinder is just with default in Ivygen - T panel
2 + 4 Cylinder I changed - Size settings Cylinder 2 from 1 m to 2m and 3 see picture…)
Look at SuZan Last one is default Cursor set to Origin First Suzan Cursor is over Suzan.
Ivy start where Cursor is…Oh You have to tic Grow leaves in T - panel Ivygen and update.
Tai
Hmm, I vaugely recall getting something similar when playing around with the settings myself, if you alter the Maximum Ivy length, that controls the overall size, be prepared for await when you click “update ivy” though, I set mine to 12m and it took quite a few seconds.
That you have, I think is something to do with the branch size, so you end up with a cluster, I’d need to retest to be sure.
If you could put a blend file up with just that object in, I could test it here.
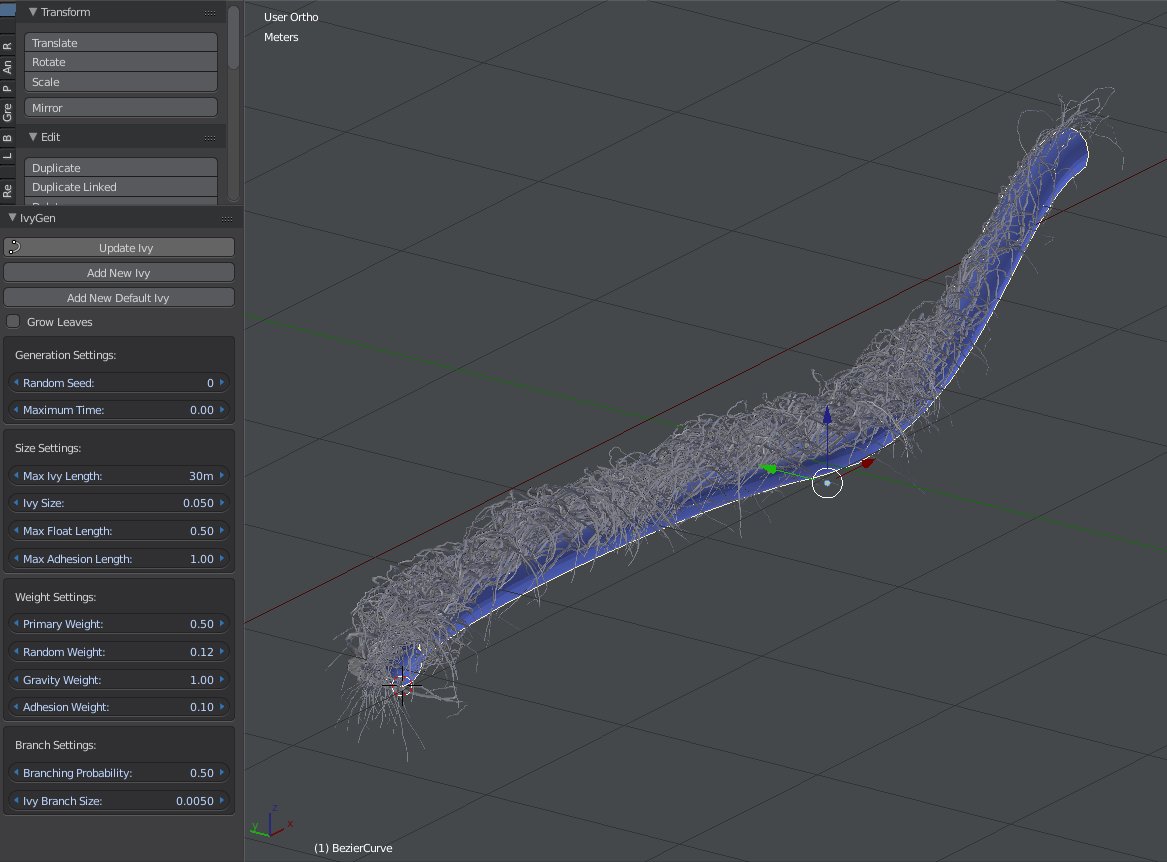
Might I suggest, turn off generate leaves, so you are only dealing with the branches, then you can see where the vines go, it will also speed up the update actions. I’ve found playing with the primary and random weights by shifting 0.05 at a time, you get a clear idea how they interact. Screenshot shows my settings for an object generated from a curve which is several meters long, once that’s done, you can add the leaves into the equation.
I’m also having a problem with Ivy gen. I’m on windows 10 and have the blender 2.76 and every time i try to update Ivy the program freezes and say not responding on top.
That’s just Blender’s way of telling you to wait a while, it’s thinking:) Give it time - lots of time - and it should recover from the coma and get back to work.