How set set up view as if camera was on a tripod

I am doing arch prevized and I am missing way toe view thru camera as if camera was sitting on a tripod.
The I am looking through the camera and try to rotate my view the camera should stay put - only the the view would rotate.

Another questing is that how do I set User ortho view independent on Camera position. Often a use User ortho view to move around the scene until I find a good spot. The camera stays at a another location. The I switch to looking through the camera and move a round, perhaps do a quick render. When I switch bask to User Ortho I find it has move also - probably because camera moved.

Hi

For the Tripod - 1 way is to use a Empty as Target For the Camera…See picture


Select Camera and in Poperties click Constraints box - in Tracking select Track to - It will give the setting You see in picture.

Add a Empty… You can use the Eyedropper to select the Empty as Target.

Set the to: To - Z and The Up to Y

Use the Empty to move…Camera stay as on a tripod…And if You click Camera Shift - left click Empty…It’s like You have it in Your hands…:slight_smile:

Not sure on other question…But here Is a lot of good info…It’s amazing how it work.
http://www.blender.org/manual/render/camera/index.html

Tai

I found out another solution.
I select my camera and add an object contraint “Track to” like you said but track to nothing. This way my camera is no on a nice tripod.
Don’t have to create an empty.

– nope, It did not. It worked for a while, but now it does not. Dunno why.

About the user ortho view changing: You can just keep it open in a separate 3d View editor can you not? Or change your render settings in the properties editor to display: new window. This means it won’t replace your window.

Cameras have XYZ Locations & XYZ Rotations just like Objects.

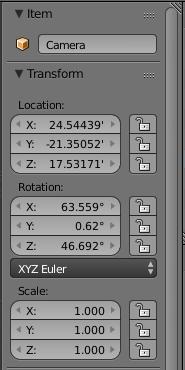
The Default Camera View has the LOCATION X=17.###,Y=-19.###,Z=21.###; and, God-Aweful Rotation Setting numbers. Something like X=24.###,Y=214.###,Z=56.###* (I’m guessing because the numbers are really wacked out).
= = = = = = = = = =
If your Camera View is only seeing a portion of the Object as if Zoomed In; then, Move your Camera to be farther away from your Object.

If your Object/s cover 100’ of area; then, your Camera may need to be around 100’ away from your Object/s…X=+/-100, Y=+/-100,Z=+/-100 depending upon which View Angle you want for your Camera View.

I adjust the Default Camera Location to X=25,Y=-25,Z=25. This covers Small Objects (2’x2’x2’ and 10’x10’10’) adequately.

I like my Camera Angles to be like 45* or 90*; but, sometimes my Objects have dimensions that don’t support those angles and filling up the Camera View adequately.
= = = = = = = = = =
If your Object is filling only a portion of your Camera View; such as, just the Left Side of the Camera View; then, you need to Rotate your Camera so that your Object is in the center of your Camera View.

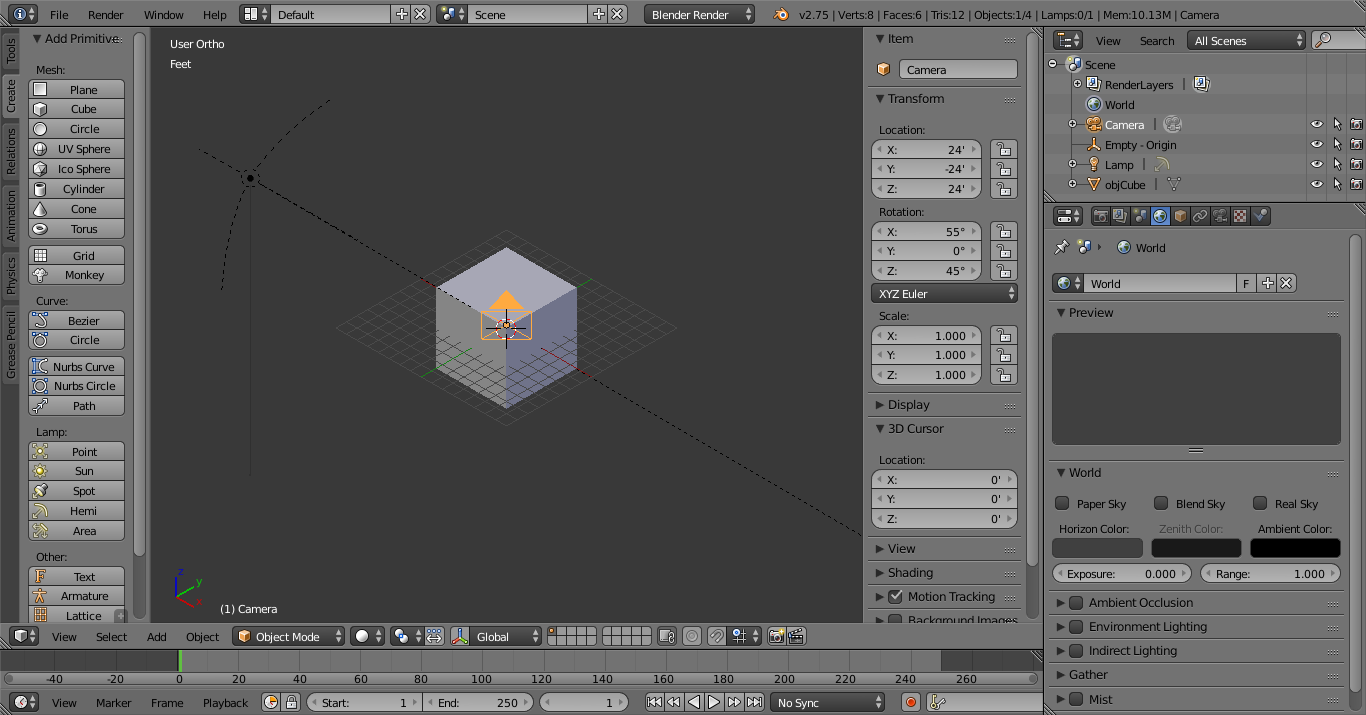
Rotating the Camera is a headache. You need to use the Quad-View; and, need to have the XYZ Axis Active to determine what the XYZ Rotational Values need to be for your Camera.

Changing one Camera Rotational Value, also changes the other Camera Rotational Values. Thus, I suggest using 45* for Major Adjustments; and, 10* and 5* for Medium Adjustments; and, 1* for Minor Adjustments; and, 0.###* for Fine Tuning Adjustments.

Use 45* on the XYZ Rotational Value to determine how the Camera Rotation Behaves; because, it isn’t intuitive (at least for me); then, once you got the Camera Rotation System Understood, use the 10* and 5* as steps towards getting the Camera Rotated precisely.

Changing the X Rotation Value also automatically changes the Y&Z Rotational Values; and, doing 25* steps may cause some unpredicted extreme Camera Rotation in an Undesired Direction.
= = = = = = = = = =
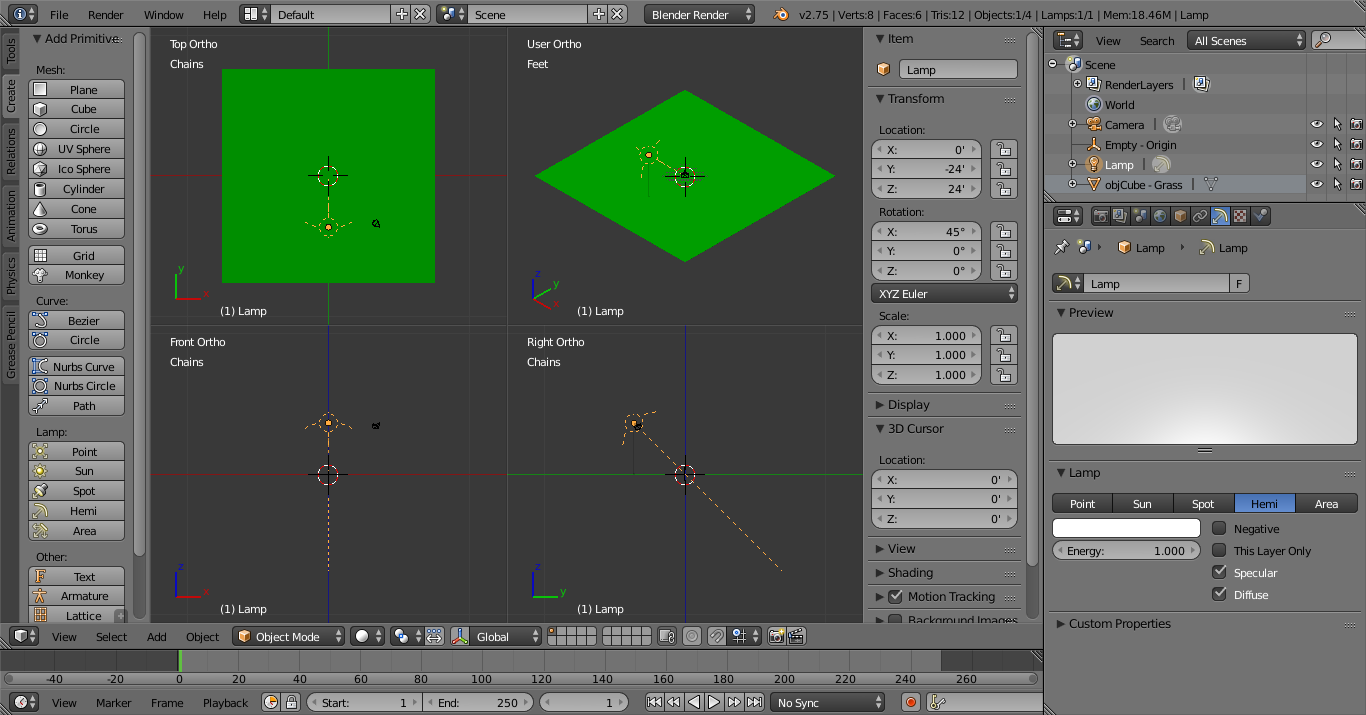
The Quad-View is also good for determining where to locate your Cameras and Lamps.
= = = = = = = = = =
POSTING EDIT: Added Image of Default Camera XYZ Location Settings & XYZ Rotation Settings

Attachments


Hi

The easiest way to move the camera at as in real life is.

Split screen for two windows…1 for camera view and other to see where to place camera.

Set Camera to track to a Empty…Select Camera and the empty like in My picture…Now it’s like in real life…Move the camera a round or R to rotate it…

Forget about X-y-z…Make no sense…Move the Camera to where You want to focus , that’s it…Don’t make it complicated.
Btw…Using a Camera is like 1 size fit’s all…Puff puff

Tai

Cameras are like any other object.
If you want tripod behavior just rotate around it´s local axises.
Select Cam -> press “R” for rotate -> press x or y or z twice to constrain the rotation to the local x,y or z axis.
Or select “local” from the drop down menu right next to the transformation icons where it says “global’” and use the rotation manipulator.

I created these Images specifically for this Topic Thread.

IMAGE #1: My Default Camera View of a 100’x100’x1" Grass Field Area

IMAGE #2: My Default Camera Settings in my Default Start-Up Project File

IMAGE #3: Quad-View of 100’x100’x1" Grassy Field with Default Camera & Lamp Locations - Highlighting my Default Camera XYZ Location Settings & XYZ Rotation Settings


~

Attachments