why is that it is very much slower when I have my sculpt done with dynamic topology? even with the same verts compared to the one done with no dyntopo. the one done with no dyntopo acts much faster; I mean, I can switch to edit mode and vertex mode with out lag. unlike the one made with dyntopo that I cant even switch from object to edit mode because when I do it crashes. or is there a way to make it faster? because maybe I’m doin something wrong.
Are you watching the polygon count? How many polygons are you working with? With Dyntopo enabled, each brush stroke can create tons new polygons!
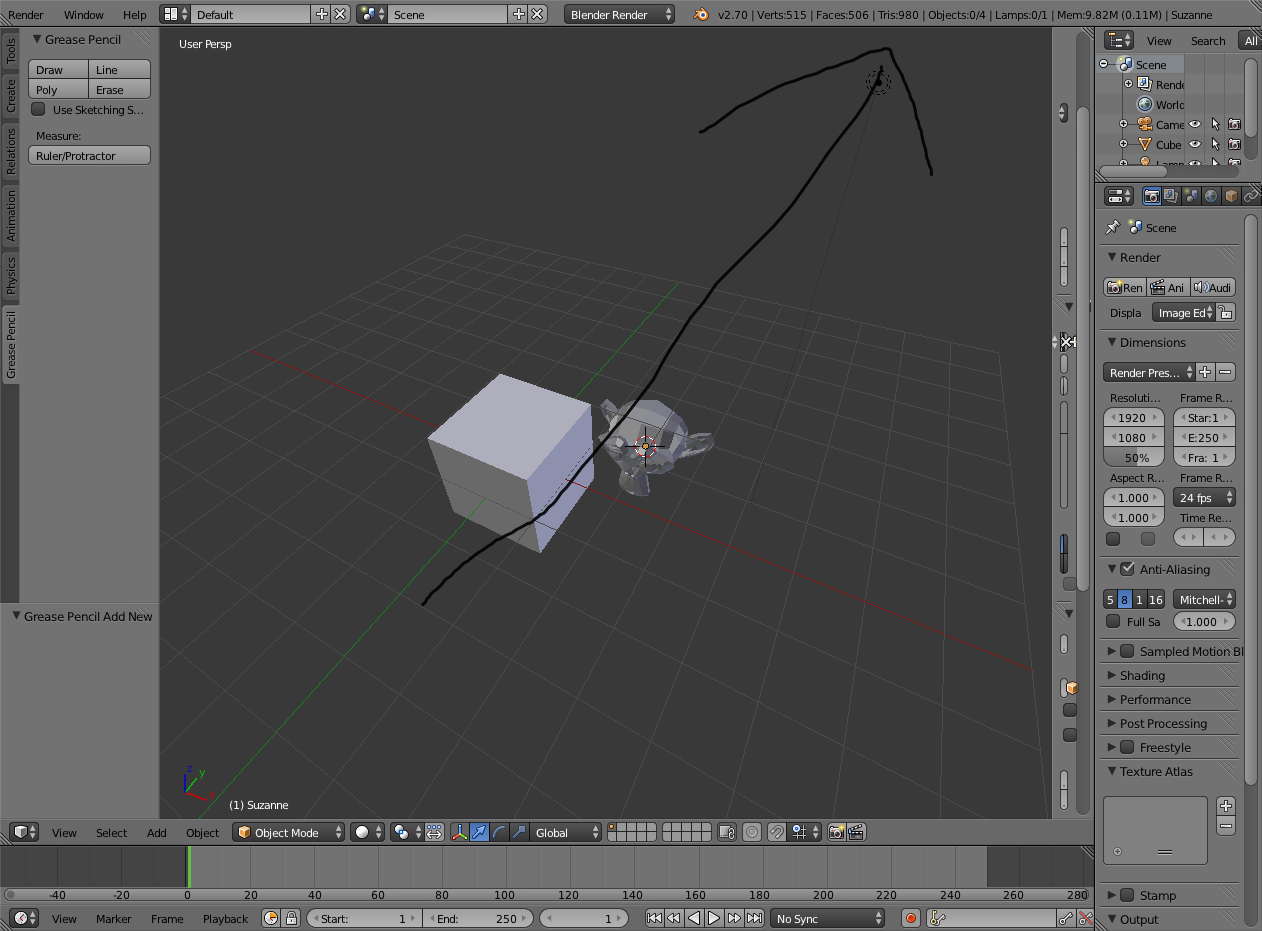
how to see poly count specifically? I’m looking at the vverts, tris, faces.
In Blender, faces = polygons. In gaming context and in case of dyntopo, polygons is the same as triangle count.
Follow the arrow. Just keep in mind that more poly does not always mean better. I’m not saying don’t put in that fine detail your project and its demands will decide that, Just be aware that with dynamic topo that things can get out of control very quickly.
aha! thats it! THanks! Well I got like 3 Million faces/polygon on the mesh with no DYNOTOPO and its f*cking fast. now I got 140k of faces/poly on the dyno and its really slow.
I’ve been playing with dyno recently. And I think I’m going to save using it for the final detail pass. And just stick to multi resolution as much as I can.
go to relative or fixed detail.
what do you mean relative and fixed detail? how do I do that?
I’m lookin at a couple of docs but I’m not sure if thats what your sayin 
Dyntopo uses a different data structure and drawing code to allow for dynamic tessellation (adding more geometry as you work). Thus it indeed can be slower than plain object/edit mode (especially noticeable with the 2.76 viewport boost). There’s an “Optimize” button that usually allows to regain some speed until you’ve done more drastic changes to the object’s structure (i.e. just hit that button every now and then). It’s in this panel:
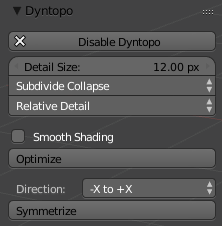
As for relative/constant detail, the setting itself is also right there. Detail Size denotes the minimum size of newly generated edges.
Relative Detail: it’s in pixels, so your zoom matters. 12 pixels zoomed in close will mean a tiny bump, while zoomed far away might be a blob the size of half your model.
Constant Detail: percentage of a Blender Unit. Zoom doesn’t matter anymore, but it might be difficult to use when zoomed up close, because the size might actually be larger than your brush.
Brush Detail: percentage of the brush size. So it’s pixels again, thus zoom matters, as well as the brush size.
Also, try to keep from using textured view or matcaps while working in dyntopo (as in, just use plain solid shading). It helps with performance somewhat.
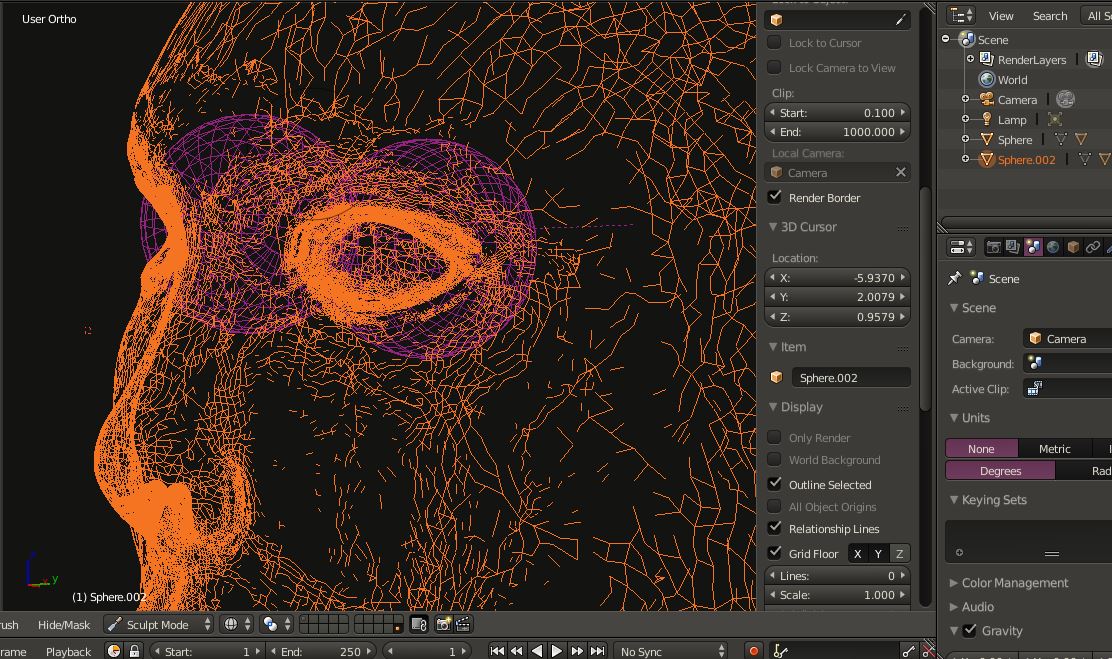
As for wireframe looking weird, it’s because Blender by default optimizes away “flat” edges. If you want to see full wireframe, you’ll need to enable “Draw All Edges” in object’s properties.
Also don’t forget there’s actually a simplify (decimate) brush in dyntopo. But for some stupid reason it’s not in the preset brush kit. (Why no love? It’s a good tool.) You’ll have to duplicate some other brush and then change its type to simplify. It’s good for reducing tris where you don’t need them.
The way I suggest using it? Turn on wireframe and draw all edges on your mesh so your polygon density becomes really obvious. Go into sculpt mode. Set dyntopo for “constant detail” and then use the eyedropper next to maximum edge length to select one of the tris that’s about the size you want to adjust the mesh to. Then paint away and repeat those two steps as desired. Also keep in mind the same brush used that way can also increase density in areas of lower detail. (So it’s acting more as a density brush rather than purely simplifying.)
Also don’t forget there’s actually a simplify (decimate) brush in dyntopo. But for some stupid reason it’s not in the preset brush kit. (Why no love? It’s a good tool.) You’ll have to duplicate some other brush and then change its type to simplify. It’s good for reducing tris where you don’t need them.[QUOTE][/QUOTE]
Interesting - I’ve used that in Sculptris and miss it in Blender. Could you please explain how to go about doing what you suggest? (Bearing in mind I’m new to Blender:)
Ive seen the whole problem in here. Its not the vertices that makes it slow, I can handle 5mil vertices before it acts a little bit slower. the reason its slow is because of the optimized flat edges. thanks to this
As for wireframe looking weird, it’s because Blender by default optimizes away “flat” edges. If you want to see full wireframe, you’ll need to enable “Draw All Edges” in object’s properties. by Stan Pancakes
All I need to do is to enable “draw all edges” thanks so much! you guys are the best! xD