Given the question,
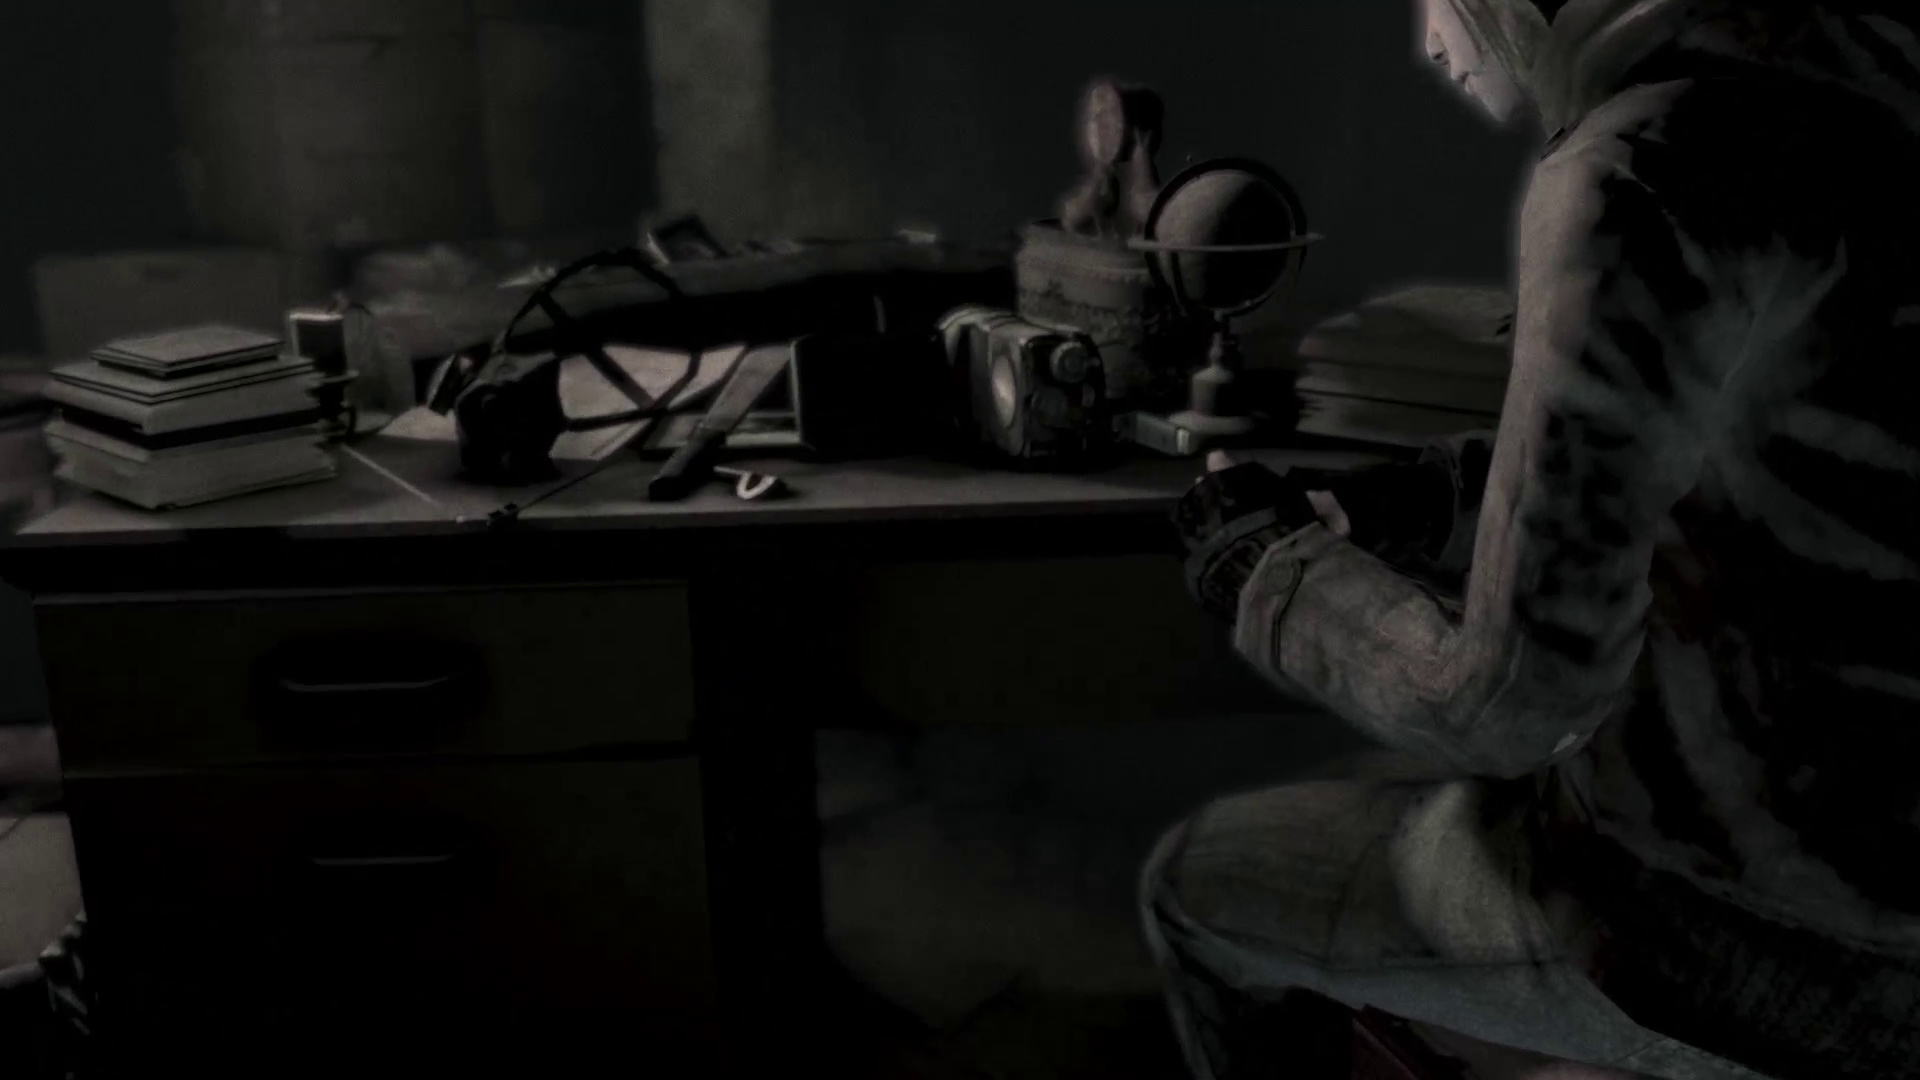
“Does anybody know of a way I can edit a video in the Blender VSE without losing so much information and gaining so many distracting artifacts?” in relation to pre-captured and compressed footage (in this case from Open Broadcaster Software recording the game I Am Alive),
…the following is the answer I have arrived at after much man-in-the-street trial and error:
As noted elsewhere, one should strive to work from the best quality sources one can. In this instance, I found that recording with OBS with Video Encoding set to a Max Bitrate of 16000 and CBR (Constant Bitrate) enabled provide a high-quality file (.mp4) which seems (to my eye at least) almost identical to the original visual. However, the trade-off is file size - ~114MB per minute of recording. Keep in mind that if you intend uploading your file, you can reclaim this space by deleting your source recordings after upload.
(Obviously, if working from a program that only outputs a compressed file (eg. OBS), working with EXR / PNG / TGA stills will be impossible, though obv. worth using when rendering your own work from, say, Blender)
Loading this MP4 file into Blender, set your encoding to H.264 output, with an MPEG4 container (using H.264). Select RBG. You’re going to lose quality even on a Lossless setting, but given the superlative quality of your input it’s worth turning off Lossless now (indeed, a Lossless output may give you a worse quality file than the original, but sometimes at a much higher file size! Weird. No idea why that happens).
Assuming your framerate is 30fps (decent for a game footage upload to Youtube), set your GOP to 15. Set your target bitrate at 8000, your max to 9000 and your minimum to 6000.
This will output a video file which looks pretty good (dark gradients & colours preserved, relatively few artifacts), is of a reasonable size and uploads at a decent rate to Youtube (though I’ve some more experimentation to do there).
It’s also worth recording your commentary audio separately (I’ve used Audacity) and mixing it in with Blender, animating volume on the sound strips to duck audio appropriately.
As to the question of editing, I’ve tried and failed to get DaVinci Resolve working and after studying FFmpeg and Avanti (a recommended FFmpeg gui), I recognised that I was wasting too much time on what seem to be super-fine details of little relevance to my objective (happy to have somebody explain to me the relevancy of these powerful tools to my original question).
In the end, edit, hit ‘render animation’ and go to sleep or read a book.
Hope this is of use to someone.
Thank you howToBlend! Appreciate the advice…!
–Rev