An interesting question just occurred to me. For the most part, the Blender scenes that I have seen, have been limited to either indoors, or, if outdoors, to densely wooded or populated areas. Has anyone ever tried to render a long, telephoto perspective, like the photograph in this link:
I would be interested in reading any tips, tricks, or pitfalls that folks have encountered. Or, is this totally uncharted CGI territory?
It’s possible (especially if you practice in concepts such as separating the foreground and background and compositing them together), but they tend to need a bit more time to make and will often need a decent amount of memory for the detail.
It’s more a preference than anything, a lot of people who do nature images tend to have a preference for short-range scenes with tons of detail.
That is just one point perspective and one of the first things you learn in many art schools. No pitfalls whatsoever if you know how it’s done. Very simply all lines lead to one vanishing point.
I was thinking somewhat along the same lines. My thought involved creating 3, 4, or more blender files of the same scene—each with different scales, and levels of detail. The closest file would have the largest scale and greatest detail, while the most distant file would have the smallest and the least. The most distant file would be rendered first. The image from that render would then serve as the backdrop (“paper sky?”) for the next closest. That render would then become the backdrop for the next closest—repeated until the foreground file is reached. The trick, of course, would be getting all of the scales, lighting, and camera positions to match.
Unless you are using a machine from the 1980s there is a much easier way. Simply hit F12. Now as the road recedes you could have maybe three surface planes. With each subdivided differently. This is because the plane often uses the particles system. Or, you could use a old illustrators trick and simply suggest the texture in the background. But, I know of no one using the back plate method you speak of.
Well, one of the main problems that I see, with rendering a scene of that scale, is camera clipping. Good foreground detail would likely require Blender units of only one foot or one meter. However, in a desert scene, like one the one that I showed, the vanishing point could be 20 miles or 30 klicks away. That might require camera clipping to be set 100,000 or higher. Didn’t I read somewhere, that such high camera clipping causes severe render degradation? Or, is that no longer true, with “cycles”.
It’s still true. However, you can still give a good illusion of distances with a combination of forced perspective and compositing (without any negative consequences to light interaction). Forced perspective is something a few may be unfamiliar with, it’s basically cheating on the general rule of thumb for scale to give an impression of distance.
Though you can actually do this in a brute force way if you actually have no need to have something directly in front of the camera (by increasing the near-clip value which thereby improves precision).
Forced perspective is another thought that crossed my mind. And, you’re right—it does seem like a brute-force approach. I pictured it this way: The scene would first be built at normal scale. Once complete, all objects would have their origins set to the camera position. The scale of the direction of the camera, would then be reduced, squashing all of the objects toward the camera. The camera’s focal length would also be reduced, by the same factor.
However, though I am familiar with the compositor, I can’t picture the compositing trick that you mentioned. How might that be done?
Of course, the second after I hit “submit”, I began to wonder if the compositor trick was using a “Z” mask, in Render Layers, to add distance haze (also known as a “distance render”). I assumed (possibly wrongly) that that was a given.
One of the “great, unwashed secrets” … … of practical photography is that “an image is actually two-dimensional.”
In other words … no matter what sort of “3D-world/model blah-blah-blah” mathematical trickery you used to come up with “an image,” the audience will most-likely interpret it with only one eye. (Unless they are actually willing to wear funny glasses in a theater…)
There is no actual ‘depth’ in any of the images presented: there are only well-accepted ‘depth cues.’ Things which our human eyes expect to see, which we dutifully interpret as the artist/photographer expects, and based on our human experience.
Well . . . the magicians among us . . . the practical illusionists, if you prefer . . . will know how to use this to “cheat a shot.” Although you certainly could model this scene “in actual miles-long Z-depth,” and although the omputer would dutifully produce a perfectly-correct visual result if you did so, you don’t actually have to go to all that trouble. Instead, take full(!) advantage of “the suspension of disbelief.” As long as your willing-audience is not “hit-in-the-face with ‘WTF?’” you’re good to go. Give 'em what they expect. As cheaply as you can manage. They will interpret what they see in the (real-world …) manner that they expect. You can count on that. Therefore, do so.
Perspective: the art of drawing solid objects on a two-dimensional surface so as to give the right impression of their height, width, depth, and position in relation to each other when…
Aerial perspective: Aerial perspective or atmospheric perspective refers to the effect the atmosphere has on the appearance of an object as it is viewed from a distance. As the distance between an object and a viewer increases, the contrast between the object and its background decreases. (Add a zero to that clipping setting if you want to)
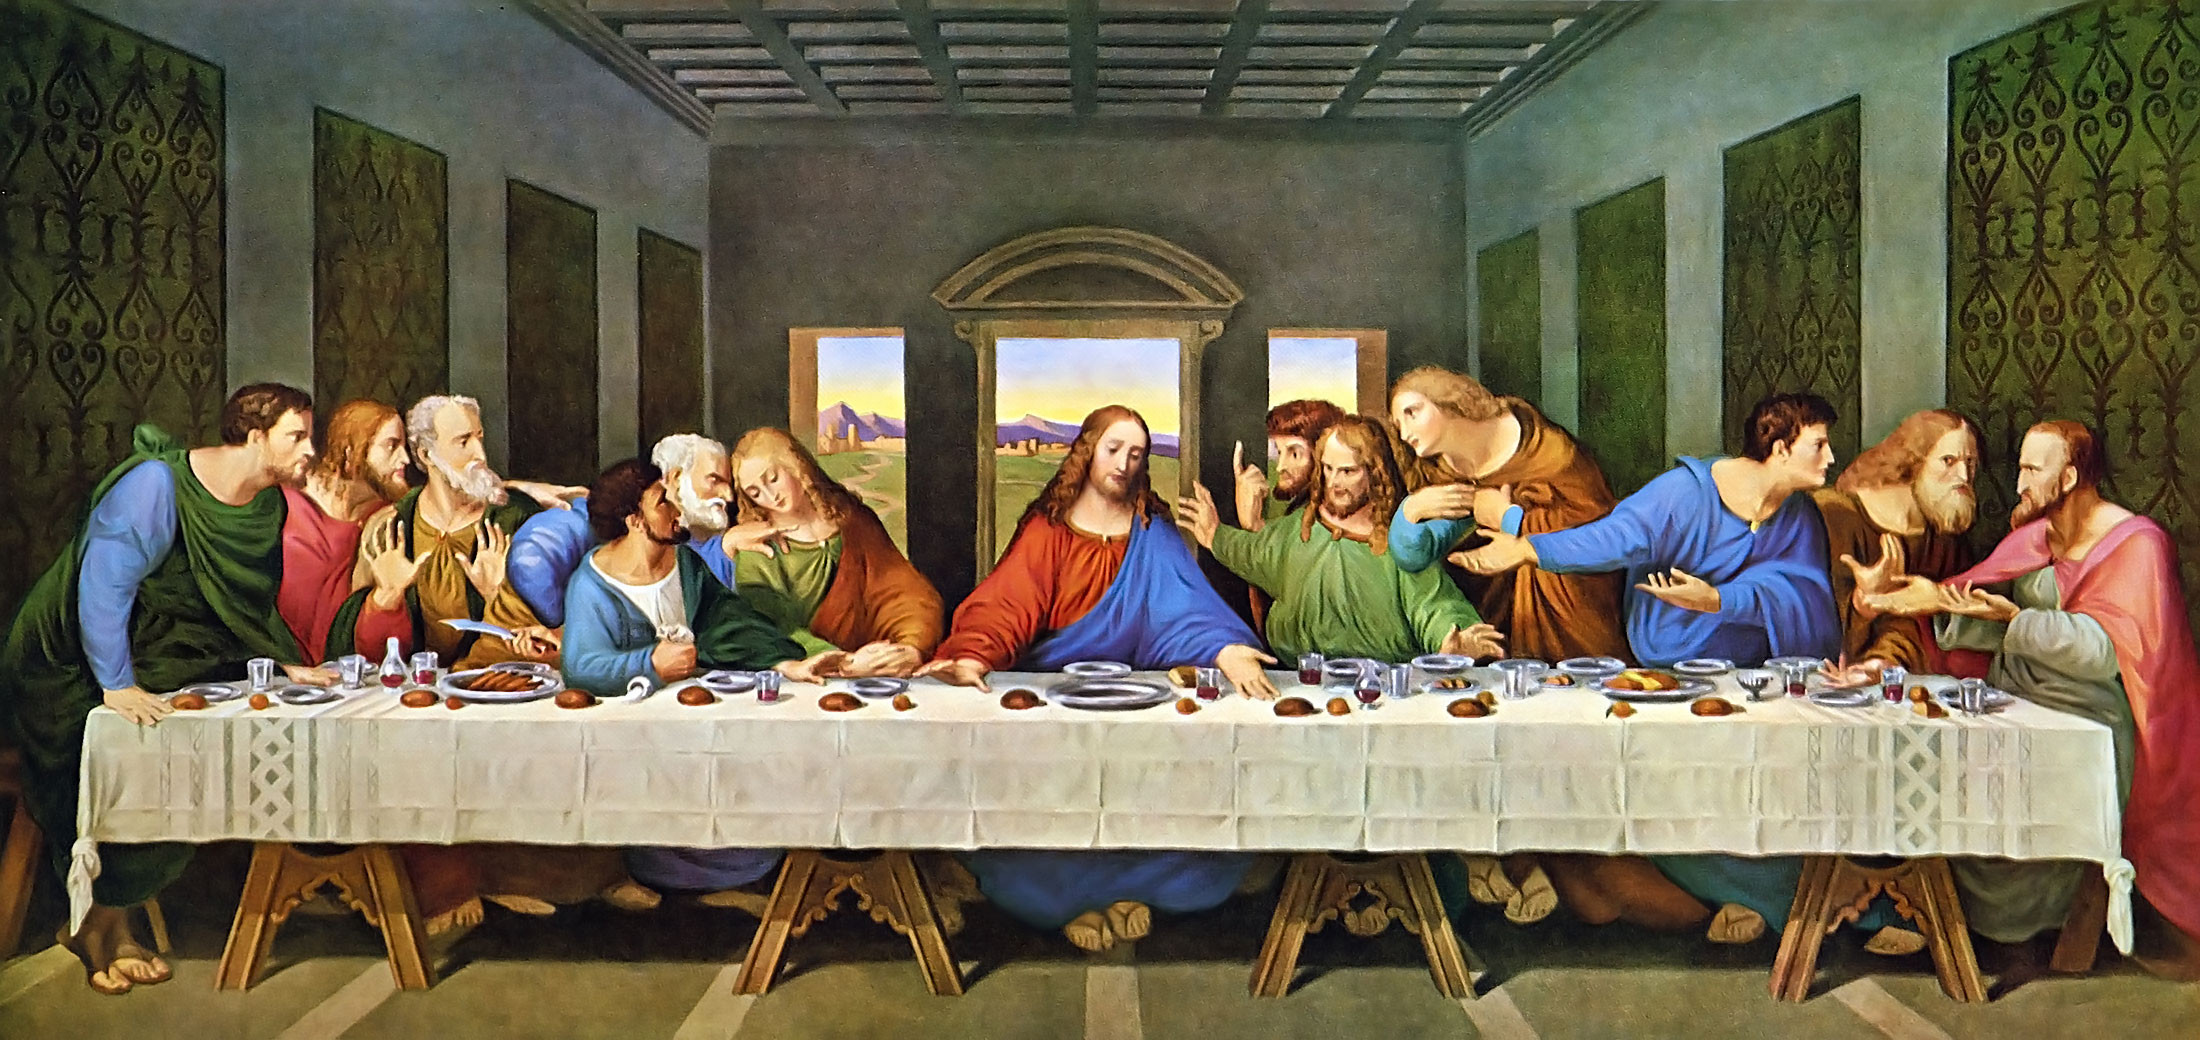
Perfect example of one point perspective with panels on the walls instead of power poles. And, the vanishing point is where. In CG (Blender) we would model and light the room albeit I guess you could texture paint everything on a plane. But, in that case why not just go to Adobe Illustrator.
Perhaps, this highlights the two distinct approaches to perspective. The first, and most commonly used, involves dividing the scene into “foreground” and “background”—each with their own distinct scales, lighting, etc. There might even be 3 distinct levels—foreground, background, and distant objects. However, the second approach (the so-called “long shot”) has no distinct dividing line between foreground, background, and distance. All must blend seamlessly, one into the next, as a single unit.
Right on time RickyBlender. Just indeed do your scene and render. If a imaginary camera at ‘The Last Supper’ had moved left or right we wouldn’t have one point perspective anymore. Nor would the vanishing point be right behind the center of interest.
But, of course that is composition. A study in it’s own right. The artist also used color contrast and visual weight to lead us right to that also. Although the placement in the composition would have done that.
Sometimes you want a foreground, mid, and background in your scene done by placement and not back plates. And, other times as a artist you might choose to flatten the perspective. You’re the damn artist and that is your choice. Artist from the beginning of time needed control of their tools. (Now Blender) But, that was just so they could pursue these other aspects. Composition, value, lines, visual weight, etc. Those will never change. Not unless somehow the human eye changes.
So maybe our study of Blender should be two fold. The tool and the art.
one note for the last super by Leonardo
before painting he did draw the perspective lines first then followed these to get it done
also he did follow the 1/3 rule
RickyBlender there was a time back in the day where illustrators doing archviz didn’t have drawing boards large enough to sometimes run out 3-point perspective lines. And, those drawing boards were six feet wide. So they would have someone holding a thread out in space why they got a T-Square on it. Of course that was a certain type of render.
Illustrators simply attempting to tell a story could eyeball 3- point perspective and pull it off where the viewer accepted it. And, if the story required it they would distort the perspective to suit their needs. Now with Blender who can’t get the basic perspective right. Shit, that is a no brainer. Now proportion is another story as you well know. But, Blender has us covered there also.

 … of practical photography is that “an image is actually two-dimensional.”