Any ArchViz Project should be done in real world dimensions. If you are not aware Blender has a few tools to help one do this.
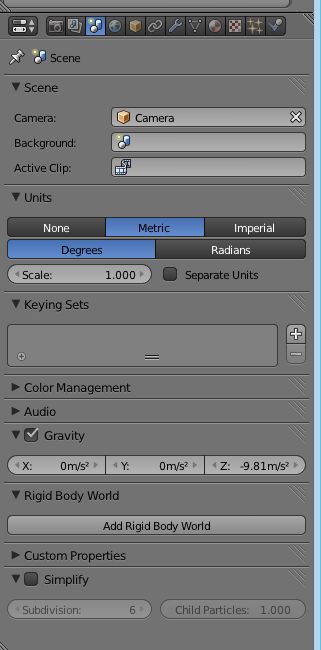
One is located in the scene tab in the properties panel under units.
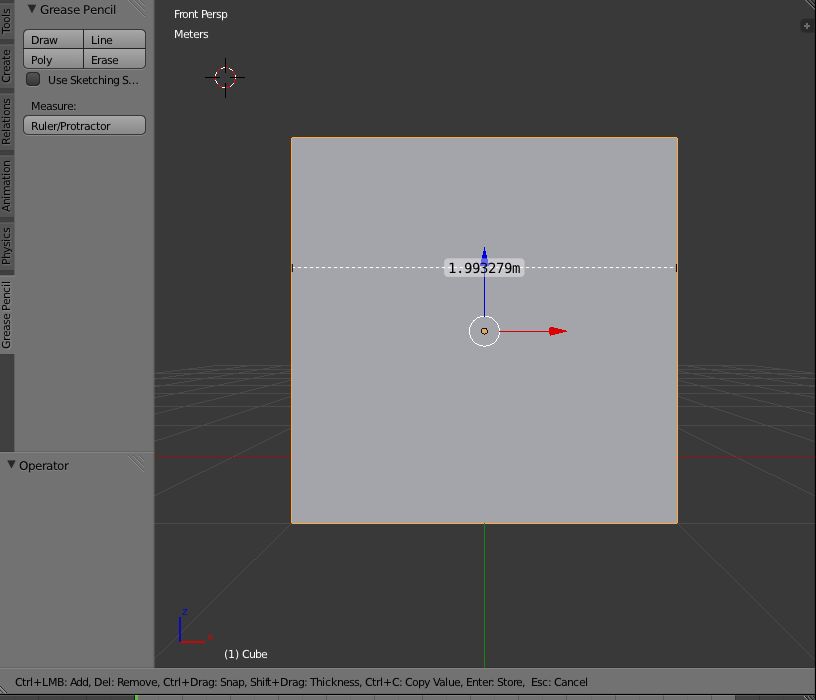
click the ruler/protractor button then click and drag between any two points on an object to get the approximate
size. The N panel will show the exact dimensions. I learned of these two tools in Andrew Price’s Architecture Academy.
Hope this helps.
Thanks - I’ll adjust the lighting and try and put the actual lights in, think it looks odd the lights being there with nothing to come from.
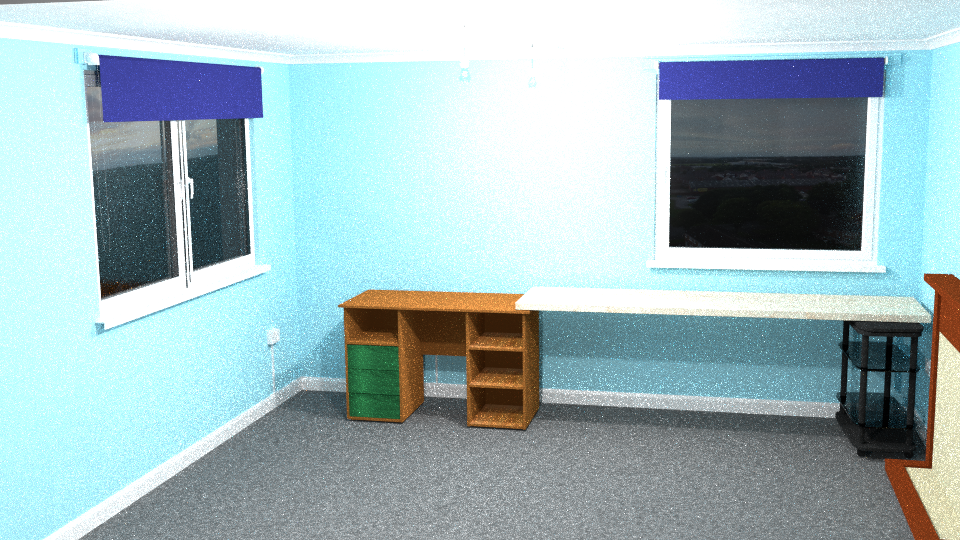
The measurements are all done in inches, and I decided to work with something which I could actually measure to get it right. The windows are the right heights, it’s just a lowish ceiling.
I’ve watched several of Andrew Price’s videos - perhaps should take some time with the Architecture stuff as well though. Of to do some more research
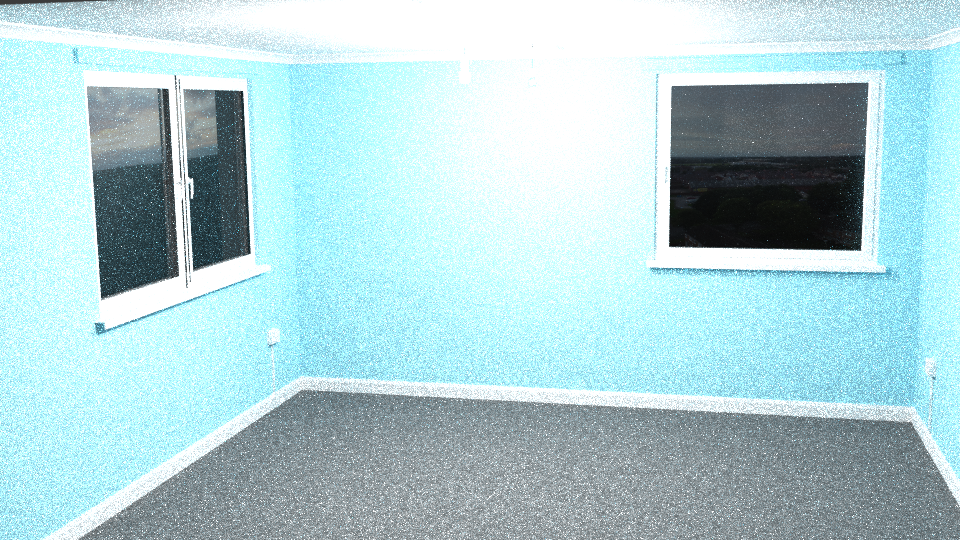
I changed the lights to point lights and it’s caused the render to get worse, I’m using cycles and I wonder if there are any hints as to how to create the light bulb effect I’m after?
Hi Just a Hint on lighting. I think that with a point light you can change the size in the lamp settings Another tip is do do with control of the glare a problem I have had some trouble with. When you render your image out and it apears in the uv/image editor. On the left hand side Tool pannel (Press T if you cannot see it) There is a button labeled Sample Line. This lets you draw a line across your image. The graph below the button shows you the light levels as a graph. In particular if you are hitting peak white or peak black. Its realy quick and I use it a lot.
With your interior lights, on the lamp settings try the Multiple Importance tick box. Particularly if you have increased the lamp size. It can improve noise in the render process.
Hi NigelRen, one trick I used to artificially reduce the noise in the Cycle renders was to use a large area lamp just below the bottom of the ceiling. You can adjust the lighting levels to bring up the overall light in the scene. May not be an exact science but it looks ok.
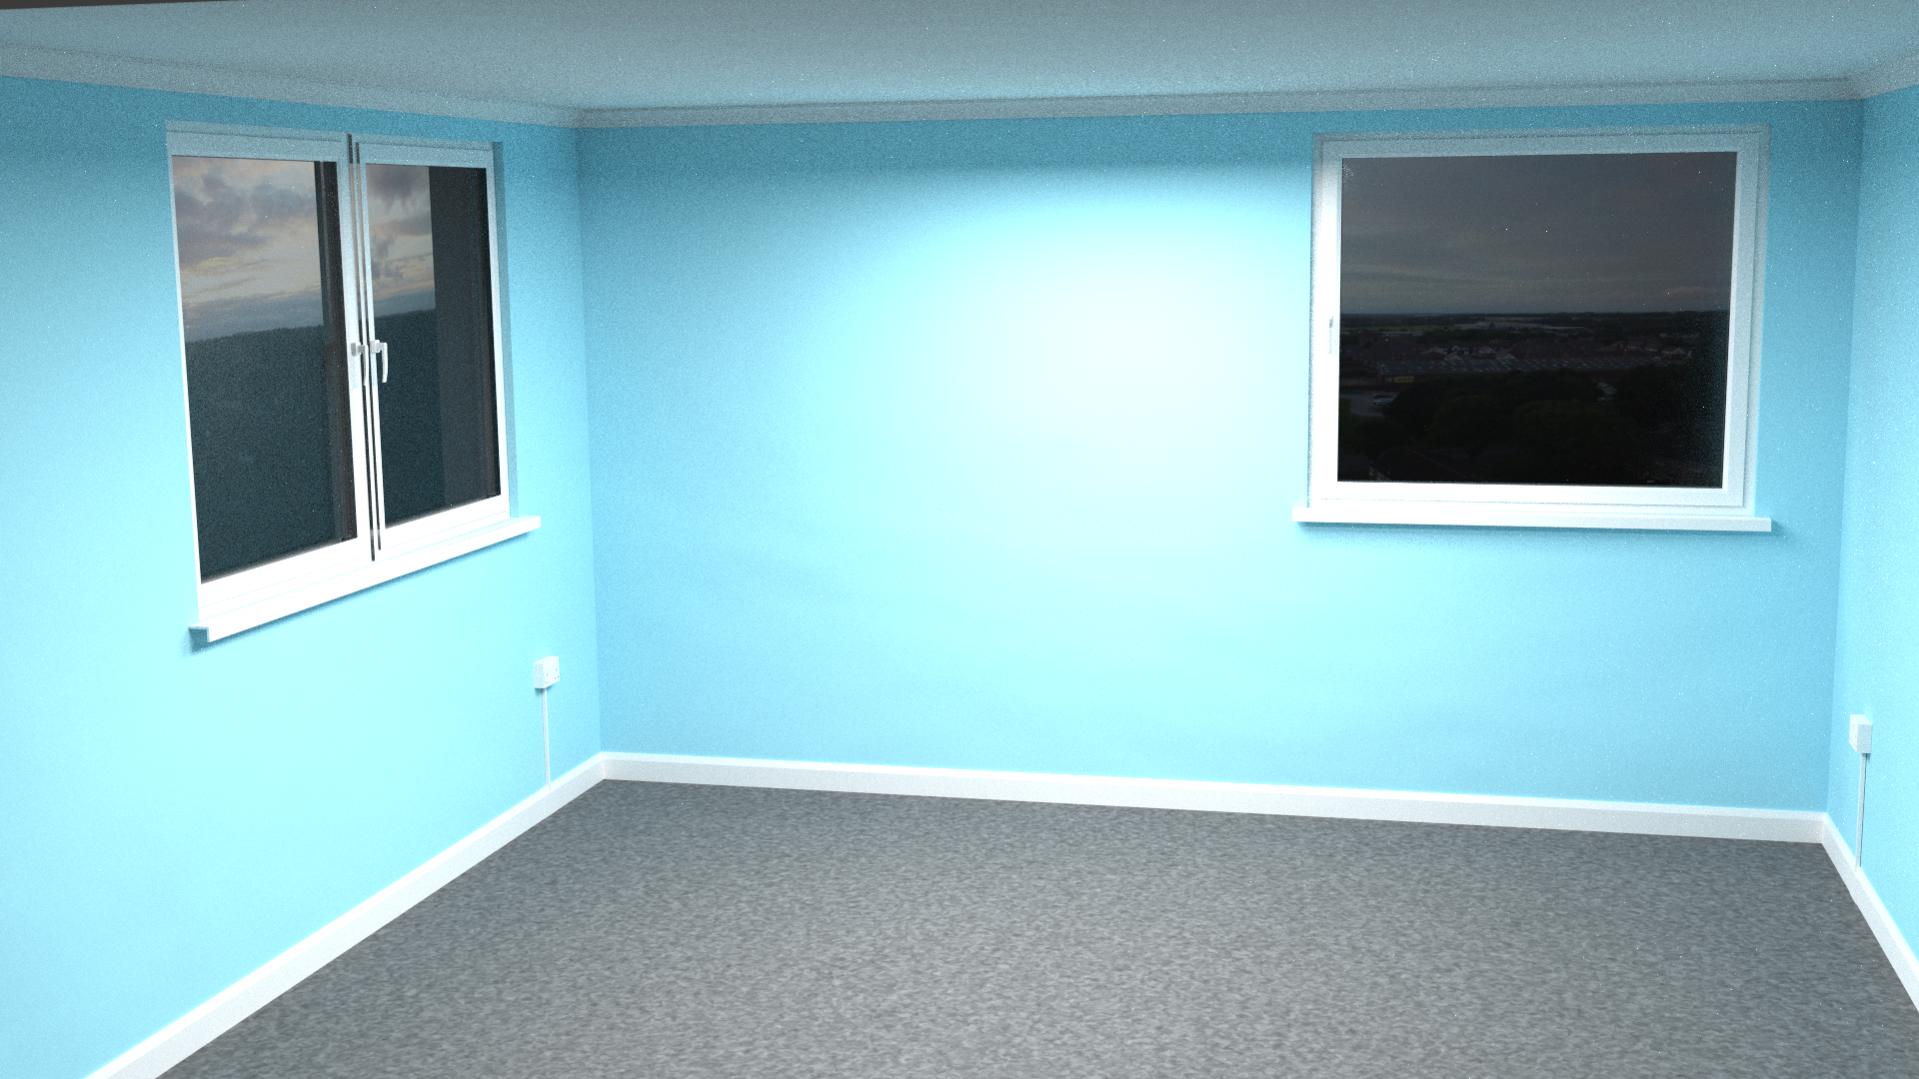
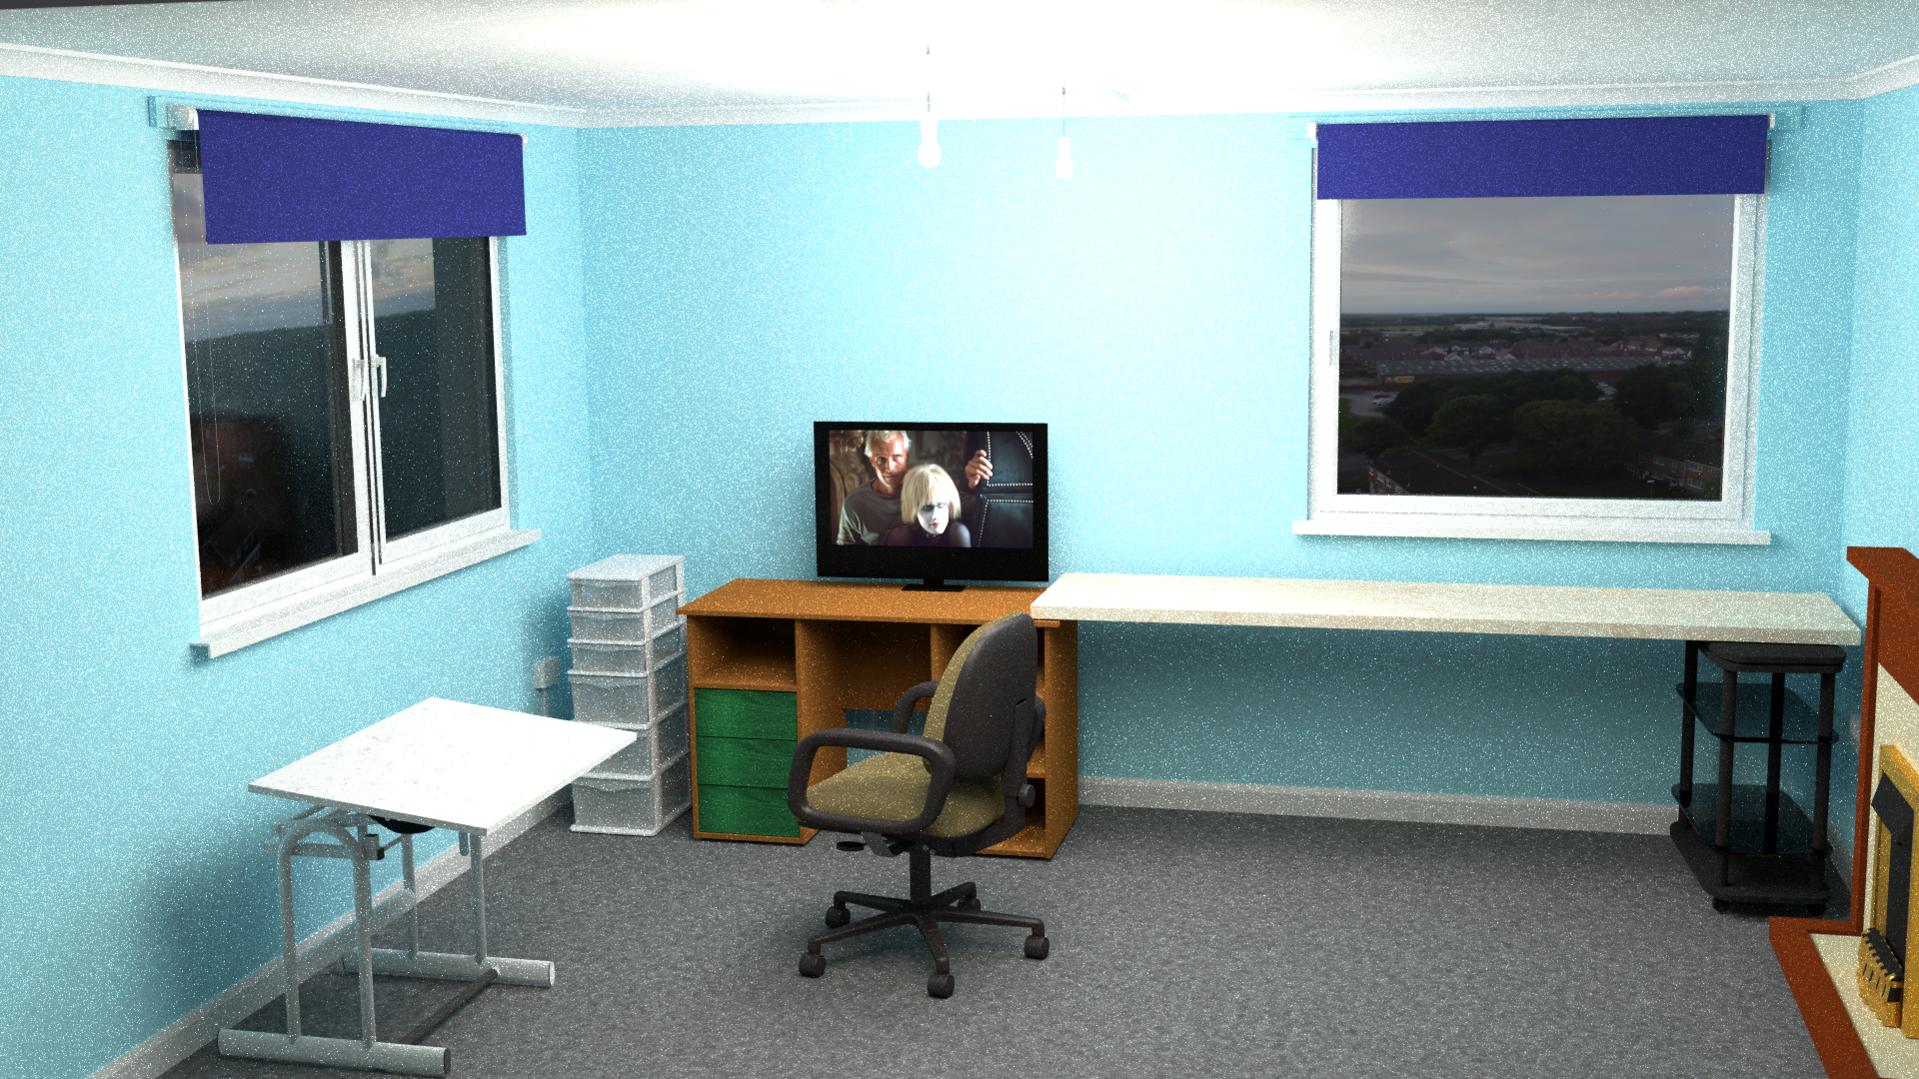
I’ve done a few more bits and changed the lighting a bit.
It is night time, but I’ve added a bit of light from the images as there will always be some light from outdoors.
I haven’t added an area lamp yet, but it takes a while to render it (over an hour on my laptop).
Try to ,shut down’’ interior lightning and use only the light comming from outside, dont make night scene, it always looks weird + you are not using night HDR. And dont use depth of field for thouse renders - it is better to see the details now thou depth of field will be used for your final render. And set camera to be perfectly straight - it must not have any pitch, otherwise the walls looks like they were collapsing upon you and it makes the scene looks klaustrophobical.