Hi all i don’t post much as i normally find an answer to my questions somewhere around the net but this problem has really stumped me. I want to be able to create the sort of texture patterns shown bellow.

Im not sure how to go about it in blender i think that in 3ds max and modo you have preserve uv’s and slip uv’s respectively but im not sure if blender has this feature. The benefit is that it allows for easier texturing by using a straight strip of polys in the uv editor and not having to texture curved uv islands.
Does anyone know how i can achieve this affect in blender without creating horrible distortion in the uv map? The method i have found that works is still less than ideal and produces dodgy uv’s whilst requiring a ton of extra vert’s that share the same coordinates pushing up the tri count. The method i have been using so far is to create a single edge going from 0 to 1 on the blender grid (meters) then setting the 3d cursor to the vert at the 1m point and using the spin command to spin the edge and create a curve like the one in the picture above. I then used project from view (top view) to create a uv amp and the then used the uv tools add-on to straighten and align the uv’s. I didn’t expect it to be perfect  Bellow are some examples of my results so far.

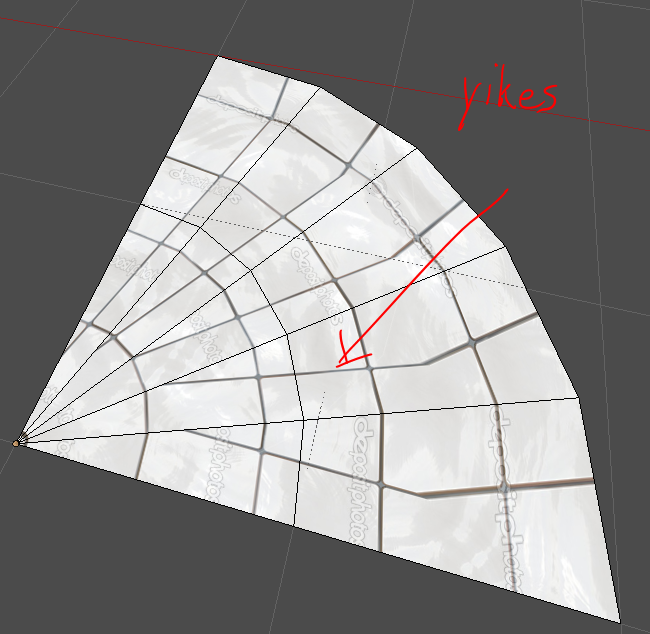
In the second image with the white tiles you can really see what is going on with the uv’s. Any help is appreciated.
IO
 .
.