I know you do this if you have the islands separated but… I was wondering is it suppose to go to the side like this? (image 1) and when i do do the unwrap, my uv is always at the bottom. 2nd image
should I always use power to one images like 1024 x 1024 and always create a new image to enter the image dimensions? if so, when I apply the checker board it isnt always straight on the checker board. sometime sit is in the middle of a box.
I was thinking maybe marking each side and separating them and then do a unwrap so each side is separate then I can scale them all the same size. last pick then scale them up to use the whole uv editor.
also, I am trying to set up a lighting studio so i can see my textures. the reason i put a sun lamp in when using environment lighting is because, the sun lamp bring out the normal maps since a plane light is flat lighting. or should I bake the normal maps? When using cycles or internal, is there away to hide the lamps and still use them? I hide them and then my mesh was black, this was for internal since there wasn’t an environment light. I do plan on learning the histogram to learn about light settings.
1/ It does not matter were the islands are positioned when you unwrap
What is important is what they cover because that is the section of the image that is going to be used for the colour of the corresponding model surface
2/ It does not matter what size the image is created, it does not have to be square or power of 2 on the side
It simply depends on the image you are projecting onto the corresponding model surface
3/ Unwrap however fits bests on the image you are going to use or makes it the most simple to create an image onto the faces
4/ Again, use the lighting you think is best for the scene
Typically you need to use multiple lamps and it is good to use extra lights to highlight surface features
Bake if it makes things look better or if it speeds up your final render or if you are trying for some sort of special effect
5/ For cycles I don’t think you can hide the lamps and still see their effect
Whether it is from the preview render {the eye icon} or the final render {the camera icon}
For cycles you can turn off ray visibility on the camera, for a mesh light (or any object/lamp) and still have it affect indirectly and the scene around it.
thank you guys. still need to figure out this uv. i dont know why I am having such a big issue with is. I think its the pixel density and its not really the uv it may be the image on how far away or how close the picture was taken.
I was wondering though, after I scale my uv’s and pin them, how come they go back to what they were when I upload the image? i mean I do hit the U key so the image can be unwrapped but isnt pin suppose to stop that from moving? here is the file for anybody to see what i am talking about. I am starting to like using the constrain to bounds in the uv image editor to fix the scaling issue if I have one.
like in the examples I provided. but still would be nice why pin doesn’t work once I unwrap again to get a image to show up after using the grid uv but also,
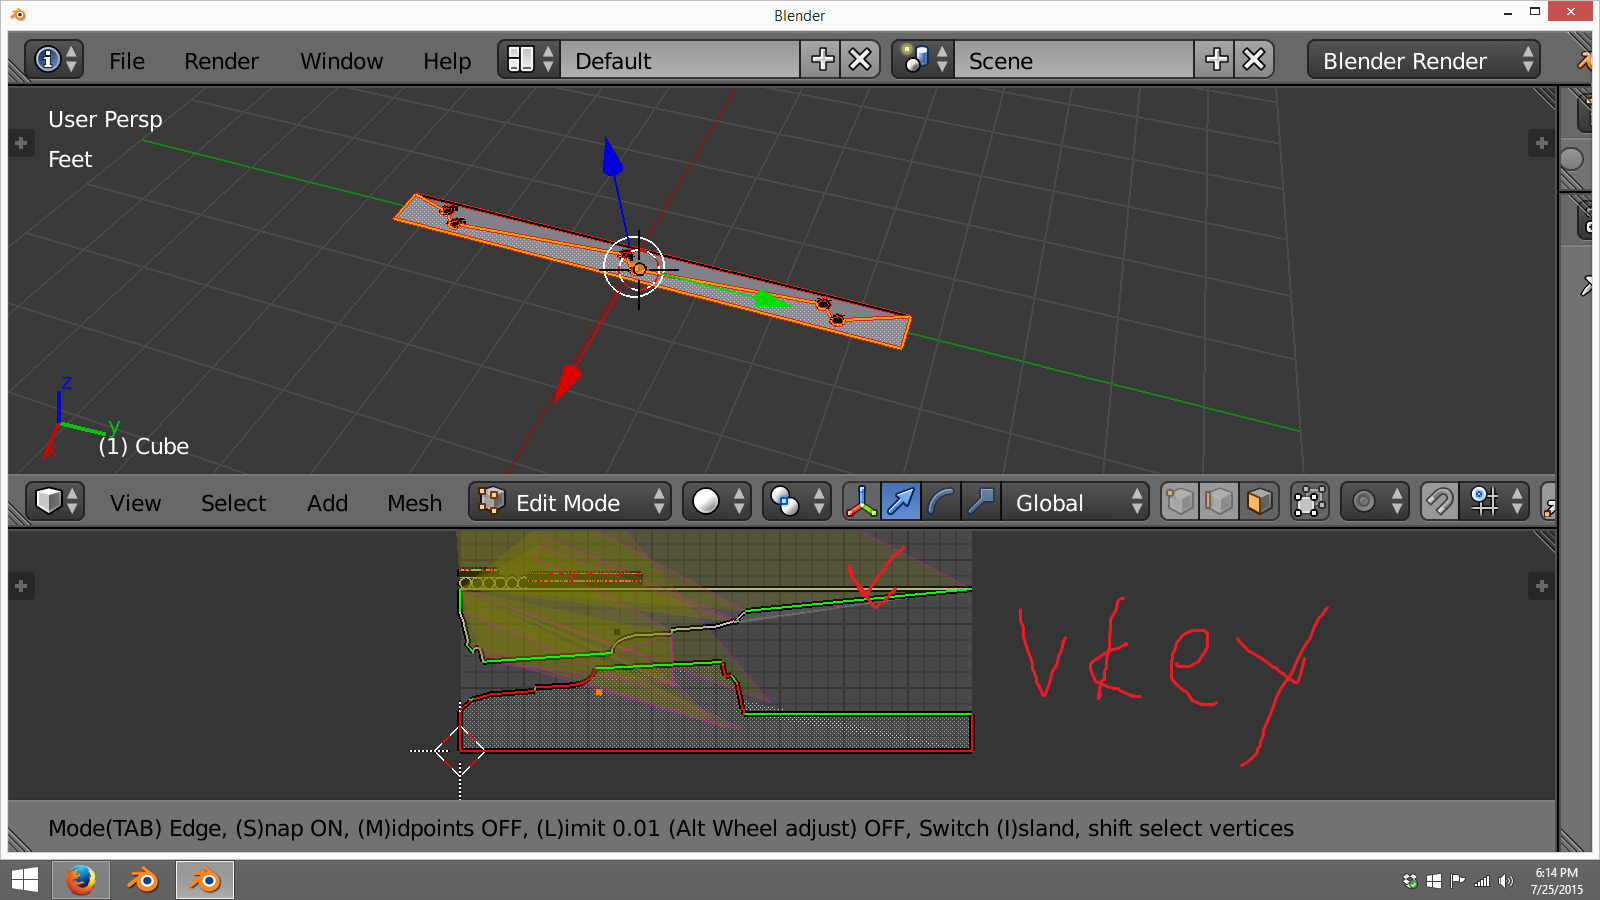
when I use the v key to see which points need to be sewed together and I left click this happens. so I am looking for a separate and sew tutorial. I know I could just use unwrap to separate the mark islands but, i cant seem to sew them together. (example below)
Pin only works for unwrapping from the UV view
If you unwrap again in the edit view ‘U’ key, then all the selected UVs are calculated
If you unwrap from the UV editor view ‘E’ key only those UVs chosen in the UV editor are unwrapped again
Pinned UVs vertices are maintained
I use the v key ( pic 1) to see what parts need to be together then left click (pic 2) move and sews the mesh. but when I do this to certain topology that holes etc even with mark seams, my mesh gets twisted.
when you said using the e key in the uv editor that will only unwrap the uv selected ? instead of using the u key in the 3d view?
I use the v key to see what needs to be together. then left click. but mesh gets twisted. I am working on my uv unwrapping and figured to learn things like this such as hole sin a mesh etc. I even marked the hole seams but still it twist like this.
There are 2 things in your question so to answer the stitching point first.
This is only my opinion, so maybe some other folks can give you some better ideas.
When you are working on the UVs that are unwrapped the purpose is to best set the UVs generated from your model to use the image that is mapped using those UVs
Part of this process is to make the use of the underlying image consistent so that a ‘feature’ in the image is aligned from one face on the model to another face.
For example a knot in a wood image that appears on one surface of the model, but extends down onto another surface.
This is why there are tools to mark seams and do lots of other unwrapping operations and to stitch 2 islands together
However … Blender cannot know what you are trying to achieve, that is up to your judgement
And in this case you are trying to stitch together too many different UVs all at the same time
In the first picture you post when you activate stitch, Blender shows what will happen to the UVs so it is no surprise that a left click creates a hodge podge of UVs.
The stitch command purposefully has a limit control to allow you to start off stitching only 1 or 2 UVs
And then you can repeat the operation joining more.
This way you can build up all your UV islands as you think best to maintain consistency on the model.
Another thing you might want to do is to only mark those seams that are needed
I can see no point in marking a seam across the side of one face so it is separated into 2 islands
These are co-planar and should clearly be all part of one UV island