Moved the mh outline over a bit repainted and now there is no seam.So that must mean that the uv map itself has the seam and not the model right?Cmon i cant attach another screen shot only 3 allowed! ok i will conclude this on part 2
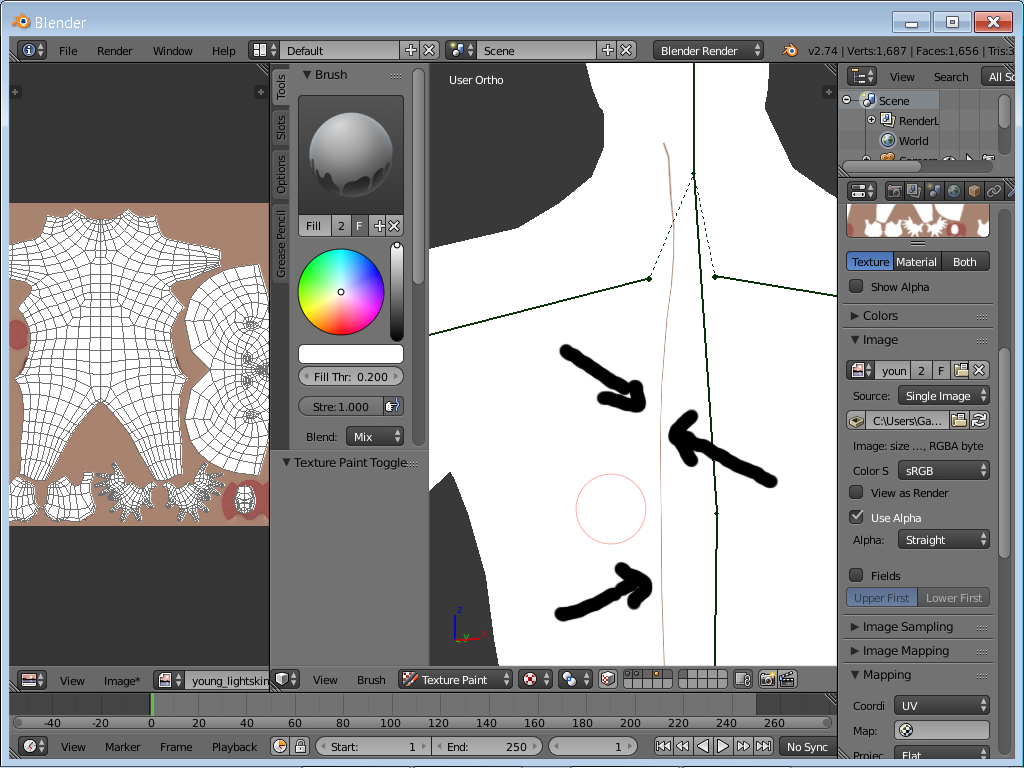
So i moved the image back to the original spot and now the seam does not exist there anymore. So where did it go its not on the mesh and is not on the uv grid either. Just to be sure i painted the mesh with a number of colors and no seam.
Last test i ran started a new file imported the mh model immediately created a new texture map and presto our mysterious “seam” is back.Moving the image about and paintingeventually makes the seam dissapear again.
So I cannot think of a single logical explanation for this . I tried many mh models and all did the same.
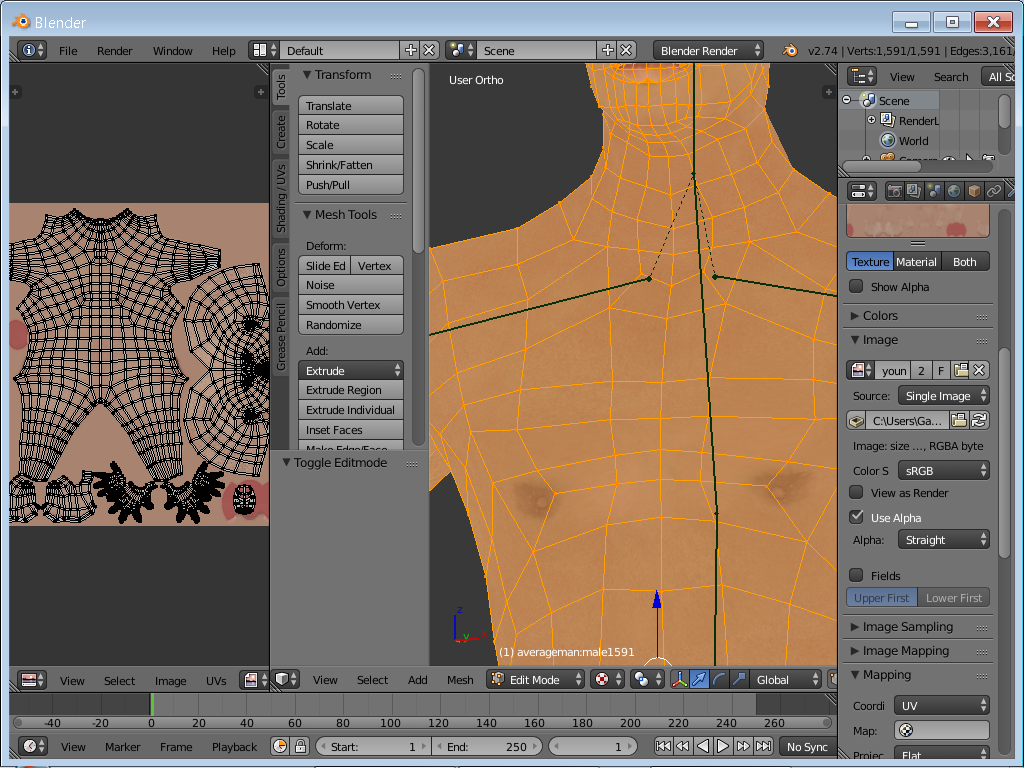
When i go to Edit mode and look into the UV, if i zoom i see that at the location of the problem, the UV has a space :
That look strange to me, as i don’t see why the UV is not continuous there and there’s a separation.
Did you re-unwrap this model yourself or is it the direct unwrap from Makehuman ? anyways, in my opinion this is not really good at all to have this separation, it’s not good practice for this kind of unwrapped character.
It’s very odd that it is impossible to paint over that section, i think there’s some kind of bug with the UV there, if this is the default Makehuman UV i guess they have a bug in their low poly model unwrap method, or they’re using some kind of transfer UV between high and low poly that just fail badly at the center of the body.
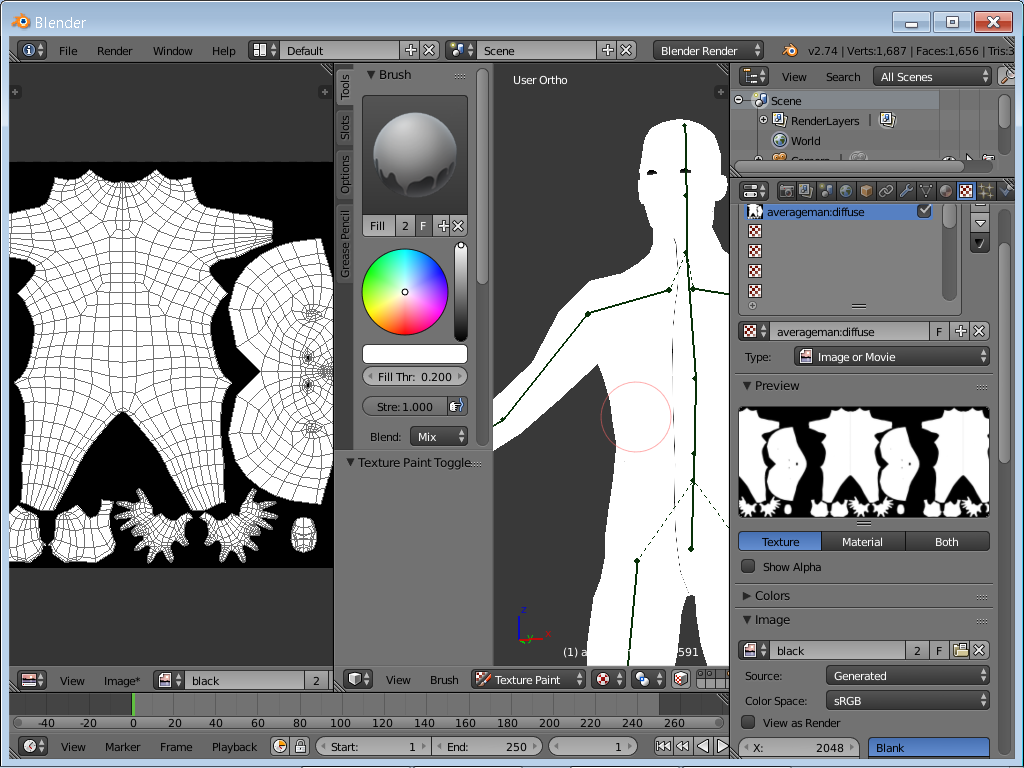
Anyways, i fixed the UV map with making the seams from the UV, pinning the border UV islands vertices so the UV islands would keep the shape they had, so you would not have odd result when using the original makehuman textures, and i re-unwrapping the body correctly to avoid that bizarre middle separation.
I uploaded the fixed blend on pasteall. http://www.pasteall.org/blend/36579
You will be able to paint without the “seams” anymore.
In Texture Painting mode, i recommend you increase the bleed to 4 or 5 instead of the default 2 if you want to paint
Maybe you should report this model as a bug on the bug tracker, as even if the unwrap seems faulty to me, the fact it’s impossible to paint over that odd separation is very strange.
Hey Sanctuary it is the original unwrap. You can paint over the seam but only if u zoom in really close and paint the uv map. Still no idea how moving the mesh outline and painting in other spots makes the original uv error dissapear. Also the error appears on a completely blank newly created uv map so not sure how that happens
I think the error comes from how that uv has been created by makehuman, when i unwrapped with the border vertices pinned the faces in the UV were more naturally displayed (according to how the topology of the low poly model is) , while the original UV had more or less equal faces size (while the low poly model does not have such a thing), hinting to me that the UV could have been the result of some transfer uv tool or decimation that didn’t made a perfect job.
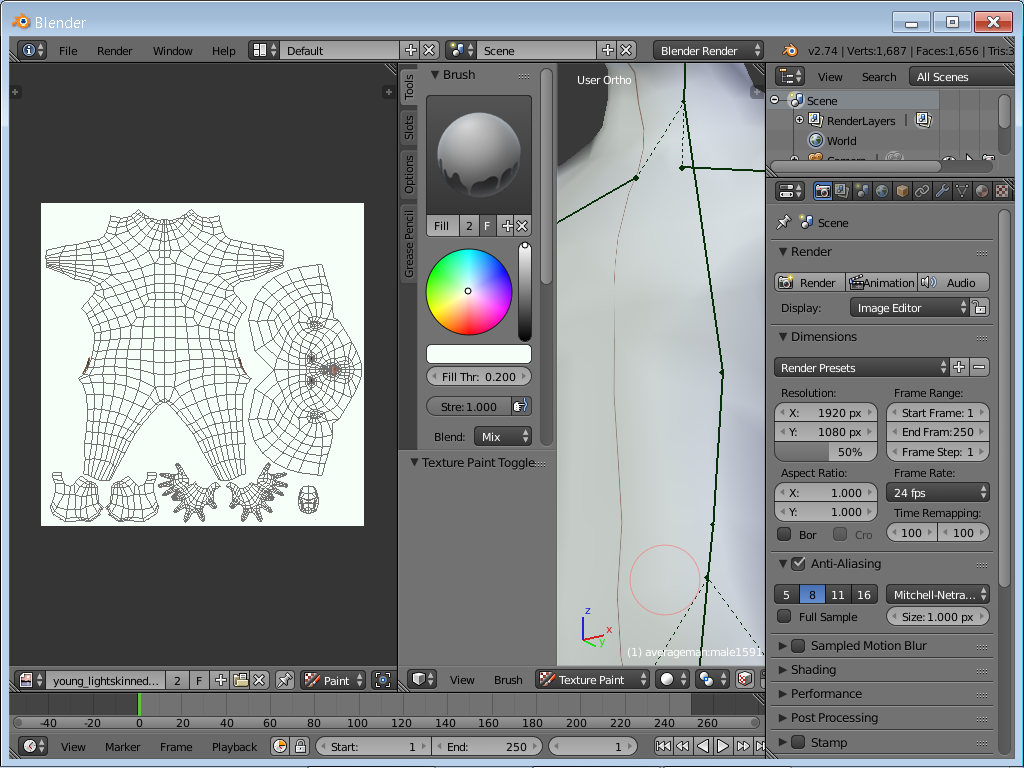
Anyways, on the fixed blend, there’s no problem anymore.