Download the photoshop spider web brushes from below link
make you own spider web & save as png(transpartent)
i created this…
[ATTACH=CONFIG]379985[/ATTACH]
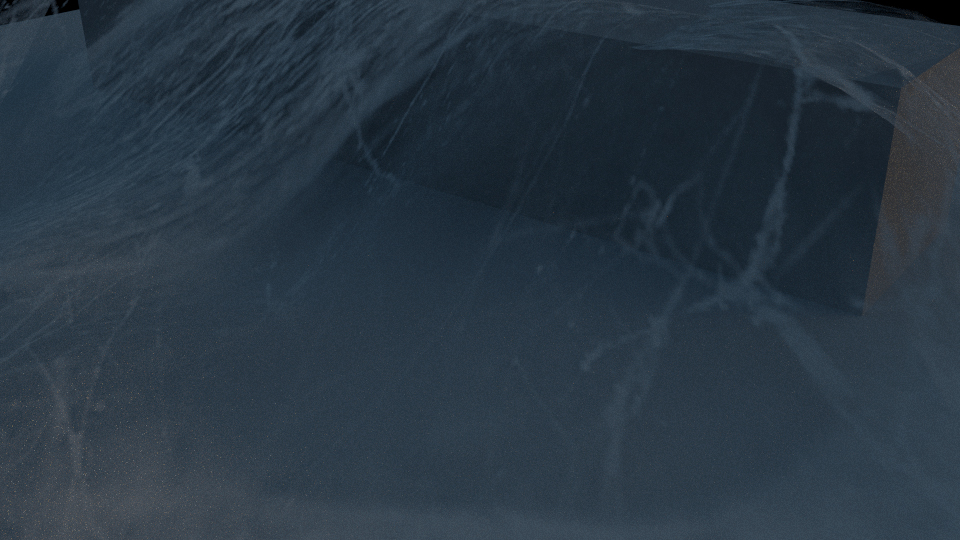
sorry for black color but i just inverted in cycles node
i just impot image as plane , subdivide it and proportional editing it…
Render it… happy blending…
Thanks to Gleb Alexandrov…
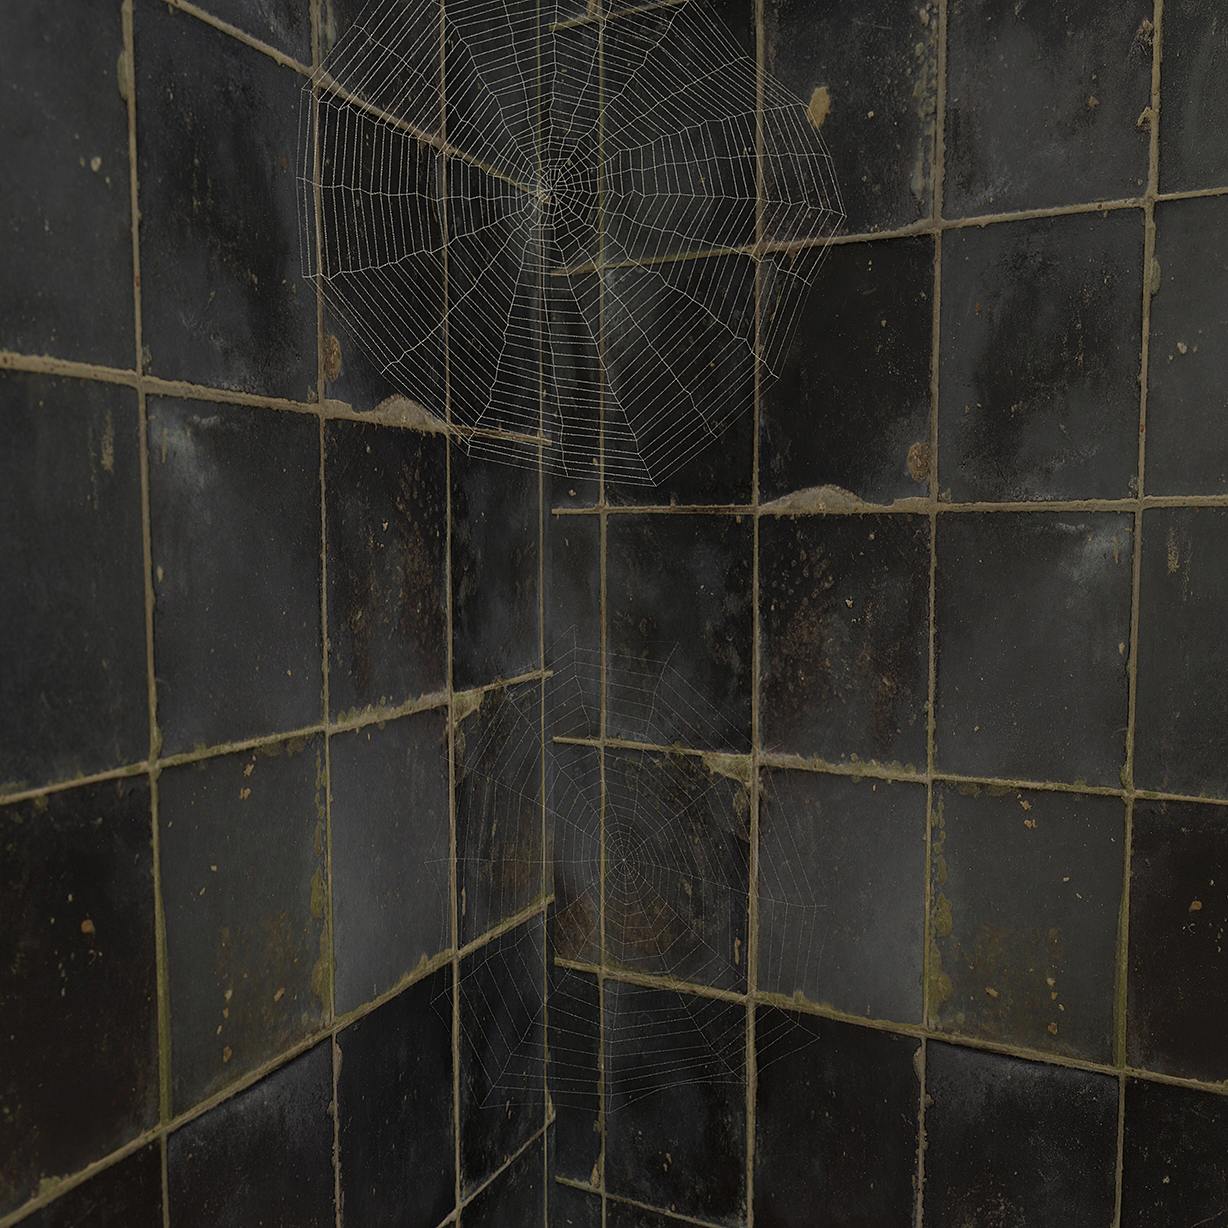
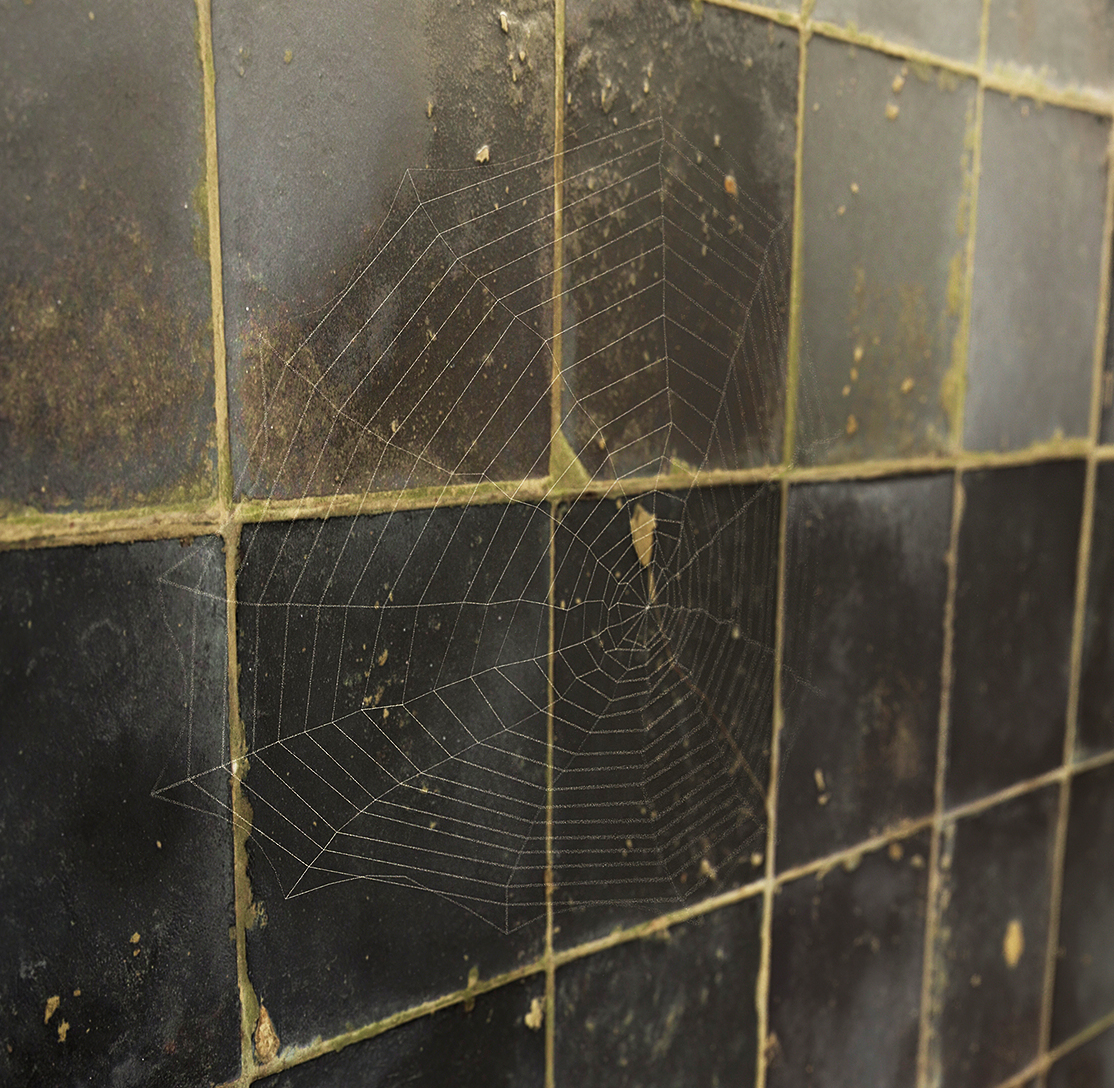
I figured out how to make cobwebs of this type today, it’s easy! The lower one was my 2nd attempt, i will try to describe step by step how it’s basically done. yea its 12 steps, but they are all stress free and open ended meaning you can alter them to your liking for different web varieties. (ideally find some reference images of spider webs first).
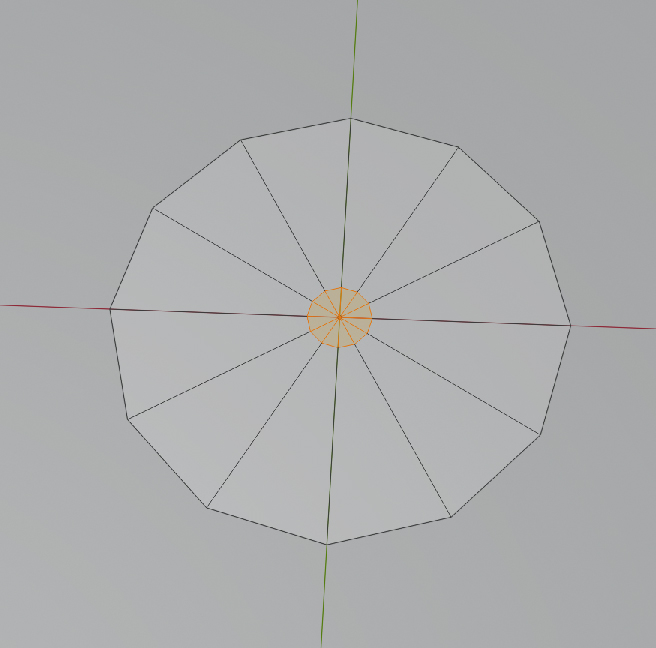
create a flat polygon as a base, i used something like 12 sided to get the look but you can go higher or lower.
Enable the ‘EXTRA OBJECTS’ addon that gives a whole bunch of curves, select the polygon option and open the tab for more options, type in 12 sides, and click on 3D and then select the object to complete.
all you have is a curve so select it in object mode, hit F3 and type convert to, and select convert TO MESH.
Now you have a flat polygon without a face. so go into edit mode, select all(double tap ‘A’) and hit ‘F’ to give it a face.
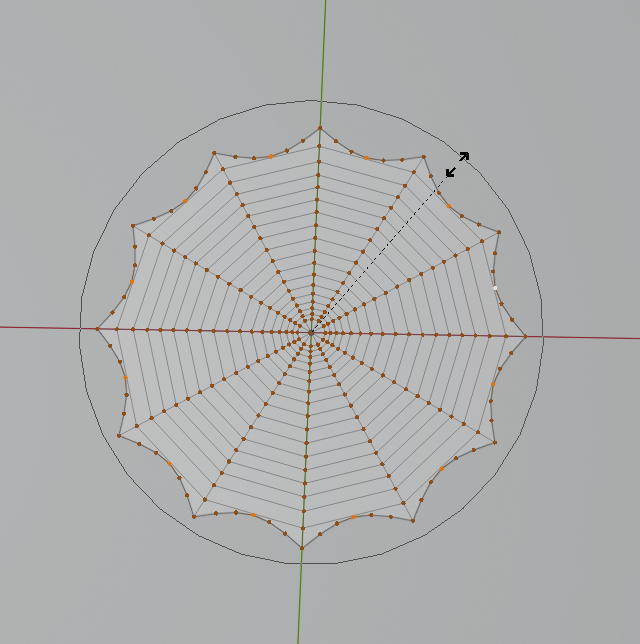
4., we want to add loop cuts but you cant yet.So in EDGE SELECT MODE, select all and press ‘I’ for inset, and scale it down abit, then hit ALT-M and select ‘at center’. This creates a vertex at the center. Then select all and ‘I’ inset again and scale it down so you have a small inner circle near the center.
By now it should look like this
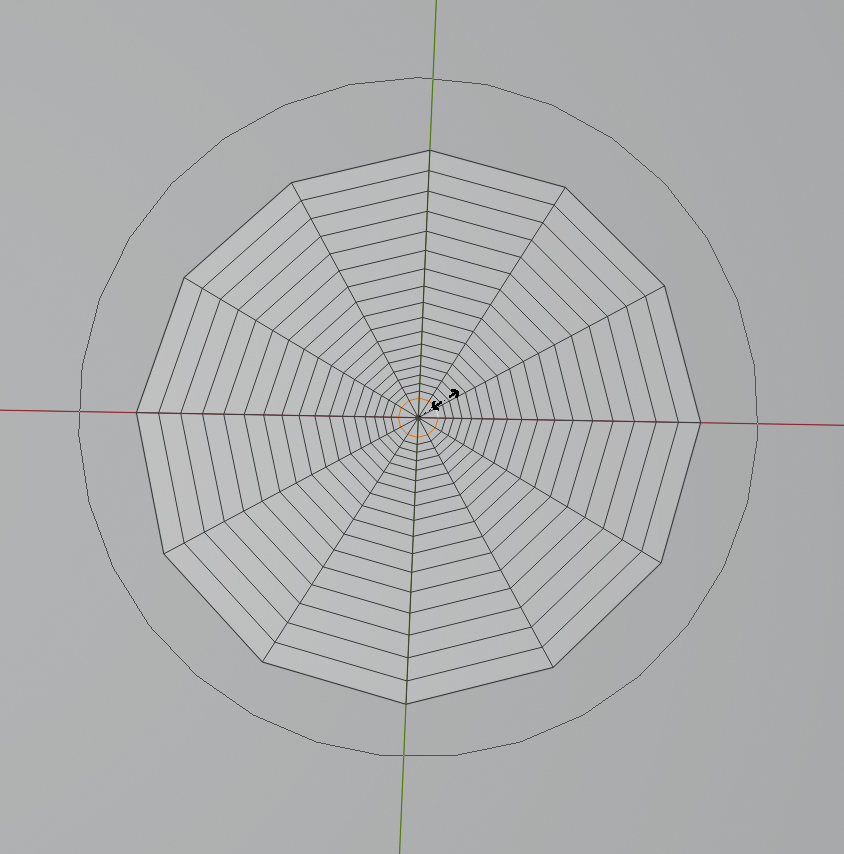
Now you can add loop cuts, depending on the look you want press CTR-R and scroll to give it loop cuts, i chose about 16.
This step is to adjust the spacing of the rings/loops, select the innermost loop/circle(ALT+click on one of its edges), and press ‘O’ to enable proportional editing, then S to scale down/inwards making sure to use the scroll wheel on the mouse to get the scale of the proportional edit so its approx the size shown in the picture below.
See it’s really not that hard is it. The next thing we want is to make the outer edge loop droop inwards between each guideline. Easy just select the outermost edge then press W to bring up the options and select 'subdivide, and give it about 5 cuts.
now go into vertex select mode, and select each middle vertex on the outer edge for each polygon side of your web, then with proportional edit mode still enabled press S to scale it down slightly and it will droop it in, as shown below.
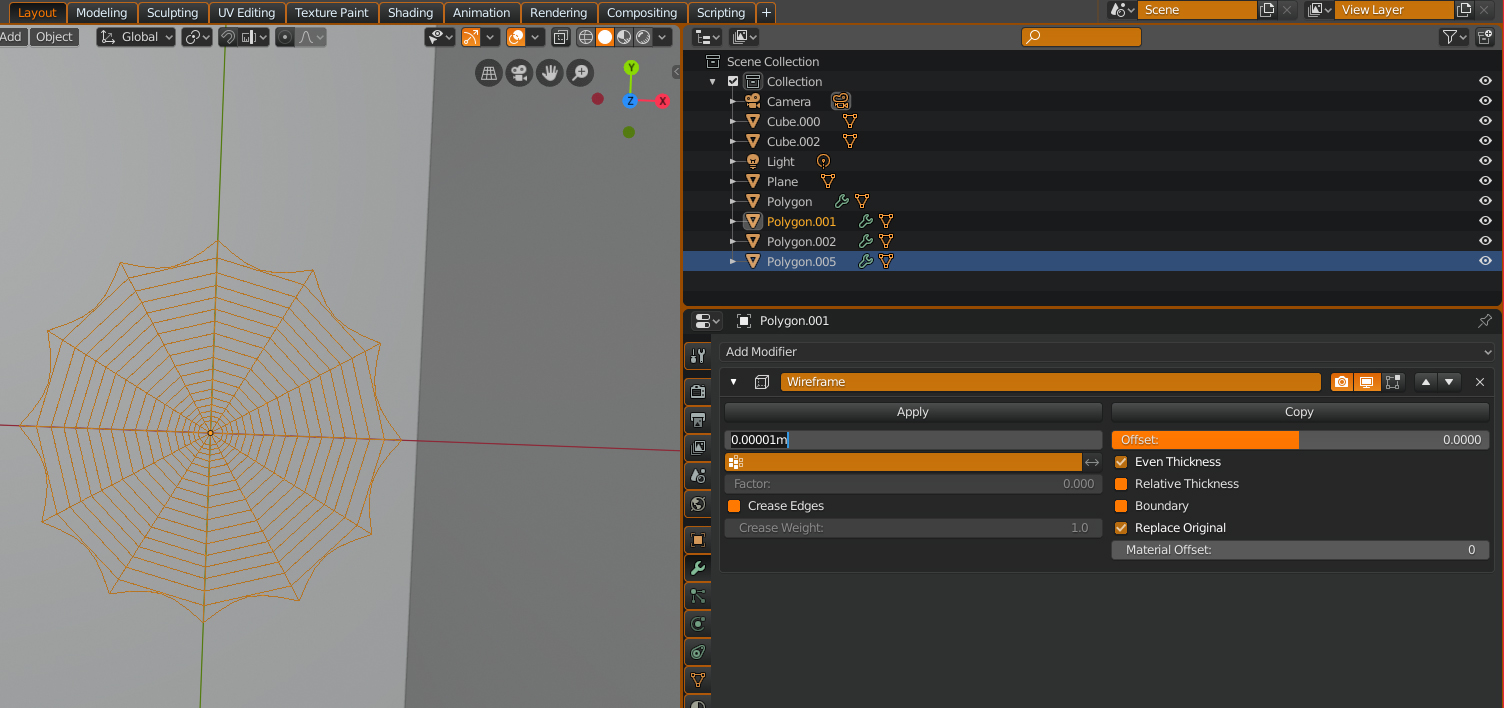
Now the cool part, and we are getting there. jump into object mode, and add a modifier to it, the wireframe modifier. This will strip it down into just the wireframe/web, BUT adjust the thickness to approx 0.01mm. (real spider silk is just 0.003mm but it will result in a barely visible cobweb or invisible in your render, just like real life but maybe its covered in dust and thus thicker). adjust thickness to taste feel free to go higher than 0.01mm.
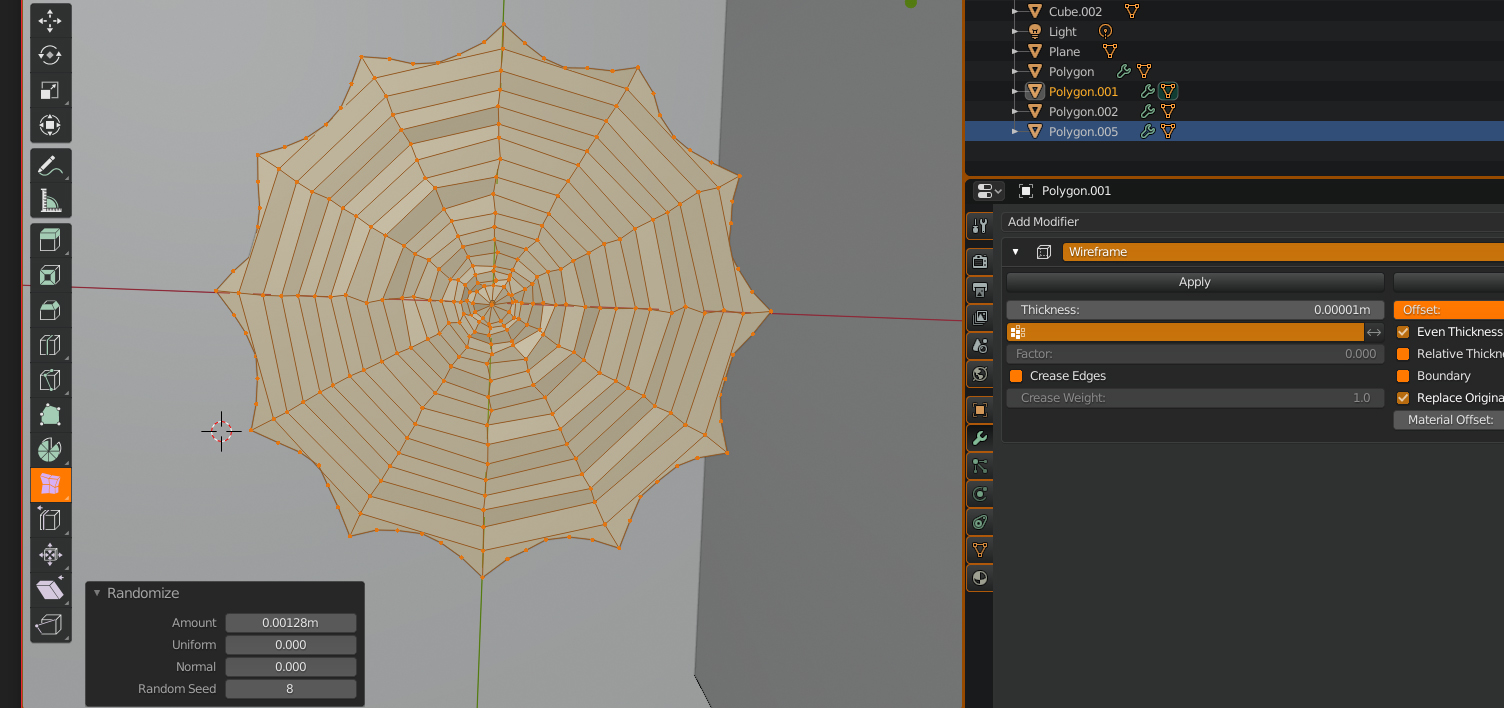
Step 10. Its too perfect so you want to randomize it. go into EDIT mode, and select all, then press ‘T’ to bring up the tools on the Left hand side. Select the randomize tool and now drag to apply, but you want a really TINY amount so hold shift and make sure its close to zero amount of randomization then select a random seed that looks good and click your web to complete the operation. (if you dont like every single edge randomized, then just select certain edges before you randomize).
Nearly done i swear!
11. now give it a material. Make it a principled shader, color bright white and turn up the transmission to about half, turn down the roughness to about .2 and turn the IOR to about 1.53. I suggest press CTRL+ALT+numpad Zero to see it in the camera and turning on rendered view so you can preview it, ideally against a dark background or textured wall like i did. You can even add roughness textures to it or clear coat, or whatever you want to get the right look.
Final step 12.
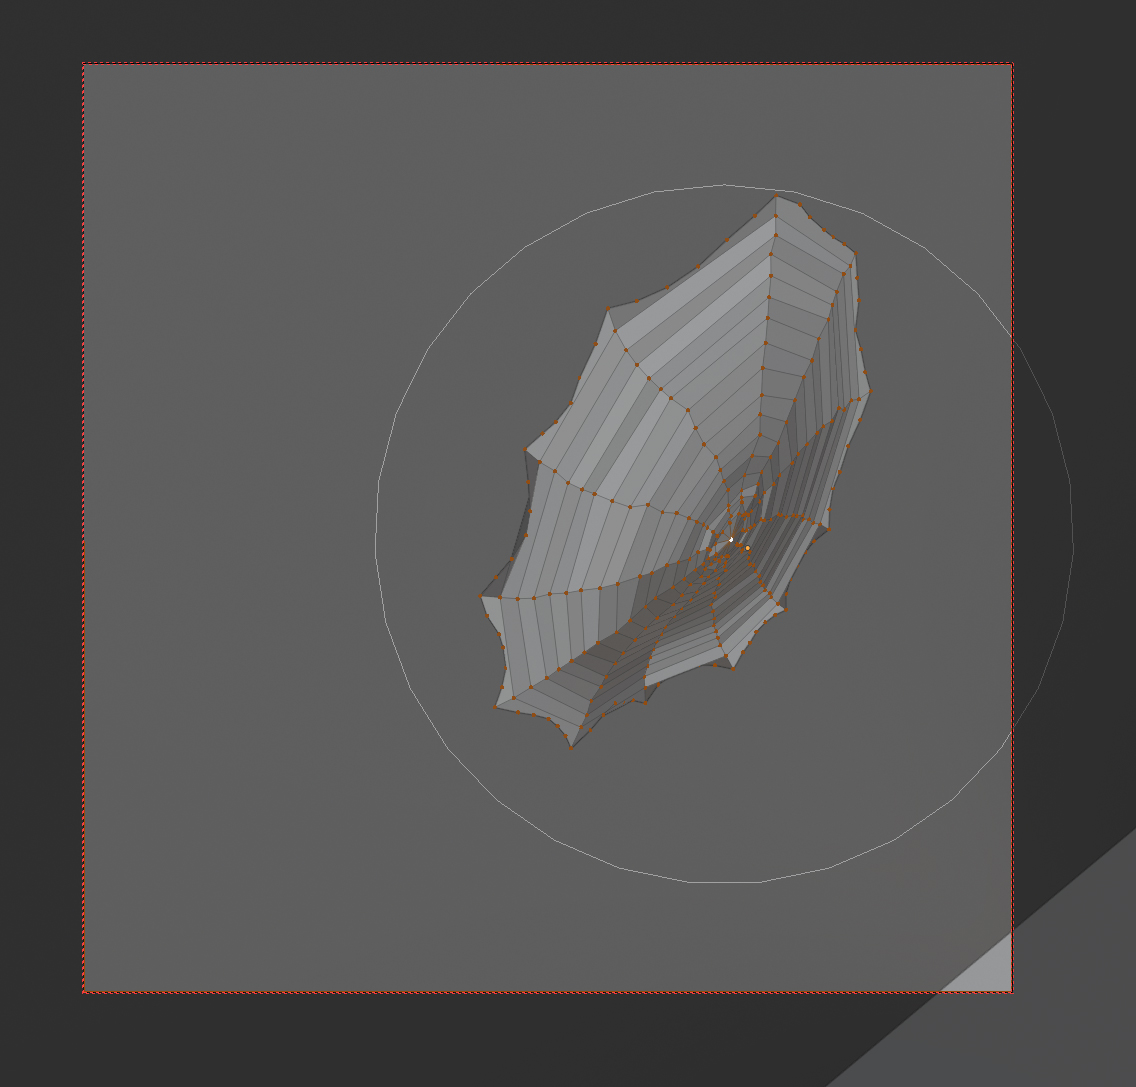
In edit mode and vertex select mode, select single vertexes on the corners of your web and makesure proportional edit mode is still on, press G and pull about the web to adjust its shape to make it stretched and more web like. Also try selecting the center vertex and moving that about to alter the overall shape.