Ah yes…
I know your struggle on the hair…
I’ve also been struggling with that since day one. i have found so many ways to make hair yet none of them quite feel right.
I even contacted a Japanese game company about one of their games (Closers dimensional conflict) and to my surprise they actually helped me out and showed me one of their hair models!
Even still i don’t know what to use xD
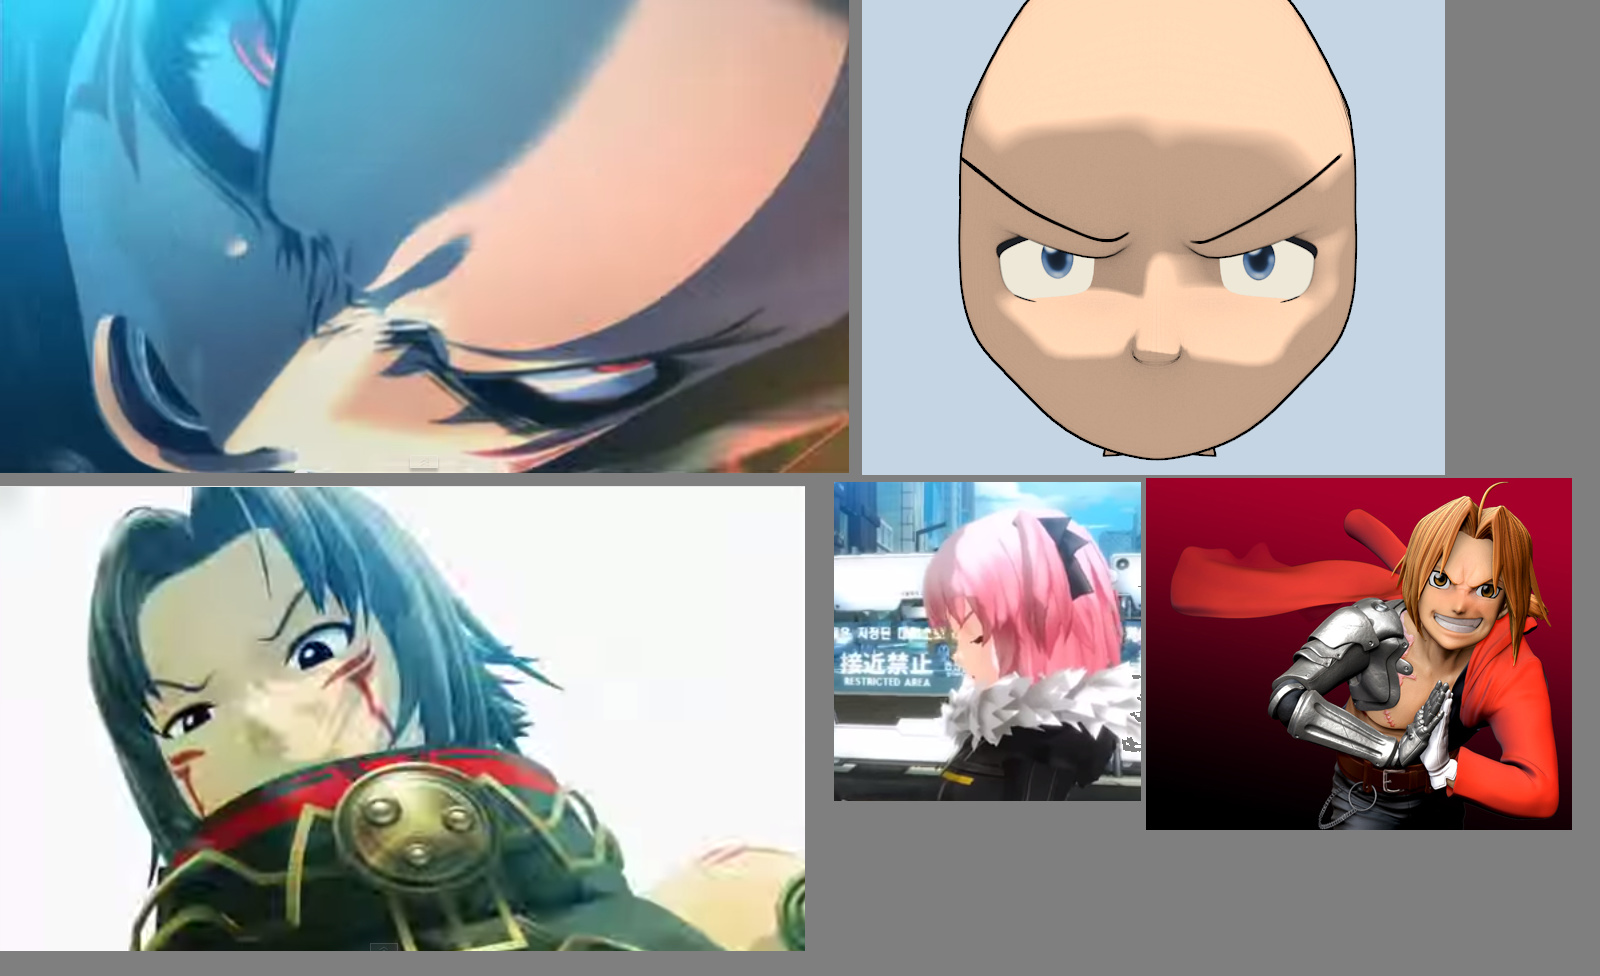
they didn’t want me disclosing their files (there was only 2) but from examining the files, what i learned from them was that that game in particular created hair using planes, but what really sold it was the texture they applied to these plains. I don’t know if you look it up, but there’s a girl with long hair that they showed me as example.
The hair and the textures seemed to be created in a specific order, this kind of taught me that there are 3 basic layers of hair. the top little fuzzy shorter bits, then underneath that is the most of the hair with bangs and what not, but then even a layer 3 under that that is closer to the neck and up the back of the head to about the mid range area.
i feel like i’m not explaining this well. anyway, after you have the planes set up, their texture was painted on hair kind of painted in the same bottom to top order to ensure it looks best.
overall i actually found i didn’t like this method.
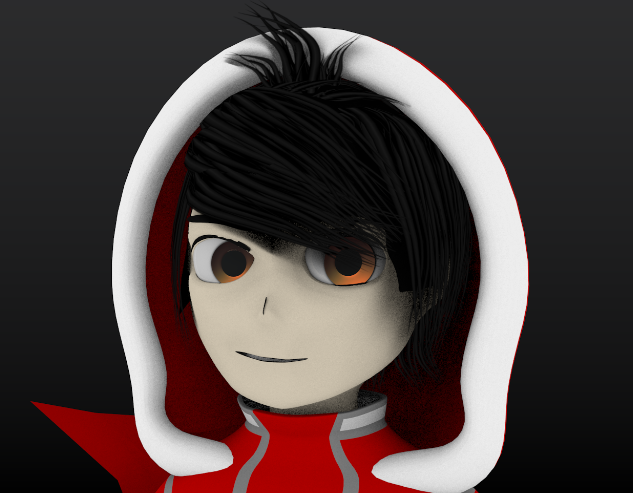
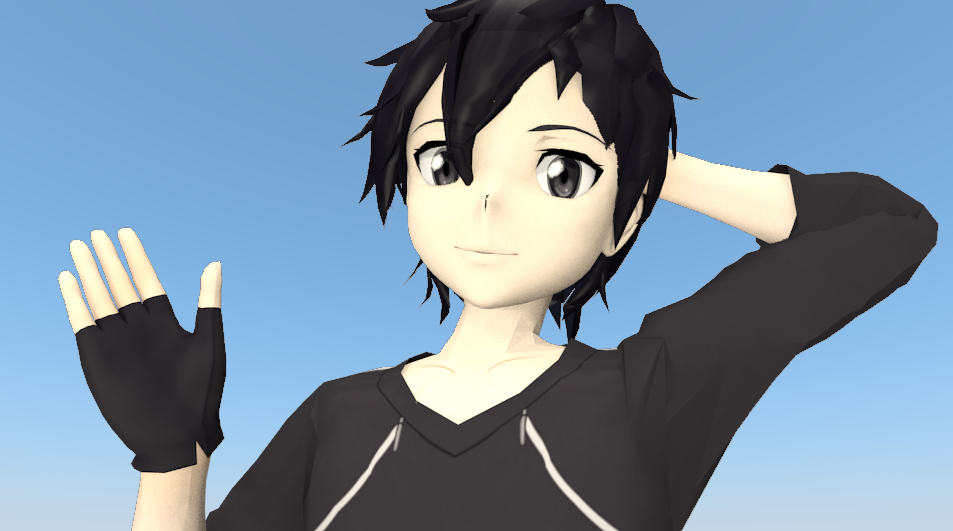
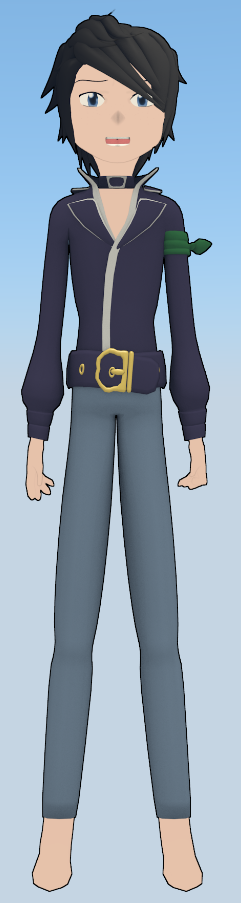
my result came out about like…
I have found 2 neat methods as of recent though,
and they are actually halfway simple.
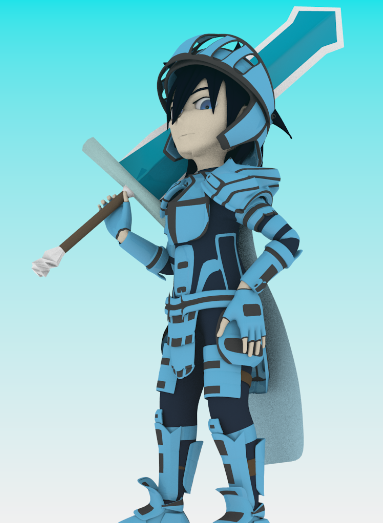
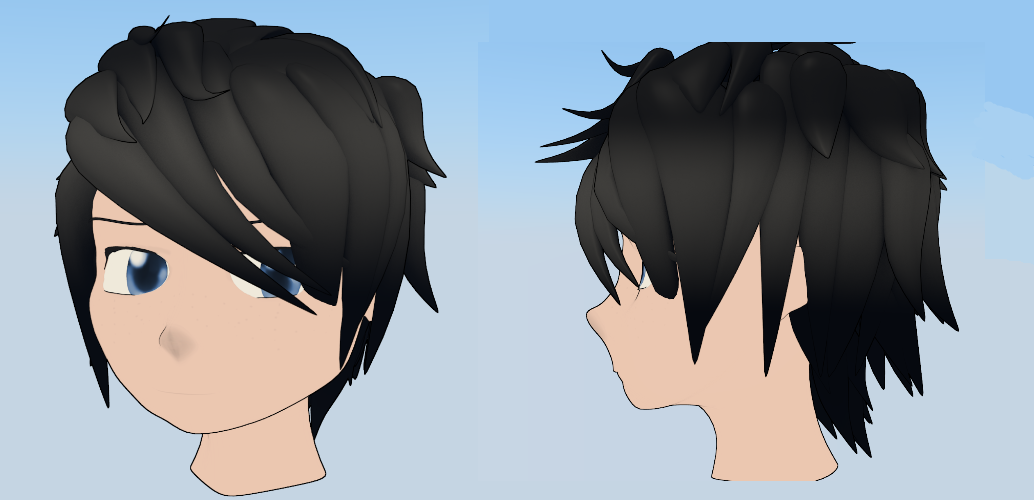
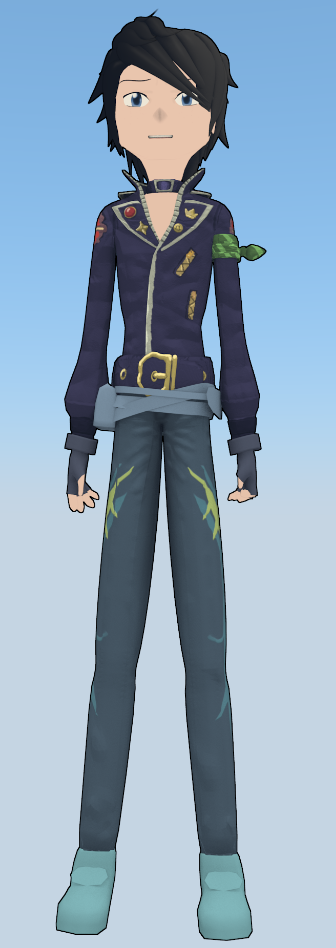
So this one i grabbed from a user making Eren Jaeger in Maya, and just applied the same method as best as possible to blender. It was slightly tedious, but that’s my result^
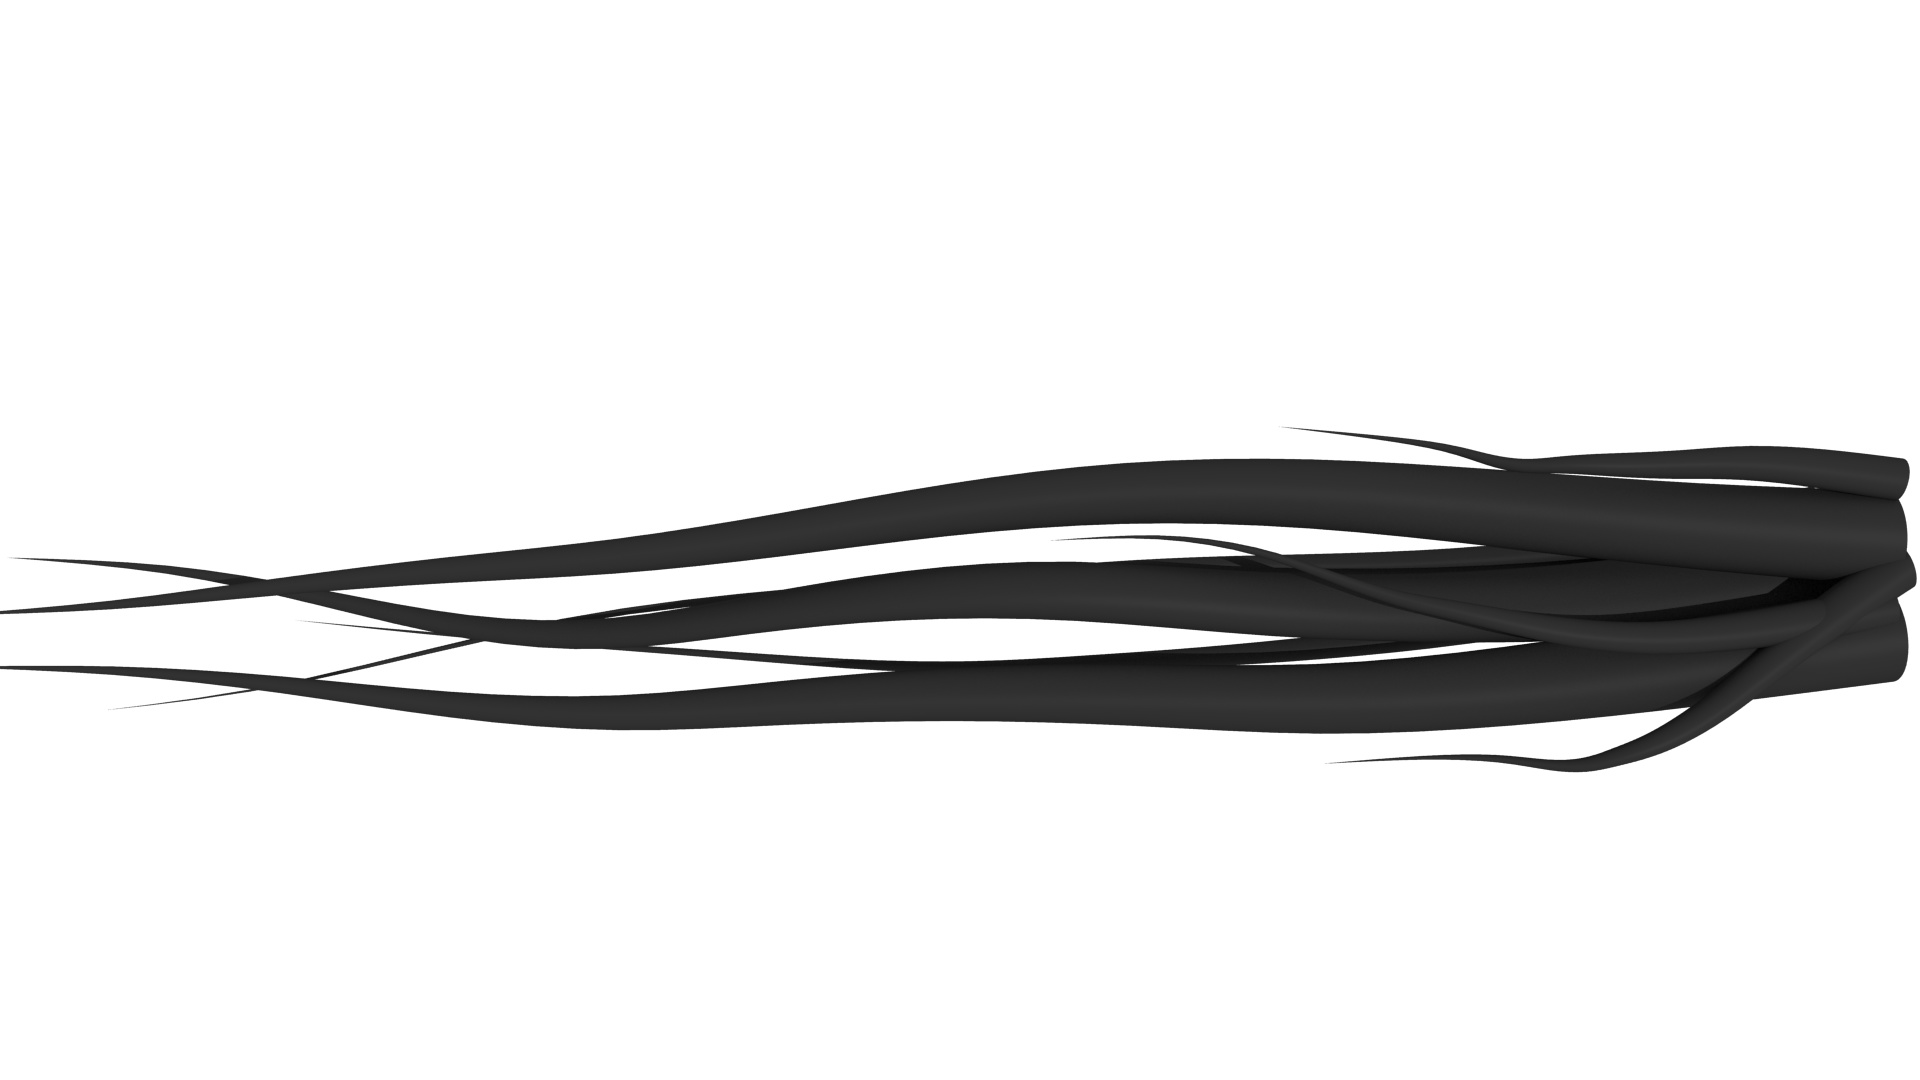
I created about 5 strands of hair using cirlces and just making a curved cone out of them. and placed them to look like a tuft of hair and took a render of them with a transparent background.
So… this was the result;
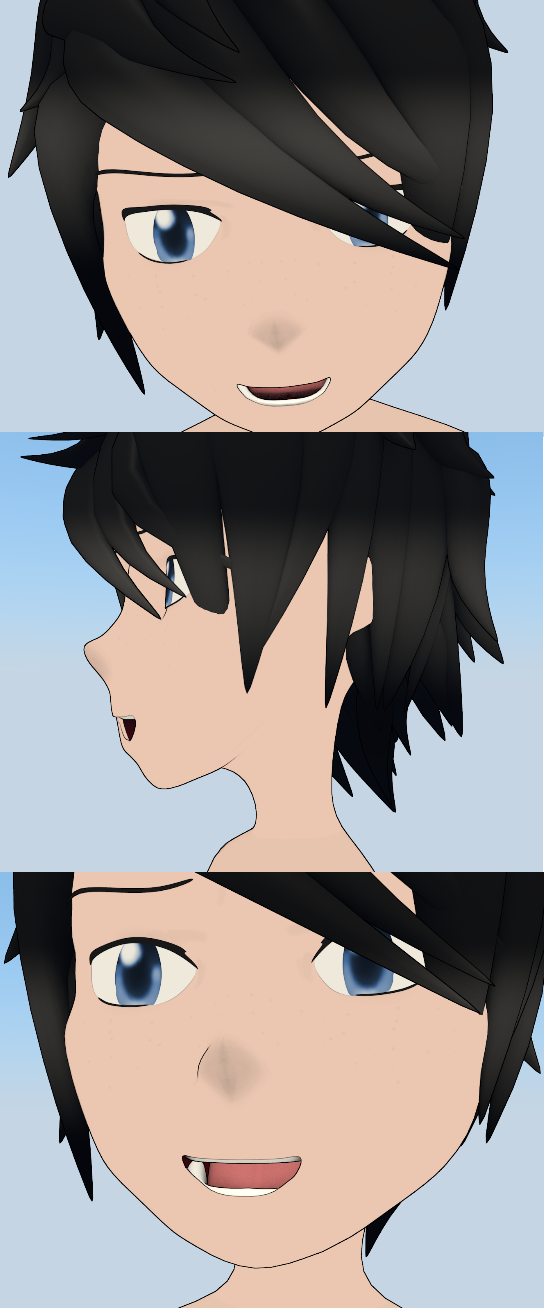
then i made a plane with about 2-3 segments with this texture applied onto it.
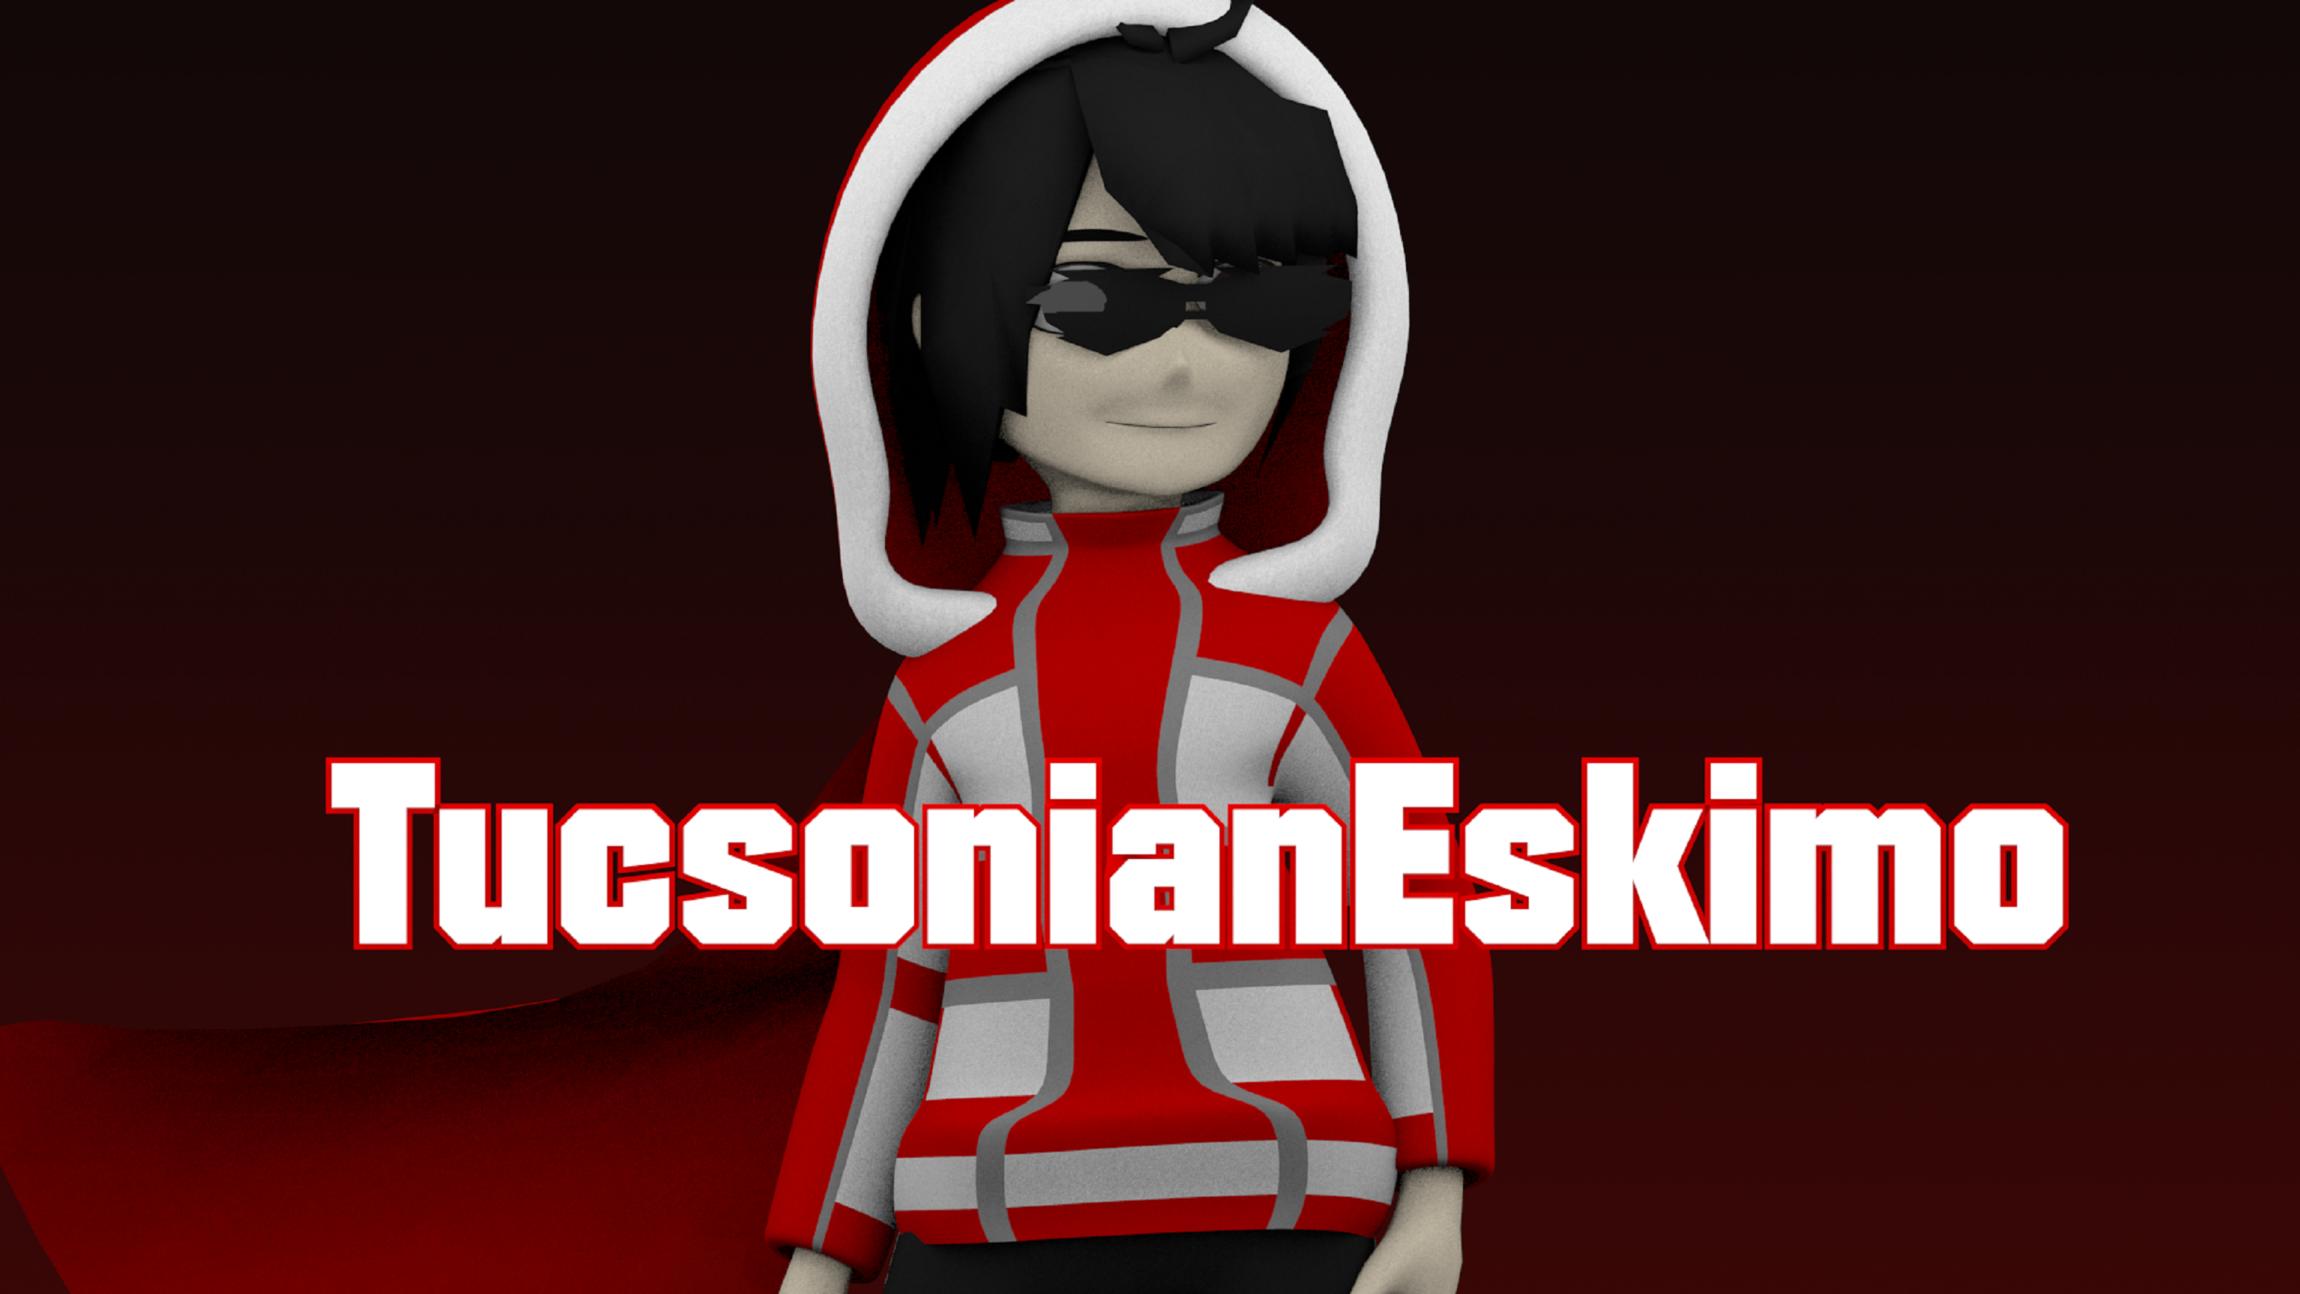
i created a basic wig like shape of generally how i wanted the hair to look and used the same hair color on it and started littering these planes all over it (in EDIT mode of course, in object mode you will lag up your system so bad)
as you lay these out and curve them into shape, remember that hair extends from the parting area of where you part it with a comb and it’s easier to figure out how it lays that way.
when i was done i duplicated it all and rotated it slightly just to make it even that much fuller.
And when you render it, any see through bits are covered up by the wig-ish object underneath.
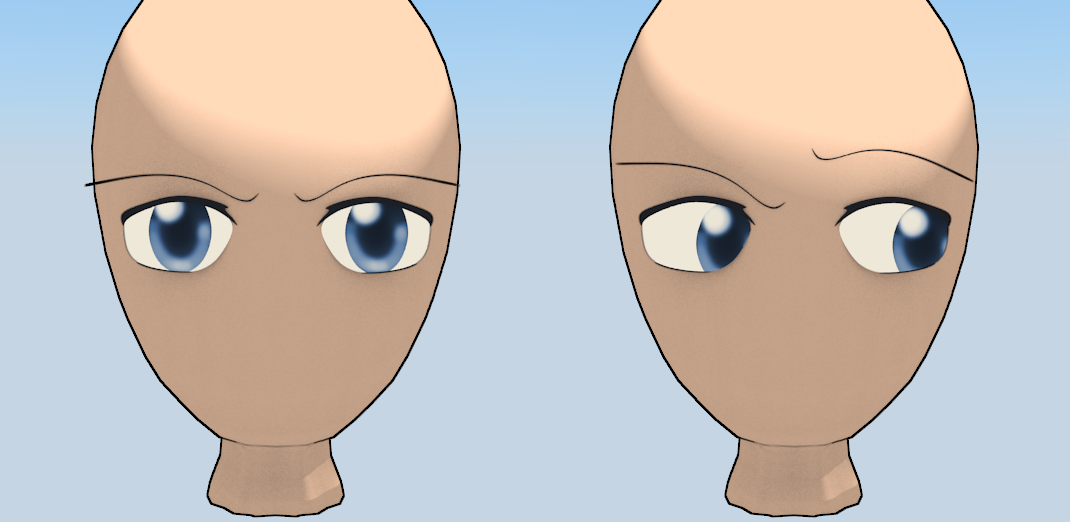
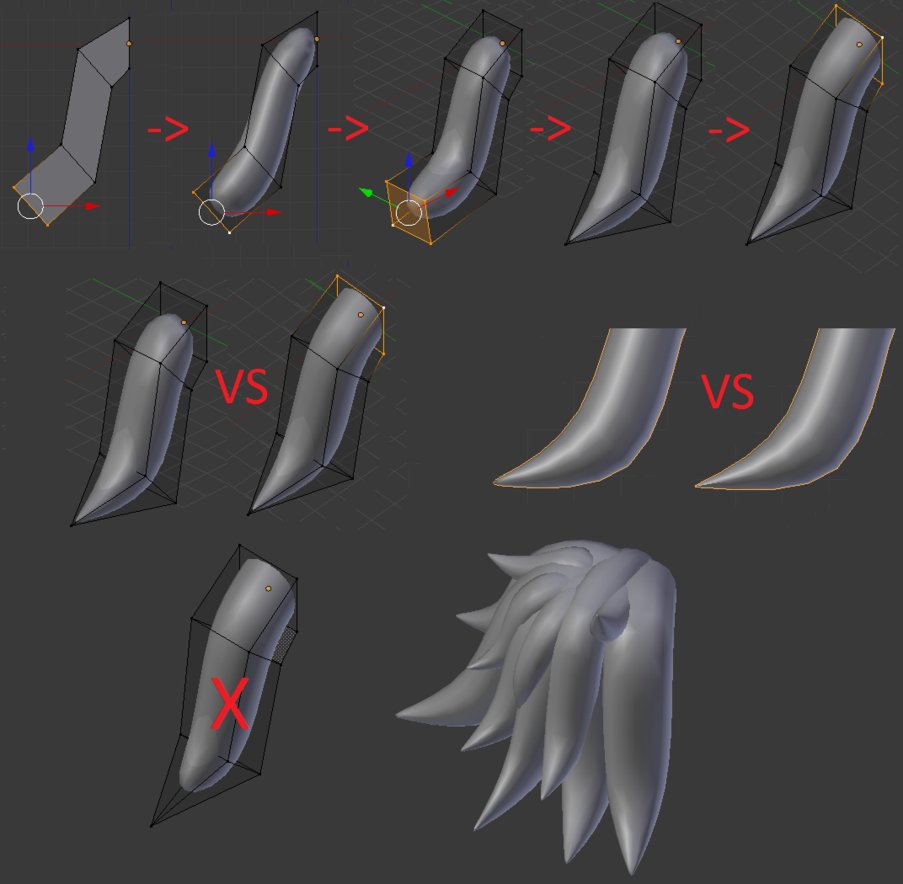
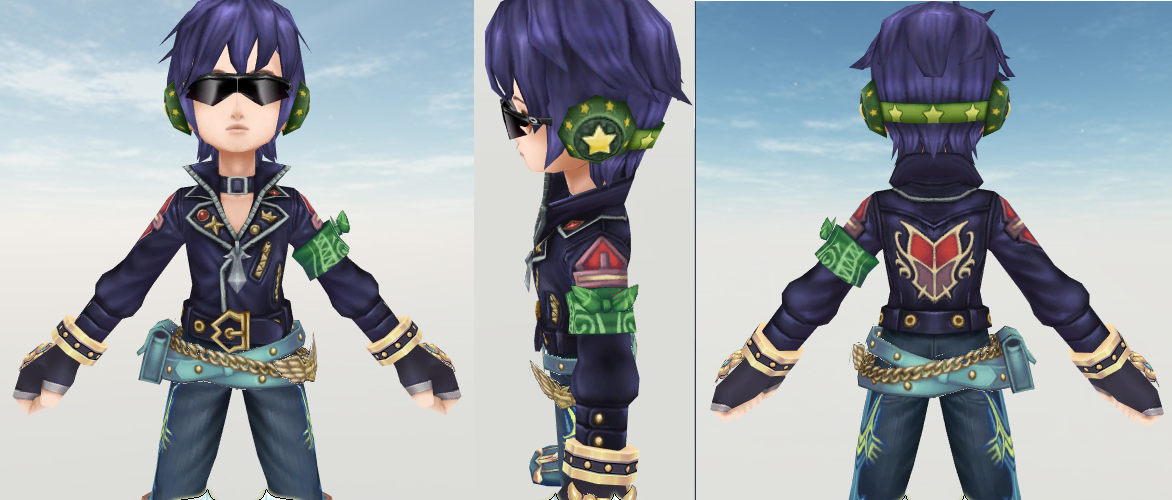
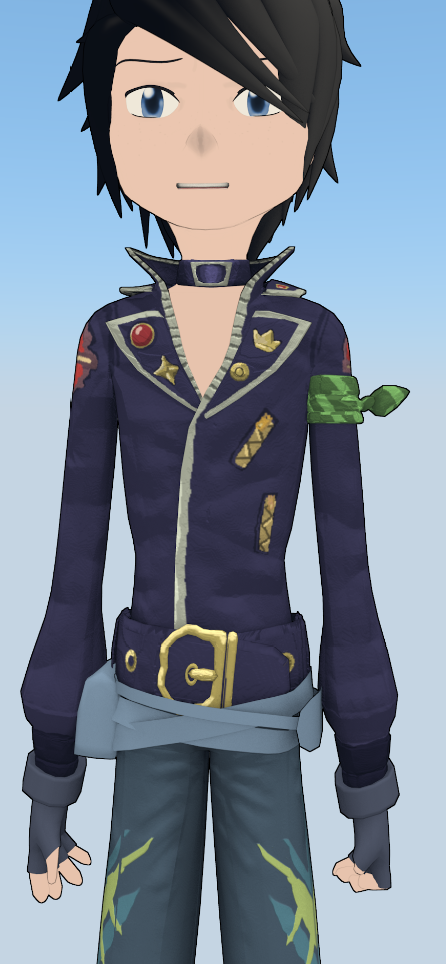
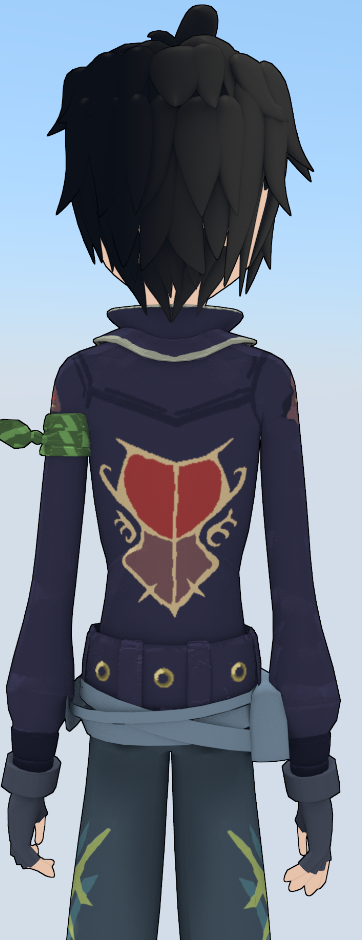
And finally my newest found method i discovered from someone on Deviant Art, i’ve only got to test it once, but i think it could really use a texture on the original strand you create before duplicating the cone all over the place. This method is a bit High poly, but being that heads are always in view of the camera, i think it’s worth it.
going off the file name, it appears the Deviant artist user is named “MrSide” so credits to him on this one.
Believe it or not i still have practiced even more methods than that.
There is David ward’s tutorial on hair that made cylinders and the sculpt mode to make a greaser hair look but… really don’t bother unless you want greaser hair. it can’t be used in any other way in my opinion.
then there’s also particles which…ew…
(i still have a paid tutorial i wanna watch on it sometime though)
There is also just one more, which only applies to pony tails.
It’s bassically just using the skin modified to make long strands in the way you want, subsurf- them, and then duplicate them abut 2-3 times and squish them together to look like the desired hair.
Anyway, sorry for typing a book at ya!
That’s just kind of the summed up version of what i’ve learned about hair so far.
and i didn’t even touch on how to rig/simulate it! xD


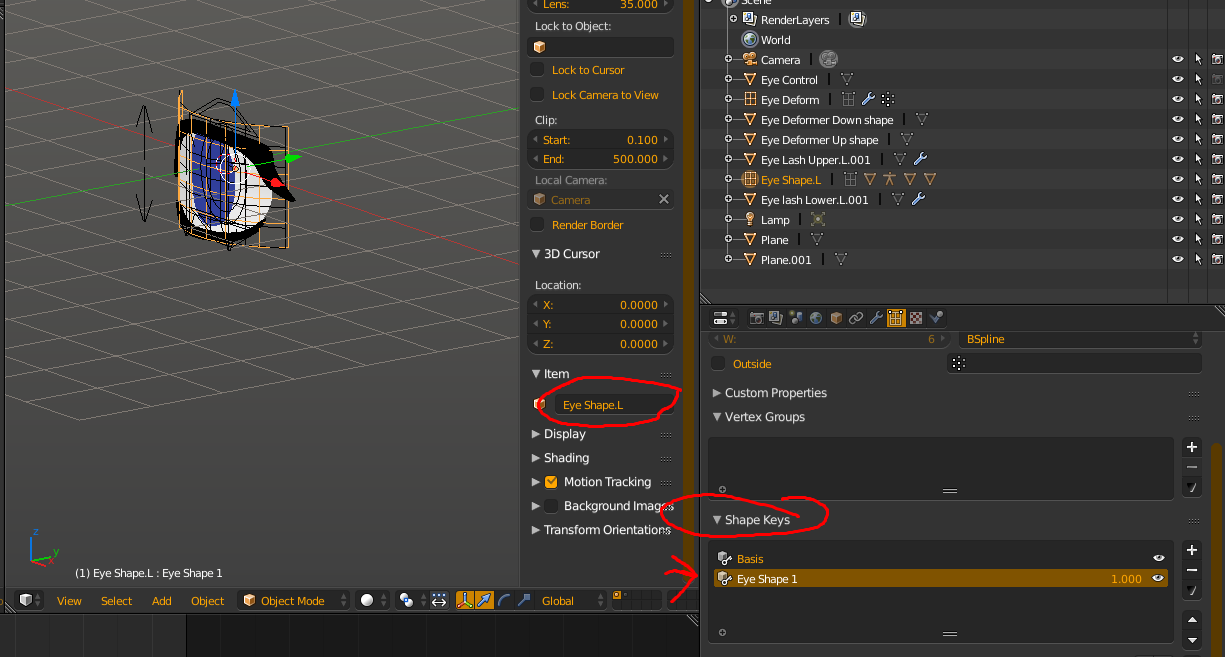


 i’m just having trouble identifying the tool that it is