Principles behind visual style & workflow for ski resort chairlift

Hello All,

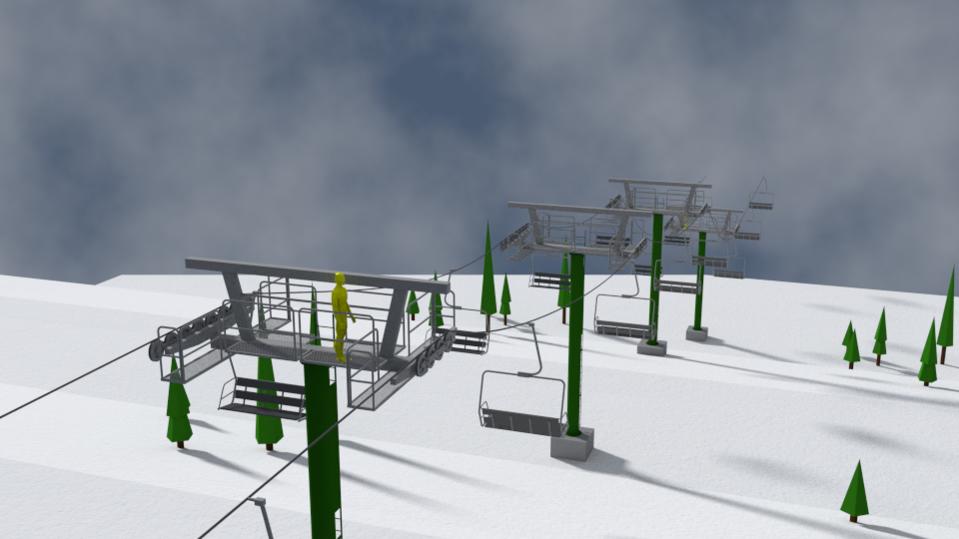
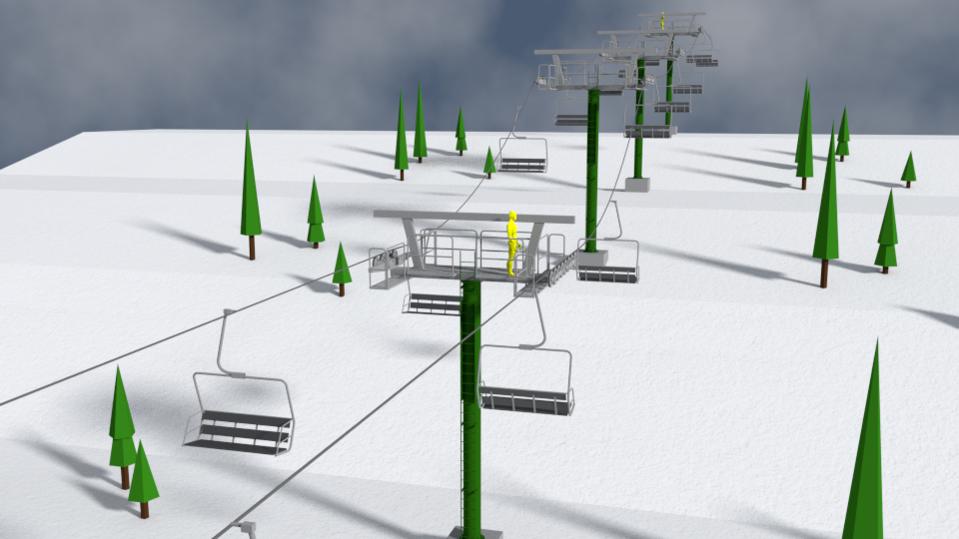
I’m in the planning stages of a new blender project: a ski resort chairlift situated in a mountain environment. This will be built to scale, imitating as best as possible a functioning lift. The goal is to clearly represent the lift’s various mechanical components, with a simple, clean, NPR aesthetic- similar to this image:


I’ll want both large-scale camera flyovers, as well as close up detail in certain areas. Certain components will move, rotate, etc. The background terrain does not have to be fancy- just enough visual cures to define the terrain, and provide perspective as the camera moves.

Obviously, I’d like to reduce render time as much as possible. Don’t we all.

This is really going to be a learning experience for me! I’d appreciate some advice on planning and strategy before getting in over my head on what is likely to become a complex project. What kinds of decisions do you make early on to save time later down the road? What are some principles that apply to a project like this?

As for the visual aesthetic, I was thinking about avoiding light sources altogether, and simply using ambient occlusion in cycles. This leaves shadowing to give shape and definition to objects and draw the eye, but avoids fiddling with lighting setups. Any pros or cons here? Would I want to do a lot of AO baking in this scenario? Any other lighting strategies I should consider?

As for modeling, chairlifts have many repeated components: towers, sheaves, chairs, etc. Should I consider instances, duplis, etc.? High and low poly versions of components that require high detail when up close? Would the ‘flyover’ and high detail versions be completely different projects?

As I plan textures for my background and landscape, and features like trees on the mountainside, what should I keep in mind? Reducing the size of texture images? Using images of trees on a 2D plane facing the camera rather than a 3d dupli?

Finally, there are probably some rendering and compositing factors I’ve not even considered.

I guess I’m asking what some of you would consider as you were planning a project like this! Any suggestions are greatly appreciated.

James

As an additional reference, this style would be perfectly adequate for the mountainside.

Thanks,
James

Hello All,

I wanted to update the thread on my progress and pose a few questions.

Here’s a few images of the chairlift project.


As you can probably tell, this project is all about repetition. I’ve made extensive use of dupligroups for the sheaves (small wheels), tower components, chairs, etc. As the shape of the haulrope becomes more refined, I can adjust the position of each sheave pair at each tower through parented empties.

The haulrope is a beveled bezier curve. At the moment, I’ve manually spaced each chair by creating a ruler object, then applying a curve and array modifier- however, I imagine a new spacing solution will present itself in the animation process.

Animating the sheaves should be easy- simply rotate the original sheave, and all duplis follow.

Animating the movement of chairs on the haulrope is a challenge. My first thought was the follow path constraint. However, while the grip follows the rope angle, the chairs always hang straight down, and only rotate on the z axis as they reverse direction at each end of the lift. With this method, I can’t figure out how to lock a chair’s x/y rotation as it ascends or descends the lift.

My second thought was the follower object/vertex parenting method outlined in Chris Kuhn’s tank tread tutorial on blender cookie. I really like the idea of controlling every chair’s movement with a transform constraint. However, same challenge- the grip follows the rope angle, but the chairs hang straight down. With this method, the chair remains 90 degrees to the haulrope angle.

So far as I can tell, a limit rotation constraint or copying rotation constraint of another object has no effect. I’m hoping there’s a simple fix that I’m missing!

I’d love to have the chairs maintain even spacing on the haulrope even as I adjust its position, grips following the rope angle, chairs maintaining vertical aligment, and chair movement animated by a transform constraint.

Thanks in advance for your suggestions.

James

Just a minor, somewhat off topic suggestion: Make the trees about 50% transparent. They are a a visual distraction from the main model.

Yes, agreed- it’s not easy to create a background that provides depth and context, is visually interesting, and enhances rather than distracts from the main model. As you suggest, I’m going to play with the shading and transparency.

Well, I think I’ve found one solution here. I start with Chris Kuhn’s method (‘tread’ object vertex-parented to another ‘follower’ object which has curve modifier). However, the ‘tread’ in Kuhn’s tutorial actually serves in this case as another intermediary follower object.

My actual chair has two constraints, both of which use the intermediary follower as a target. First, a copy location with x, y, and z vertices. Second, a copy rotation along the z axis.

Now, my chair follows the haulrope, rotates on the z axis at each end, but stays perfectly vertical while traveling up and down the slope.

Now that I’m looking at it, I’m not sure whether the intermediary object is necessary. More testing is in order…

James

From a pure project-management perspective, I would suggest that you … as quickly as possible and then as repeatedly as possible … “get to an movie clip (“animatic”) that you can put in front of the decision-maker’s face.” (Or, more likely, “his/her appointed proxy.”

Basically, a sequence like this is “visual storytelling.” (Or: “visual product-selling.”) The finished project will therefore have the general structure:

  • “Establishing-shot” that will be familiar to “your client’s intended client.”
  • A series of high-level sales points.
  • Perhaps a series of clarifications of some of those sales points.
  • Recap.
  • Loop-completing closer.

Only a very few of those shots, probably in stage #3, will actually need to illustrate the gritty points of exactly how this Trailer Suspension works. And you certainly do not know, yet, what those shots are.

So, initially, I suggest that you defer these messy details for now. Instead, envision a sequence of shots that might tell the story. Freely imagine alternatives for each one. Use simple geometric shapes (“but, to scale …”) as functional stand-ins as you concentrate on “possible shots.” The client’s powers of imagination should be fully harnessed here, since the powers-of-imagination of any human being actually are vast.

If you iterate through this process effectively enough, you and your client will rather quickly zero-in on the actual shots that need to show functional detail, and the actual ‘functional detail’ that each particular shot needs to show. And that’s what you’re looking for.

Eventually, you will create a digital model that corresponds to what’s in that catalog-shot. And you will, of course, animate that model, for each shot that you’ve decided-upon, in (exactly …) the manner that each shot demands. But the key difference, here, is that you will “drive decision-making,” as early and as often as possible, while “deferring(!) decision-implementation as late and as infrequently as possible.

Hello sundialssvc4,

Thank you. This is priceless advice, and it applies to so many aspects of a creative business. I’m not quite a blender novice, but still very much a learner. It’s easy to fall in love with solving a problem or perfecting a detail, all the while bypassing the process you’ve outlined.

James