I’ve been using Blender for a few years but I still consider myself a novice.
I’m trying to 3D print a small collection of toy tree trunks that will end up being about four inches in diameter and about ten inches tall. I can handle the 3D printing part once it’s an STL. I can also slap a few cylinders together to get the general shape of a tree trunk with a few roots sticking out. Where I’m lost is how to apply a texture that will print.
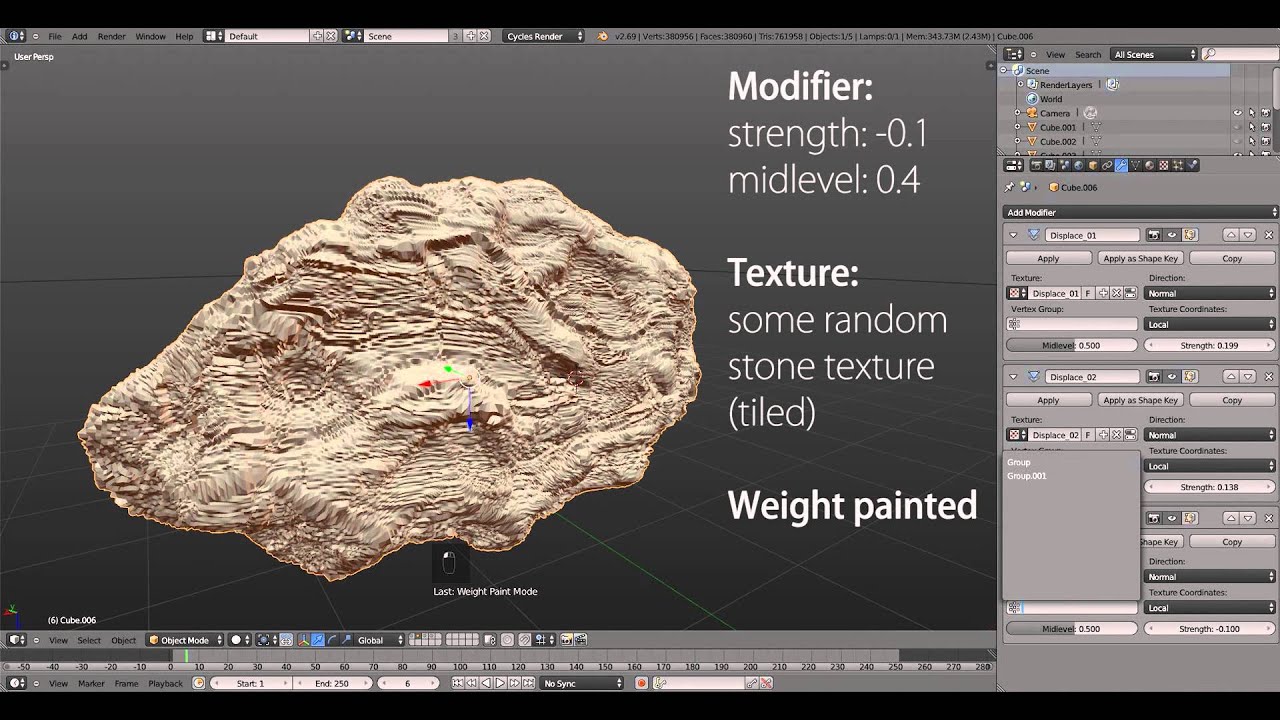
I want to walk down to the park, take a few photos of tree bark, and wrap that texture around my cylinder (without modifying the top or bottom). But I don’t want it to just look that way on screen, I want the treebark texture to become part of the cylinder surface (not the caps though) so it will print. I think I need a displacement map, but I don’t know how to manipulate it to get the effect I want. In fact, I barely understand how the displace modifier works. I tried adding a color photo as a texture then tried using that with a displace modifier. I got something that looked like a porcupine. Can anyone point me towards a tutorial or give me an outline on how to accomplish this?
