House key

Hey guys,

Modeling noob. I’ve been trying to learn modeling by doing, and I decided to start small and easy by doing a house key (of the common Kwikset variety). I’m attempting to keep a healthy and simple mesh and have the shape be as perfect as possible. Here’s what I’ve got so far (pretty proud of it):


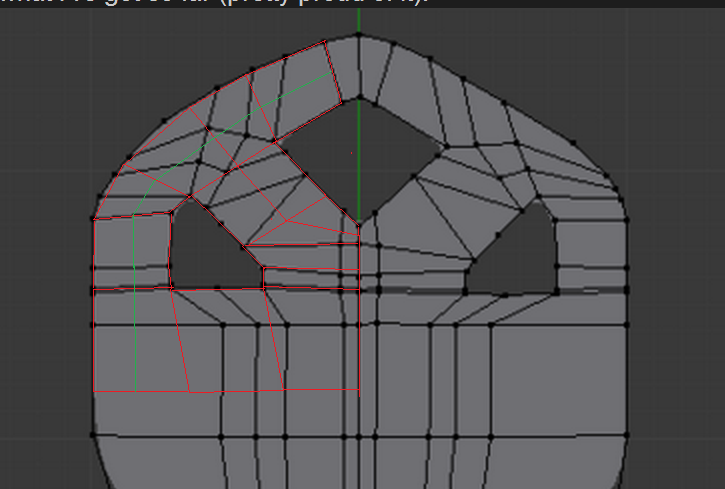
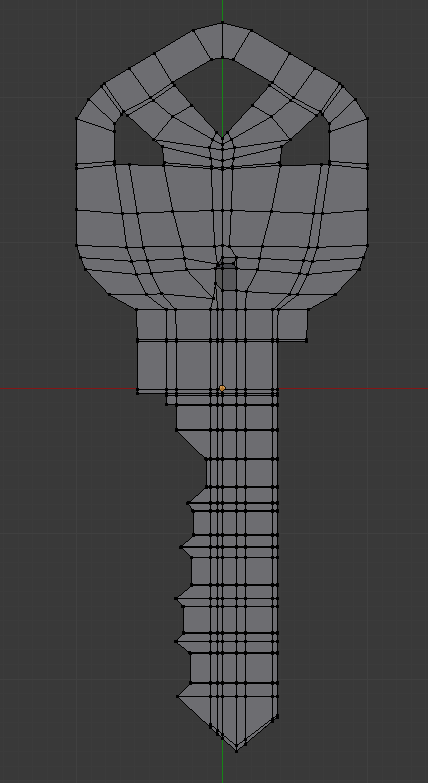
This is still just a flat plane. I think the topology should be good; the whole thing is quads with continuous edge loops, breaking at the holes. I made it by adding edge loops to a plane as needed and, at the end, just removing the faces from the regions that make up the holes. The outline looks pretty accruate to me so far. I’m using a subsurf modifier to smooth it out. Feel free to comment if you think this can be better.

The issue I’m having is with adding the long channels down the shaft of the key:


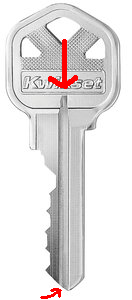
(by the way, that’s my reference image)
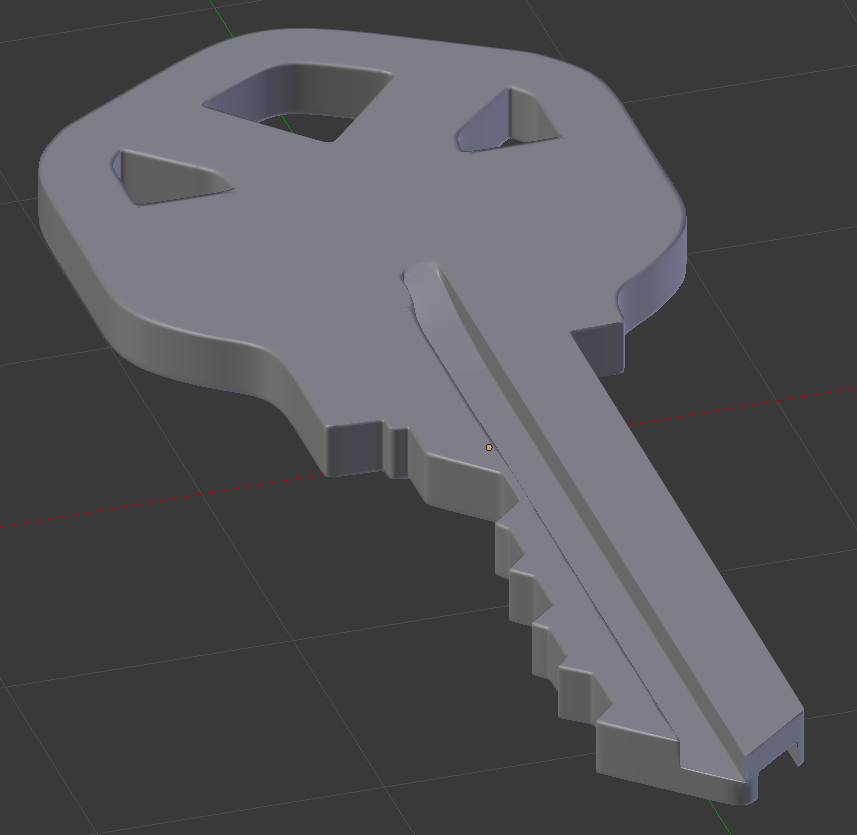
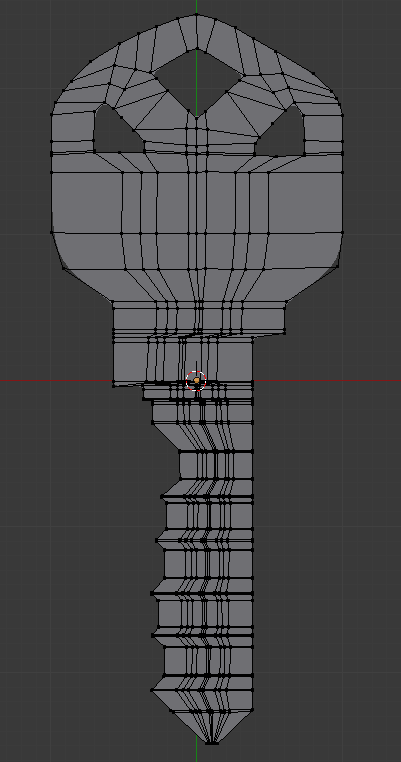
I can extrude the plane into a solid key and it looks fine, but I’m not sure how I can make those channels (different on each side of the key). I would imagine I just need to situate my egdes so they are straight and in the right place all the way down the length, but I’m not sure how to move them easily without ruining the geometry with the holes and the way I’m currently doing the bottom tip of the key.

Any suggestions?

first off, remove every supporting edge. (loop cuts that is there to give you sharper edges). those loops should be placed when ur done with everything else.

this will make it a lot easier to work with ur mesh.
for the channel, add a loop that goes through the whole key (where the channel is supposted to be) and then press S + 0 + (X Y or Z) to make the line stright. then move the whole thing into place, and fix any potential missplacements.
then add another loopcut next to it, and select all the faces that covers the “channel”. then simply extrude it inn. both ends of the “channel” will look strange, so fix those manually.
do the same on the other side of the key, but remember a key is not “mirrored”. the “blade” of the key is shaped like a wave, so the next “channel” should have an offset.

also some tips, i have highlighted two spots that has a bad topology, and this type of topology should be avoided IF posible.


here is a suggestion on how you can set it up. with this method you can also easily add a support edge around the whole key, as i’ve shown with green lines.


i also noticed that the head of the key is not symetrical. witch tells me that you manually modelled both sides. this is bad because
1: you spend a lot more time and effort for no reason
2: the resoult is not 100% mirrored. witch might be visable in the final render
3: you get a lot more controll by using a mirror modifier.

so what i would recomend you to do is select the whole head of the key, and press P to separate it to its own object, then delete half the head of the key, and add a mirror modifier. a lot easier to work with, and better resoult.

when you are done with the whole key, select both parts of the keys and CTRL + J ( i think? ) to join them back together.

WARNING!!!: dont add supporting edges untill you have joined them togehter!!! otherwise it might be hard to join them! join them THEN add the edges!

ps: i dont want to be harsh or rude, this is just critical feedback. ur going quite well as a beginner. keep it up! you on the right track :slight_smile:

Hey finalbarrage, thanks so much for the feedback! I went ahead and started over from scratch with a mirror modifier and the topology you suggested. Here’s what it looks like now:


And here’s what the whole solid looks like now:


I used creases to get the corners of the piece looking sharp. Would you recommend this or should I have just made supporting edge loops instead?

Thanks again for your help! It was very valuable.