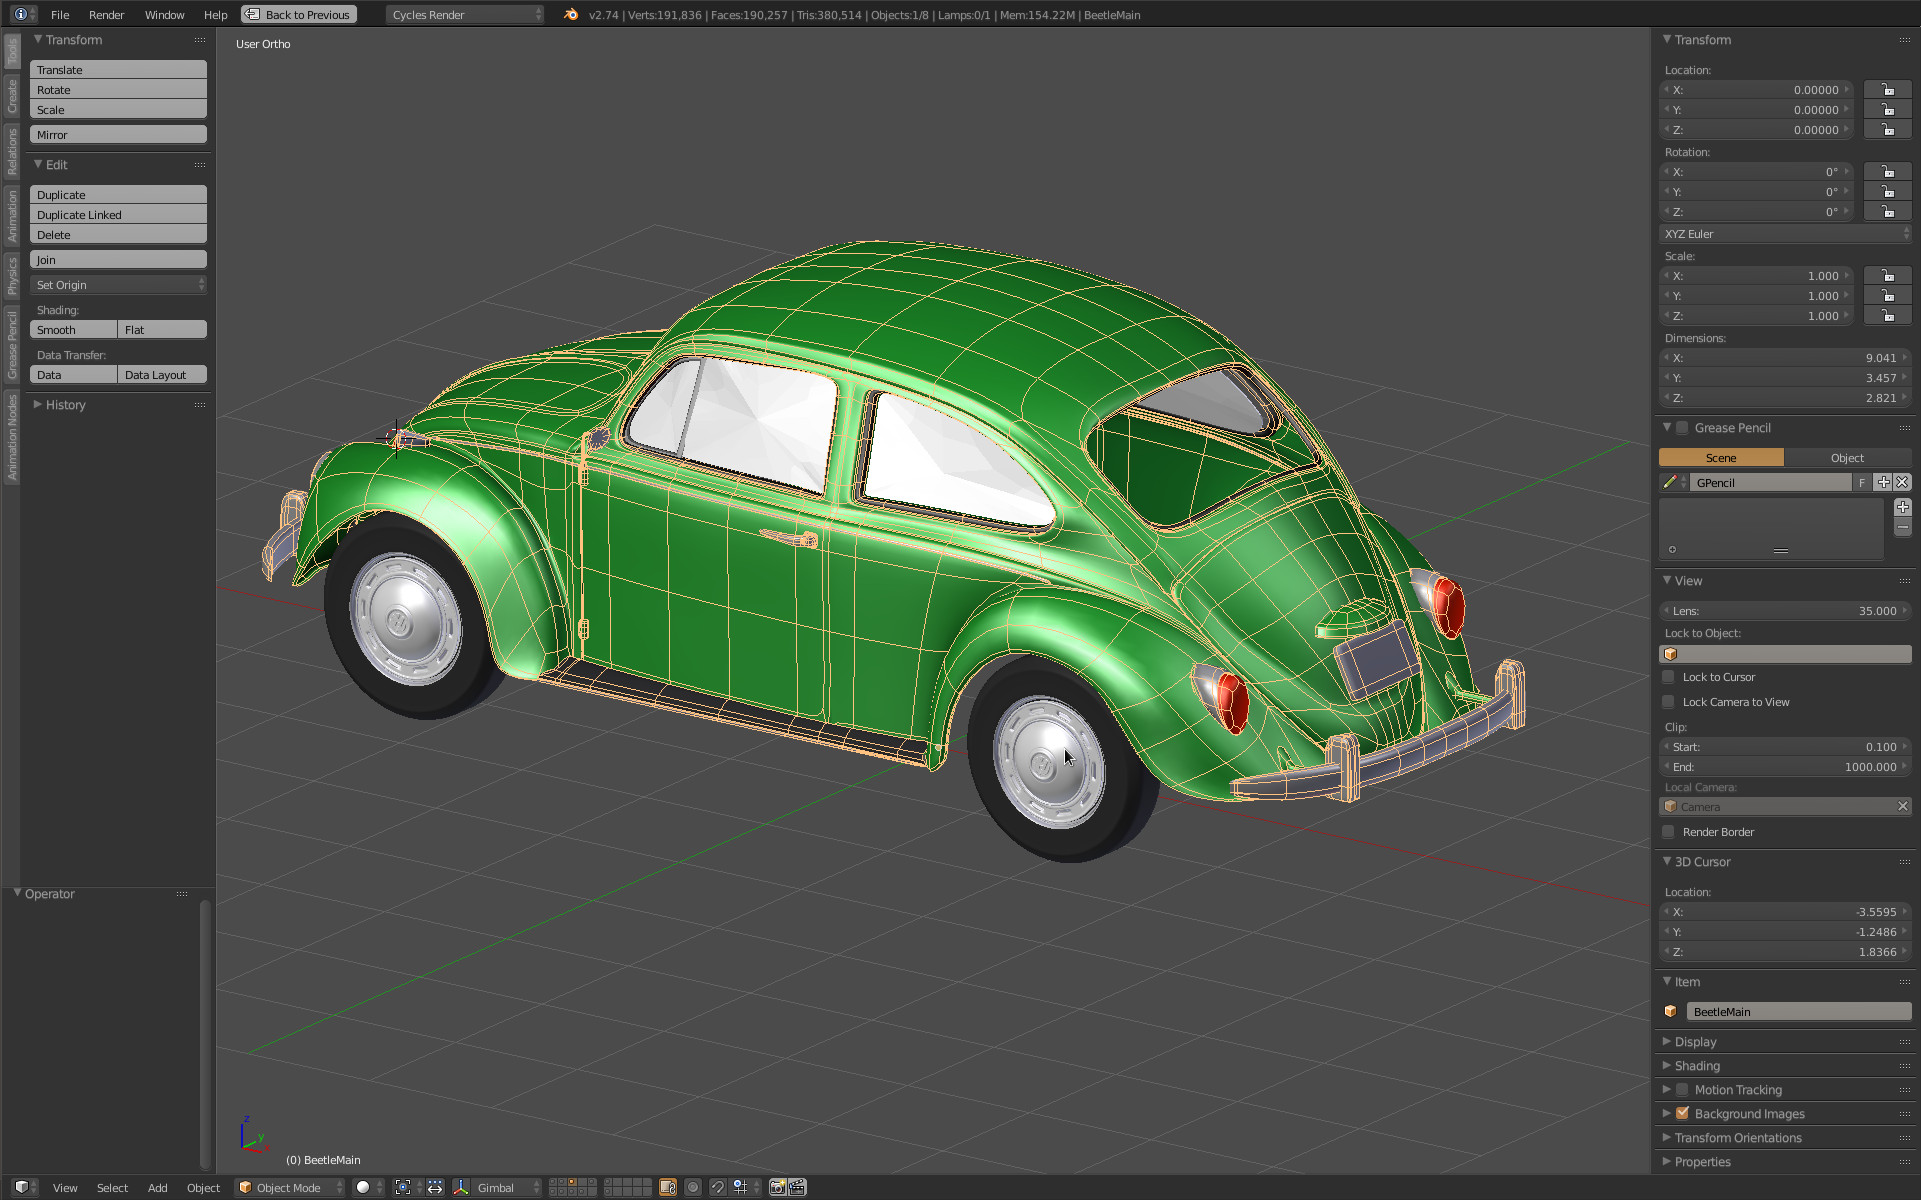
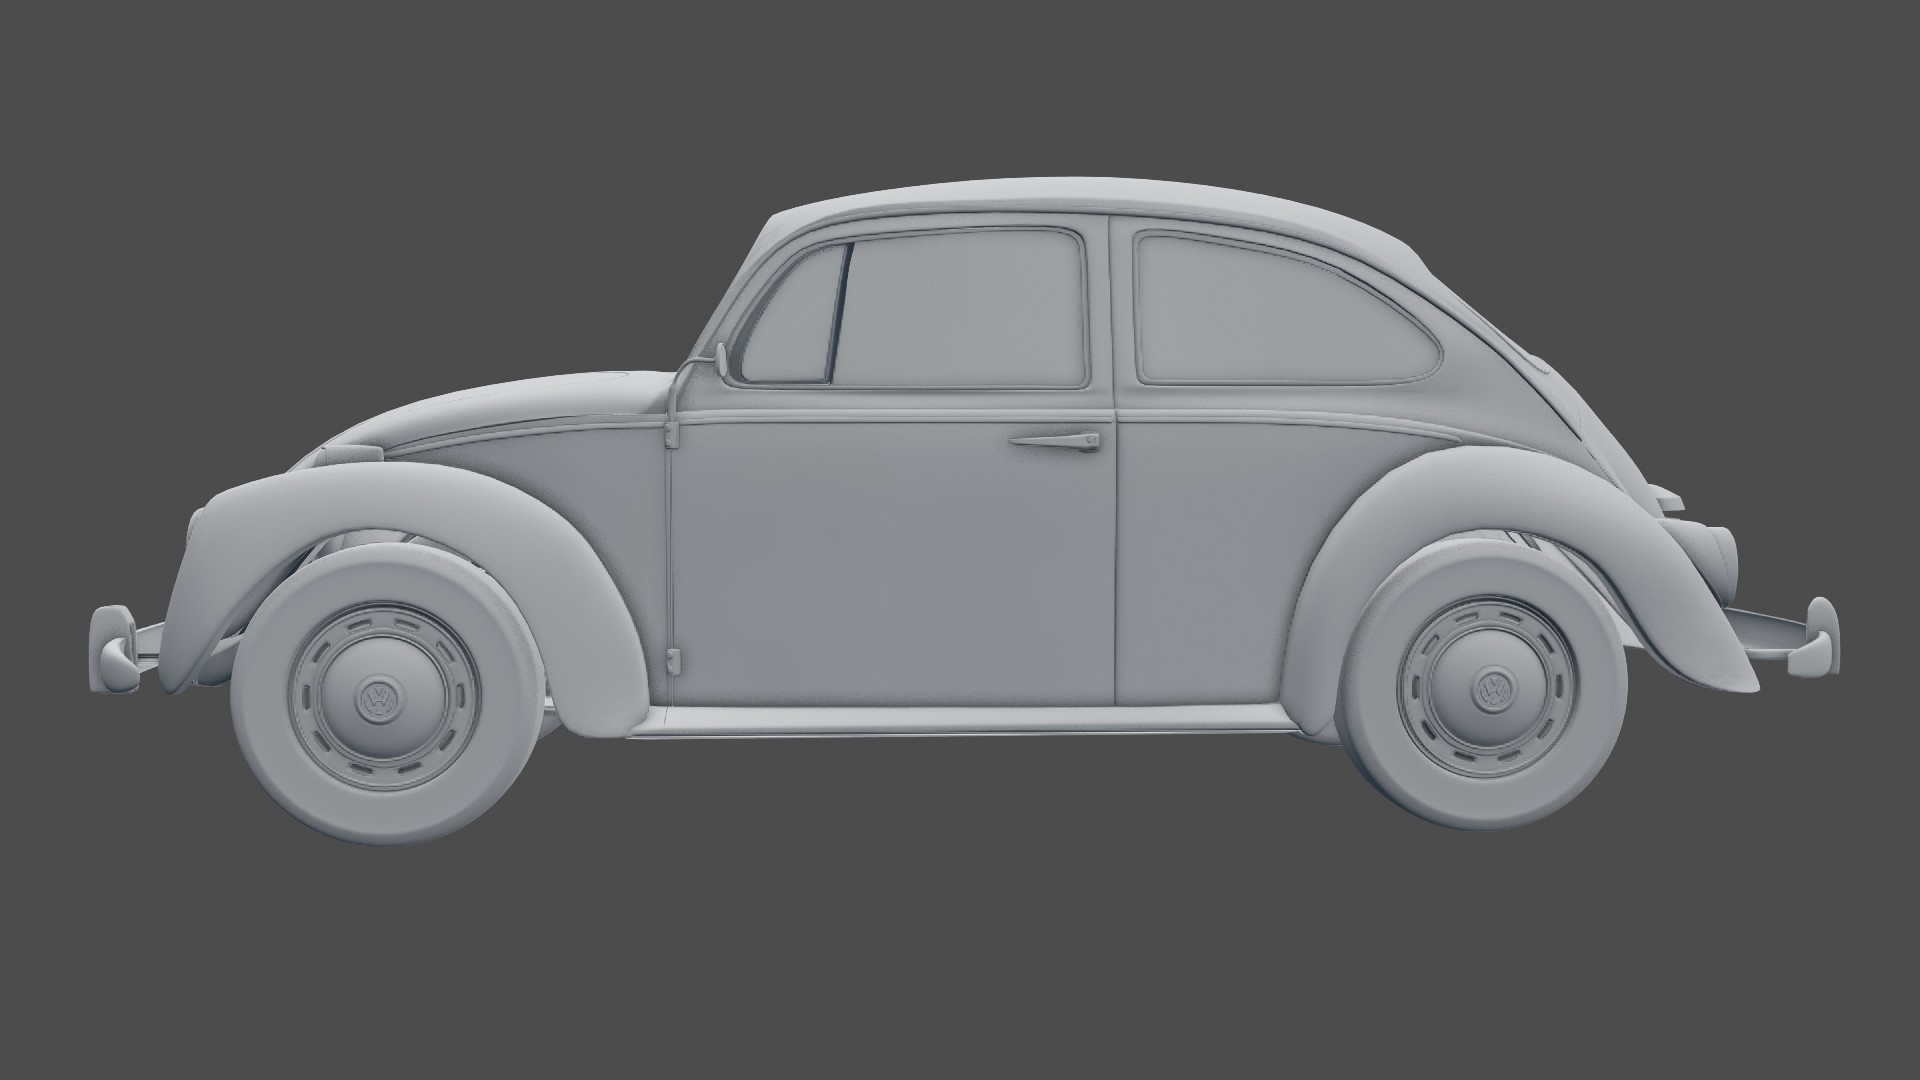
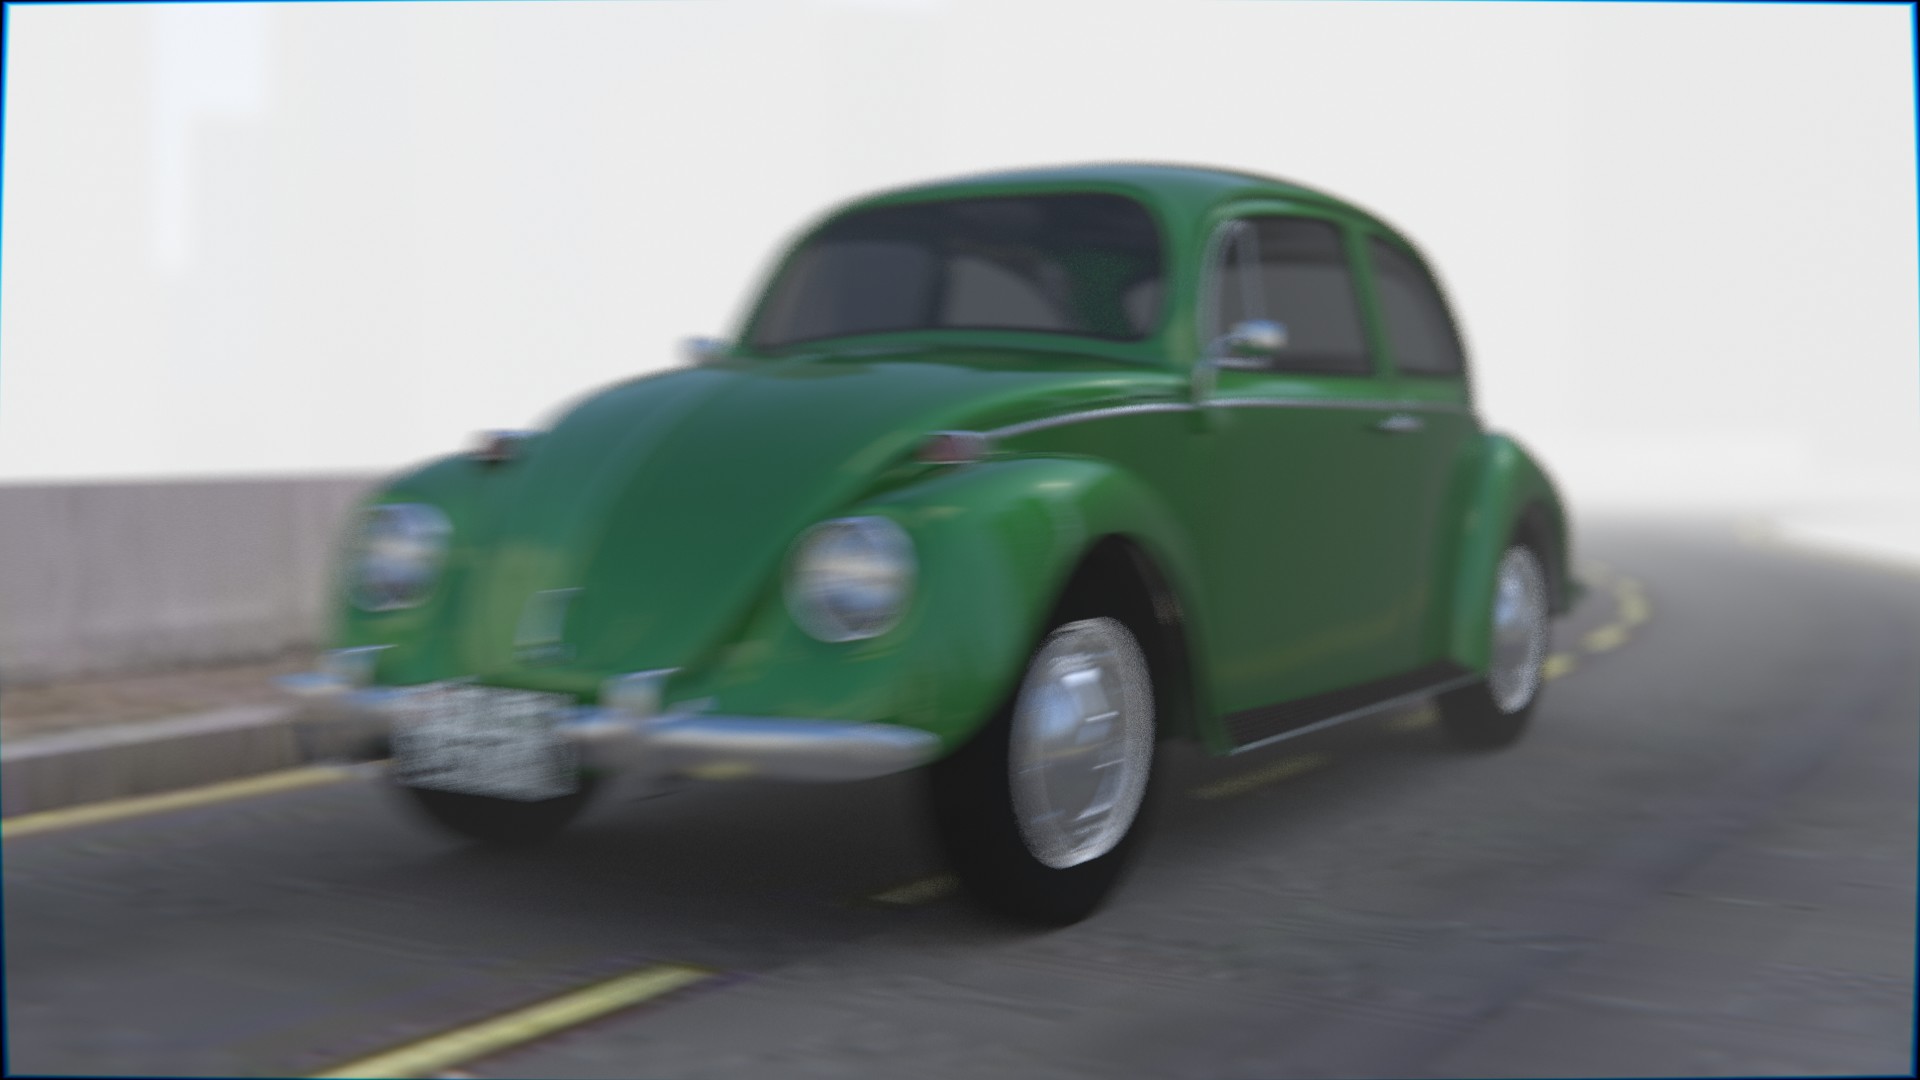
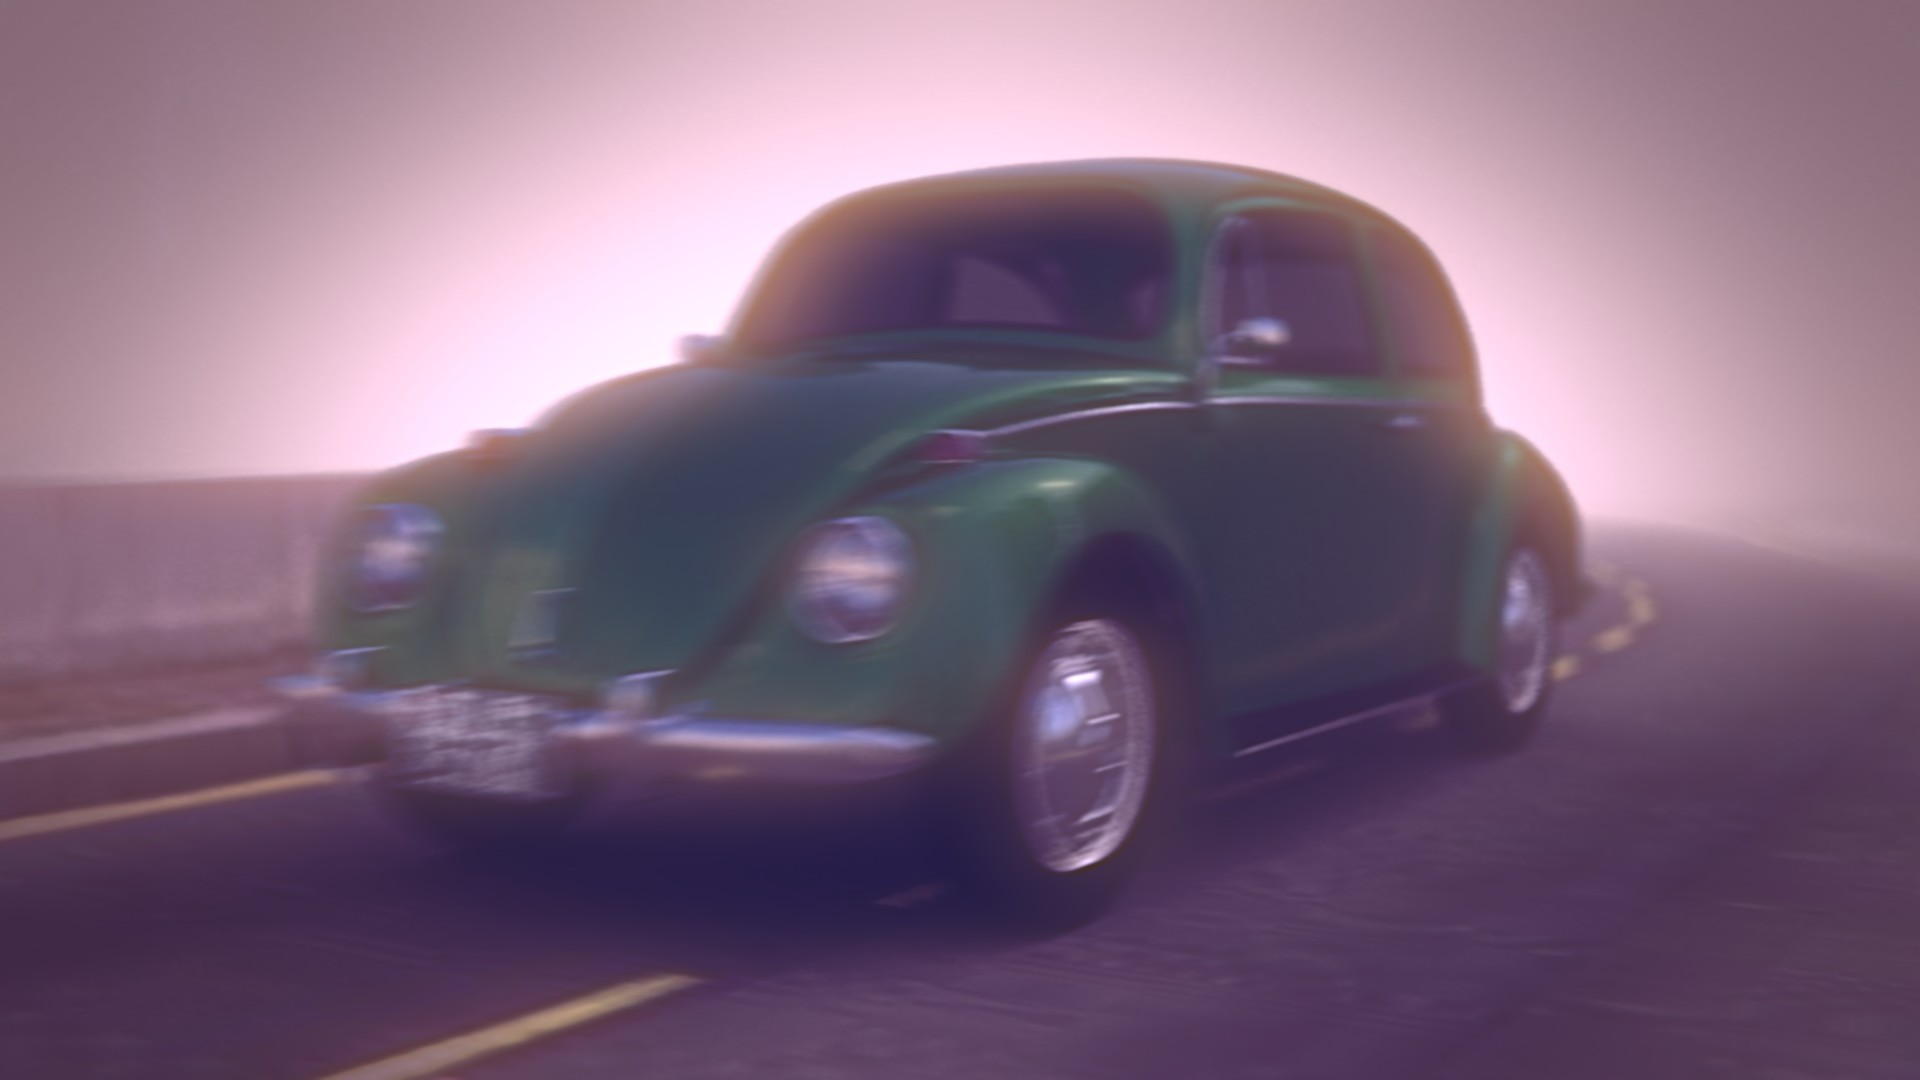
My first car model, it still has lot of misses and glitches, dont really know what will do with it.
Maybe try to play with the model and camera tracking, will see.
Anyway, I wanted to give a try at car modelling, main work is done, details were very quickly added, need some more love, and corrections also.
Will try to model the seats, and more.
I drawed bezier curves from the blueprint, then bridged them to get the main shape nicely rounded, and cutted/looped/dissolved etc …
This is an awesome first car model. How did you make it b so good. Can you please explain your technique and is polygon modelling advisable to these kinds of models. Apologising for all the question. Still a beginner, man. Anyway, great model . Hope you go all the way. Good luck
It took me A LOT of time, I first made a model as I could, then remade it from scratch, using curves for the main topology lines, trying not to touch them before applying a subsurf level, which I didn’t for yet. It’s box modelling of course, curves are just used as a basic “spline cage” then converted to mesh for bridging them.
For such a rounded shape, using nurbs patches would be great, but nurbs are too basic in blender for use them afaik.
Curves --> edges --> bridge , works not bad, better than Bsurfaces so far.
I learned a lot doing this, especially for box modelling workflow.
But the model is crappy, far from perfect, as I would at least.
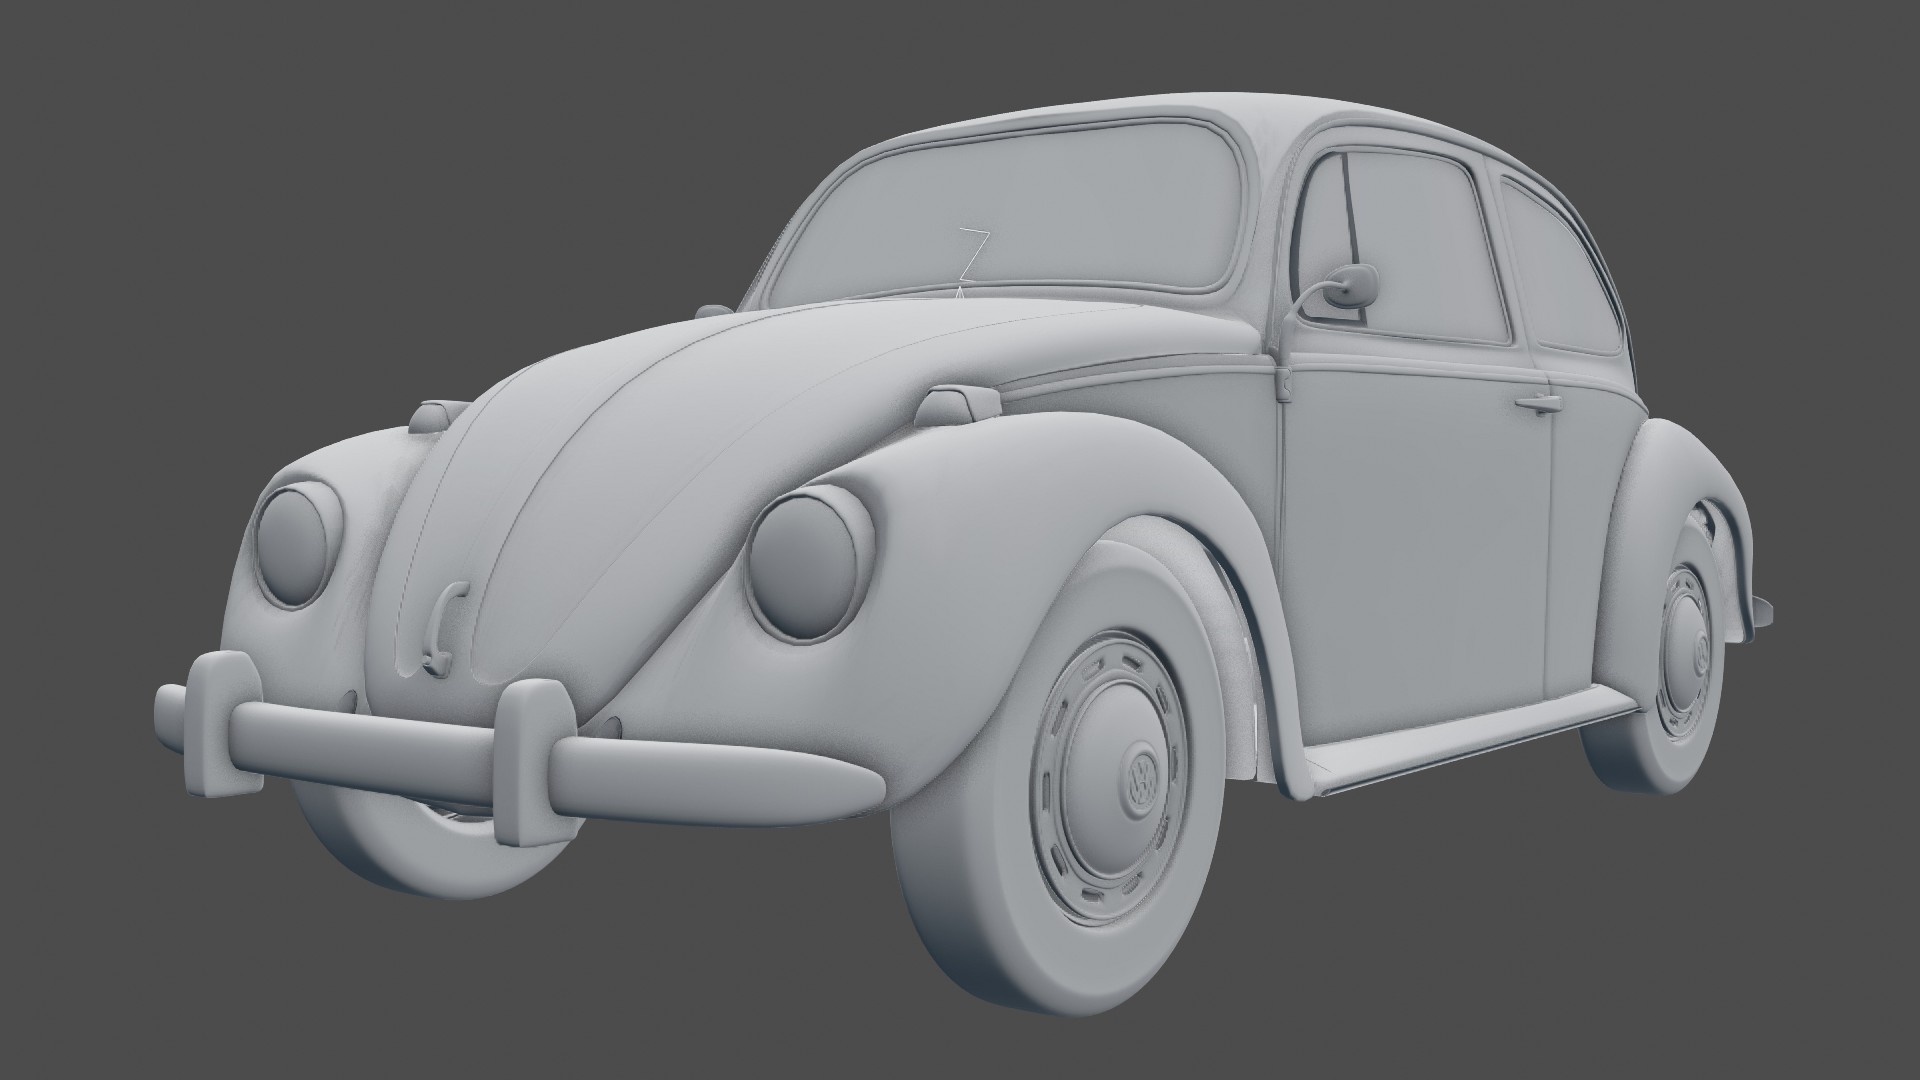
I began to model the interior, so cutted out the door. What a nightmare with looped bevels, will think twice before adding them next time, cutting nicely out every part BEFORE.
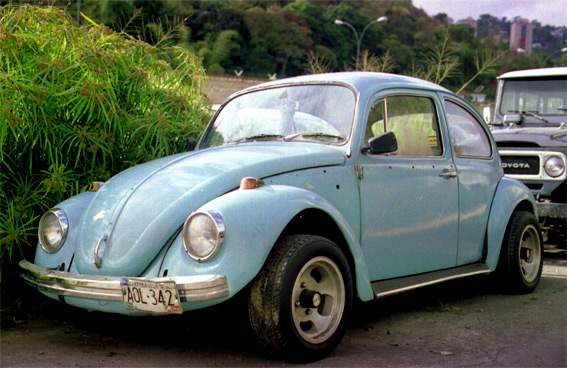
This post has hit a soft spot for me and very close to my heart as I used to own a 1967 Bug…I how miss it.
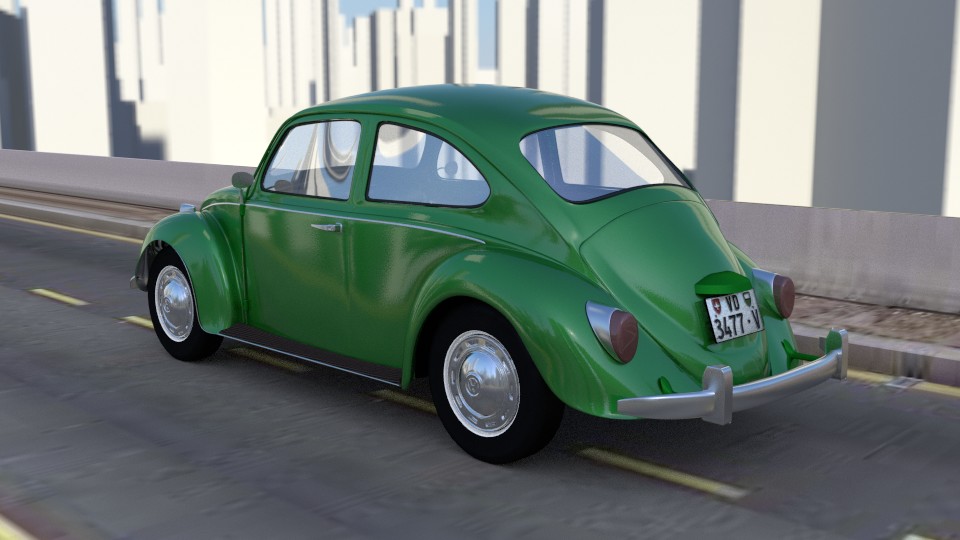
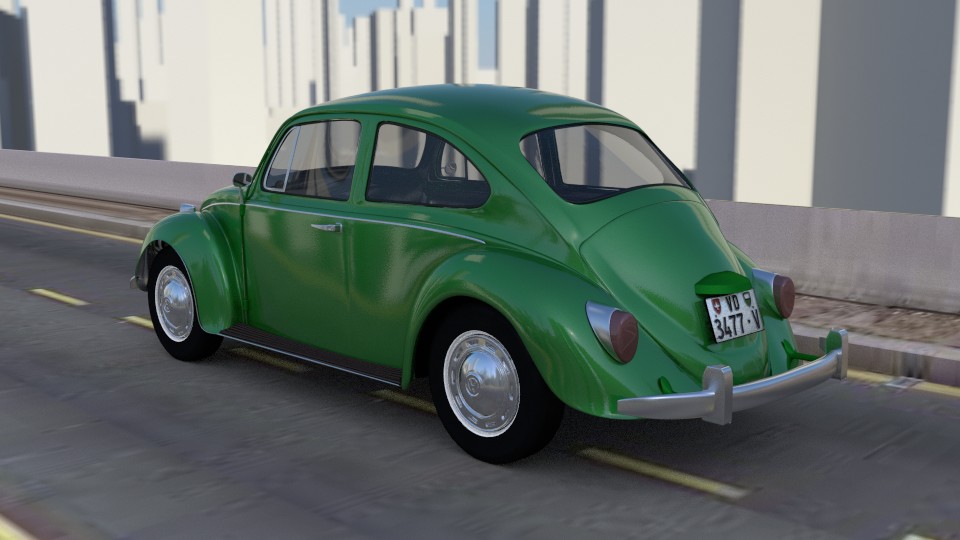
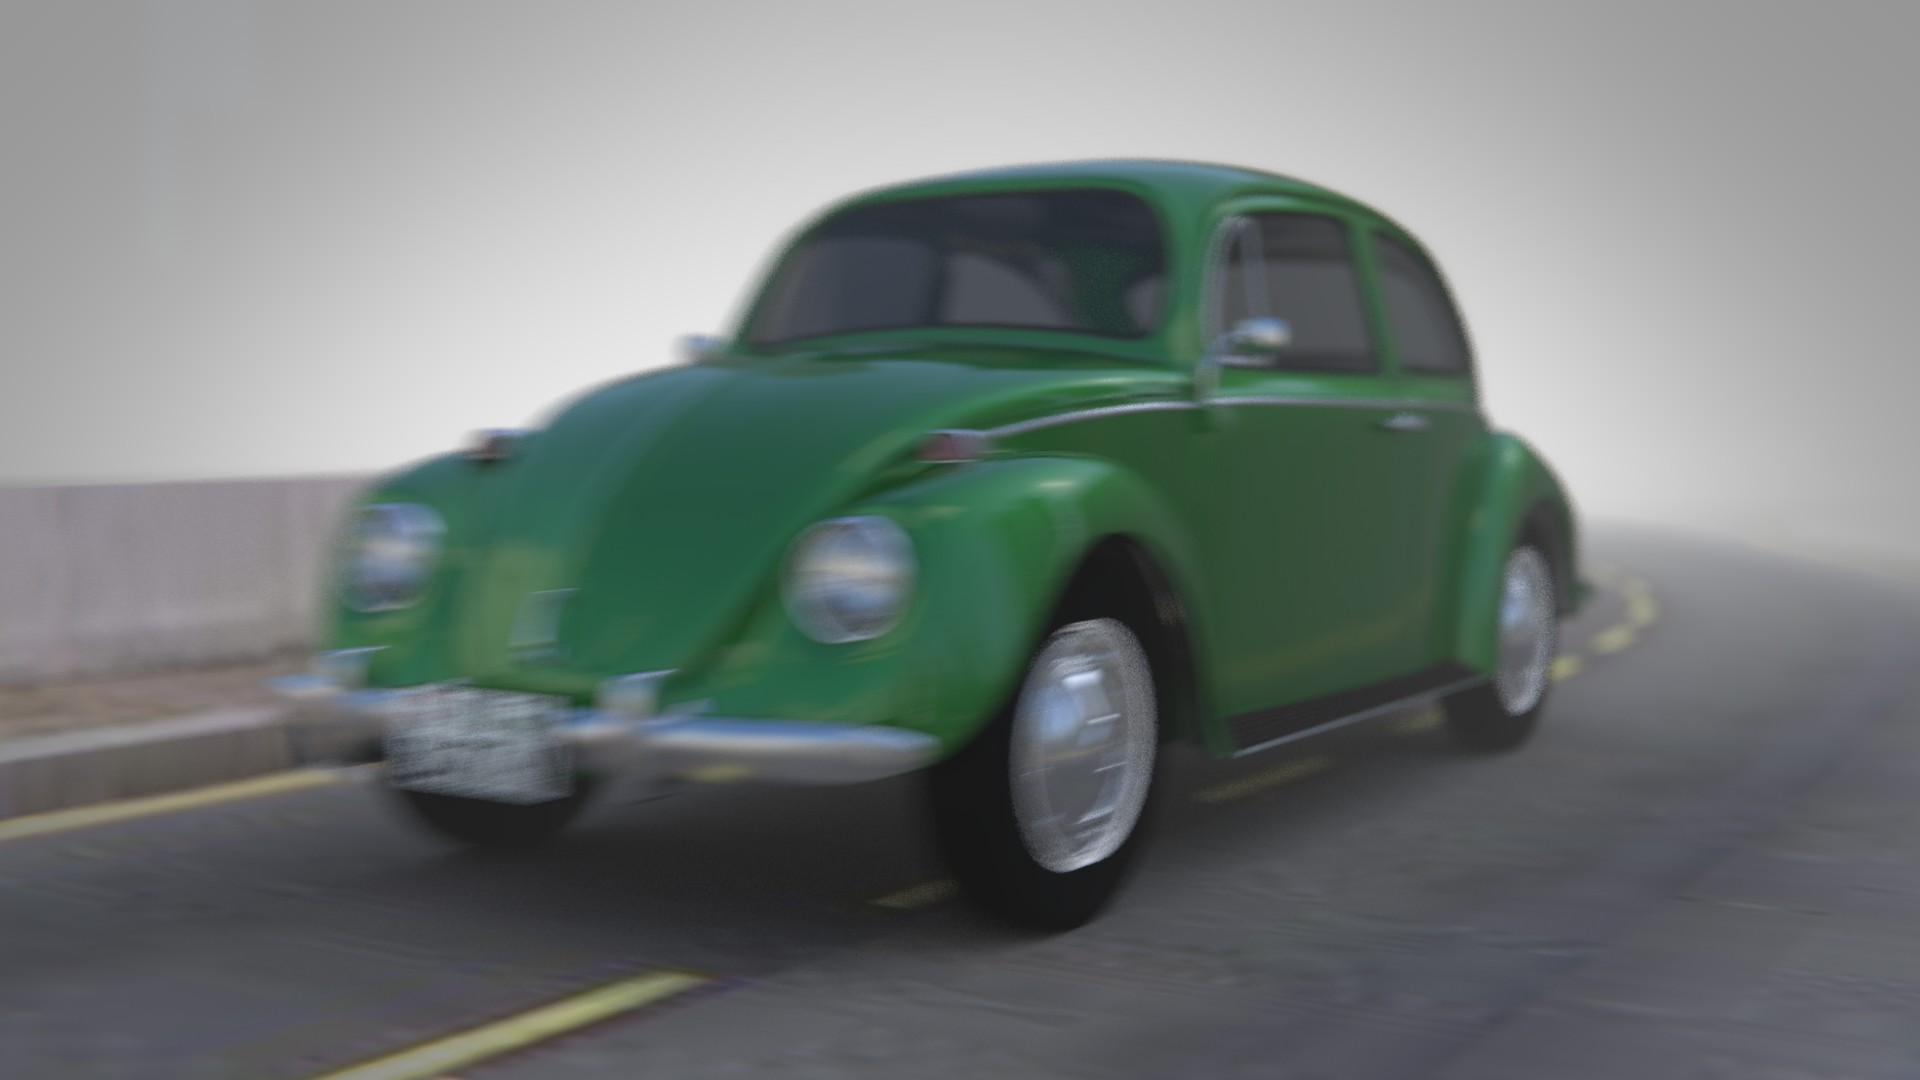
Anyways, there are a few things that caught my attention. But before I start with those things, overall the bug is looking great and I agree with the comments above, the car in focus and the rest motion blured.
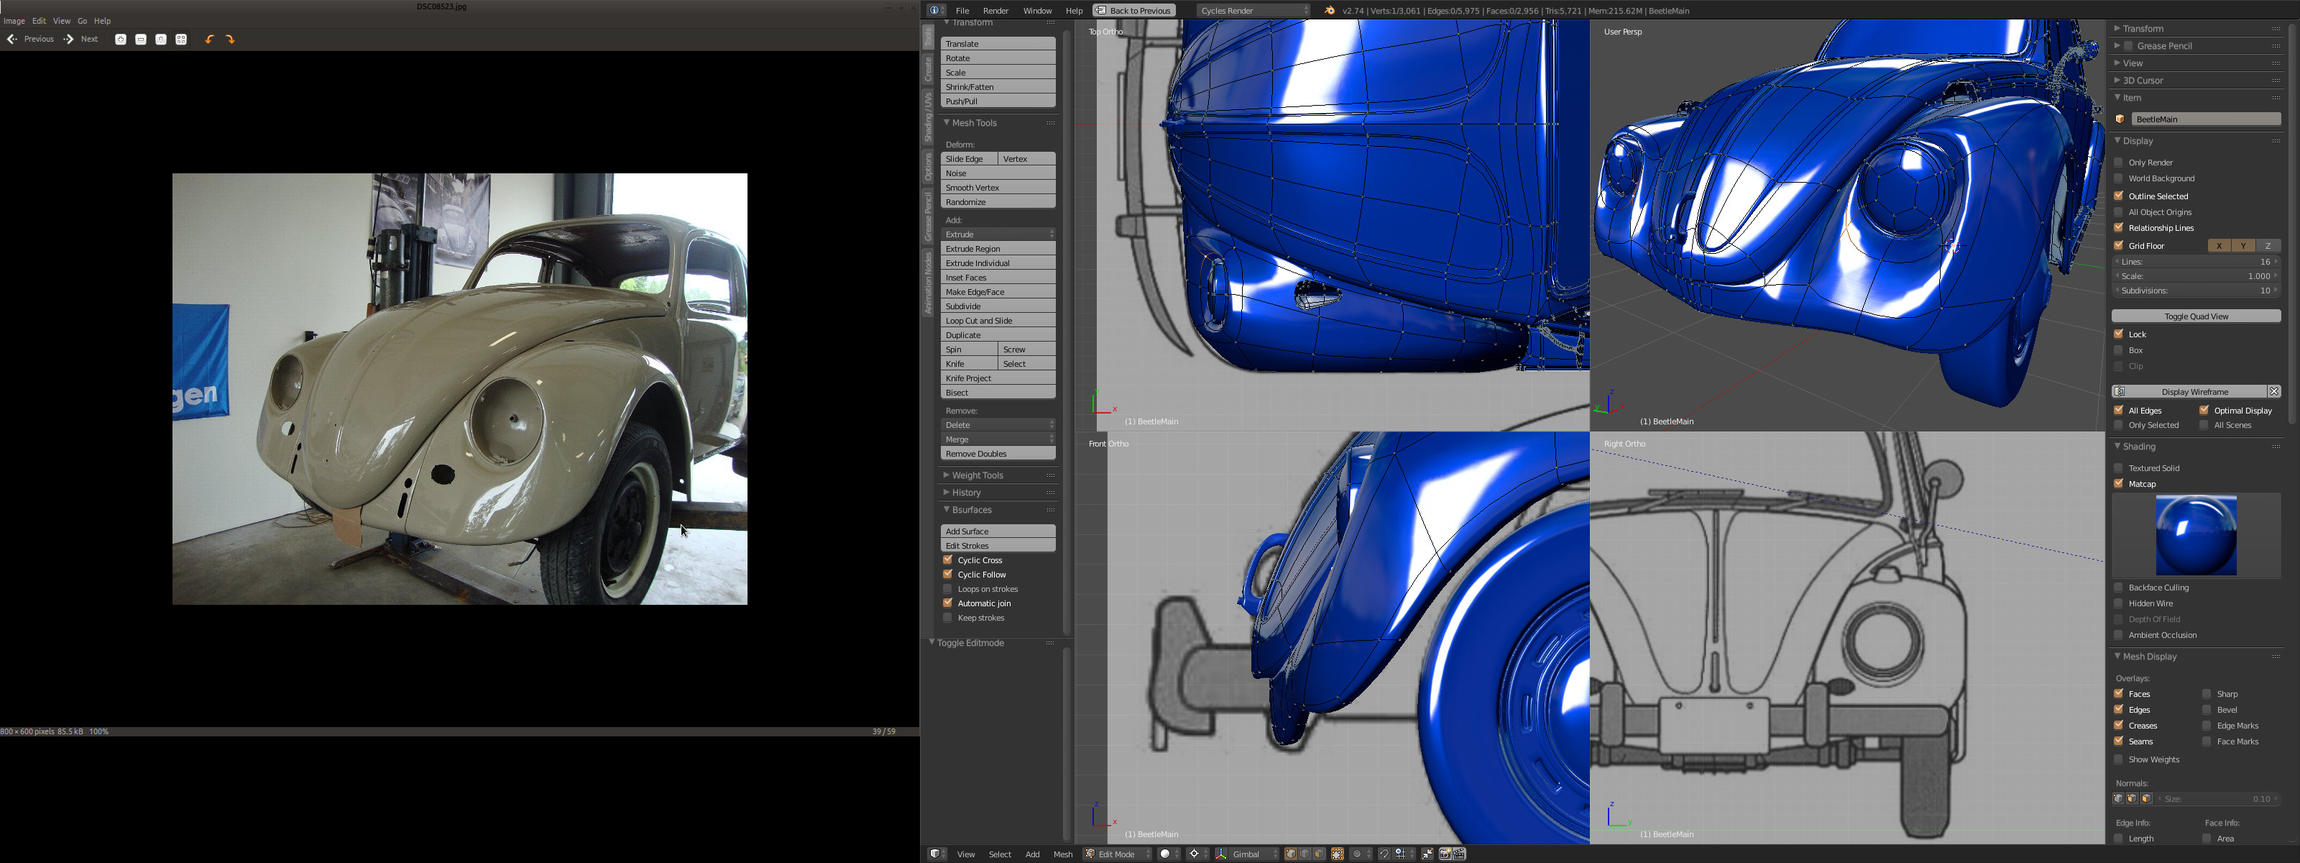
Now down to business, in #4 and #6 the stop light is too round now if your reference showed it like that is most likelly it was for a Super Bug and if that’s the case thne there are other features inherited that need fixing if you are going for the Super Bug, like the larger front windshield, rounder and a bit wider fenders and lastly the bumper.
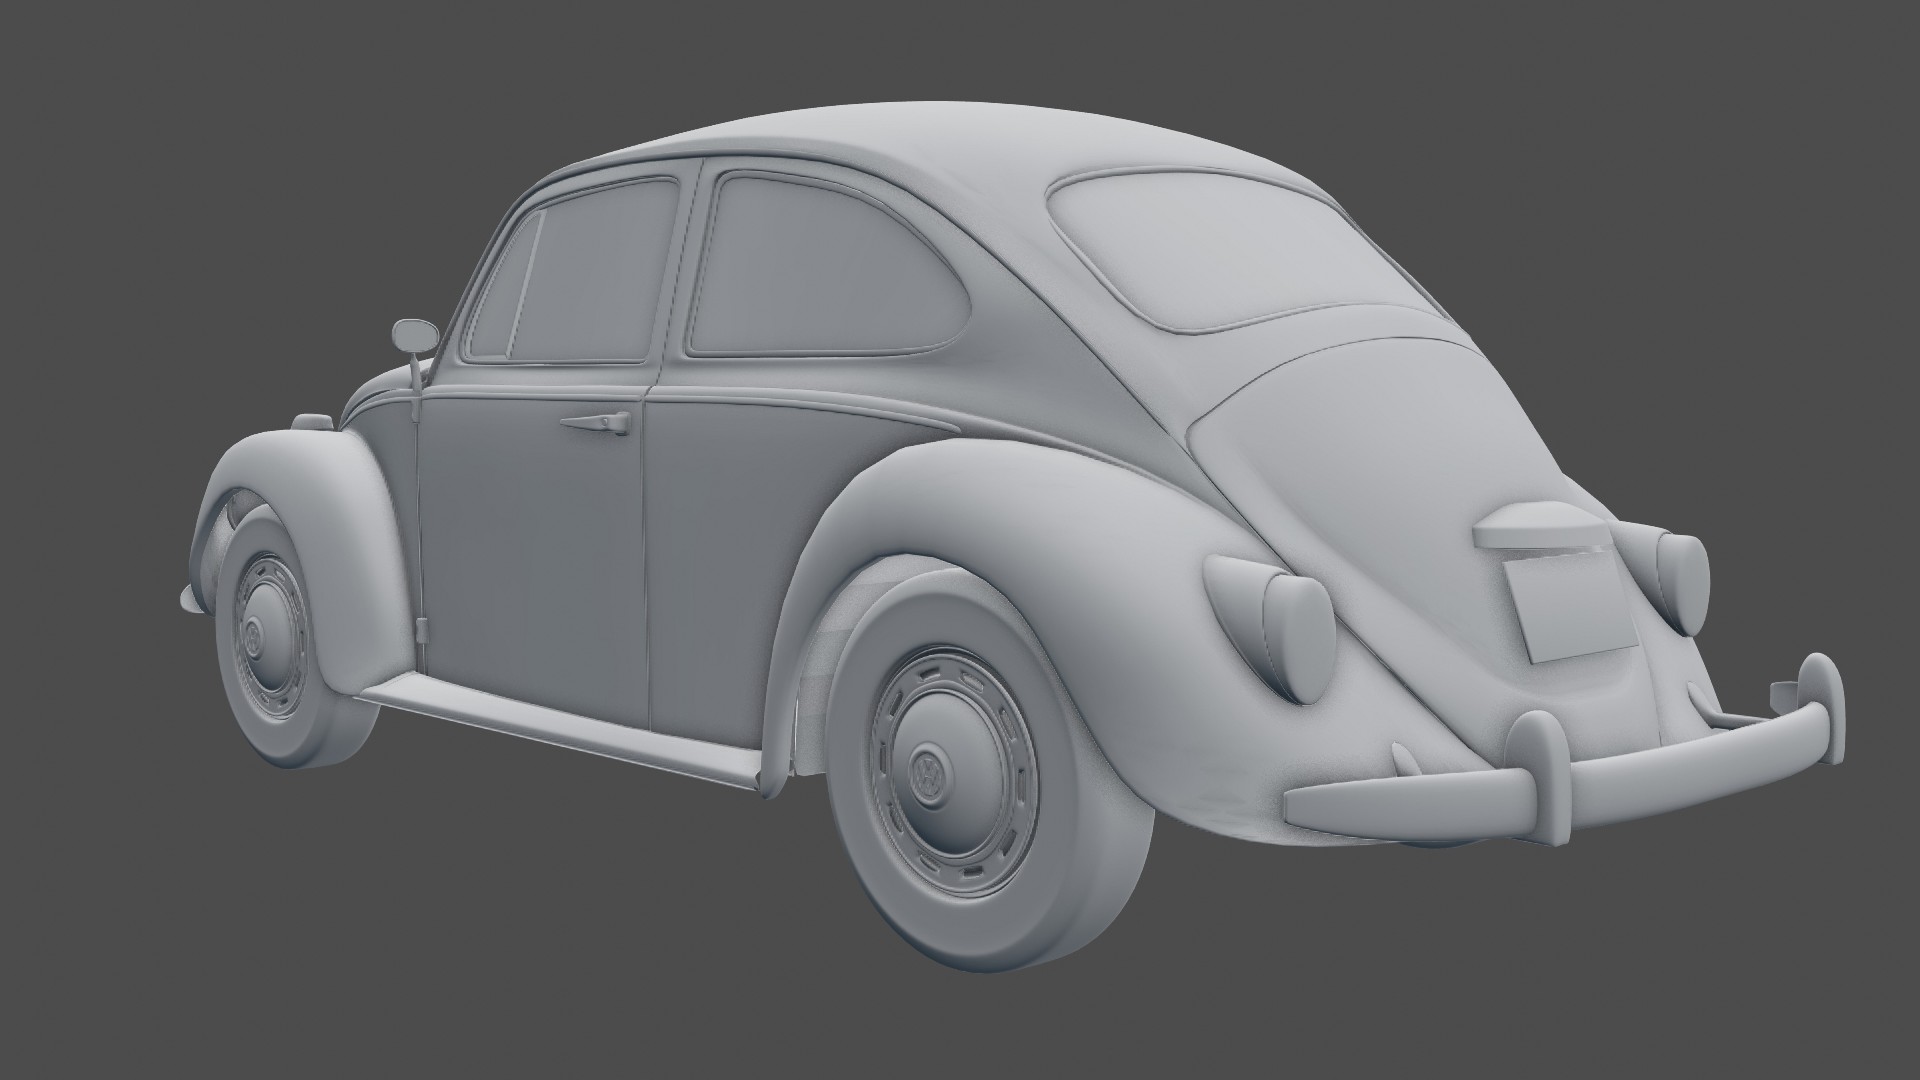
Now most if not all of the bugs had some cooling grill in the back just under the rear windshield and on the engine cover. I suggest rather than modelling them in you can use the Transparent node tirck to open them.
And to finish off the things that caught my attention was the that it would be better if you separated the side skirts (part under the doors and that go between the fenders) from the rest of the body.
Yes, I first attached the camera to the car, then wanted to see the motion blur more than the car itself finally, as if shot from the walkside in realife.
@tommy Thx.
Yes, the side skirts are separated now, as the doors are, but it’s not finished, for soon.
As you suggested, the cooling holes behind will be textured, uv projected I think, so later on, depends on how i’ll separate the parts, not sure yet.
The blue print says volkswagen-beetle-1200-type1-1967. I didnt modelled the lights accurately, quick from blue print only, so it’s not correct, but 'ill check for correct refrence and model now, again thanks tommy.
Didnt know about Super Bugs, quickly read about it, I understand better now a reference I had with curved front glass.
edit :
the super bug with curved glass really looks good, cool car ! But will stay on the 67 one.
edit :
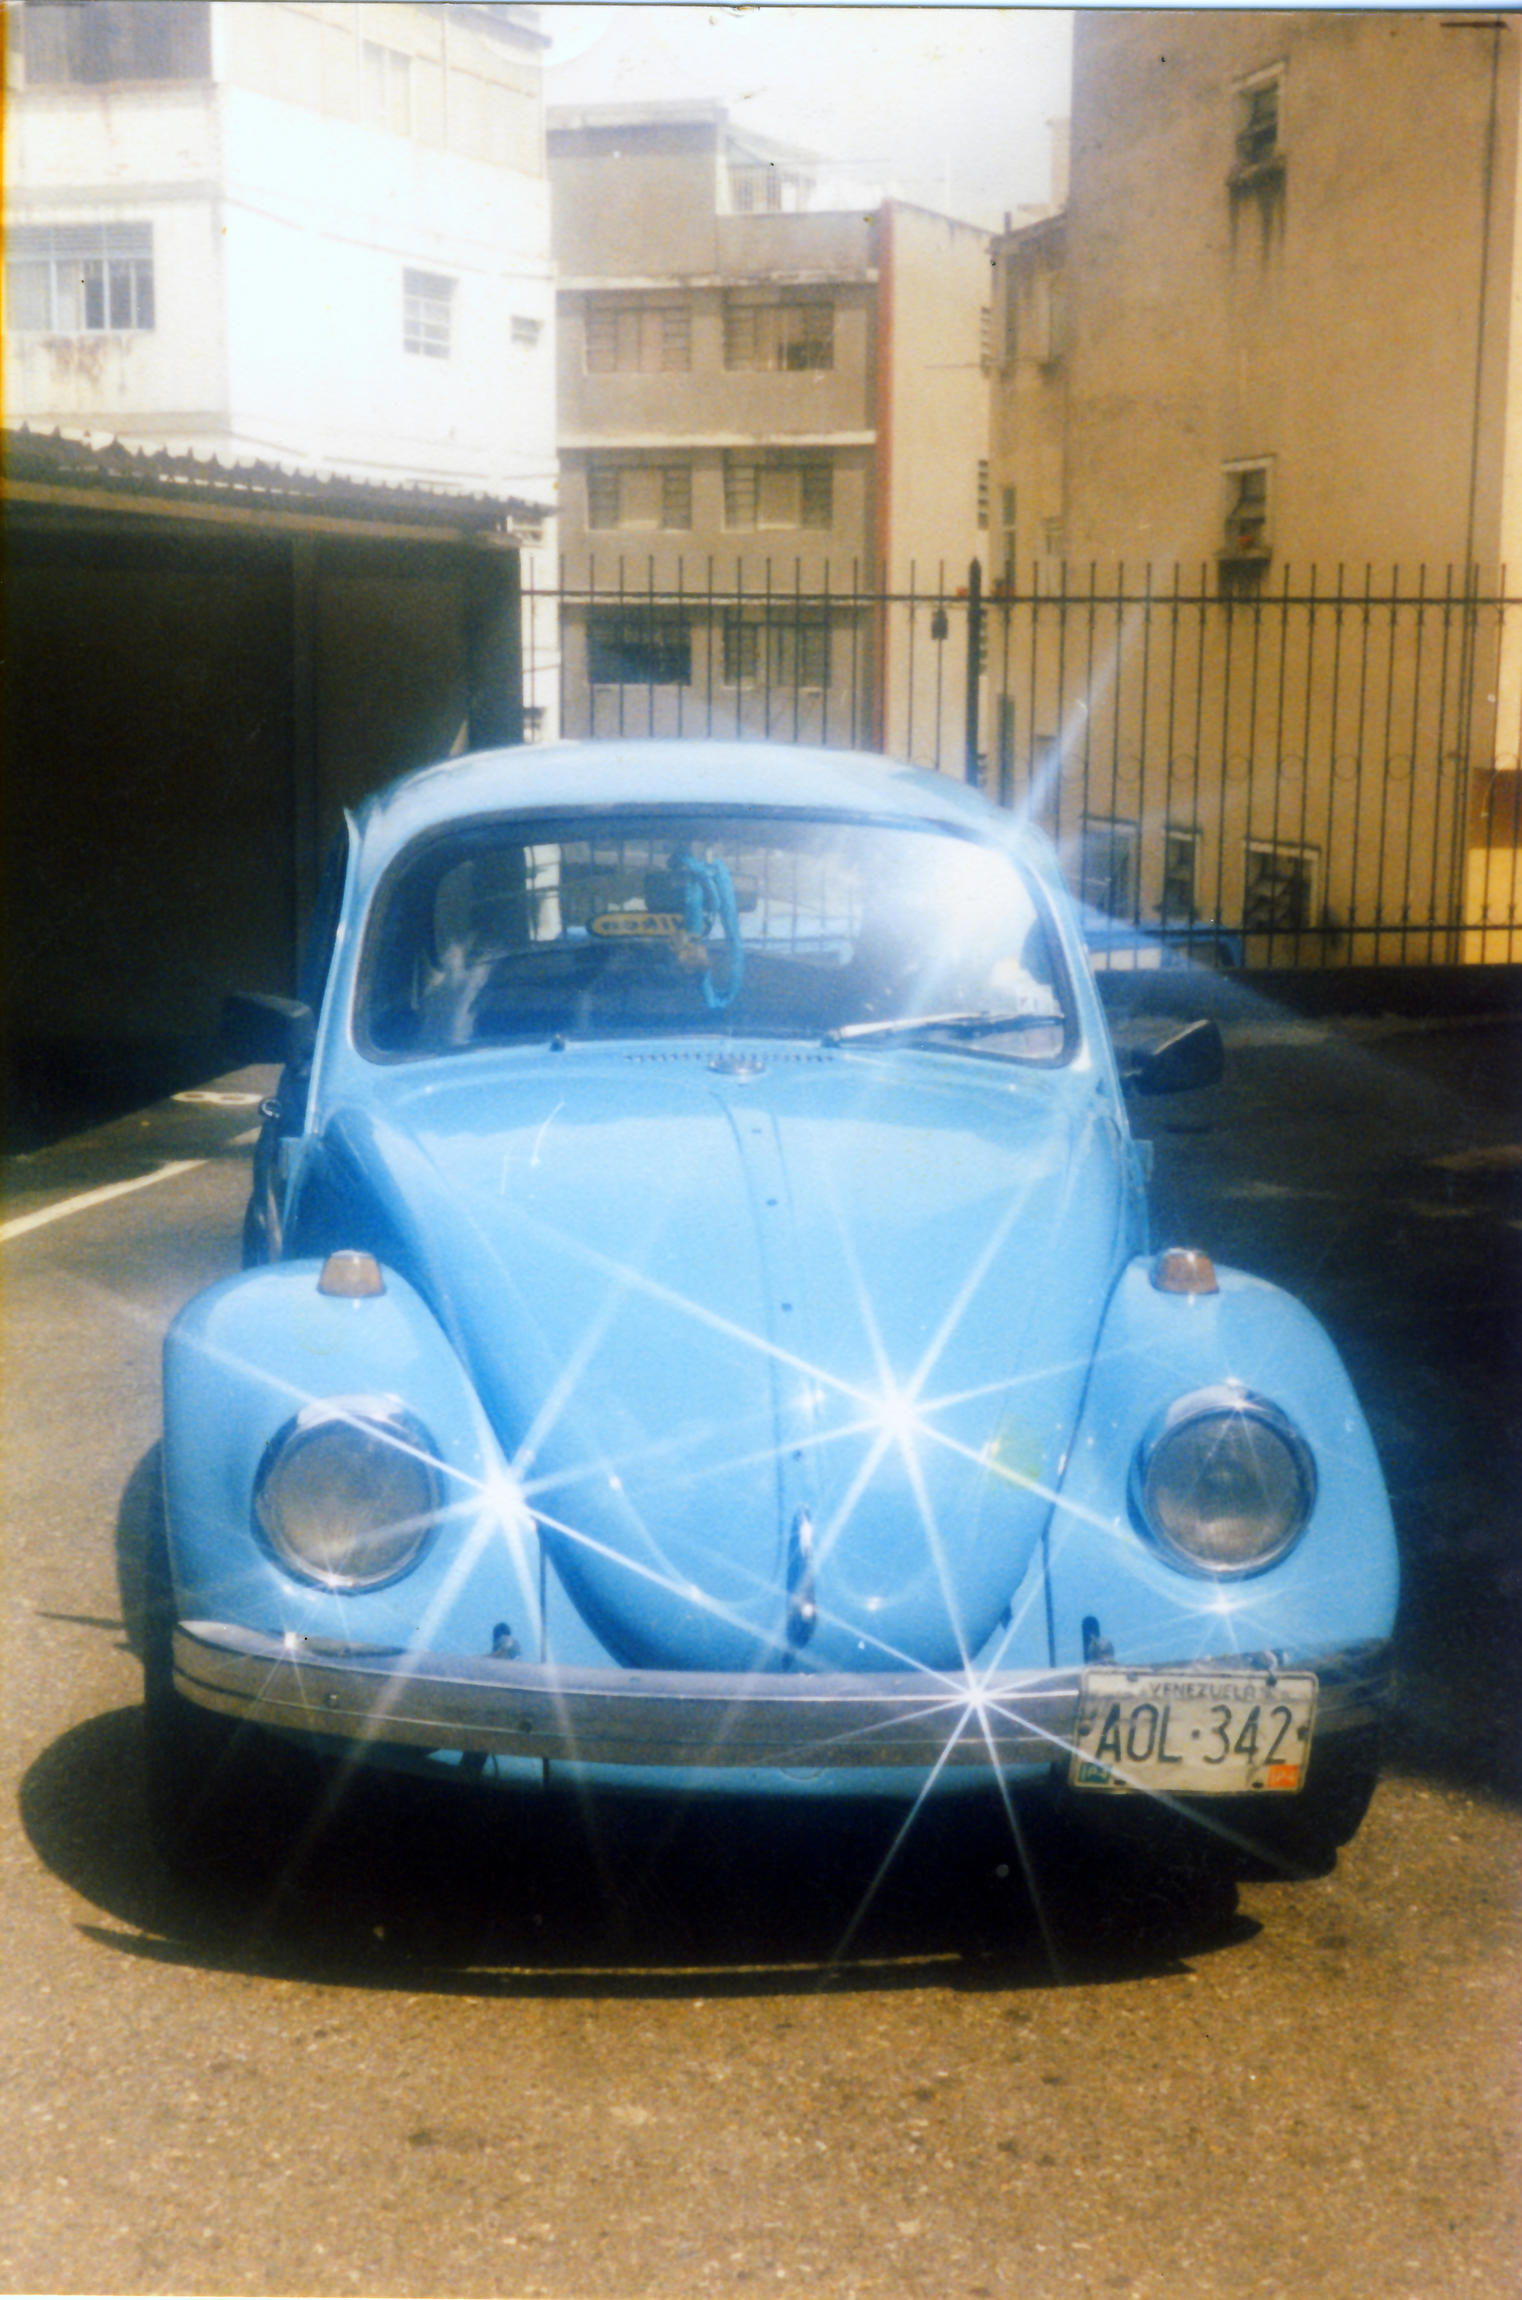
And your own bug photo gives a good ref for front lights part I cant get right for now, nice.
You are welcome @delic I’m glad that somehow it helped. My bug was a 1300 with a 6-volt system, although when I bought it the previous owner replaced the engine for a flat-four 1957 Porsche 356 Speedster’s twin carb one, which meant double the horsepower of a standard Bug’s egine…I snapped the speedo’s wire a couple of times :o
Only issue was I didn’t managed to get all four wheels disc breaks, had the front two disc and the rear where drums so the breaking was a bit uneven to say the least. The tyres where the same that came with the Ford Sierra XR4i.
I must say that even if it didn’t look amazingly great it ran like a dream and it was so good in fuel consumption…Ohhh man now I’m down memory lane here.
Keep on the good job!
Looking for references for rear lights, all red or orange/red, of 76 model, found the answer.
Also found good refs for door and interior. But I first want to get these front light hole, and indicating lights put on almost flat surface, really better. Will show some pics later. It seems the shape is nicely rounded from side view, and more square with round bevel from front. will retopologize to match that.