I’ve searched the whole internet for a solution.
When i’m assign a image texture on my model i am using a png file.
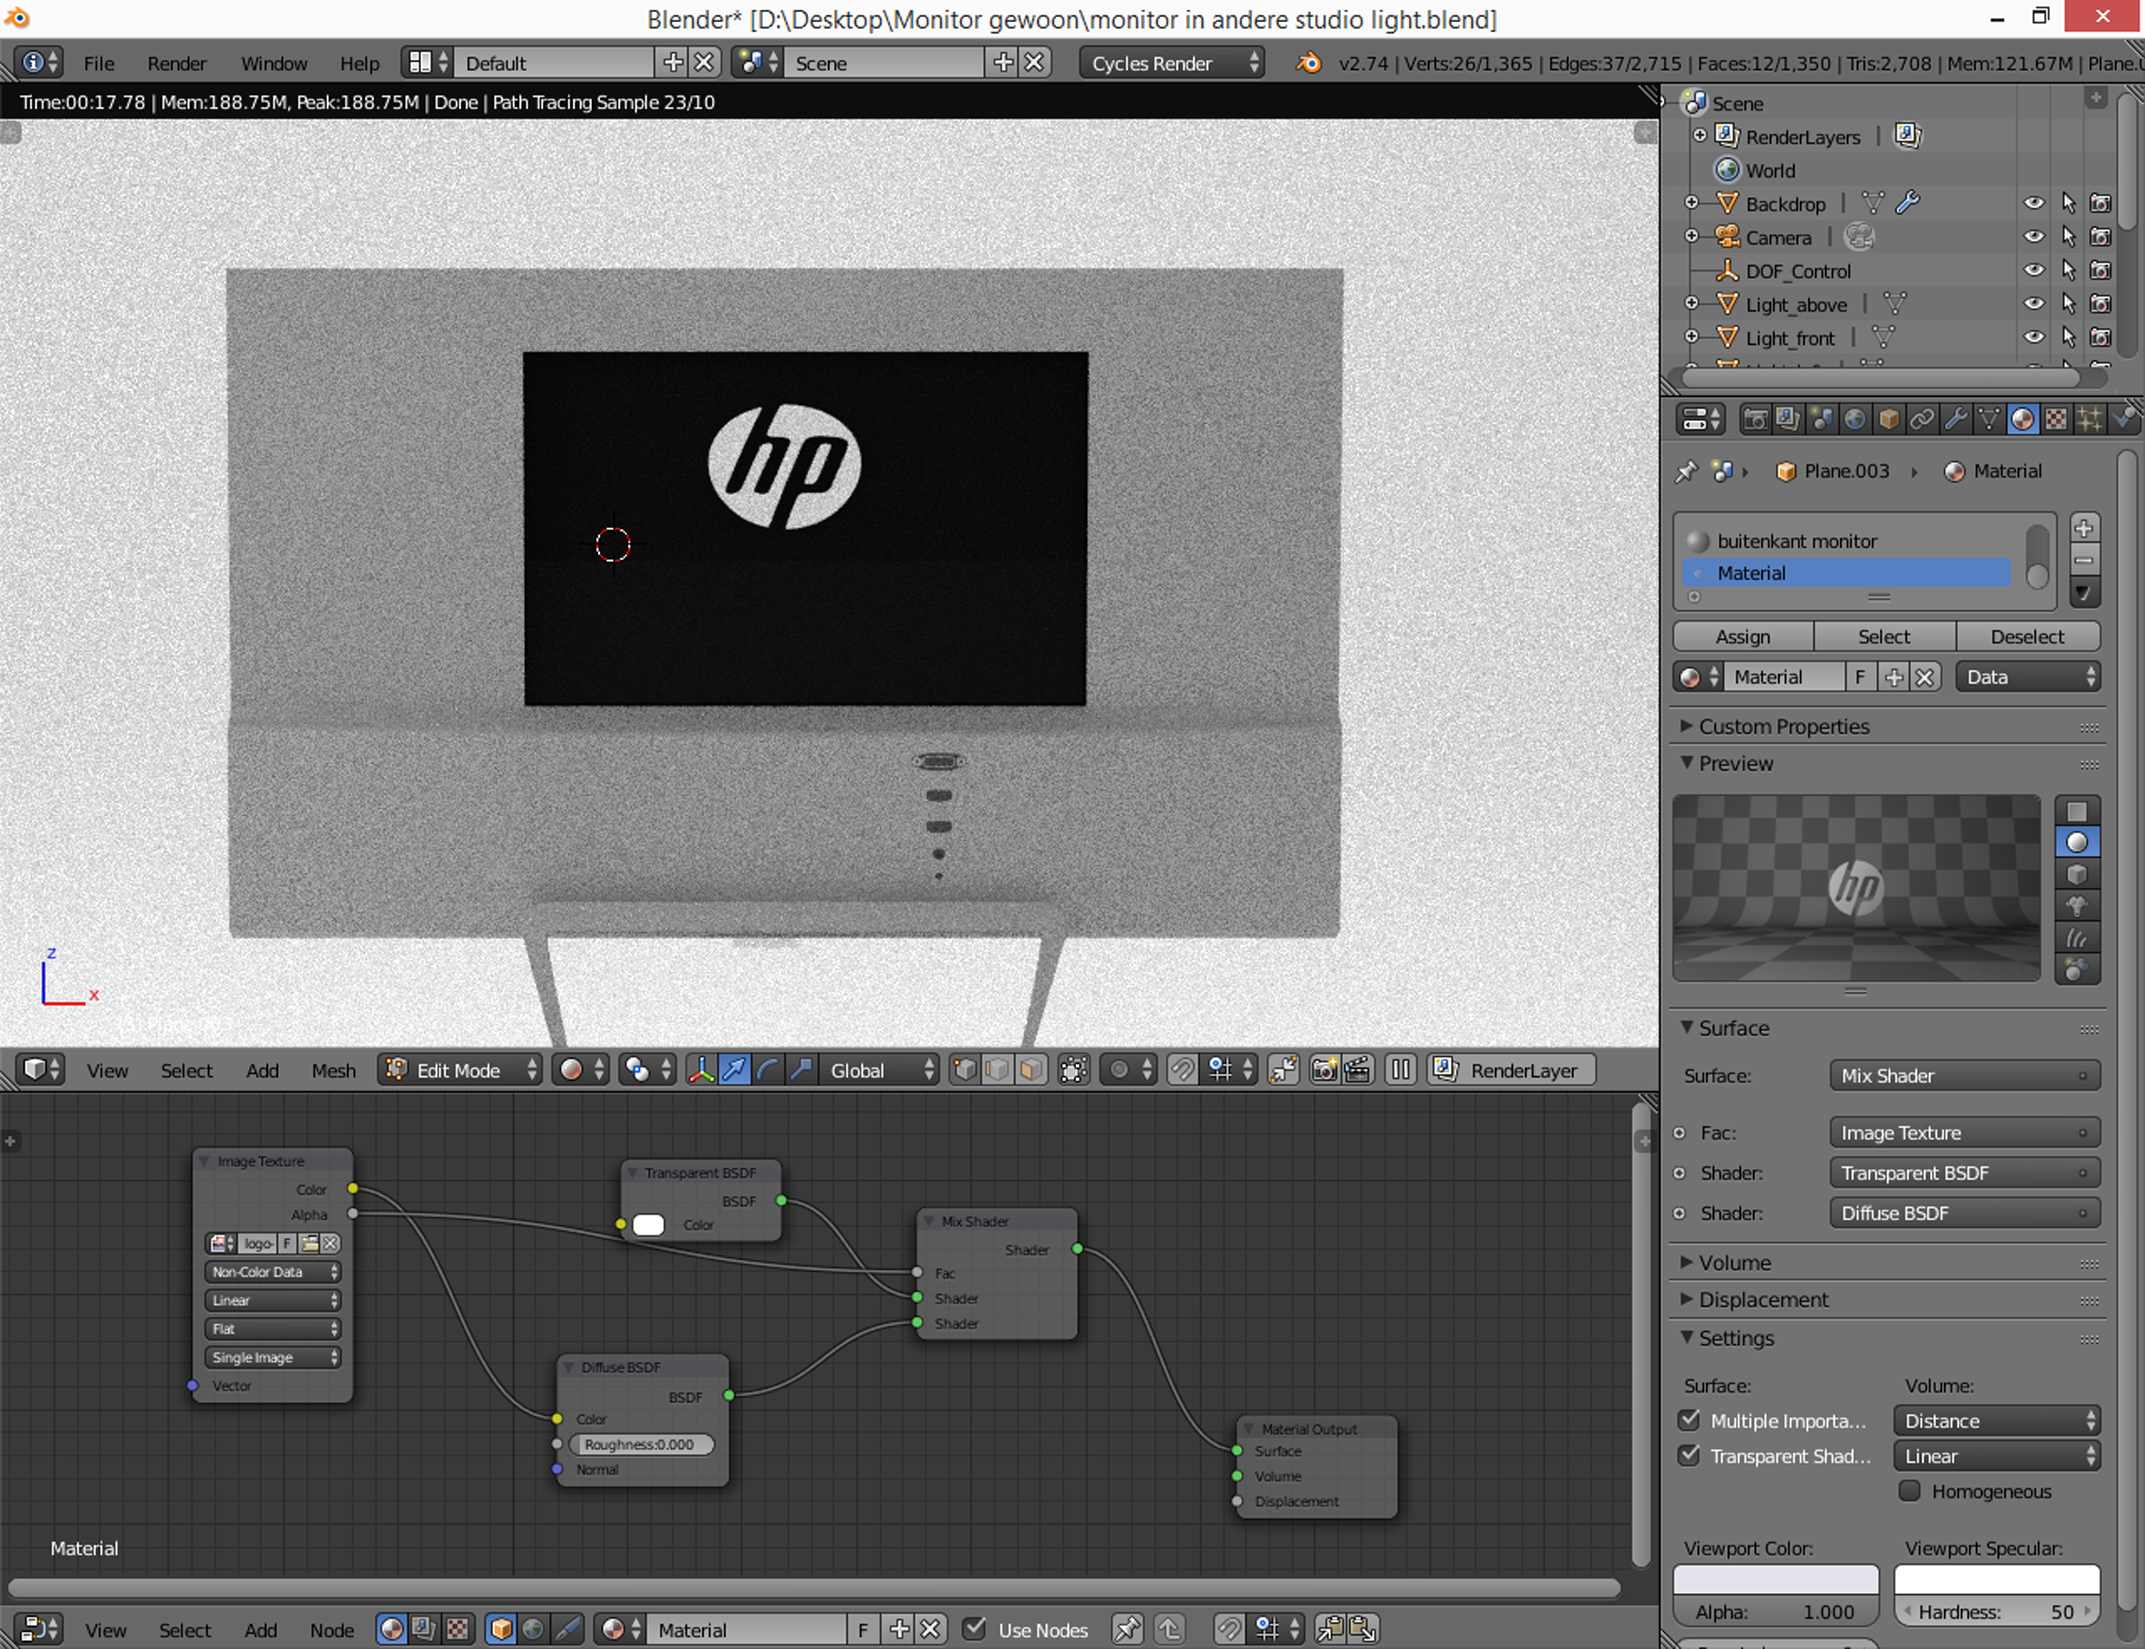
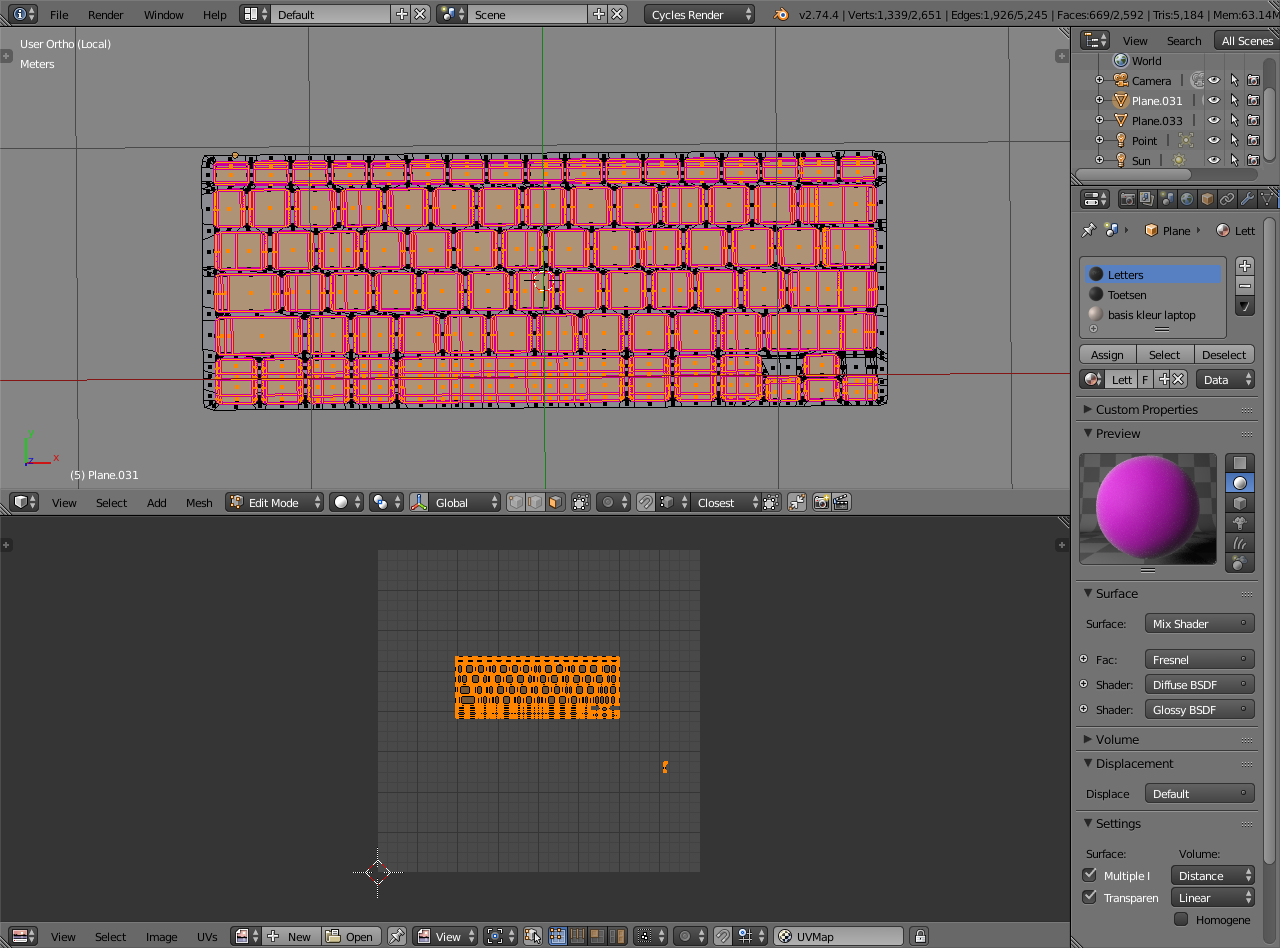
I’m using the nodes you see in the picture, with transparency, as you can see the preview shows the image the right way.
But when i’m rendering the background turns transparent too, the front of the monitor is black.
I’ve tried different ways to use the nodes, with two image textures (one black and white and one with transparent background).
I’ve tried to make it a seperate selection but then it only works when you put the plain a bit of the model… when you put it against the model, then again everything behind it is transparent.
Could anybody help me?
Thank you in advance, and i’m sorry for my english.
Thank you for your fast reply!
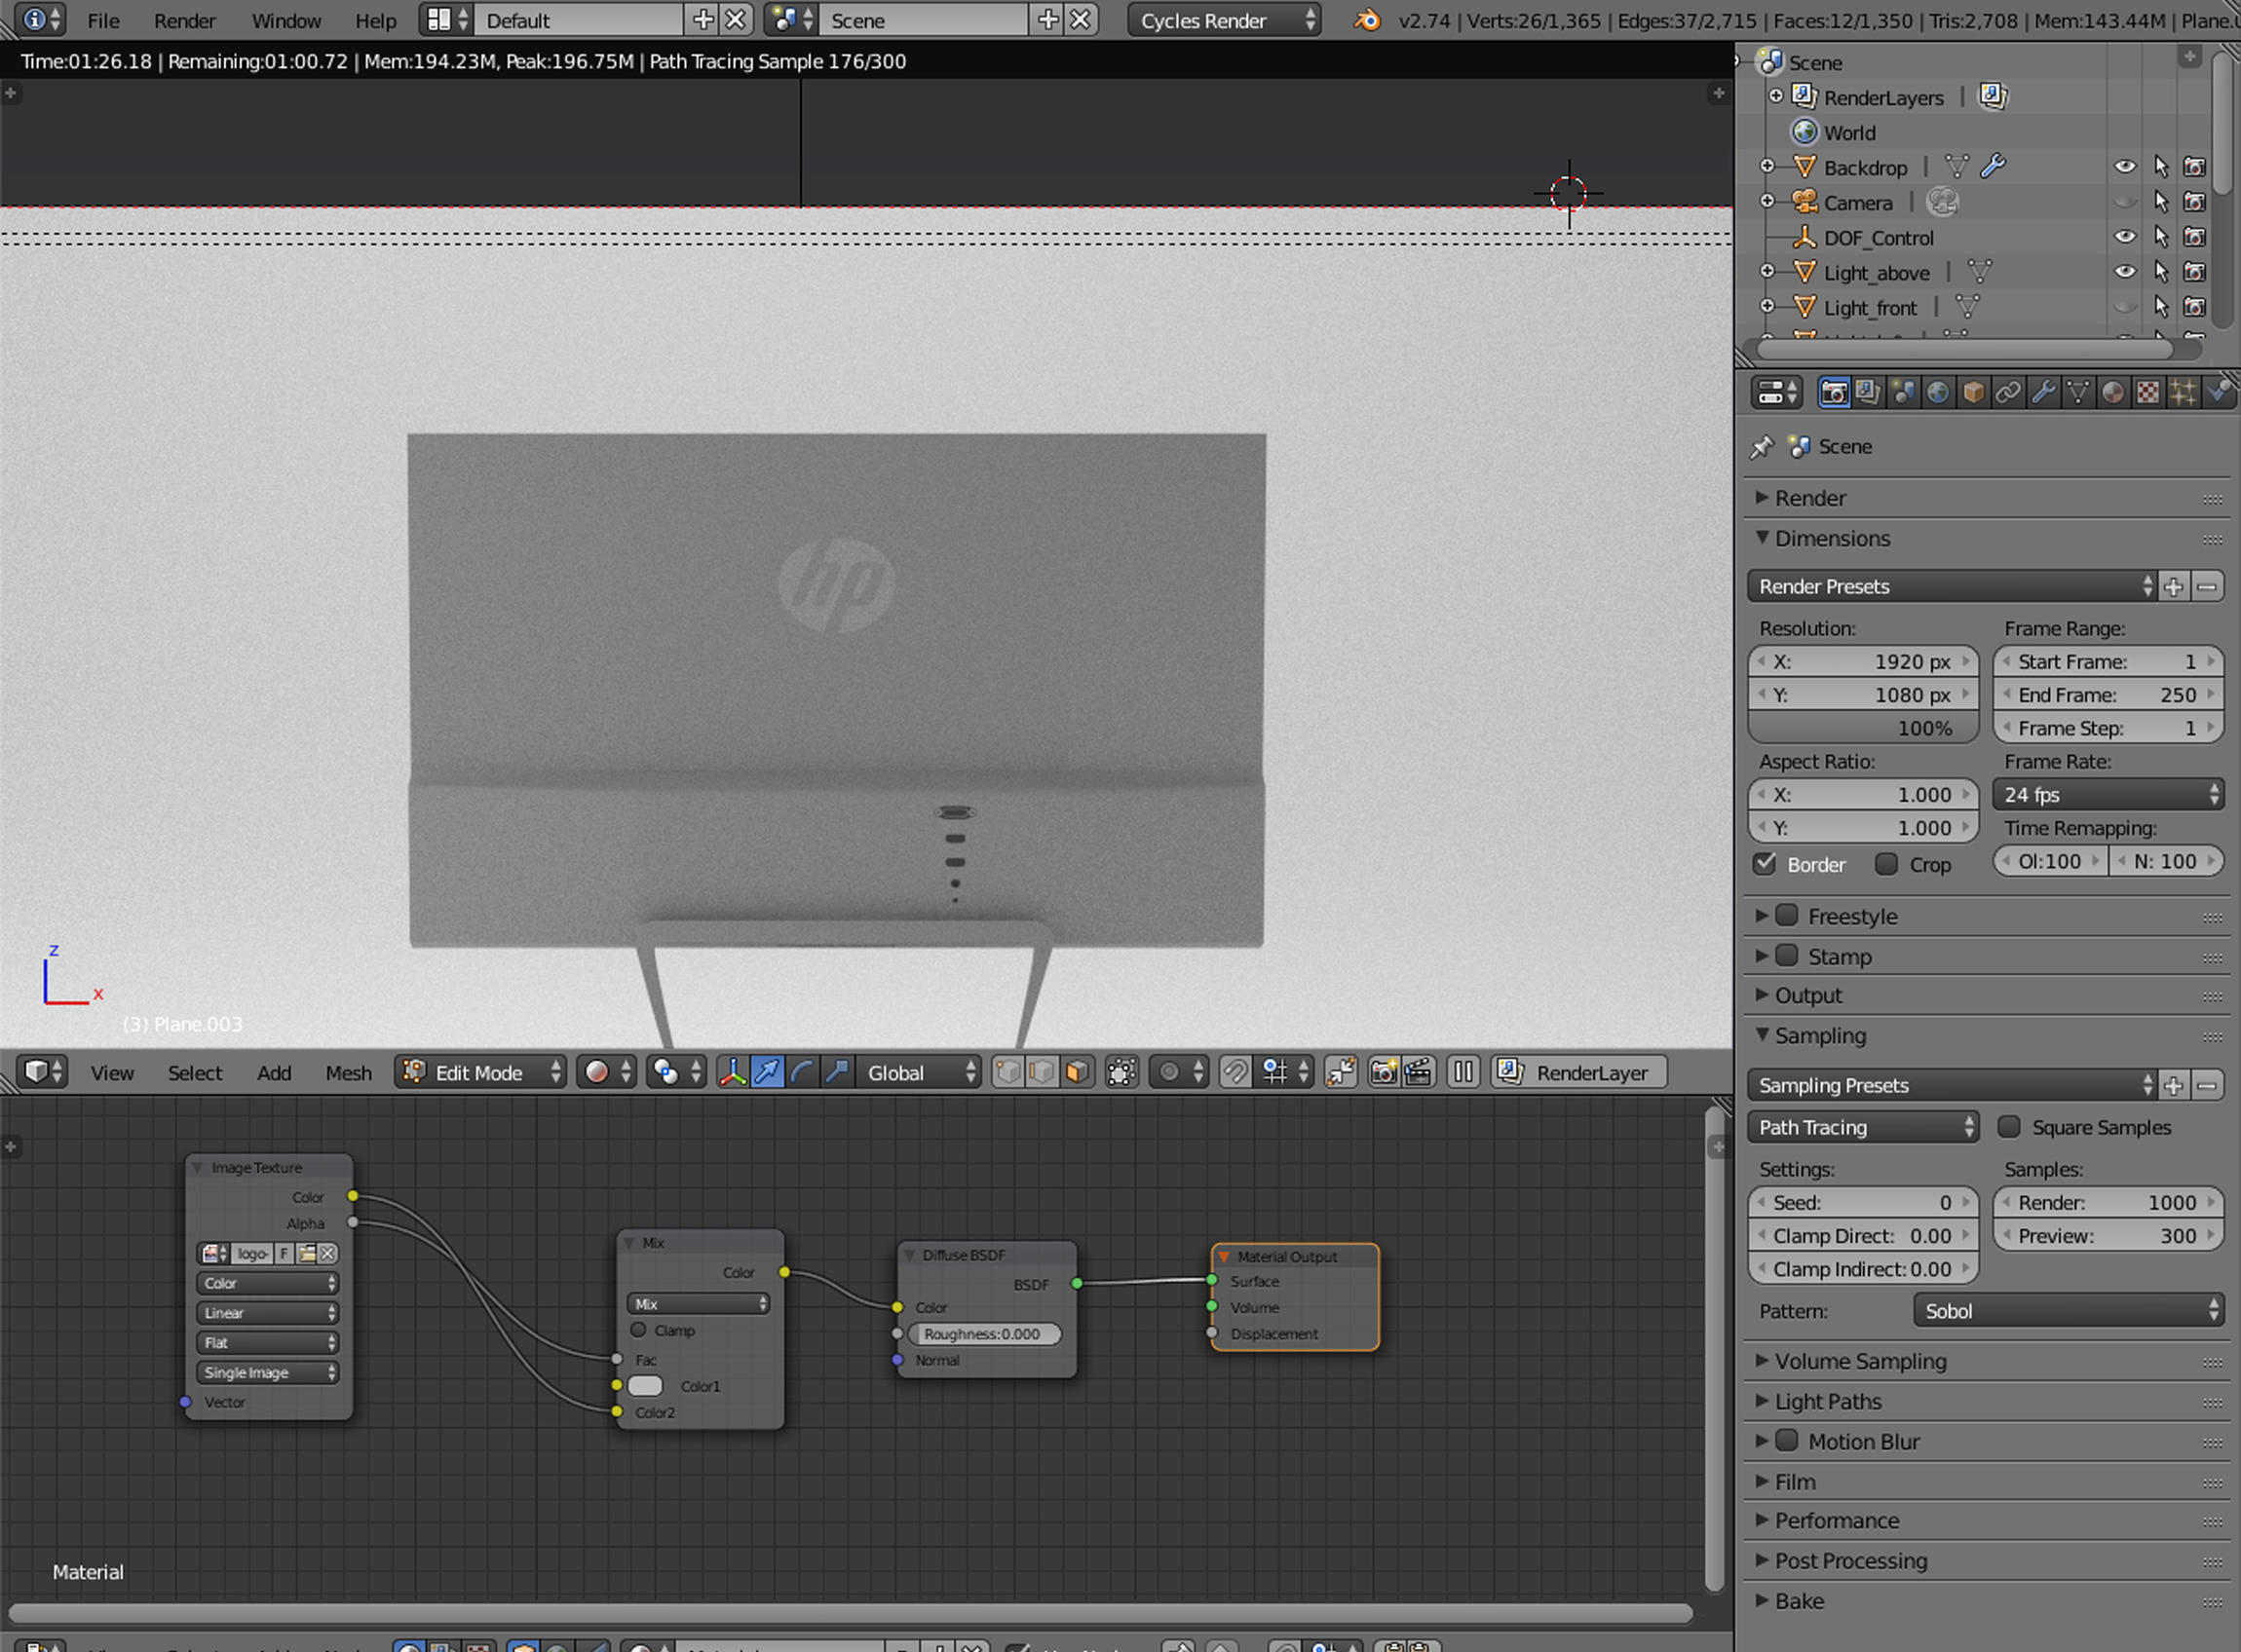
Is there any way to get rid of the square around my image? Or will this disapeare when i’m rendering in a higher amount?
I’ve tried this solution to another project of mine.
It look like the square is gone and i can achieve another background color.
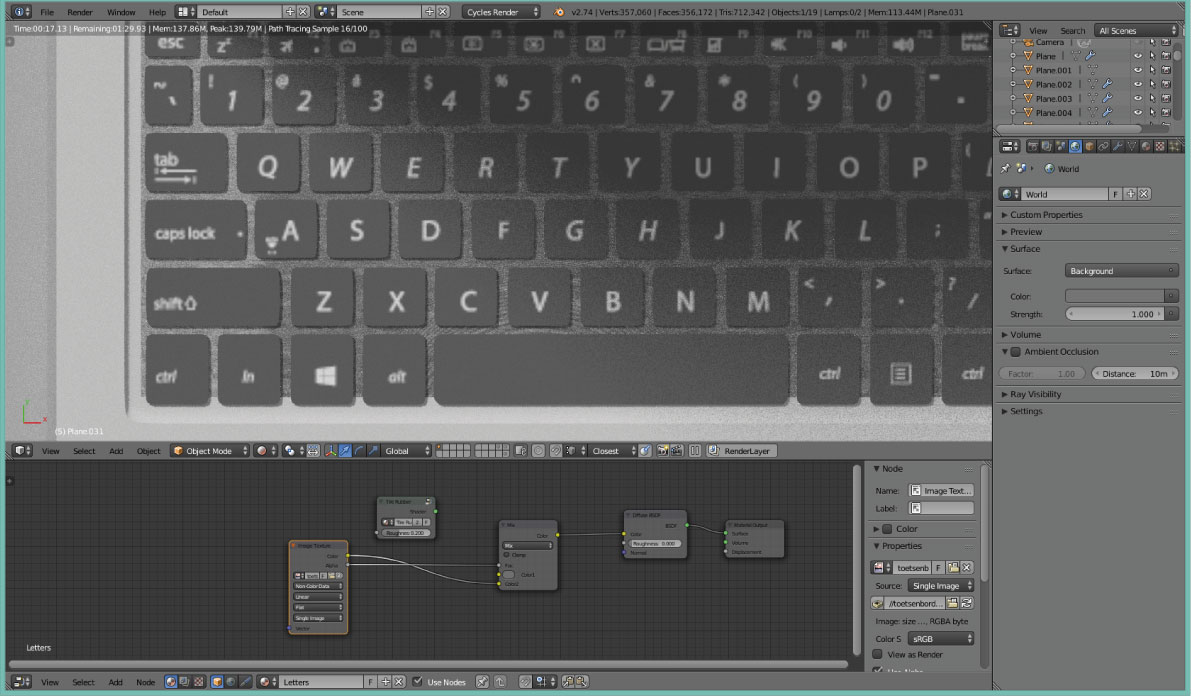
But am i doing it the right way? Because the letters and icons are very blurry?
The tire rubber is the original material i used for the buttons from the keyboard…this is set to the sides of the buttons.
note: there is no material yet on the bottom, underneath the buttons…
Thank you so much for your effort!
But it made no difference
I’ve uploaded a PNG of 5000 x 5… and set the resolution on 100%
I made the PNG in Illustrator, did the vector myself so that should not be the problem.
I have never worked with interpolation, i am still very new with blender i guess
Can’t comment further without having something to work with. Preferably the .blend with the image you are using packed in it. Link in my signature takes to instructions on how to prepare a .blend for upload.
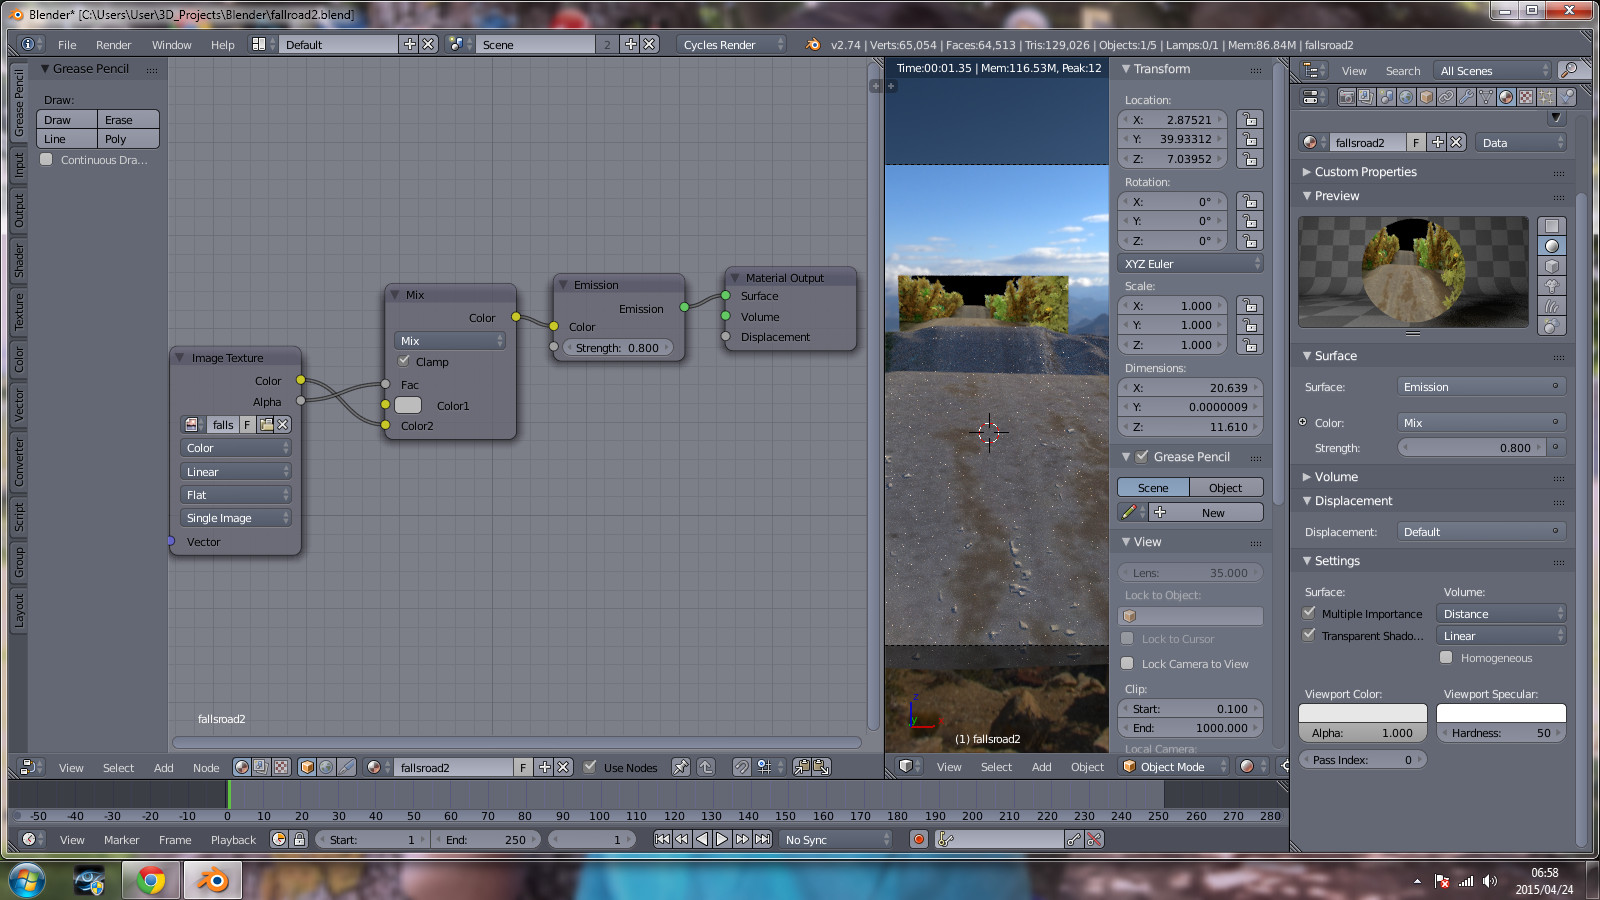
I have a similar problem. Following a tut, where I had to render an image with transparent background, .png with alpha, then import it back in as background, set to emission with transparency. Problem is the instructor goes so fast, I can’t see exactly what he did. The original had a transparent node, but when I changed the factor, the whole image went transparent. I then set up the nodes to be exactly the same as JA12 shows, but with emission instead of diffuse. Nothing I can do to get rid of the background!
Image is on a plane and it’s not shown on parts where the image is transparent. Color mix was used in the previous example because the texture needed to be shown on top of backing geometry.
There were no images packed in the .blend so couldn’t test with that. By the looks of it, the UV mapping for the letters only take small portion of the whole UV area. If the image texture contains the actual letters with similar ratio, it would mean you’re only using a handful of all available pixels for the letters, which in turn can give a low quality looking result.
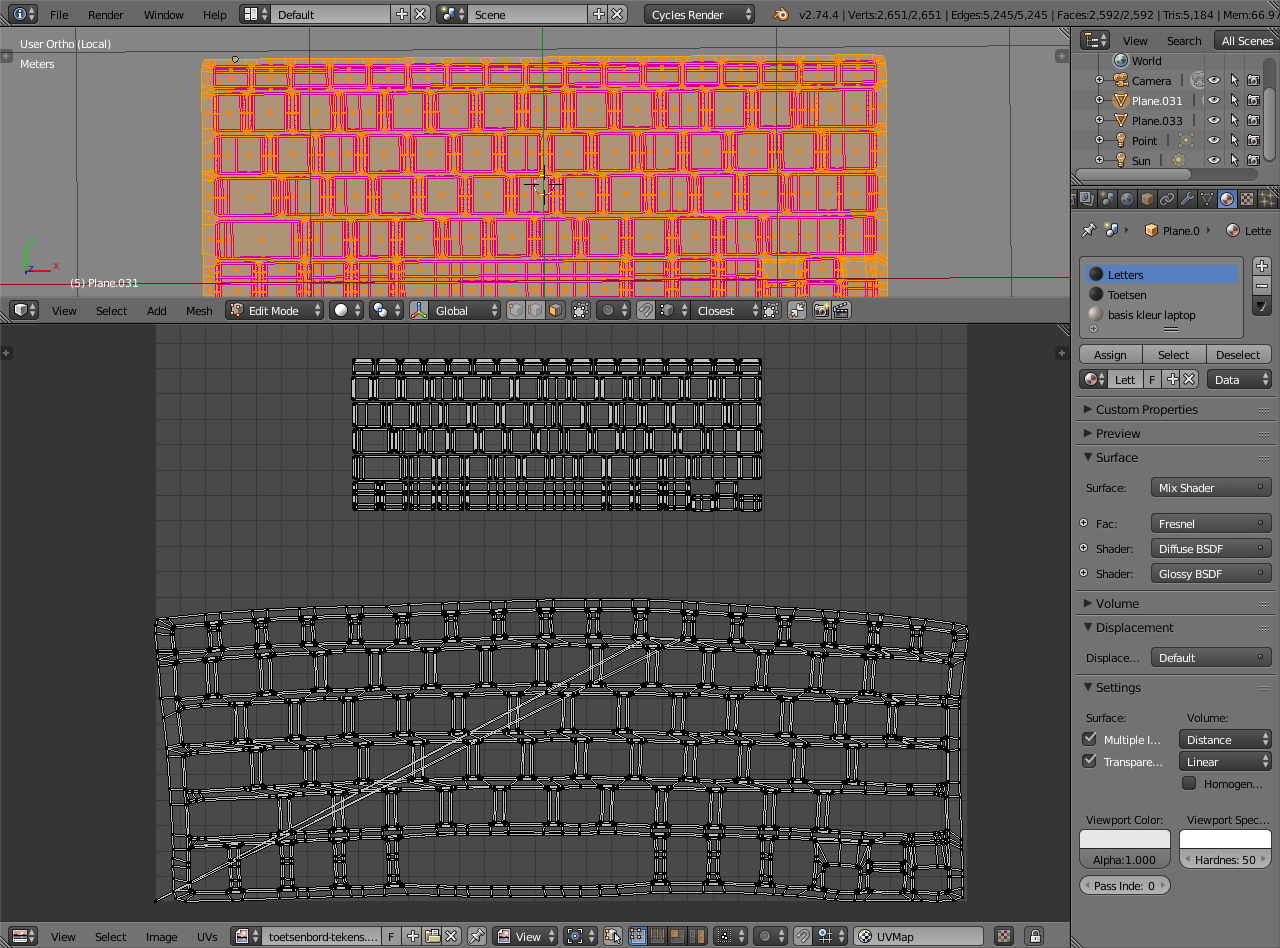
Downloaded a somewhat random keyboard image and unwrapped just the buttons again with U -> project from view option and scaled the UV’s to take most of the space on the texture. Seems to render correctly, and this is just a 1920x670 low quality .jpg image.
It also looks like the areas around the buttons are unwrapped and take larger portion on the image than the buttons themselves. That’s not good if they share same texture because then there would be less pixels for the actual detail (letters on buttons) than for areas that have very little detail, or not at all.
If you need to unwrap the area around the buttons, could select the area by using selection buttons on the material properties (and ctrl+i to invert selection if needed) and unwrap with project from view option again. You can make both UV islands take as much space on the UV area as needed even though that would mean they will overlap, because those areas have different materials that can use different textures.


 it worked…never thought of that!