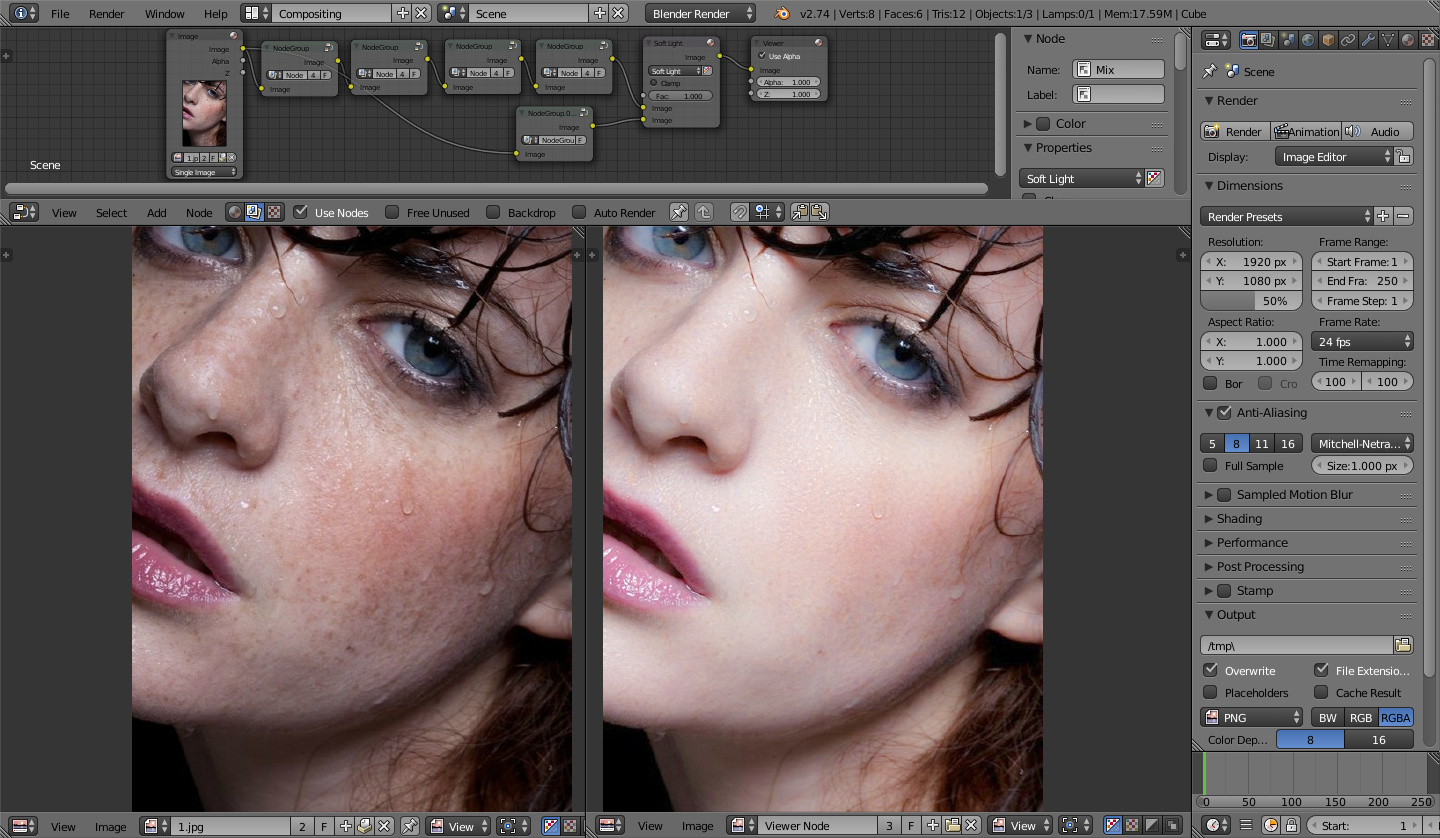
Yesterday, I learned how to achieve the High Pass in the blender, if you don’t know that ,you can see here, Yeah I reference this to achieve, it’s very easy, just use gaussian blur, inverting, and then blending with the original image using an opacity (say 50%) with the original image, so the High Pass filter in Photoshop that you can do it in blender now 
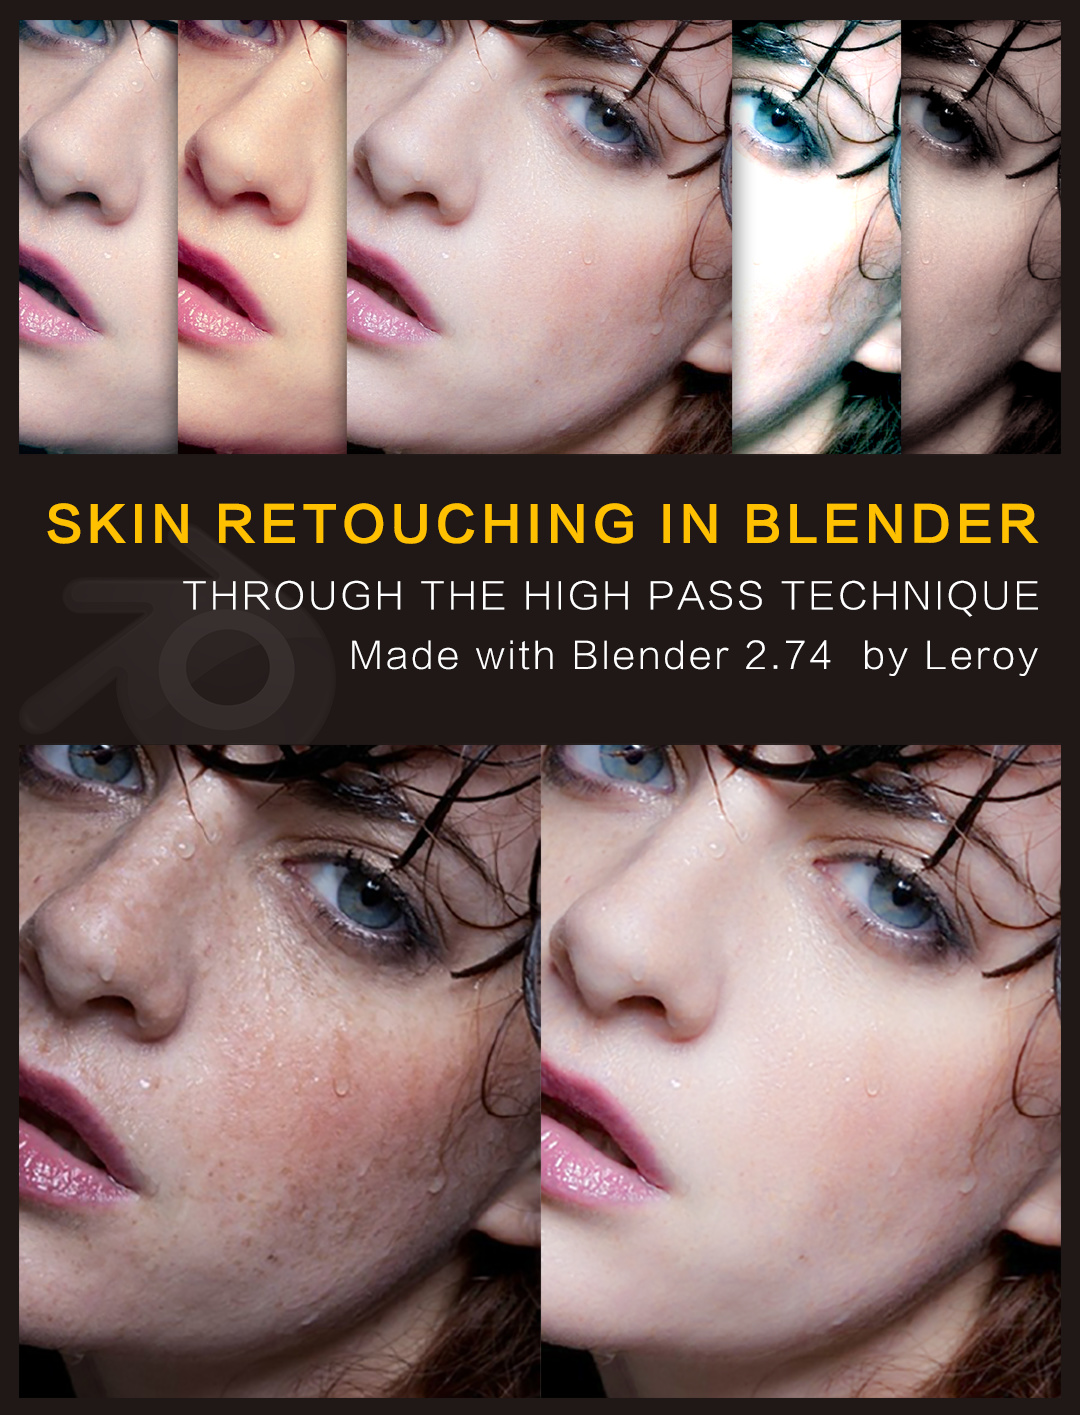
The workflow is very easy to understand. The first from the blue pass extract the mask to use remove the spots on the face, do it for some times, be clean and light, the second from the red pass extract the mask to use improve the detail of skin texture on the face, so all done! of course, you can do it much more better by use the mask, color grade, correct, do much more accurate in the detail, and maybe you can use the object tracking in video, or others everything you can do in blender to make it more nice than before!
the blend file:skin retouching.blend (595 KB)
the test image that I’m used is from the internet, and it has been reprinted by many times, so that I can‘t find the original author of the image, I’m sorry for that 
( sorry for my bad English, I hope you can like this, enjoy  )
)