I would like to learn how to make a Backlight effect, when the light on the back covers some of the objects in front.
I’ve set a simple scene in order to experiment and learn it thanks to your help.
I put the sphere (light source) on the back, put it on it’s own layer.
The rest of the objects (floor and 3 cubes) on other layers.
Now… what to do in the note editor in order to make it work?
I’m still a noob, but if it’s not too complicated I’ll be happy to understand how to make it work please.
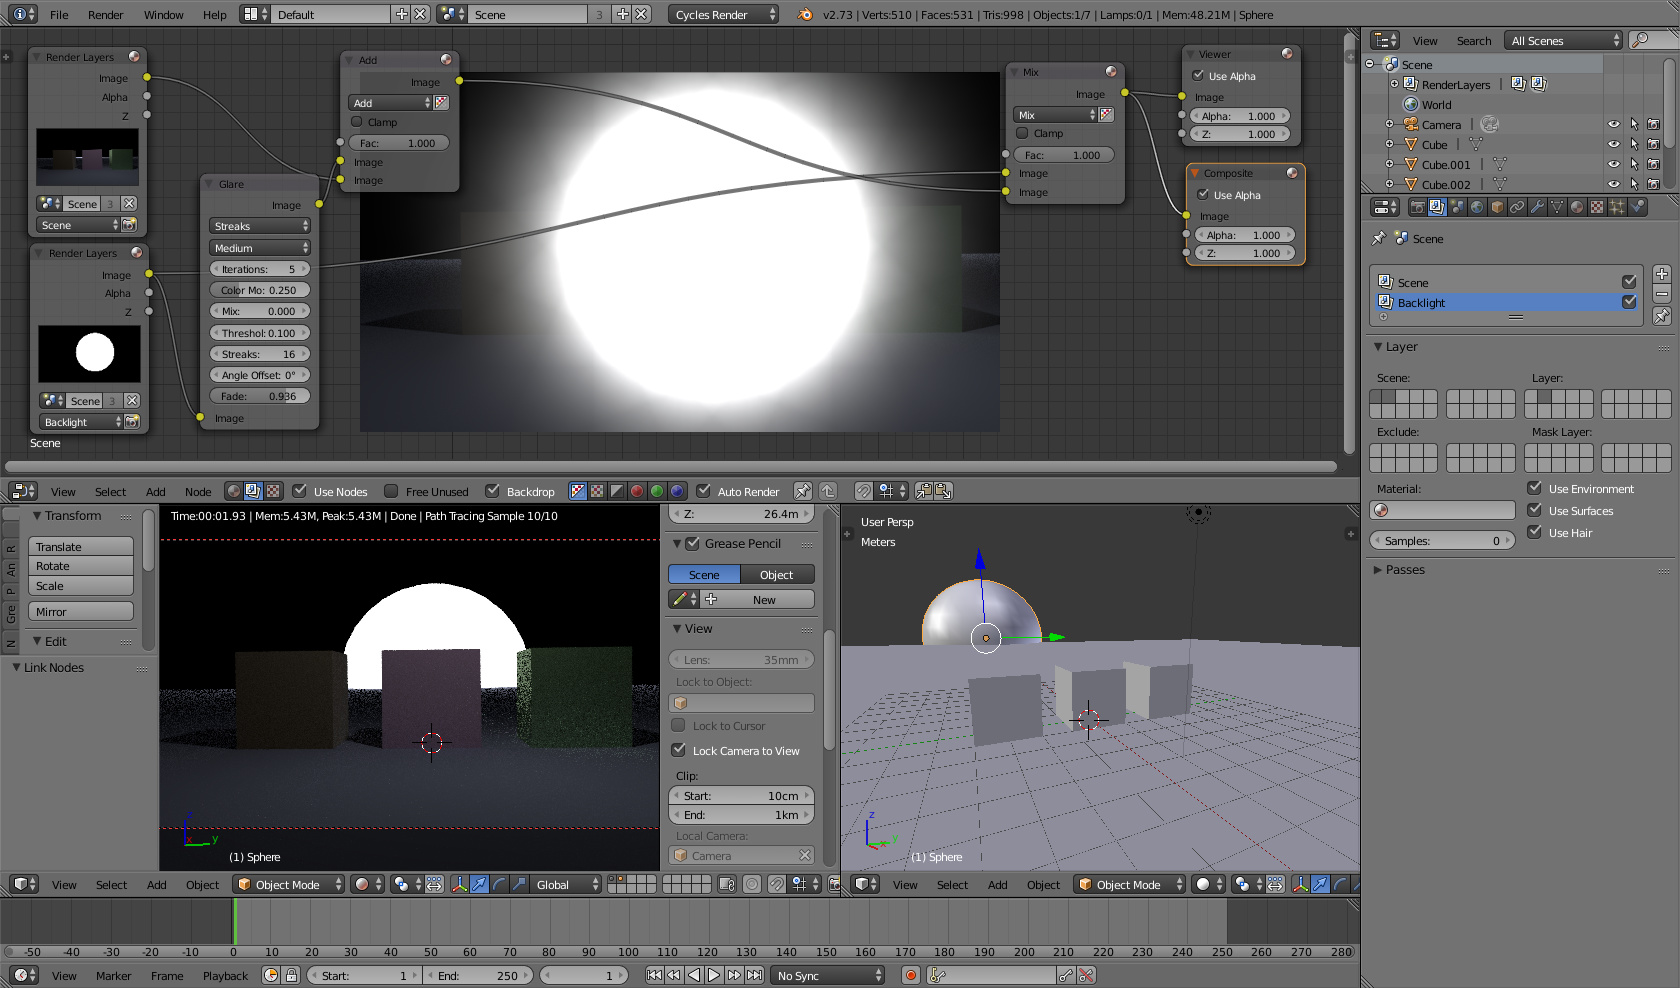
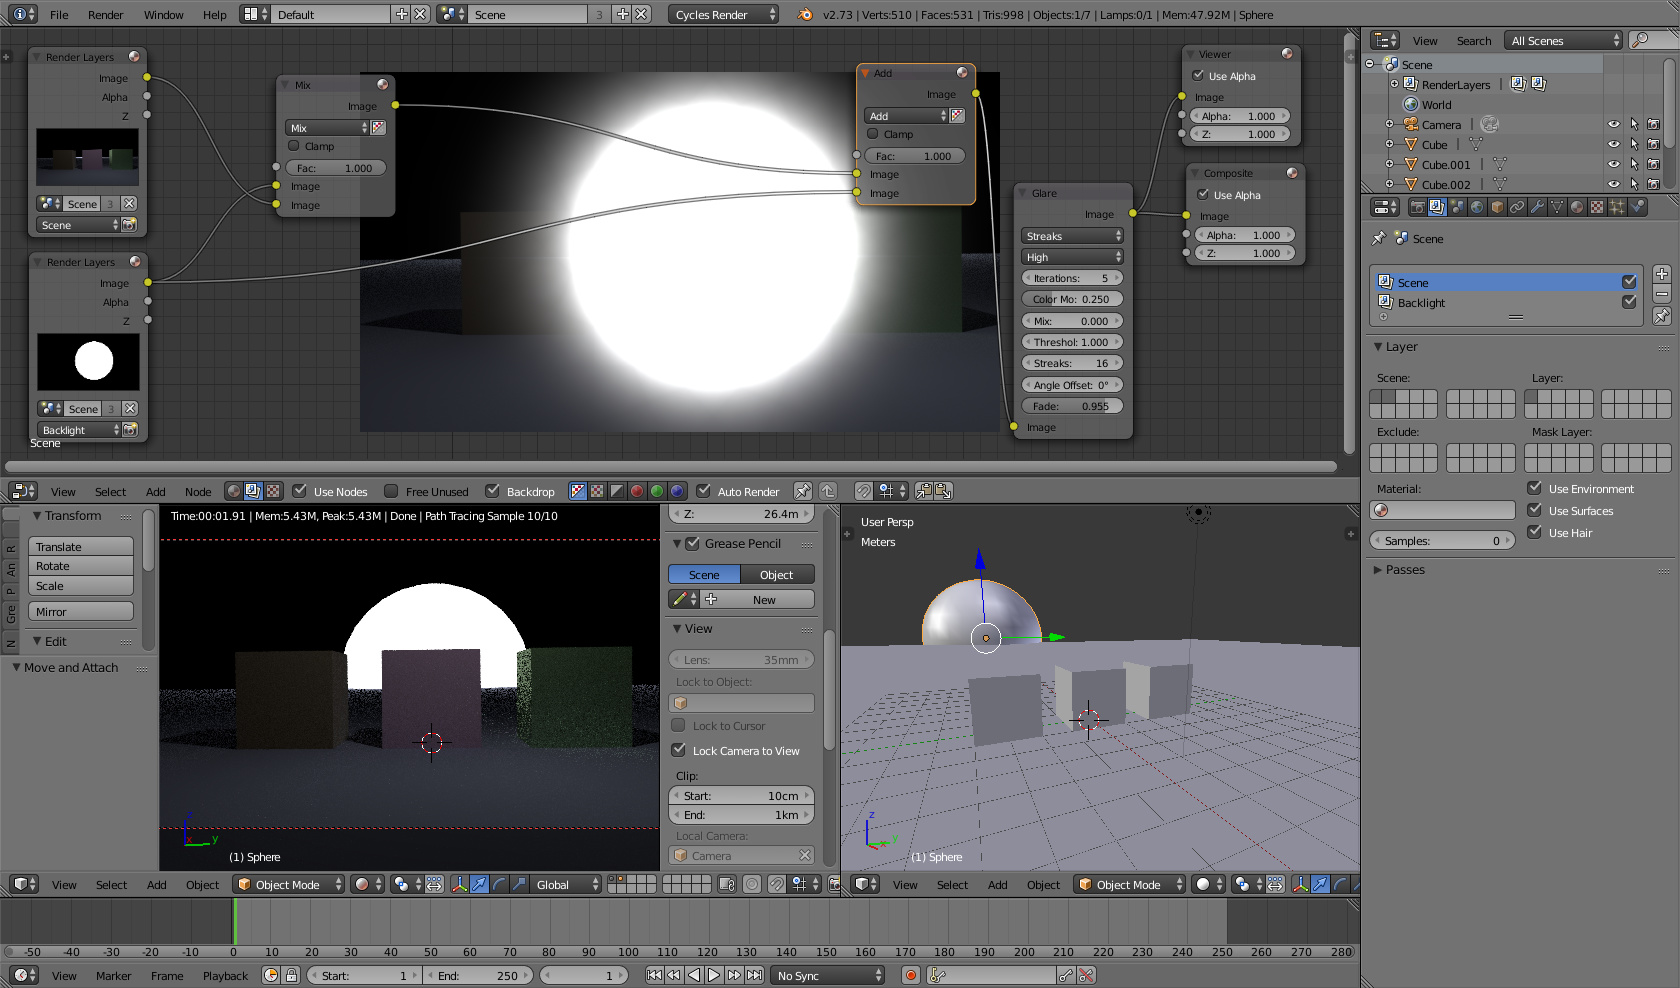
A flare effect can be achieved with the glare node applied to a mixed version of your two shots with a high threshold to only add glare of white light. Then use add node to apply it on top of the original.
I’ve tried many things… node editor is the most scary thing right now for me, and the more I play with it the scarier it gets…
I know it supposed to get logical (from right to left) and stuff like that but for some reason I get lost in it real quick.
When it comes to After Effects or Photoshop I do this layers / comp logic so fast… but when I try to understand how it works in Blender I’m totally lost… I know it should be very simple so I wanted to learn it by myself but now I’m even more confused.
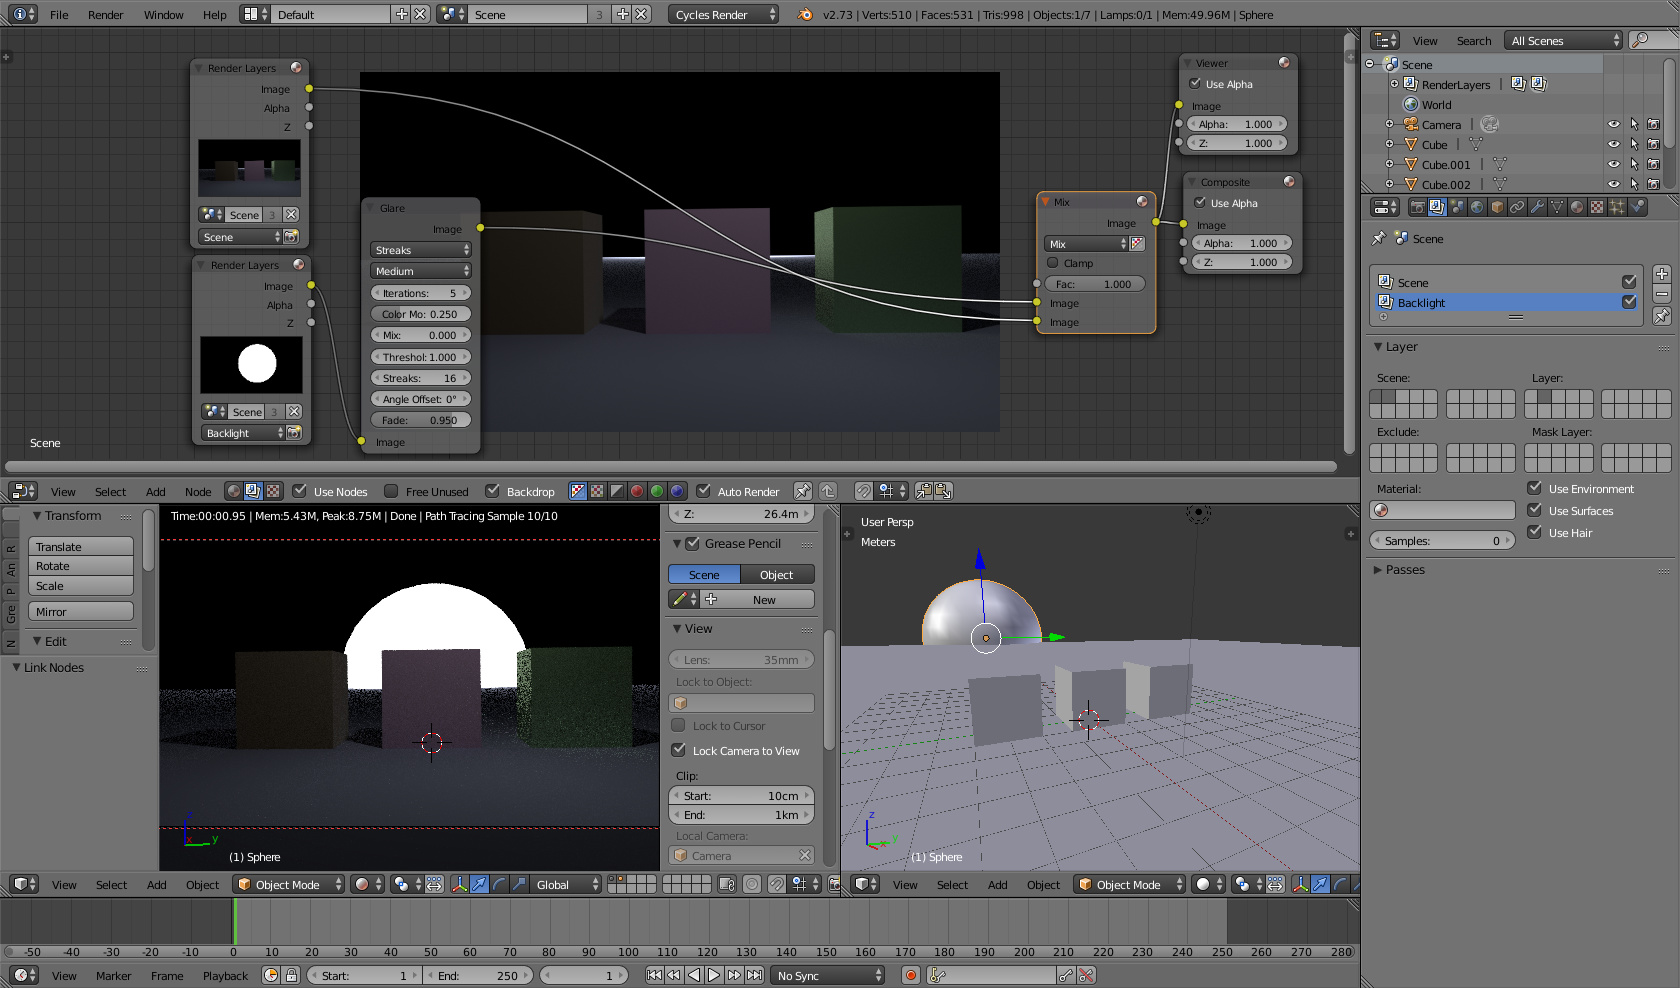
This is what I did, after changing the order of the links between the 2 layers (up and down on the mix node) still not working, the light is still in font.
Basically because I want to have more control on the effect using flare, blur or other effects without affecting the main scene.
But also I would like to understand how it works, the composite feature looks so amazing with much more control on every layer.
The backlight is more to make a rim that highlight the edges purely in lighting. Are you talking about a post-prod effect like a lightwrap?
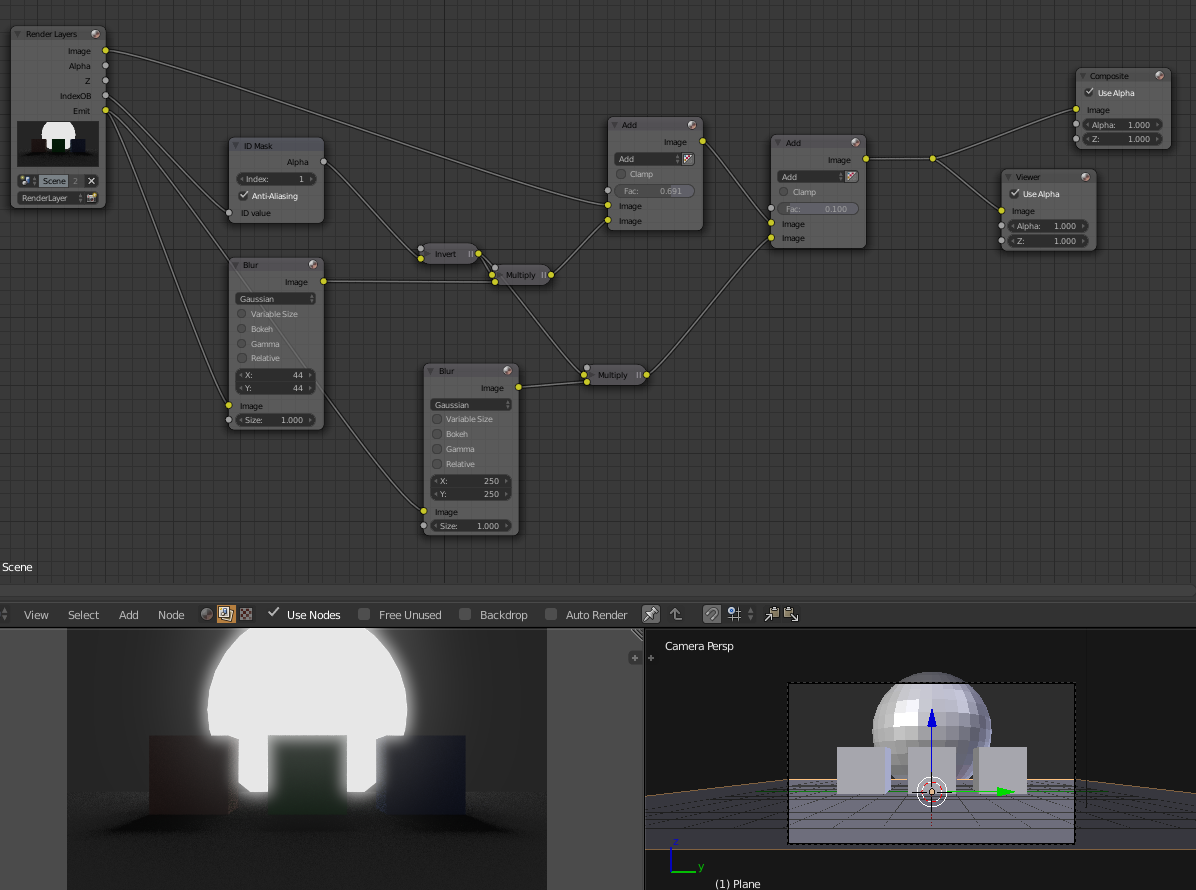
I made a quick setup to show you how to do that. There are several ways to do it, I like to use two blur nodes. One small and one bigger.
Thanks VincentG !
This is exactly what I’m looking for as for the end result.
It looks very complicated to me but at the same time it looks really cool!
So… I’ve noticed that you didn’t even use 2 layers, you did everything with 1 layer… I have so much to learn.
I may need to “switch” my way of thinking from how I do things in Mirage, After Effects or Photoshop… to a new “mode” in order to understand how I can build my own effects with the Blender’s compositor.
Hope I can follow your example and accomplish this cool effect.
I’m using it a lot on my 2D Animations, so why not on 3D…
Yes I only use one single layer but it’s even better if you can use a second one. It doesn’t really matter if you get what you’re looking for.
The node setup is not that complex but you need to learn how nodes works, what is alpha channel, ID mask and render passes.
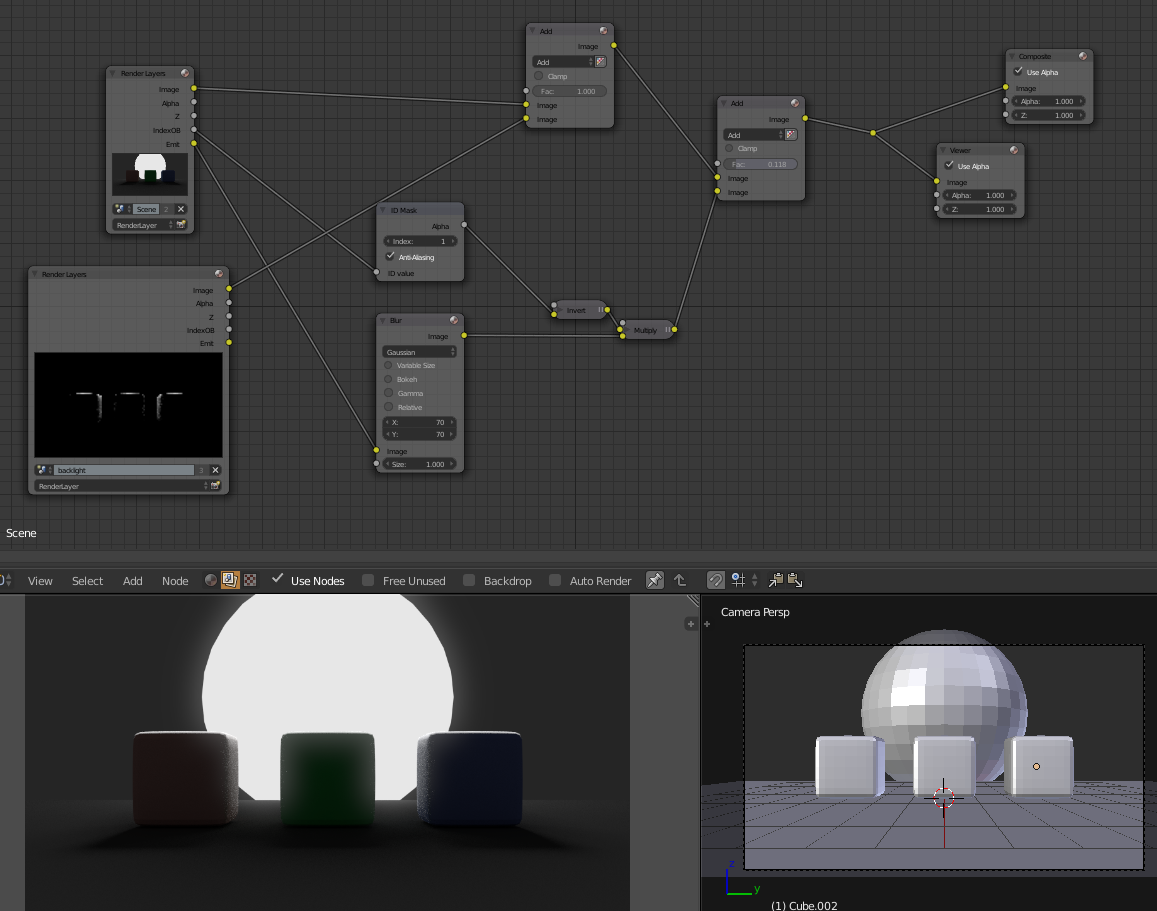
I made another test : using one more scene to compute another light and then mix it into the first render. It gives more control of the backlight, plus the additional glow.
The more I see… the more I’m impressed with the creativity and freedom Blender can get.
Thanks again Vincent it looks great and it’s also very inspiring!