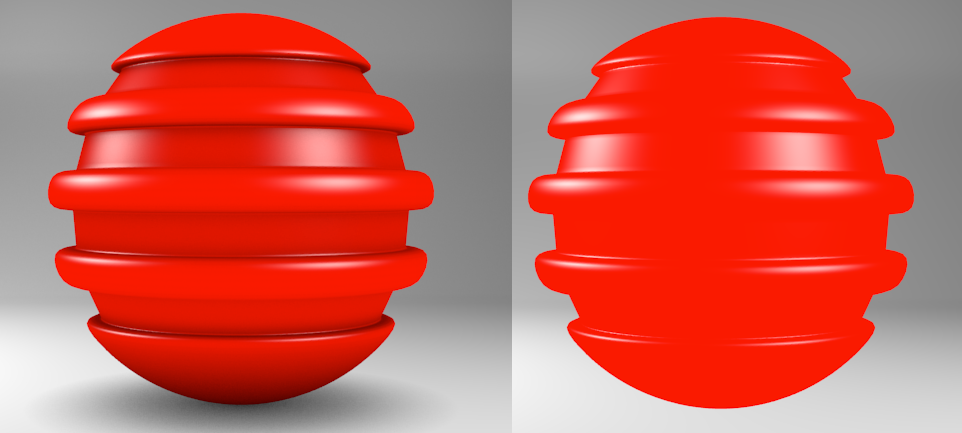
I did 8 renders with various settings (so long as totally energy between AO and EL =1) and it always looked the same. EXACTLY THE SAME.
Tried in Raytrace mode.
Seriously, the AO option did/does NOTHING on multiply and is 100% indistinguishable from environment lighting on add.
Anyone know why this is? Has it always been like this?
Lets discuss this, I’m genuinely interested in anything on this.
From my understanding EL and AO are not meant to be used together. It’s rather “either, or”: You will need to decide which fake solution you want to use.
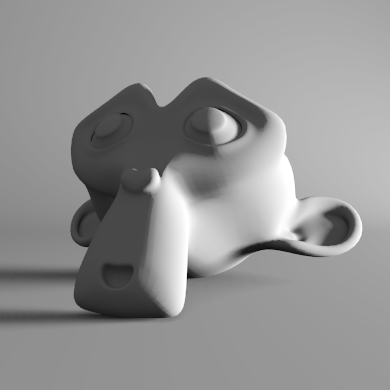
And btw: Left with AO set to multiply, right without.
John here is my understanding for what it’s worth. AO simply darkens any two edges that are at an angle. The more angle the… But, no one has ever taught using just AO and EL to light a scene. Nor to use AO and EL in the same amounts. Hence AO is usually at least 1/2 of the EL setting or less. An old BI saying is when AO is set to Add it simply becomes another light.
And, my observation is it also increases the intensity of whatever lights you have in the scene. When AO is set to 0.25 and EL to 0.400 say these changes can be subtle depending on your other lights. Hell for that matter you might prefer the look using Add gives you in some scenes. The two (2) uploads here were done in 2.73. Your post had me checking in the newest version. Nothing seems to have changed. Since I only changed Multiply and Add here.
AO is meant to fake GI in most instances, putting shadows were objects touch each other, in corners, etc., kind of simulating light bouncing all over the place. It’s generally ran with solid, flat white materials on everything, then added later in post-pro, so you can adjust the strength of it. It’s particularly useful for an engine that has no GI, like Blender’s internal engine. It will lighten up the pitch black parts that are on the side of an object that is opposite of the light source, as well as adding additional shadows.
Environment lighting is a light source, it will actually light your scene, and if you click on the button next to the Energy, you will see Sky Texture, Sky Color, and White. Sky Texture is what you choose if you want to use an HDRI to light your scene. Sky Color is self-explanatory, you can blend your sky with a gradient, use a solid color, etc. White is…white.
Sky Texture (HDRI applied to the sky):
Sky Color (pink horizon, blue zenith, Blend Sky enabled):
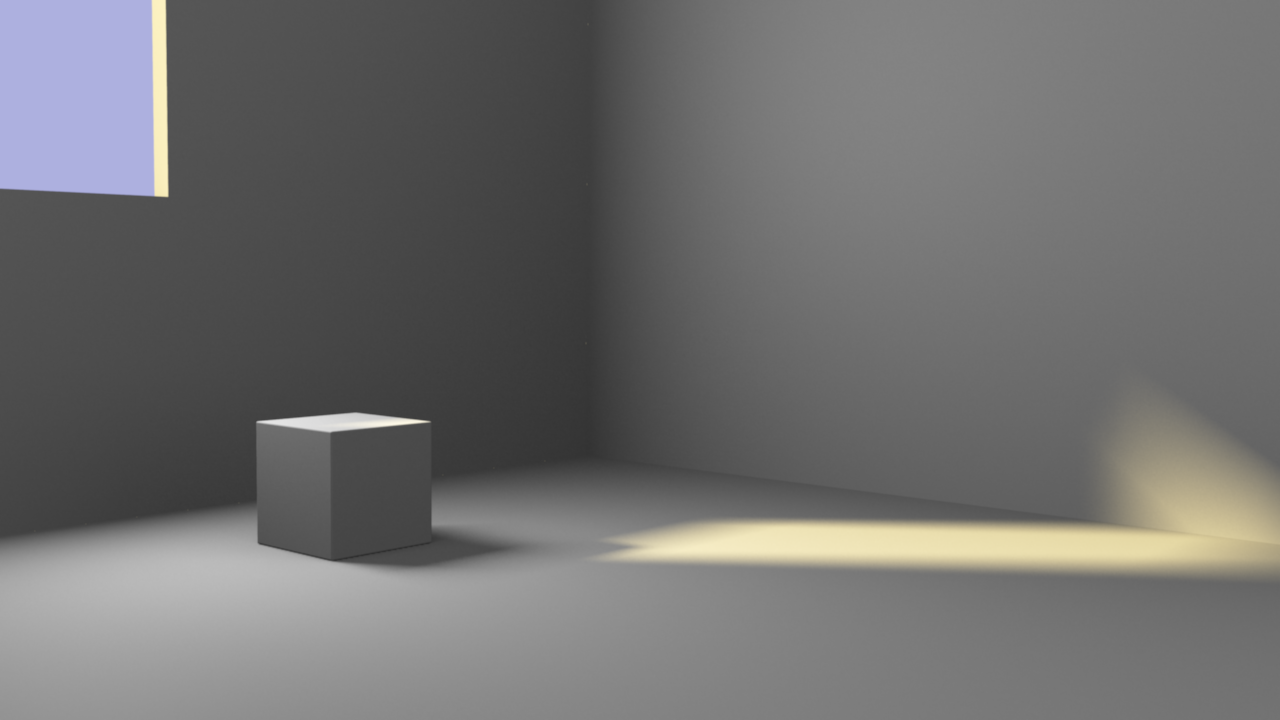
Regular render, one area light coming from the right, pitch black shadows:
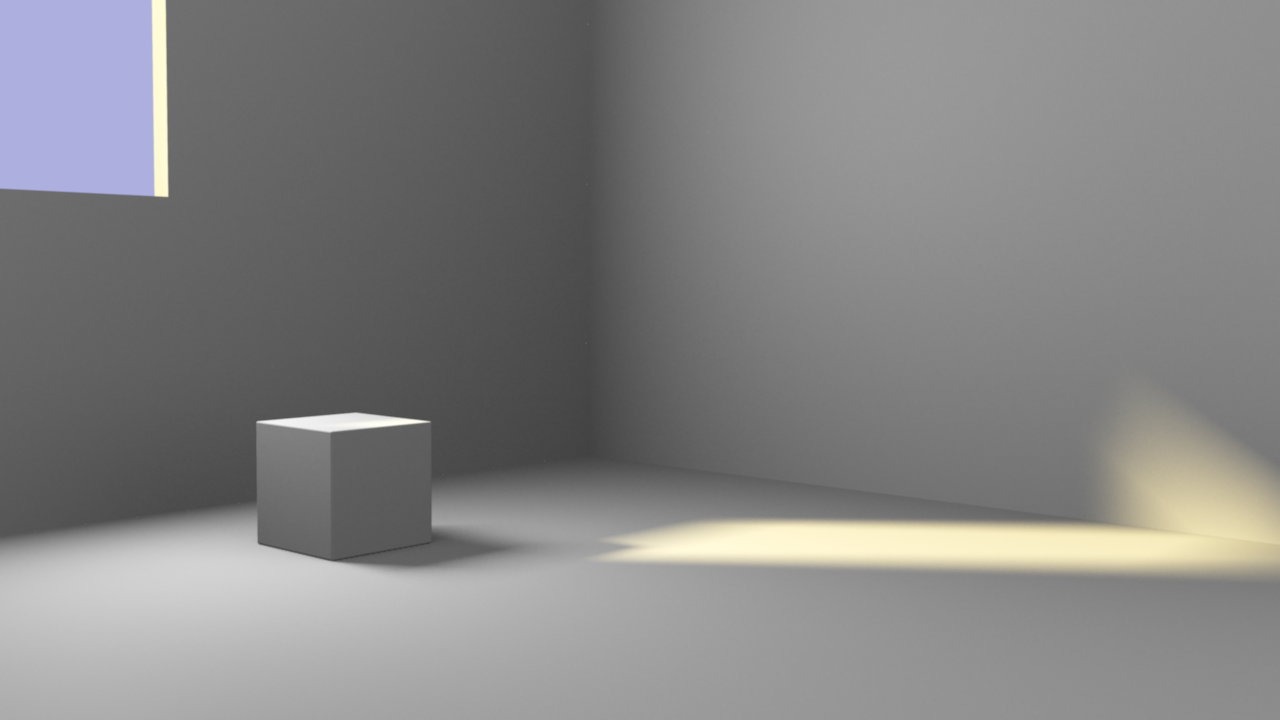
AO render set to Add:
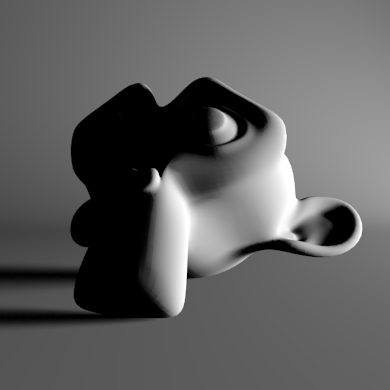
Combined in GIMP(AO render on top layer, set to Addition = 35%):
EDIT: I’d also like to add to what IkariShinji said, AO and environment lighting are generally NOT used at the same time. Environment lighting + your normal scene lights are usually sufficient. If you want a little bit extra going on, then maybe a subtle AO pass will work for you, but it’s probably overkill. Some people even use it with a GI engine, to add subtle shadows to the surface of their object, but that’s up to the individual artist. If I’m not mistaken, AO was developed for what I have shown you above, to solve the problems encountered when using only direct lighting, which doesn’t bounce light.
Also, you can do this all in Blender using layers, I just prefer using GIMP for post-pro.